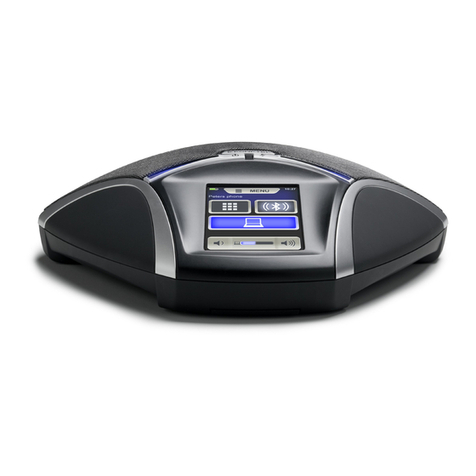
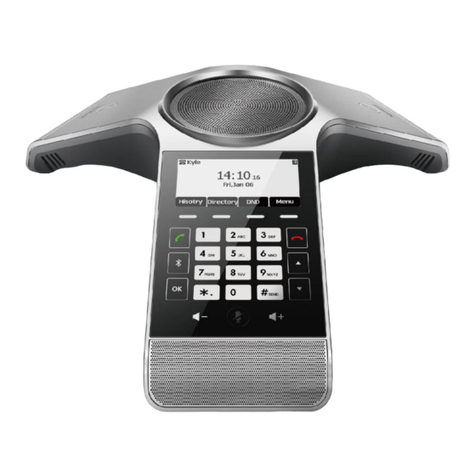
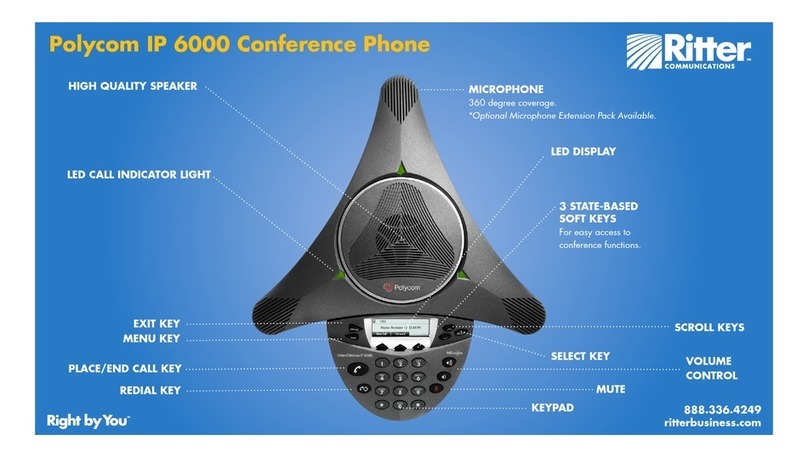
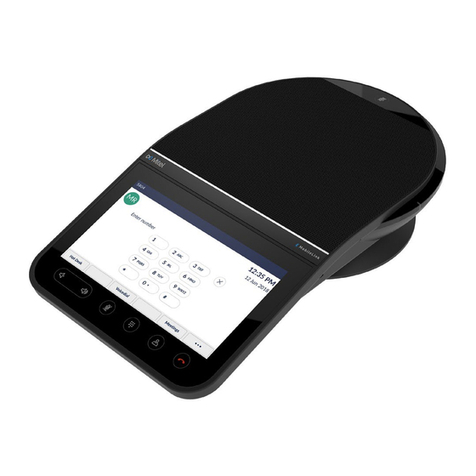
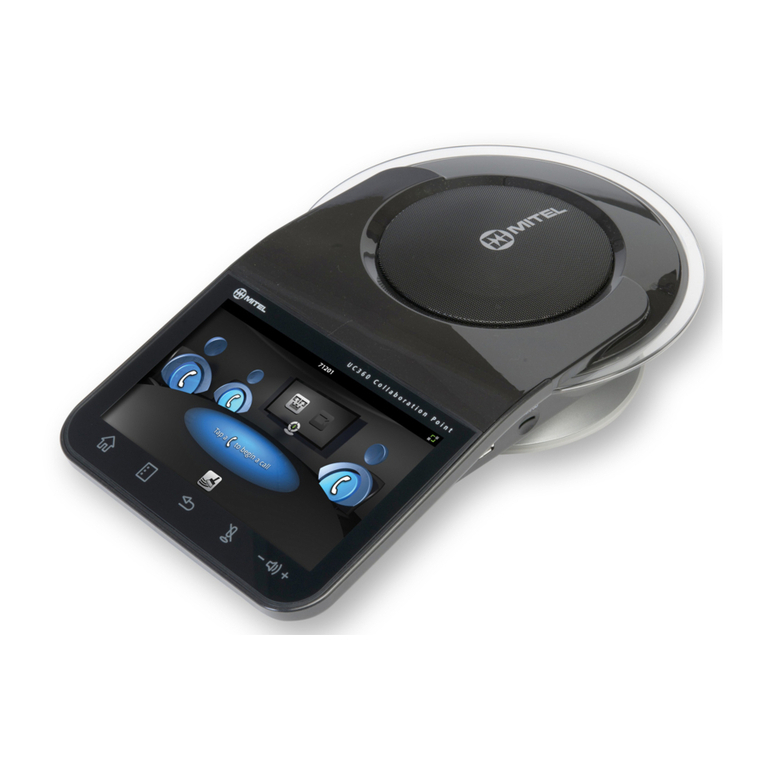
Cisco 8832 User manual

Your Phone
•Your Cisco IP Conference Phone 8832 , on page 1
•Phones Supported in this Document, on page 2
•New and Changed Features, on page 3
•Phone Setup, on page 8
•Sign into Your Extension from Another Phone (Extension Mobility), on page 14
•Sign in to a Phone as a Guest, on page 14
•Set the Profile Rule on the Phone, on page 15
•Service Interruption Message on Home Screen, on page 15
•Phone Web Page, on page 16
•Speed dial numbers, on page 16
•Cisco IP Conference Phone 8832 Buttons and Hardware, on page 17
•Energy Savings, on page 22
•Additional Help and Information, on page 22
Your Cisco IP Conference Phone 8832
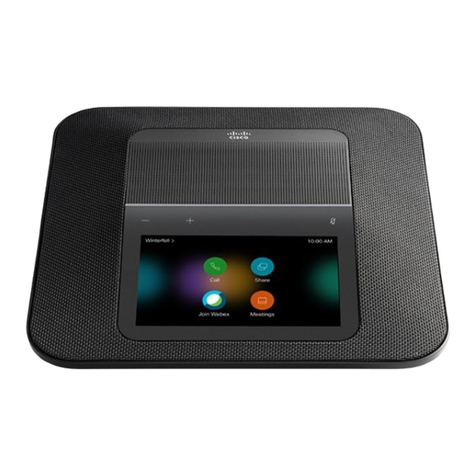
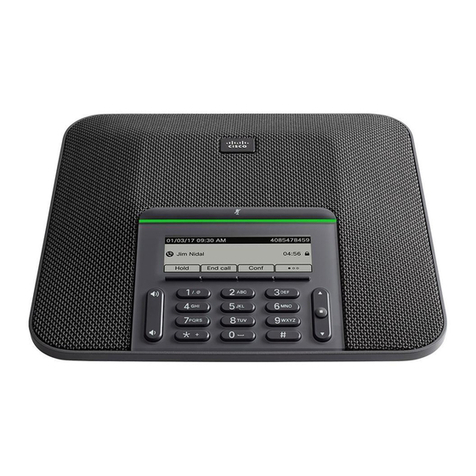
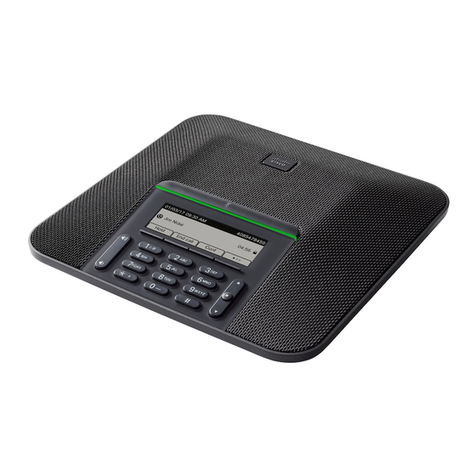
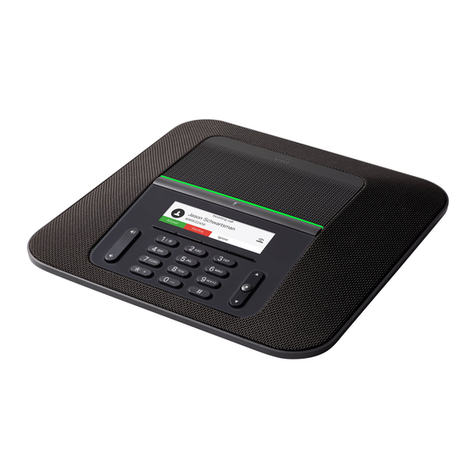
The Cisco IP Conference Phone 8832 Multiplatform Phones provide high-definition (HD) audio performance
and 360-degree coverage for medium to large conference rooms and executive offices. The conference phone
has sensitive microphones that let you speak in a normal voice and be clearly heard from up to 10 feet (2.1
m) away.
Your Phone
1

Figure 1: Cisco IP Conference Phone 8832 with Multiplatform Firmware
You can connect two wired expansion microphones or two wireless expansion microphones to the phone to
increase coverage in larger conference rooms. The maximum number of microphones is two. Wired and
wireless microphones cannot be mixed.
The phone can be used for a 20 x 20 foot (6.1 x 6.1 m) room and up to 10 people. When you add the wired
expansion microphones, coverage extends to a 20 x 34 foot (6.1 x 10 m) room and up to 22 people. When
you add the wireless expansion microphones, coverage extends to a 20 x 40 foot (6.1 x 12.2m) room and up
to 26 people.
Feature Support
This document describes all the features that the device supports. However, not all features may be supported
with your current configuration. For information on supported features, contact your service provider or
administrator.
Phones Supported in this Document
This document supports these phones:
• Cisco IP Conference Phone 8832 Multiplatform Phones
In this document, the term phone or Cisco IP Phone refers to the above phones.
Your Phone
2
Your Phone
Feature Support

New and Changed Features
New and Changed for Firmware Release 12.0(3)
New and Changed SectionsRevision
Create User Password on Phone, on page 9Added a new topic to mention the support password
setup after factory reset.
View XML Application Details
XML Application and Multicast Paging
Added new topics to support invoking XML
applications from multicast paging
Factory Reset from Server, on page 28Added a new topic to support factory reset from a
server
New and Changed for Firmware Release 12.0(2)
New and Changed SectionsRevisions
View the Participants List as a Host in Ad Hoc
Conference
A new topic added for the task to manage participant
list in Ad Hoc conference as a host
View the Participants List as a ParticipantA new topic added for the task to manage participant
list in Ad Hoc conference as a participant
Remove a Participant as a Host in Ad Hoc ConferenceA new topic added for the task to remove participant
list in Ad Hoc conference as a host
New and Changed for Firmware Release 12.0(1)
New and Changed SectionsRevision
Service Interruption Message on Home Screen, on
page 15
Added a new topic for Site Survivability Gateway
(SGW)
View Webex Call Logs DurationAdded a new task to view Webex call log duration
New and Changed for Firmware Release 11.3(7)
New and Changed SectionsRevision
Spam Indication for Webex CallsAdded the topic to support spam indication for Webex
calls
View your Recent CallsUpdated the topic for Webex calls
Your Phone
3
Your Phone
New and Changed Features

New and Changed SectionsRevision
View Call Records in Call Statistics, on page 25Added the task on how to view call statistics on the
phone
Set PasswordUpdated the topic to mention how to set password in
phone web page
Set Password from Phone Web PageAdded the task on how to set password from phone
web page
Phone Web Page, on page 16Updated the topic to add HTTP proxy
HTTP Proxy Settings
Set Up a Proxy Server with the Auto Proxy Mode
Set Up a Proxy Server with the Manual Proxy Mode
Set Up a Proxy Server from the Phone Web Page
Added the topics for the feature HTTP proxy
New and Changed for Firmware Release 11.3(6)
New and Changed SectionsRevision
Forward CallsUpdated the topics for the new feature Permission
Only for the Call Forward All Service Setup
Forward Calls with the Phone Web Page
Activate Call Forward All with Feature Activation
Code Synchronization
Forward Calls from Your Phone
Search for a Contact in the All Directories Screen
Updated several steps for the feature Enhancements
of Displaying Contact Numbers from the LDAP
Directory
Search for a Contact in Your LDAP DirectoryUpdated the topic to add related topic links
Call a Contact in Your LDAP DirectoryAdded the new task for the feature Enhancements of
Displaying Contact Numbers from the LDAP
Directory
Edit a Contact Number in Your LDAP DirectoryAdded the new task for the feature Enhancements of
Displaying Contact Numbers from the LDAP
Directory
XML DirectoryAdded the new topics for the feature Enhancements
of Displaying Contact Numbers from the XML
Directory Call a Contact in Your XML Directory
Edit a Contact Number in Your XML Directory
Your Phone
4
Your Phone
New and Changed for Firmware Release 11.3(6)
New and Changed SectionsRevision
Webex Directory
Added the new topics for Webex directory support
Search for a Contact in Your Webex Directory
Search for a Webex Contact in All Directory
Edit the Webex Directory Name
View your Recent Calls
Updated topics for Webex call log support
View Calls Logs from Server
New and Changed for Firmware Release 11.3(5)
New and Changed SectionsRevision
Find Information about MIC Cert Refresh Status, on
page 29
Added the task about how to check the MIC Cert
Status
Recent calls listUpdated the topic to support STIR/SHAKEN
View your Recent CallsUpdated the topic to introduce the new icons to
support STIR/SHAKEN
Find the Transition License Type , on page 29Added the task to find license type used for single
step migration of MPP phones to enterprise phone
New and Changed for Firmware Release 11.3(4)
This release has no impact on this guide.
New and Changed for Firmware Release 11.3(3)
New and Changed SectionsRevision
Search for a Contact in the All Directories ScreenUpdated the step on how to add contacts in the topic
Add a New Contact to Your Personal Address BookAdded one prerequisite for the topic and another
method to add contacts in the personal address book
Manage Your Contacts in the BroadSoft Personal
Directory
Added the topic about how to add, edit, and delete
the contacts in the BroadSoft Personal directory
Create a Contact from a Recents RecordUpdated the topic with the new steps to add a contact
Block an Anonymous CallUpdated the topic to block an anonymous call on the
phone
Your Phone
5
Your Phone
New and Changed for Firmware Release 11.3(5)

New and Changed SectionsRevision
Enable Anonymous Call Blocking from the Phone
Web Page
Added the topic to enable anonymous call blocking
from the phone web page
Enable Call WaitingAdded the topic to enable call waiting on the phone
Enable Call Waiting from the Phone Web PageAdded the topic to enable call waiting from the phone
web page
Change Your Status as a Call Center AgentUpdated the topic to mention the new menu text box
Unavailability
View your Recent CallsUpdated the topic for the new softkeys of the calls
history list
Find Information About Your Phone, on page 23Updated to topic to add the new menu item
New and Changed for Firmware Release 11.3(2)
New and Changed SectionsRevision
User Authentication Control, on page 14Added the topic for user authentication control on
phone menus
Activate Call Forward All with Feature Activation
Code Synchronization
Added the topic for Activation Code Sync
View Calls Logs from ServerUpdated the existing task to include information on
reverse name lookup with local directory
Phone Settings OverviewAdded the overview description for phone settings
Search for a Contact in the All Directories Screen
Add a New Contact to Your Personal Address Book
with Phone Web Page
Call a Contact in Your Personal Address Book
Edit a Contact in Your Personal Address Book
Remove a Contact from Your Personal Address Book
Updated the directory-related tasks
Your Phone
6
Your Phone
New and Changed for Firmware Release 11.3(2)

New and Changed SectionsRevision
Search for a Contact in the All Directories Screen
Search for a Contact in Your BroadSoft Directory
Edit Your Contact Type in Your BroadSoft Directory
Edit Your BroadSoft Directory Name
Edit the Server Name of Your BroadSoft Directory
Edit Credentials of Your BroadSoft Directory
Search for a Contact in Your LDAP Directory
Make a Call to an IM and Presence Contact
Change Your Presence State
Add a New Contact to Your Personal Address Book
with Phone Web Page
Search for a Contact in Your Personal Address Book
Call a Contact in Your Personal Address Book
Edit a Contact in Your Personal Address Book
Remove a Contact from Your Personal Address Book
Updated the tasks for the directory enhancement
feature
Forward Calls from Your PhoneUpdated the task on how to forward a call from a
phone
Forward Calls with the Phone Web PageAdd the task on how to forward a call with the phone
web page
Edit Credentials of Your LDAP DirectoryAdd the topic to edit user credentials to access the
LDAP directory
Search for a Contact in Your LDAP DirectoryUpdated the task to include user credentials
LDAP Directory
Search for a Contact in Your LDAP Directory
Update the topics to introduce or mention the LDAP
cache mechanism
Edit Credentials of Your LDAP DirectoryUpdated one step in the topic to show the different
user credentials
Call Center FeaturesUpdated the existing topic to include ACD status
synchronization
Sign In as a Call Center AgentUpdated the topic to check the status of call center
agent.
Your Phone
7
Your Phone
New and Changed for Firmware Release 11.3(2)

New and Changed for Firmware Release 11.3(1)
New and Changed SectionsRevision
Auto Provision Your Phone with Short Activation
Code, on page 10
Added new task to support Auto Provisioning with
Short Activation Code.
Find Information About Your Phone, on page 23Updated an existing task to support display UDI
feature on phone screen
Get More Information When Your Phone Displays a
Provisioning Failure Message, on page 29
Added a task to support Serviceability Enhancement
Messages for Provisioning Failure
New and Changed for Firmware Release 11.2(3)SR1
New or Changed SectionsRevisions
Onboard Your Phone with Activation Code, on page
9
Added a new task about getting your phone onboard
with the activation code
Phone Setup
Your administrator sets up your phone and connects it to the network. If your phone is not set up and connected,
contact your administrator for instructions.
Connect to the Network
You need to connect the phone to the network.
• Wired network connection—All wired network connections use one of the following:
•PoE deployment: Connect the phone to the Cisco IP Conference Phone 8832 PoE Injector
(CP-8832-POE) and connect the injector to the network with an Ethernet cable.
•Non-PoE deployment: Connect the phone to the Cisco IP Conference Phone 8832 Non-PoE
EthernetInjector(CP-8832-ETH or CP-8832-ETH-WW). Then, connect the injector to the network
with an Ethernet cable and plug the injector into the electric outlet.
CP-8832-ETH and CP-8832-PWR are for North America. CP-8832-ETH-WW and CP-8832-PWR-WW are
for other locations.
Note
Your Phone
8
Your Phone
New and Changed for Firmware Release 11.3(1)

Figure 2: PoE Deployment
Figure 3: Non-PoE Deployment
Onboard Your Phone with Activation Code
After your phone boots up, you will see a welcome screen where you can enter the activation code. If you
don't have an activation code, contact your administrator.
Before you begin
Your administrator provides you with a 16-digit activation code in the form xxxx-xxxx-xxxx-xxxx.
Procedure
Step 1 Enter your activation code in the field that is provided on the Welcome screen. You don't need to input the
hyphen (-) character when entering the code.
Step 2 Press Continue.
The phone completes the onboarding process automatically.
Step 3 If an error message displays, enter the code again or contact your administrator for a new code.
Create User Password on Phone
Your administrator enables your phone to prompt for Set password notification screen when your phone
reboots after every factory reset. This feature enhances the security of your phone.
Your Phone
9
Your Phone
Onboard Your Phone with Activation Code

Procedure
Step 1 Perform one of the following:
• After factory reset, your phone reboots and you see the Set password prompt on the phone.
• Press
a. Select Status >Issues. If the phone has no user password that is created, you see a message No user
password provided and you see the Select softkey which lets you access the No user password
provided screen.
If the phone has user password, the value of the Issues menu is displayed as None.
b. Press Create.
Step 2 In the Set password screen, set the new password in the New password box.
After you create a new password, an unlock icon appears on the phone screen.
Auto Provision Your Phone with Short Activation Code
After your phone boots up, you see a welcome screen where you can enter the activation code. If you don't
have the activation code, contact your administrator.
Before you begin
Your administrator provides your activation code:
Procedure
Step 1 Press pound (#), and enter your activation code in the field that is provided on the Welcome screen.
Step 2 Press Continue.
The phone completes the provisioning process automatically.
Step 3 If an error message displays, enter the code again or contact your administrator.
Install the Wired Expansion Microphones
The phone supports an optional kit with two wired expansion microphones. You can extend the microphones
up to 7 feet (2.13m) from the phone. For best results, place the microphones between 3 feet (0.91 m) and 7
feet (2.1 m) away from the phone.
Procedure
Step 1 Plug the end of the microphone cable into the port on the side of the phone.
Your Phone
10
Your Phone
Auto Provision Your Phone with Short Activation Code

Step 2 Extend the microphone cable to the desired position.
The following figure shows installation of a wired expansion microphone.
Figure 4: Wired Expansion Microphone Installation
Related Topics
Wired Expansion Microphone (8832 0nly), on page 20
Install the Wireless Expansion Microphones
The conference phone provides the option of connecting two wireless expansion microphones.
You must use either two wired microphones or two wireless microphones with the phone, but not a mixed
combination.
Note
When the phone is in a call, the LED on the expansion microphone is lit green. To mute the expansion
microphone, press the Mute key. When the microphone is muted, the LED is lit red. When the battery in the
microphone is low, the battery indication LED blinks rapidly.
Before you begin
Disconnect the wired expansion microphones before you install wireless expansion microphones. You cannot
use both wired and wireless expansion microphones at the same time.
Procedure
Step 1 Position the table mount plate on the table surface location where you want to place the microphone.
Step 2 Remove the adhesive for the double-stick tape on the bottom of the table mount plate. Place the table mount
plate to adhere to the table surface.
Your Phone
11
Your Phone
Install the Wireless Expansion Microphones

Step 3 Attach the microphone to the table mount plate. Magnets are embedded in the microphone to snap the unit
into place.
You can move the microphone and attached table mount to a different location on the table surface as needed.
Use care when moving to protect the unit.
Related Topics
Wireless Expansion Microphone (8832 Only), on page 21
Install the Wireless Expansion Microphones, on page 11
Pair a Wireless Microphone
Before you begin
Unplug any wired microphones.
Procedure
Step 1 Press Settings.
Step 2 Select Device administration >Microphones >Wireless microphones.
Step 3 Select either Microphone 1 or Microphone 2 and press Pair.
If a microphone is already linked to a particular channel, the phone screen shows that the microphone is paired.
Step 4 Press Mute on the wireless microphone until the microphone LED blinks white.
If the pairing succeeds, the phone screen displays a success message.
Step 5 (Optional) Press Cancel to revert to the Wireless microphones menu.
Related Topics
Wireless Expansion Microphone (8832 Only), on page 21
Unpair a Wireless Microphone
Procedure
Step 1 Press Settings.
Step 2 Select Device administration >Microphones >Wireless microphones.
Step 3 Select either Microphone 1 or Microphone 2.
If the selected channel is paired, the Unpair softkey displays on the phone screen.
Step 4 Press Unpair.
Your Phone
12
Your Phone
Pair a Wireless Microphone

Related Topics
Wireless Expansion Microphone (8832 Only), on page 21
Install the Wireless Microphone Charging Cradle
You use the charging cradle to charge the wireless microphone battery.
Procedure
Step 1 Plug the charging cradle power adapter into an electrical outlet.
Step 2 Plug one end of the USB-C cable to the charging cradle and the other end into the power adapter.
The following figure shows installation of a wireless microphone charging cradle.
Figure 5: Wireless Microphone Charging Cradle Installation
Related Topics
Wireless Expansion Microphone (8832 Only), on page 21
Charge a Wireless Microphone
Before you begin
Install the wireless microphone charging cradle. For more information, see Install the Wireless Microphone
Charging Cradle, on page 13.
Your Phone
13
Your Phone
Install the Wireless Microphone Charging Cradle

Procedure
Step 1 Place the microphone in the charging cradle.
Step 2 If the LED on the cradle is not white, remove the microphone and replace it in the cradle.
Related Topics
Wireless Expansion Microphone (8832 Only), on page 21
User Authentication Control
Your administrator can configure if you require authentication to access phone menus. Your administrator
can also customize and turn off the authentication to allow access to all phone menus.
With this feature, whether any phone menu needs authentication is controlled by your administrator. If your
administrator configures authentication to access the menu, you need to provide the password and sign in to
access the menu.
Sign into Your Extension from Another Phone (Extension
Mobility)
If extension mobility is configured, you can sign into a different phone in your network and have it act the
same as your phone. After you sign in, the phone adopts your personal directory number.
Before you begin
Your administrator configures provisioning authority.
Procedure
Step 1 Press Sign in.
Step 2 Enter your username and password, then press Sign in.
The password field allows two input methods: alphanumeric and numeric. While you type in the password,
you see the Options softkey on the phone. Use this softkey to change the current password input type. Select
Input all for alphanumeric input and select Input num for numeric entry. Your administrator configures the
password input method on the phone web page.
Step 3 Press Sign out to sign out of your extension.
Sign in to a Phone as a Guest
Your phone has a guest account when your administrator enables hoteling on your phone. You can then sign
in to a different phone in your network as a guest.
Your Phone
14
Your Phone
User Authentication Control

Procedure
Step 1 Press Sign in.
Step 2 Enter your user ID and password.
The password field uses two types of input methods; alphanumeric and numeric. While you type in the
password, you see Options softkey on the phone. You can use this softkey to change the current password
input type. Select Input all for alphanumeric input and select Input num for numeric entry.
Step 3 Press Save.
An administrator can set up a phone to make emergency calls. Whenever you sign in as a guest to a registered
phone, the phone transfers a request to obtain the location of the phone. The location is sent to the emergency
services when you make an emergency call.
Note
Sign Out of a Phone as a Guest
Procedure
Step 1 Press Guest Out.
Step 2 Press Sign Out.
Set the Profile Rule on the Phone
Procedure
Step 1 Press Settings.
Step 2 Select Device administration >Profile rule.
Step 3 Enter the profile rule using the phone keypad.
Step 4 Press Resync.
Service Interruption Message on Home Screen
When Webex cloud server is not available, you will see Service interruption notification on the phone home
screen and the line status shows the survivability icon. During this situation, phone gets connected to the Site
Survivability Gateway (SGW) so that you can use at least basic calling features. SGW services are deployed
Your Phone
15
Your Phone
Sign Out of a Phone as a Guest

within your local network, hence, the phone supports only basic calling features. If you check the line status,
it shows Interrupted. To view the line status, see View the Line Status, on page 25.
When you experience this issue, your administrator can help troubleshoot.
Phone Web Page
You can customize some phone settings with the phone web page, which you access from your computer.
Your administrator gives you the page URL, your user ID, and password.
In the phone web page, you can control features, line settings, and phone services for your phone.
• Phone features include speed dial, do not disturb, and your personal address book.
• Line settings affect a specific phone line (directory number) on your phone. Line settings can include
call forward, visual and audio message indicators, ring patterns, and other line-specific settings.
The following table describes some specific features that you configure using the phone web page.
DescriptionFeatures
You specify the number that will receive calls when call forward is enabled on the
phone. Use the phone web page to set up more complicated call forward functions, for
example, when your line is busy.
Call forward
You assign phone numbers to speed-dial numbers so that you can quickly call that
person.
Speed dial
You assign a ringtone to a specific line.Ringtone
You add a contact to your personal directory with phone web page.Personal directory
contact
You set up an HTTP proxy for the phone to connect to the internet.HTTP proxy
Speed dial numbers
When you dial a number on your phone, you enter a series of digits. When you set up a speed dial number,
the speed dial number must contain all the digits you need to make the call. For example, if you need to dial
9 to get an outside line, you enter the number 9 and then the number you want to dial.
You can also add other dialed digits to the number. Examples of additional digits include a meeting access
code, an extension, a voicemail password, an authorization code, and a billing code.
The dial string can contain the following characters:
• 0 to 9
• Pound (#)
• Asterisk (*)
• Comma (,)—This is the pause character, and gives a 2 second delay in the dialing. You can have several
commas in a row. For example, two commas (,,) represent a pause of 4 seconds.
Your Phone
16
Your Phone
Phone Web Page

The rules for dial strings are:
• Use the comma to separate the parts of the dial string.
• An authorization code must always precede a billing code in the speed dial string.
• A single comma is required between the authorization code and the billing code in the string.
• A speed dial label is required for speed dials with authorization codes and additional digits.
Before you configure the speed dial, try to dial the digits manually at least once to ensure that the digit sequence
is correct.
Your phone does not save the authorization code, billing code, or extra digits from the speed dial in the call
history. If you press Redial after you connect to a speed dial destination, the phone prompts you to enter any
required authorization code, billing code, or additional digits manually.
Example
To set up a speed dial number to call a person at a specific extension, and if you need an authorization code
and billing code, consider the following requirements:
• You need to dial 9for an outside line.
• You want to call 5556543.
• You need to input the authorization code 1234.
• You need to input the billing code 9876.
• You must wait for 4 seconds.
• After the call connects, you must dial the extension 56789#.
In this scenario, the speed dial number is 95556543,1234,9876,,56789#.
Cisco IP Conference Phone 8832 Buttons and Hardware
The following figure shows the Cisco IP Conference Phone 8832.
Your Phone
17
Your Phone
Cisco IP Conference Phone 8832 Buttons and Hardware

Figure 6: Cisco IP Conference Phone 8832 Buttons and Features
Toggle the microphone on or off. When the
microphone is muted, the LED bar is lit red.
Mute bar1
Indicates call states:
• Green, solid—Active call
• Green, flashing—Incoming call
• Green, pulsing—Held call
• Red, solid—Muted call
LED bar2
Access functions and services.Softkey buttons3
Scroll through menus, highlight items, and select the highlighted
item.
When the phone is idle, press Up to access the recent calls list and
press Down to access the favorites list.
Navigation bar and Select
button
4
Your Phone
18
Your Phone
Cisco IP Conference Phone 8832 Buttons and Hardware

Adjust the speakerphone volume (off hook) and the ringer volume
(on hook).
When you change the volume, the LED bar lights white to show the
volume change.
Volume button5
Cisco 8832 Conference Phones running multiplatform firmware doesn’t support Wifi. Use these phones with
a physical ethernet connection.
Note
Conference phone navigation
Use the Navigation bar to scroll through menus. Use the inner Select button of the Navigation bar to select
menu items.
If a menu item has an index number, you can enter the index number with the keypad to select the item.
Conference phone softkeys
You can interact with the features on your phone with the softkeys. Softkeys, located below the screen, give
you access to the function displayed on the screen above the softkey. The softkeys change depending on what
you are doing at the time.
The and softkeys indicate●● softkey indicates more softkey functions are available.
Conference Phone Screen
The phone screen shows information about your phone such as directory number, active call status, and
softkeys. The screen is made up of three sections: the header row, the middle section, and the footer row.
Your Phone
19
Your Phone
Conference phone navigation

At the top of the screen is the header row. The header row displays the current date and time, and
the phone number.
1
The middle of the phone screen displays the information associated with the calls or line.2
The bottom row of the screen contains the softkey labels. Each label indicates the action for the
softkey button below the screen.
3
Clean your phone screen
Procedure
If your phone screen gets dirty, wipe it with a soft, dry cloth.
Don't use any liquids or powders on the phone because they can contaminate the phone components
and cause failures.
Caution
Wired Expansion Microphone (8832 0nly)
The Cisco IP Conference Phone 8832 supports two wired expansion microphones, available in an optional
kit. Use the expansion microphones in larger rooms or in a crowded room. For best results, we recommend
that you place the microphones between 3 feet (0.91 m) and 7 feet (2.1 m) away from the phone.
Figure 7: Wired Expansion Microphone
When you're in a call, the expansion microphone LED around the Mute button is green.
When you mute the microphone, the LED is red. When you press the Mute button, the phone and the expansion
microphones are muted.
Related Topics
Install the Wired Expansion Microphones, on page 10
Your Phone
20
Your Phone
Clean your phone screen
Other manuals for 8832
13
Table of contents
Other Cisco Conference Phone manuals

Cisco
Cisco 7832 User manual

Cisco
Cisco 8832 User manual

Cisco
Cisco Unified IP Conference Phone 8831NR Instruction Manual

Cisco
Cisco 7832 Operating instructions

Cisco
Cisco 7832 User manual

Cisco
Cisco 8831 Instruction Manual

Cisco
Cisco MPP 8832 Manual

Cisco
Cisco Unified IP Conference Phone 8831 User manual

Cisco
Cisco Webex Room Kit User manual

Cisco
Cisco 8832 Instruction Manual