Cisco IP Phone 8832 Series User Guide
9 | Page
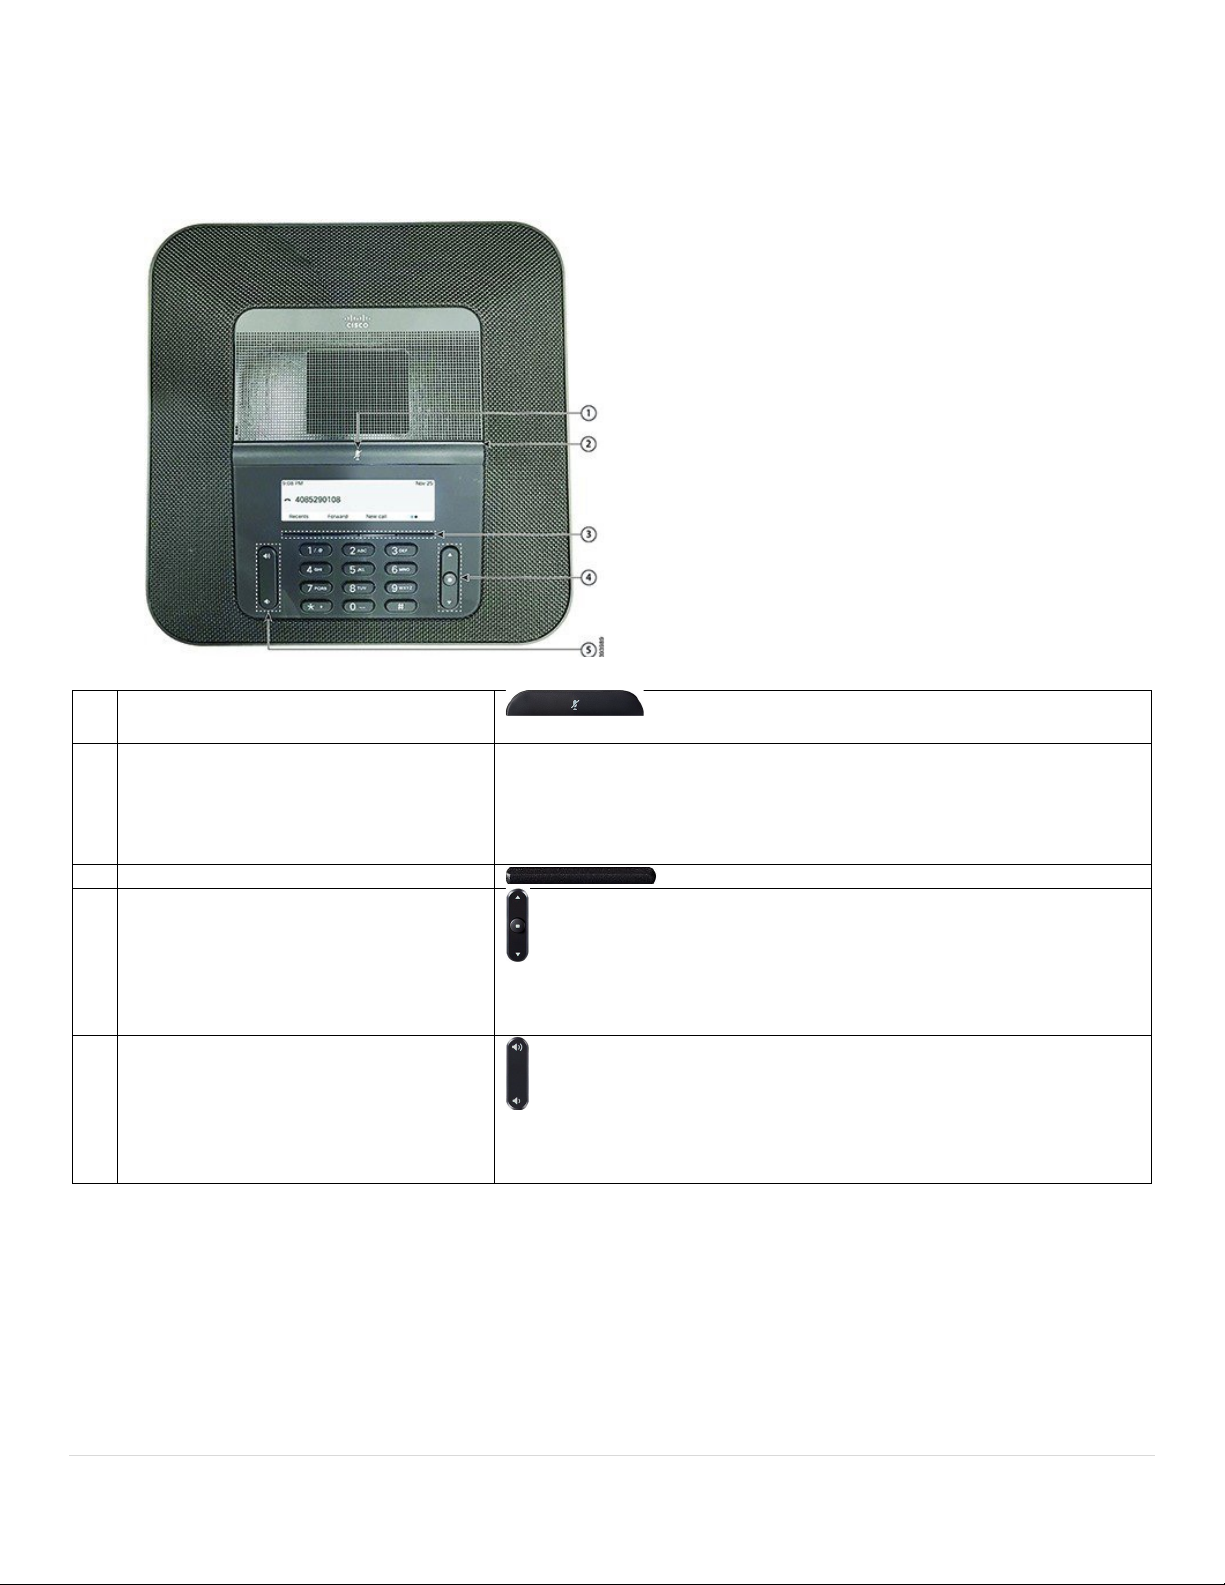
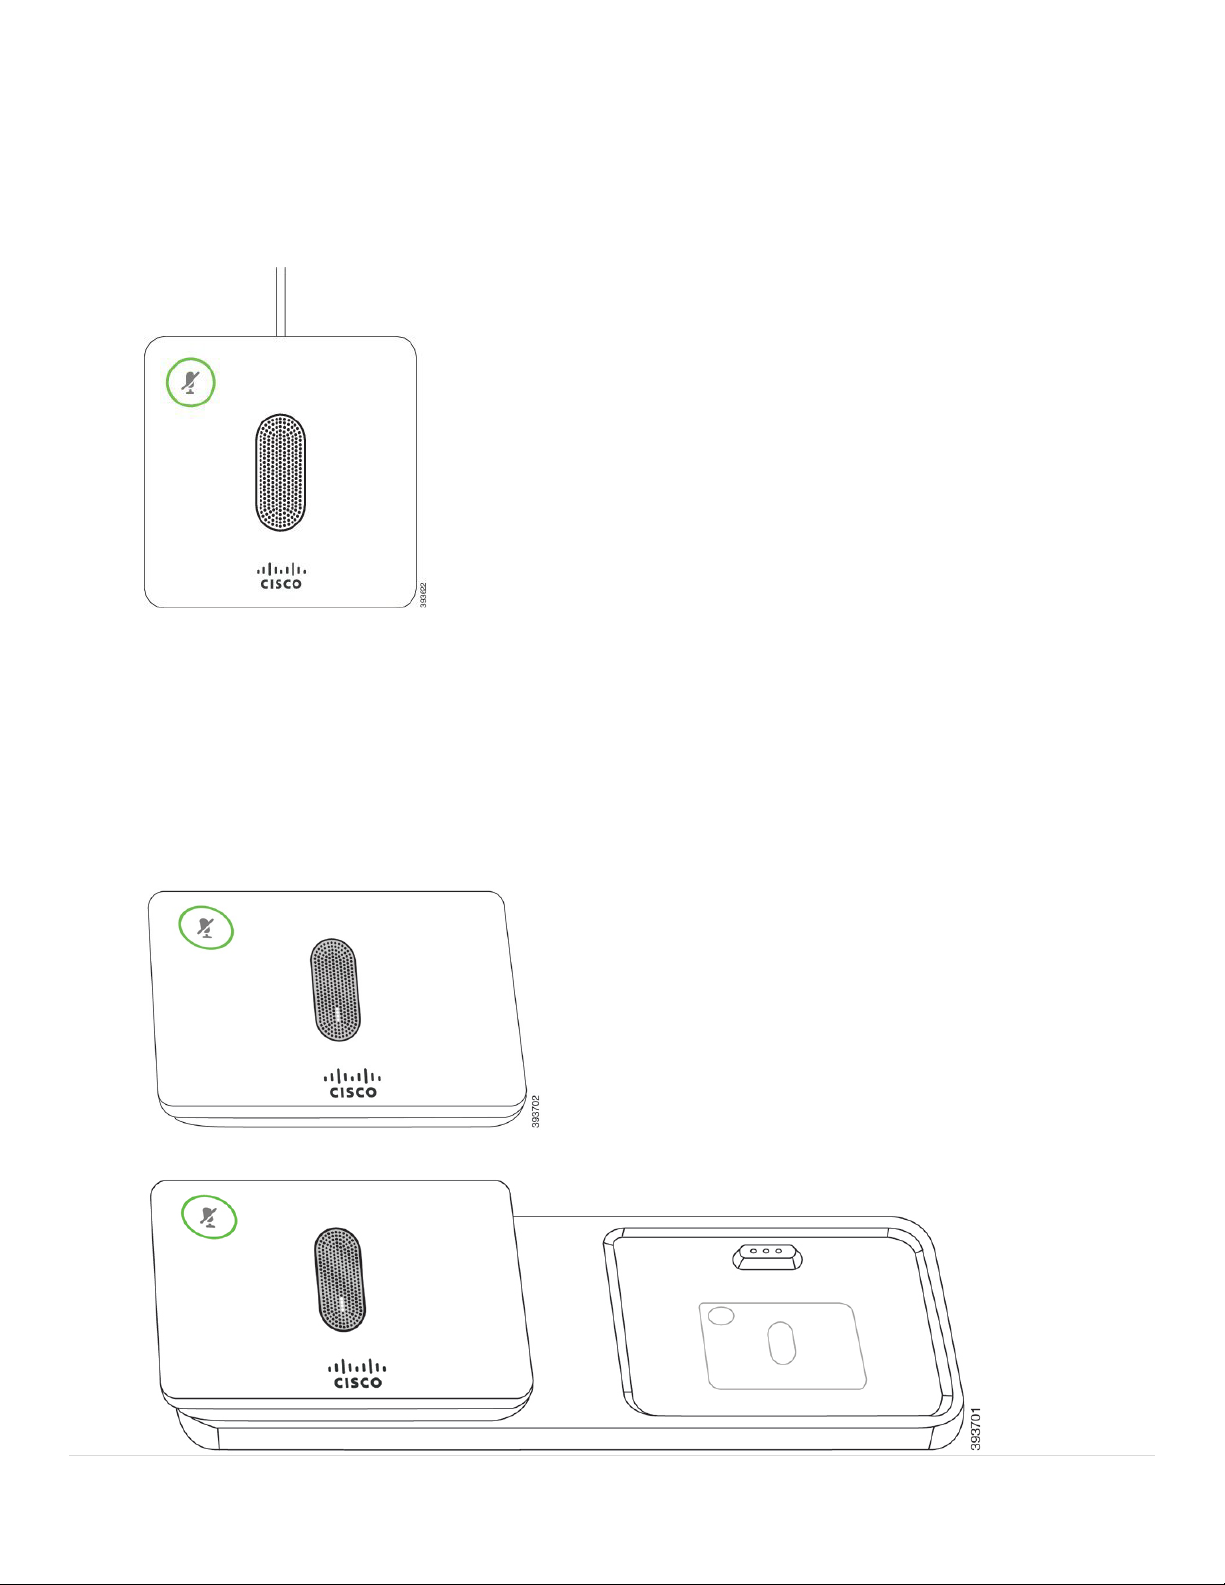
When the conference phone is in a call, the expansion microphone LED around the Mute button is lit green.
When the microphone is muted, the LED is lit red. When you press the Mute button, the phone and the expansion
microphones are muted.
If the phone is paired with a wireless microphone (for example, Wireless microphone 1) and you connect the
wireless microphone to a charger, pressing the Show detail softkey indicates the charge level for that
microphone.
When the phone is paired with a wireless microphone and you connect a wired microphone, the wireless
microphone gets unpaired and the phone is paired with the wired microphone. A notification appears on the
phone screen indicating that the wired microphone is connected.
Accessibility Features
The Cisco IP Conference Phone 8832 provides accessibility features for the blind, and the visually, hearing, and
mobility impaired. Because many of these features are standard, users with disabilities can access them without
any special configuration.
Cisco is committed to designing and delivering accessible products and technologies to meet the needs of your
organization. You can find more information about Cisco and its commitment to accessibility at this
URL: http://www.cisco.com/go/accessibility
Find Information About Your Phone
Your administrator may ask for information about your phone. This information uniquely identifies the phone for
troubleshooting purposes.
Procedure
Step 1 Press Settings.
Step 2 Select Status > Phone information.
You can view the following information:
Product name— Model number of the Cisco IP Phone.
Serial number— Serial number of the Cisco IP Phone.
MAC address—Hardware address of the Cisco IP Phone.
Software version—Version number of the Cisco IP Phone firmware.
Hardware version—Version number of the Cisco IP Phone hardware.
Certificate—Status of the client certificate, which authenticates the Cisco IP Phone for use in the ITSP
network. This field indicates if the client certificate is properly installed in the phone.
Customization—For an RC unit, this field indicates whether the unit has been customized or not.
Pending indicates a new RC unit that is ready for provisioning. If the unit has already retrieved its
customized profile, this field displays the Customization state as Acquired.
Step 3 Press Back to return to the Applications screen.