manuals.online logo
Brands
  1. Home
  2. •
  3. Brands
  4. •
  5. Claudgen
  6. •
  7. Heater
  8. •
  9. Claudgen HE7237 Manual

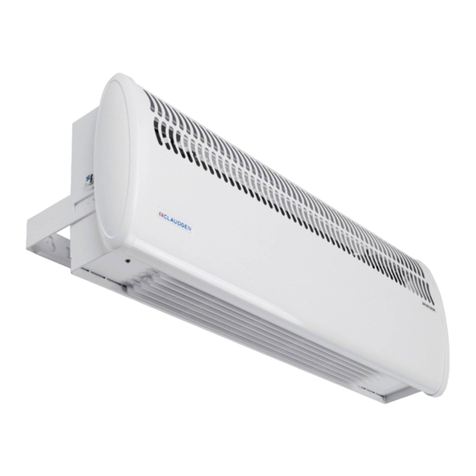
Claudgen HE7237 Manual

41000402 Iss 10
ELECTRICAL CONNECTIONS
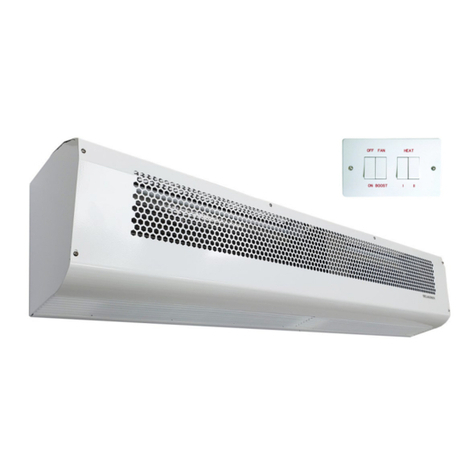
Mains power is fed into the remote switch control. The remote switch control is then connected to the appliance via the
Terminal Box. The switch splits the power feed to the appliance allowing ‘fan only – cold blow’ or ‘fan plus heater – hot
blow’ operation.
Note AT ALL TIMES THE APPLIANCE AND REMOTE CONTROL SWITCH MUST BE EARTHED.
1 Feed mains power ‘L’ and ‘N’ to input side of Left Hand switch.
2 Connect output side of Left Hand switch ‘L’ to Terminal Box connection ‘H’.
Connect output side of Left Hand switch ‘N’ to Terminal Box connection ‘F’.
making sure this switch output is still cross linked to the input side of the Right Hand switch.
3 Connect output side of Right Hand switch to Terminal Box connection ‘N’.
OPERATION
Remote Control Switch
1 Left ‘OFF’ / Right ‘OFF’
Appliance ‘OFF’
2 Left ‘ON’/ Right ‘OFF
Fan only – Cold blow
3 Left ‘ON’ / Right ‘ON’’
Fan plus heater – Hot blow
4 Left ‘OFF’ / Right ‘ON’
Appliance ‘OFF’
Consort Equipment Products Ltd
Registered Office: Thornton Industrial Estate
ilford Haven, Pembrokeshire, SA73 2RT
Telephone: 01646 692172 Fax: 01646 695195
INSTALLATION, OPERATION and AINTENANCE INSTRUCTIONS for
SURFACE OUNTED WAR AIR CEILING HEATERS
Catalogue Numbers: HE7237 & HE7238
RETAIN THIS LEAFLET FOR FUTURE MAINTENANCE
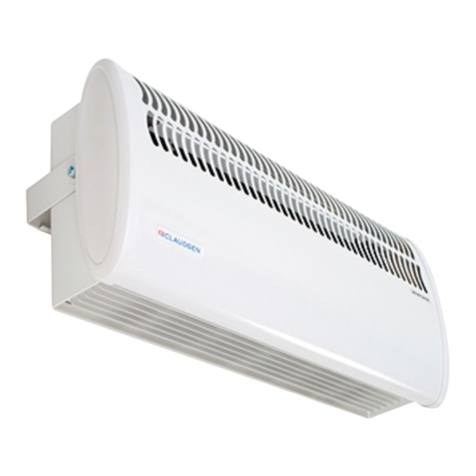
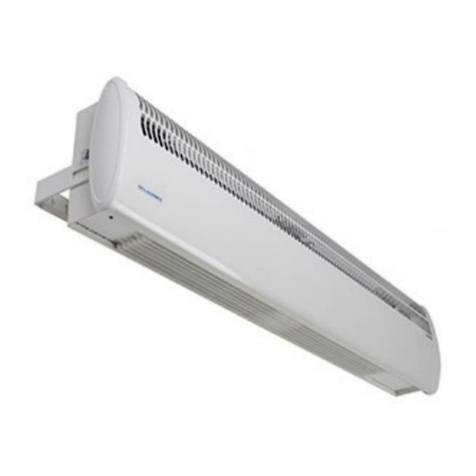
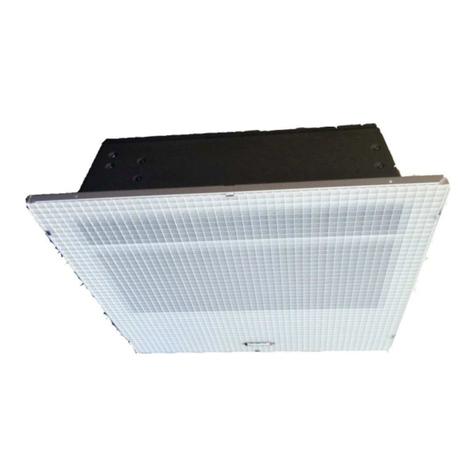
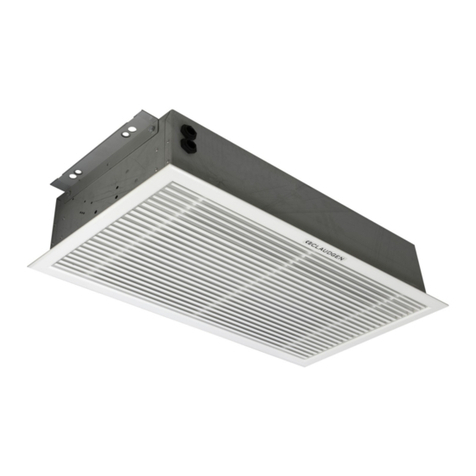
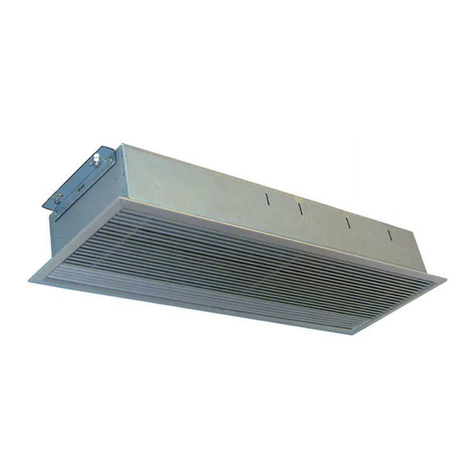
This Claudgen Ceiling Heater is designed for suspension from a
ceiling using threaded bar. It is supplied with stud bar mounting
kit, painted enclosure and remote mounting control box.
ELECTRICAL CONNECTIONS
The HE7237 has a heating load of 3kW - 230/240V 50Hz
The HE7238 has a heating load of 3kW - 220V 50Hz
The connections to be made between the heater and the remote
control box are shown in Fig. 3. An earth terminal is adjacent to
the terminal block and is clearly marked with the symbol
The unit must be wired in accordance with I.E.E regulations for
the Electrical Equipment of Buildings and the installer should
ensure that a suitable isolating switch is connected in the mains
supply.
Fig. 2 shows wiring diagram.
CONTROL
The remote control box houses 2 double pole 20 amp rocker switches
and gives the following functions
SWITCH 1 (LH) OFF/FAN ONLY
SWITCH 2 FULL HEAT
OUNTING
The fan heater box can only be fitted one way round (see Fig.1),
as 2 of the studs are offset. This ensures that the fan outlet
lines up with the discharge grille and also that the wiring is
always sited the same side.
The diffuser is attached to the discharge grille with 4 small
clips, which can be removed if necessary.
The discharge grille has 4 additional studs, plus nuts/washer, to
enable the unit to be chain mounted, if required.
There are also extra holes in the box to enable the unit to be
suspended via wires.
AINTENANCE
ALWAYS ENSURE THAT THE MAIN EXTERNAL ELECTRICITY SUPPLY IS
SWITCHED OFF BEFORE SERVICING THIS HEATER.
To obtain the best results from the heater, it is essential to
avoid the accumulation of dust and dirt within the unit on the air
inlet and discharge grilles. Regular cleaning is necessary with
particular attention to the removal of any dirt on the fan rotor
blades. Cleaning of the fan is best carried out with a soft brush.
PROTECTION (Thermal Cut Out)
The unit is protected in the event of fan failure, or an
obstruction of the free airflow, by a thermal PTC Self Hold Cut
Out. Having tripped the PTC Cut Out remains open, effectively
switching off the heating elements, as long as mains power is
available inside the appliance. The PTC Cut Out will only reset
when the appliance is switched OFF and allowed to cool for at
least 20 minutes.
To reset the PTC Self Hold Cut Out
DO NOT ADJUST BY HAND ANY INTERNAL CO PONENTS
a) The cutout is reset by switching OFF mains power to the
appliance.
b) Allow the appliance to cool for 20 minutes
Re-start, switch ON the appliance. If the cutout trips again,
a qualified electrician should be consulted.
TO REPLACE A FAN/HEATER ASSE BLY
a) Switch off the mains supply
b) Release the six nuts and washers fixing the fan heater box to
the discharge grille
c) Disconnect the fan heater wiring from the mains terminal
block and earth stud
d) Remove the fan heater from the box (four screws)
e) Fit the replacement unit and re-assemble in the reverse
order.
TO REPLACE A SWITCH IN THE CONTROL BOX
a) Switch off the mains supply
b) Remove the switch box cover
c) Disconnect the wiring to the switch
d) Release the spring clips and push out the switch
e) Fit the replacement switch, reconnect the wiring and replace
the cover
41000402 Iss 10
INSTALLATION/HANGING
Note The appliance weighs 17 kg
Note Optimum height above floor 3.0 to 3.5 metres
1Split and remove shroud
A pair of machine screws hold each shroud half together at each joint.
A machine screw secures each shroud half to each appliance beam.
Remove these machine screws and slide each shroud half off the appliance base panel.
Note The base panel fits inside the shroud halves.
The diffuser is already clipped into and under the base panel and need not be removed.
2Hanging Rod Positions
With the shroud removed the two appliance beams reveal the holes/slots shown and dimensioned below. It is
required that two ∅10 mm hanging rods (stud bars) support each appliance beam. The rods pass through and
into each appliance beam. Support washers together with nuts locate and lock the appliance beams after
adjustment to level the appliance.
3Replace Shroud Halves
The reverse of ‘1’ above. Slide shrouds beneath and around base panel. Secure each shroud half to each
appliance beam with machine screws. Screw shroud halves together at each joint.

This manual suits for next models

1

Other Claudgen Heater manuals

Claudgen ScreenZone CA1309S10 User manual

Claudgen

Claudgen ScreenZone CA1309S10 User manual

Claudgen HE8326-33 Manual

Claudgen

Claudgen HE8326-33 Manual

Claudgen Heat-Zone Manual

Claudgen

Claudgen Heat-Zone Manual

Claudgen HE8320RX Original operating instructions

Claudgen

Claudgen HE8320RX Original operating instructions

Claudgen HE7010SL Use and maintenance manual

Claudgen

Claudgen HE7010SL Use and maintenance manual

Claudgen HE7010RF Manual

Claudgen

Claudgen HE7010RF Manual

Claudgen HE8320 Manual

Claudgen

Claudgen HE8320 Manual

Claudgen HE8320 Original operating instructions

Claudgen

Claudgen HE8320 Original operating instructions

Claudgen CH06CSiRX User manual

Claudgen

Claudgen CH06CSiRX User manual

Claudgen HE7245 User manual

Claudgen

Claudgen HE7245 User manual

Claudgen Sanfire 40 Manual

Claudgen

Claudgen Sanfire 40 Manual

Claudgen HE7402-31 Manual

Claudgen

Claudgen HE7402-31 Manual

Claudgen RAC1509 User manual

Claudgen

Claudgen RAC1509 User manual

Claudgen HE7433 Original operating instructions

Claudgen

Claudgen HE7433 Original operating instructions

Claudgen HE7010W-30 Manual

Claudgen

Claudgen HE7010W-30 Manual

Claudgen ScreenZone RAC0603 User manual

Claudgen

Claudgen ScreenZone RAC0603 User manual

Claudgen HE6502 Manual

Claudgen

Claudgen HE6502 Manual

Claudgen HE7402RF Manual

Claudgen

Claudgen HE7402RF Manual

Claudgen HE7402 Original operating instructions

Claudgen

Claudgen HE7402 Original operating instructions

Claudgen RCT250SL Use and maintenance manual

Claudgen

Claudgen RCT250SL Use and maintenance manual

Claudgen ScreenZone HE8409 User manual

Claudgen

Claudgen ScreenZone HE8409 User manual

Claudgen RAC4500 Manual

Claudgen

Claudgen RAC4500 Manual

Claudgen HE7237 User manual

Claudgen

Claudgen HE7237 User manual

Claudgen CA1309S Manual

Claudgen

Claudgen CA1309S Manual

Popular Heater manuals by other brands

DeLonghi HFX30 Series instruction manual

DeLonghi

DeLonghi HFX30 Series instruction manual

Uberhaus 05775001 Operator's manua

Uberhaus

Uberhaus 05775001 Operator's manua

Advanced Radiant Systems ES/ESH Series Installation, operation and service instructions

Advanced Radiant Systems

Advanced Radiant Systems ES/ESH Series Installation, operation and service instructions

TESY HL-254V PTC Usage and Storage Instructions

TESY

TESY HL-254V PTC Usage and Storage Instructions

Jata calor TC73 Instructions for use

Jata calor

Jata calor TC73 Instructions for use

HeatStar ERXL-40 Operating instructions and owner's manual

HeatStar

HeatStar ERXL-40 Operating instructions and owner's manual

Berko FRA series Installation & maintenance instructions

Berko

Berko FRA series Installation & maintenance instructions

EBEGR SLIM user manual

EBEGR

EBEGR SLIM user manual

Stadler Form Max operating instructions

Stadler Form

Stadler Form Max operating instructions

Oceanic OCEAISH1000W3 user manual

Oceanic

Oceanic OCEAISH1000W3 user manual

Comfort Glow QTH350 owner's manual

Comfort Glow

Comfort Glow QTH350 owner's manual

Inforesight Solaira Cosy SCOSY15120 Reference manual

Inforesight

Inforesight Solaira Cosy SCOSY15120 Reference manual

EOS 46.U XL Assembly and operating instruction

EOS

EOS 46.U XL Assembly and operating instruction

point pro Series user manual

point

point pro Series user manual

Rinnai RCE-592ACPA Owner's operation manual and installation guide

Rinnai

Rinnai RCE-592ACPA Owner's operation manual and installation guide

Linea 2000 Domo DO7329H Instruction booklet

Linea 2000

Linea 2000 Domo DO7329H Instruction booklet

Goldair GFH135 operating instructions

Goldair

Goldair GFH135 operating instructions

One to One MO-36E-18Y Installation & operation manual

One to One

One to One MO-36E-18Y Installation & operation manual

manuals.online logo
manuals.online logoBrands
  • About & Mission
  • Contact us
  • Privacy Policy
  • Terms and Conditions

Copyright 2025 Manuals.Online. All Rights Reserved.