manuals.online logo
Brands
  1. Home
  2. •
  3. Brands
  4. •
  5. Claudgen
  6. •
  7. Heater
  8. •
  9. Claudgen HE8320 Original operating instructions

Claudgen HE8320 Original operating instructions

Installation & operation guide for
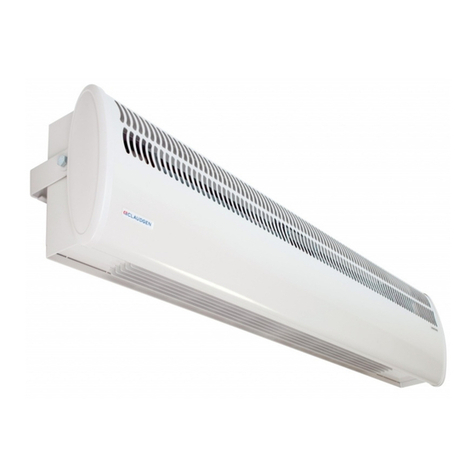
Warm Air Curtains
All electrical appliances produced by the Company are guaranteed for one year against faulty
materials or workmanship. This applies only if the appliance has been used for purposes in
accordance with the instructions provided and has not been connected to an unsuitable electricity
supply, or subject to misuse, neglect, damage or modified or repaired by any person not authorised
by us. This guarantee is offered to you as an extra benefit and does not affect your legal rights.
The correct electricity supply voltage is shown on the rating label attached to the appliance.
Reasonable care has been taken to ensure that this guide is accurate at the time of printing. In the
interest of progress the Company reserve the right to vary specifications from time to time without
notice.
Model
HE8320 & HE7426
41000972 iss 07
Overview
Please read this guide carefully and
retain for future use and maintenance.
This appliance has been designed and
manufactured to the highest
international standards, however, care
must be taken for optimal results and
safety. This appliance also meets the
requirements of EU Directive 2004/106/
EC for EMC and 2009/125/EC Directive.
Safety & Care
The appliance is not intended for use by
persons (including children) with
reduced physical, sensory or mental
capabilities or lack of experience and
knowledge unless they have been
given supervision or instruction
concerning use of the appliance by a
person responsible for their safety.
Children should be supervised to ensure
that they do not play with the
appliance.
Warning
 Do NOT site the appliance in a
corner.
 Do NOT handle the appliance with
wet hands.
 Do NOT use the appliance in
workshops or rooms where excessive
dust is generated or present.
 Ensure that nothing is pushed into any
aperture of this appliance.
 Do NOT touch outlet grille when the
appliance is in use.
 Do NOT cover or restrict any aperture
of the appliance when in use.
 Do NOT use the appliance if
damaged.
 Do NOT leave the appliance
unattended where young children
are present.
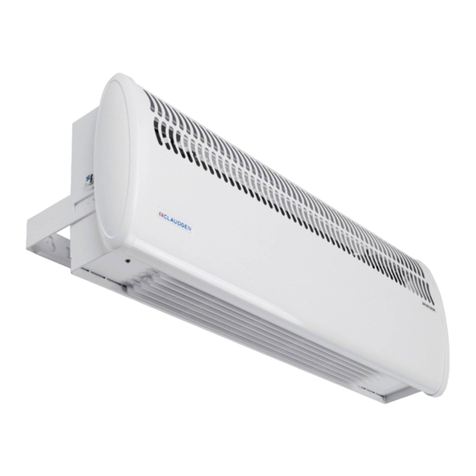
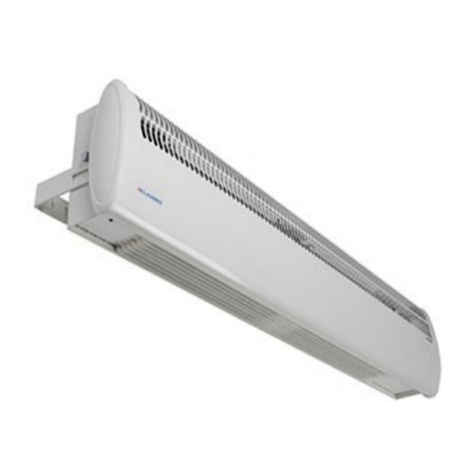
Models
These units are 1035mm wide 4.5kW & 6kW
modular heaters designed for mounting above
doorways and similar entrances, and may be
used as space heaters. 622mm wide 3kW and
4.5kW modules are also available.
Thermally Operated Cut-Out
The appliance is fitted with a thermally
operated cut-out (TOC). This is a safety device,
which switches the heater off if, for any reason,
the appliance overheats. The TOC can only be re-set
after the appliance has cooled down. In order to re-
set the TOC, proceed as follows:
 Switch off appliance at mains and leave for
approximately 10 minutes.
 Switch appliance back on and TOC will re-
set.
 Ensure that the appliance is functioning
correctly. If the TOC control operates
again, the appliance should be checked
by a competent electrician.
The heater carries a ‘Do Not Cover’ label to warn
the user that if the appliance is covered, there is a
risk of overheating.
Maintenance
Always ensure that the main external electricity
supply is switched off before attending to the
servicing of your Claudgen heater.
To obtain best results from your heater it is necessary
to avoid the build up of dust and dirt within the unit
and on the air inlet and discharge grilles. For this
reason regular cleaning is necessary, paying
particular attention to the removal of dirt build up on
the rotor blades. A single drop of light oil should be
applied to the motor bearing from time to time.
If Your Heater Does Not Work
 Check that power is available to the heater. The
LED light should be illuminated
 Check that the thermal cut-out has not operated.
Follow the reset instructions given under the
section headed ‘Thermal Operated Cut-out’.
 Check that the fuse in the spur unit has not blown.
This can be done by replacing the fuse with
another suitable fuse.
Should none of the above remedies work, then
telephone the helpline number shown in these
instructions (UK ONLY). Do not attempt to repair the
heater.
Connection to the Main Supply
Electrical installation should be carried out by a
competent installer, preferably registered with
NICEIC (National Inspection Council for Electrical
Installation Contracting) in accordance with the 17th
edition of the IEE Wiring Regulations, (BS.7671), and
any relevant Local Authority Bye-Laws. The Heat-
Zone can be connected in a number of ways
depending on the form of control required.
Whichever method is used, it should be permanently
connected to the electricity supply via a double
pole switch having 3mm gap on each pole. A
switched Fused Connection unit to BS.1363. Part 4 is
a recommended mains supply connection
accessory to ensure compliance with safety
requirements applicable to fixed-wiring installation.
Note: When switched on for the first time the
appliance may emit a slight smell. This is purely the
evaporation of a fluid used in the manufacturing
process.
WARNING: This appliance must be earthed.
41000972 iss 07
2
3
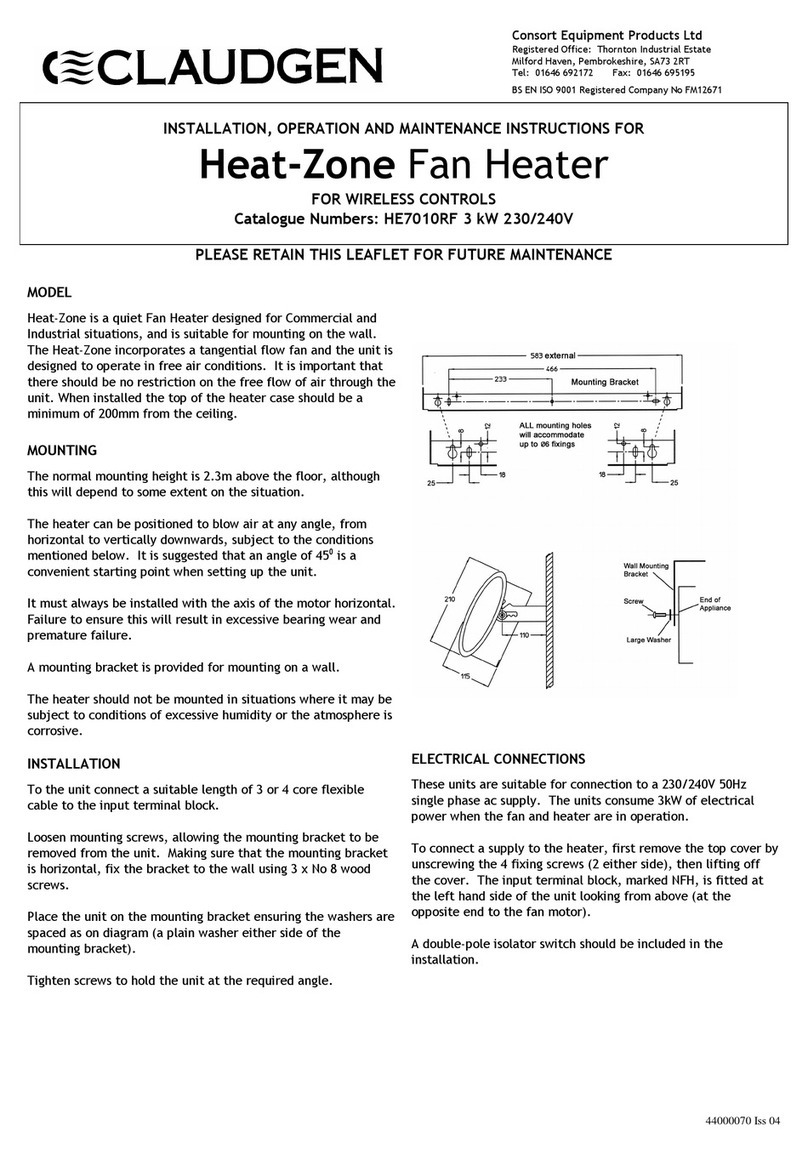
Mounting
When mounted over a standard shop doorway
the unit should be fitted as low as possible and not
more than 2.3 meters from ground level. A single
unit will provide reasonable coverage for a one
metre doorway, and for wider doorways units can
be mounted end to end.
The unit should be positioned so that the airflow is
not obstructed by any part of the doorframe.
Installation
Carefully unpack the unit and remove the top cov-
er fixing screws. The heater may be mounted using
the mounting bracket provided.
Loosen mounting screws, allowing the mounting
bracket to be removed from the unit. Making sure
that the mounting bracket is horizontal, fix the
bracket to the wall using 4 x No 8 wood screws.
Place the unit on the mounting bracket ensuring
the washers are spaced as shown on diagram 2 (a
plain washer either side of the mounting bracket).
Tighten screws to hold the unit at the required an-
gle.
Wall bracket assembly
The heater may also be mounted directly onto a suitable wall or bearer by four No. 8 wood screws
through the holes provided in the back of the unit casing. Keyhole slots are provided for the top two
fixings.
Electrical connections
These units are suitable for connection to a 230/240 volt 50 Hz single phase ac supply. The heaters con-
sume 4.5kW & 6kW respectively at 240 volts when switched to the full heat position.
Model HE8320 –4.5kW
Model HE7426 –6kW
The appliance should be connected to the supply via a circuit in which there is an all-pole switch. Test
for correct operation and refit the cover.
41000972 iss 07
CUSTOMER HELPLINE
Should you need any advice on the use of your new Consort product please contact our Helpline:
Consort Equipment Products Limited
Thornton Industrial Estate, Milford Haven, Pembrokeshire, SA73 2RT
Tel: 01646 692172 Fax: 01646 695195 Email: technical@consortepl.com Web: www.consortepl.com
Operation hours: Mon to Thu 8.30am to 4.30pm | Fri 8.30am to 3.30pm
BS EN ISO 9001 Registered Company No FM12671
41000972 iss 07
4
Wiring diagram
NOTE: This unit is suitable for remote control operation,
with the use of remote control switch part no. HE8407.
The two independent feeds must be used on 6kW heat-
ers as shown on the diagram.
This optional control switch is useful if you have the unit
mounted up high, as you would need a step ladder to
reach the switches. You can fit the HE8407 lower down,
allowing you to easily change the heat settings.
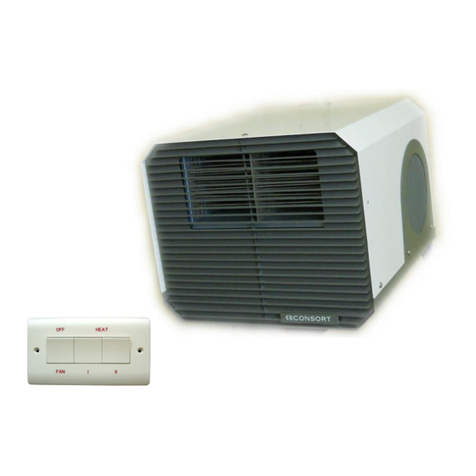
Remote control—HE8407
Operation
The right hand switch connects the mains supply to the fan
motor (giving a cool airflow) and energises the heat control
switches.
Heat control HE8320
When the centre switch (marked with a single bar) is
pressed the heat output is 1.5kW. When the left-hand
switch (marked with two bars) is pressed the heat output is
3kW. When both switches are pressed the heat output is
4.5kW.
Heat control HE7426
When the centre switch (marked with a single bar) is
pressed the heat output is 3kW. When the left-hand switch
(marked with a single bar) is pressed the heat output is 3kW.
When both switches are pressed the heat output is 6kW.
NOTE: The unit MUST be reliably earthed.
To replace a switch
1. Remove the top cover.
2. Release the three fixings which secure the switch
bracket to the right hand side of the main case.
3. Remove the push-on connectors, noting their position.
4. Remove by compressing the plastic retaining tabs,
and lifting out the switch.
To replace the fan heater assembly
Remove the top cover.
Disconnect the internal wiring from the main terminal block
and earth stud.
Release the three fixings which secure the switch bracket to
the right hand of the main case.
Remove the four nuts and washers fixing the fan heater as-
sembly to the back of the case.
The fan heater assembly can now be eased forward and
removed from the heater case.
Fit replacement fan heater and reassemble in reverse order.
Spares
It is essential when ordering spares or replacement parts
to state the model number and the serial number on the
rating place fixed to the top of the unit.
In the interest of progress the Company reserve the right
to vary specifications from time to time without notice.
The material listed is offered subject to the Company’s
General Conditions of Sale, a copy of which can be ob-
tained on request.
NOTE: DO NOT COVER any of the air inlet or outlet grills,
at any time.

This manual suits for next models

1

Other Claudgen Heater manuals

Claudgen ScreenZone CA2015S User manual

Claudgen

Claudgen ScreenZone CA2015S User manual

Claudgen HE7230 User manual

Claudgen

Claudgen HE7230 User manual

Claudgen HE7010W-30 Manual

Claudgen

Claudgen HE7010W-30 Manual

Claudgen Heat-Zone Manual

Claudgen

Claudgen Heat-Zone Manual

Claudgen CH06CSi User manual

Claudgen

Claudgen CH06CSi User manual

Claudgen HE7402 Original operating instructions

Claudgen

Claudgen HE7402 Original operating instructions

Claudgen HE7237 Manual

Claudgen

Claudgen HE7237 Manual

Claudgen HE7230SL User manual

Claudgen

Claudgen HE7230SL User manual

Claudgen HE7010RF Manual

Claudgen

Claudgen HE7010RF Manual

Claudgen RAC4500 Manual

Claudgen

Claudgen RAC4500 Manual

Claudgen HE7237SL User manual

Claudgen

Claudgen HE7237SL User manual

Claudgen HE8320 Manual

Claudgen

Claudgen HE8320 Manual

Claudgen HE7230W Installation and operating instructions

Claudgen

Claudgen HE7230W Installation and operating instructions

Claudgen CA1309S Original operating instructions

Claudgen

Claudgen CA1309S Original operating instructions

Claudgen RCT250 Manual

Claudgen

Claudgen RCT250 Manual

Claudgen HE7237 User manual

Claudgen

Claudgen HE7237 User manual

Claudgen HE6351 Manual

Claudgen

Claudgen HE6351 Manual

Claudgen Sanfire 40 Manual

Claudgen

Claudgen Sanfire 40 Manual

Claudgen RAC1509 User manual

Claudgen

Claudgen RAC1509 User manual

Claudgen HE7402-31 Manual

Claudgen

Claudgen HE7402-31 Manual

Claudgen CA1309S Manual

Claudgen

Claudgen CA1309S Manual

Claudgen HE7402RX Original operating instructions

Claudgen

Claudgen HE7402RX Original operating instructions

Claudgen SCREENZONE RAC1306 User manual

Claudgen

Claudgen SCREENZONE RAC1306 User manual

Claudgen CH06CS Manual

Claudgen

Claudgen CH06CS Manual

Popular Heater manuals by other brands

Daikin RDXYQ8T7V1B installation manual

Daikin

Daikin RDXYQ8T7V1B installation manual

Dimplex Quantam user guide

Dimplex

Dimplex Quantam user guide

Beper RI041 use instructions

Beper

Beper RI041 use instructions

Quadra-Fire HUDBAY-FS installation manual

Quadra-Fire

Quadra-Fire HUDBAY-FS installation manual

EUROM Safe-t-heater 1500 Instruction booklet

EUROM

EUROM Safe-t-heater 1500 Instruction booklet

Pinnacle Protemp PT-80V-LPC-A User's manual & operating instructions

Pinnacle

Pinnacle Protemp PT-80V-LPC-A User's manual & operating instructions

Behler-Young VP2 Installation, operation & maintenance manual

Behler-Young

Behler-Young VP2 Installation, operation & maintenance manual

LVI MILO H Series Instructions for fitting and use

LVI

LVI MILO H Series Instructions for fitting and use

Caframo TRUE NORTH 9206 operating instructions

Caframo

Caframo TRUE NORTH 9206 operating instructions

Koolatron 40105 instructions

Koolatron

Koolatron 40105 instructions

Webasto Thermo Top E Installation documentation

Webasto

Webasto Thermo Top E Installation documentation

Frico AR3520E18 Original instructions

Frico

Frico AR3520E18 Original instructions

Supra OASIS 1503 manual

Supra

Supra OASIS 1503 manual

Alutherm heating A 170 Installation, user and service manual

Alutherm heating

Alutherm heating A 170 Installation, user and service manual

Gasmate ALLURE instructions

Gasmate

Gasmate ALLURE instructions

Thermor Riviera instruction manual

Thermor

Thermor Riviera instruction manual

Dantherm Master BC 121 User and Maintenance Book

Dantherm

Dantherm Master BC 121 User and Maintenance Book

ITM Italia V40 Operator's manual

ITM Italia

ITM Italia V40 Operator's manual

manuals.online logo
manuals.online logoBrands
  • About & Mission
  • Contact us
  • Privacy Policy
  • Terms and Conditions

Copyright 2025 Manuals.Online. All Rights Reserved.