Instruction Sheet Template - V1.3 –Updated 20/01/2022
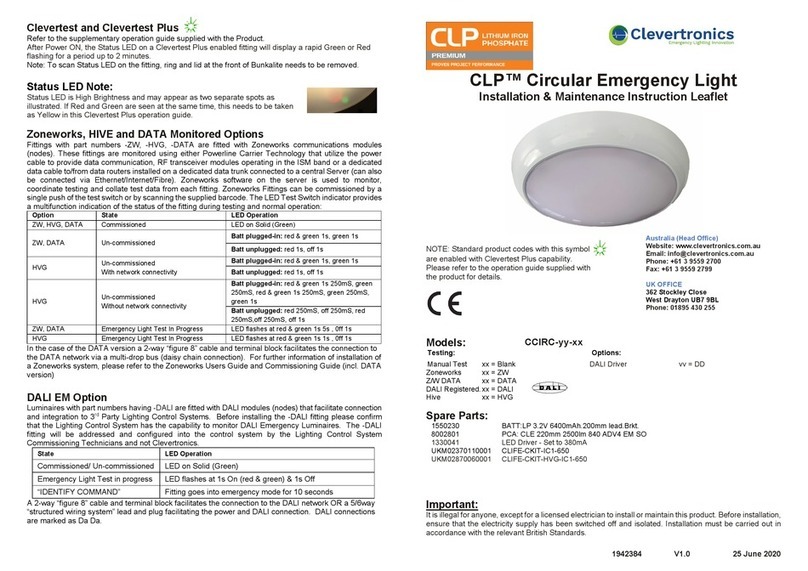
Clevertest Plus
Refer to the supplementary operation guide supplied with the Product.
After Power ON, the Status LED on a Clevertest Plus enabled fitting will display a rapid Green or Red
flashing for a period up to 2 minutes.
For products with a Dome (-D), the Dome may require removal to successfully scan the fitting with a
camera using the CleverSparky App.
Maintained fittings (CLIFEM-PRO-SM-xx-yy-zz-ww) cannot be scanned with a camera using the
CleverSparky App as the maintained light source interferes with the camera scanning function. To
register the fitting manually enter the serial number from the QR code and visually read the test result
and enter manually into CleverSparky.
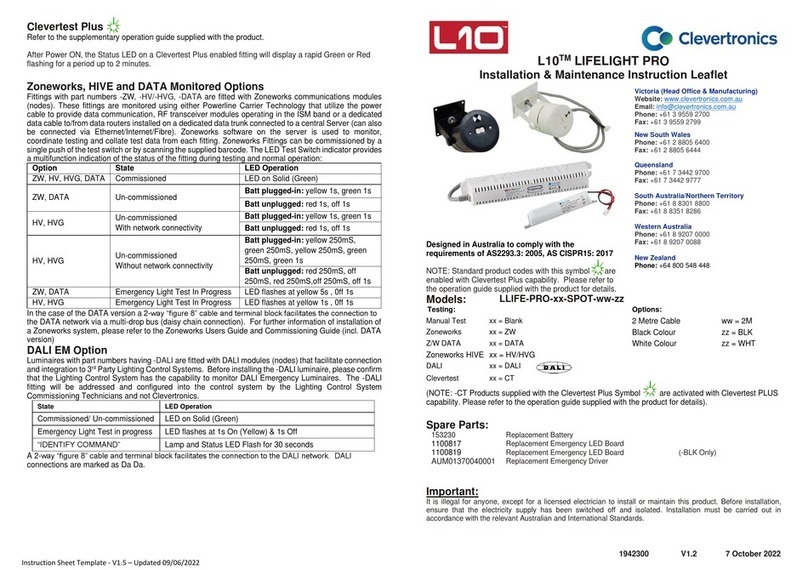
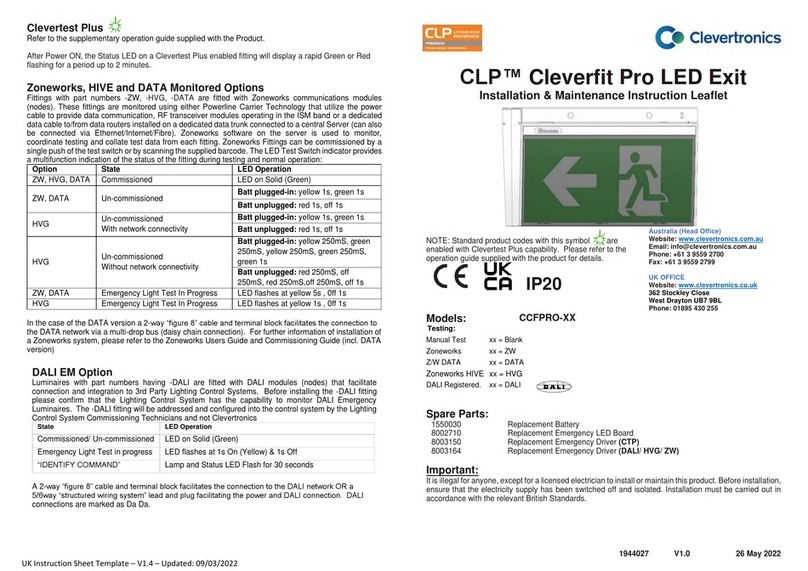
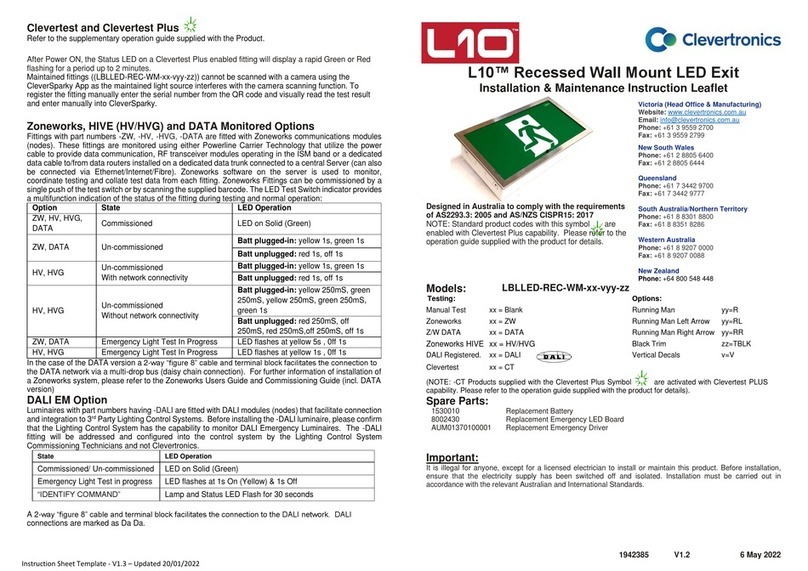
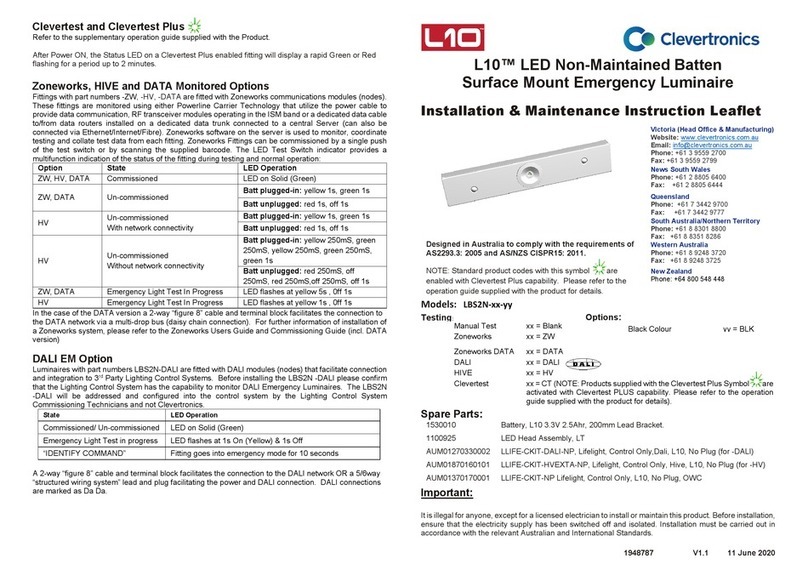
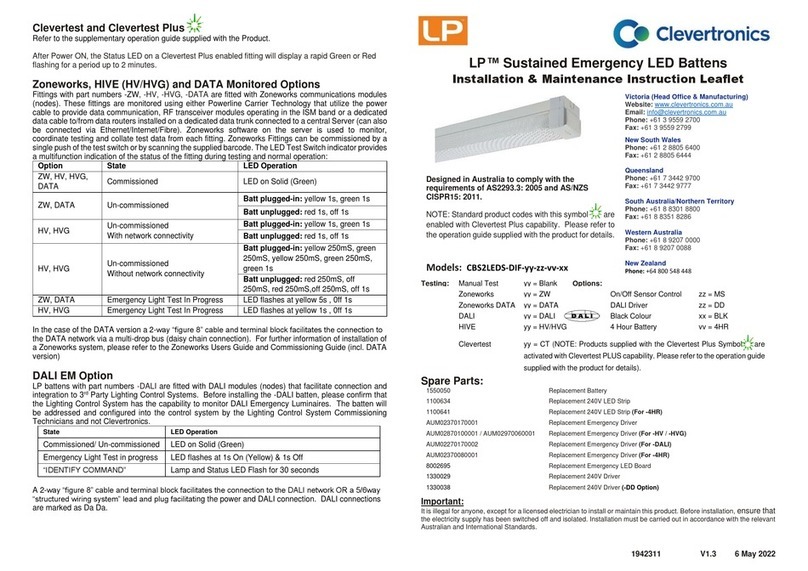
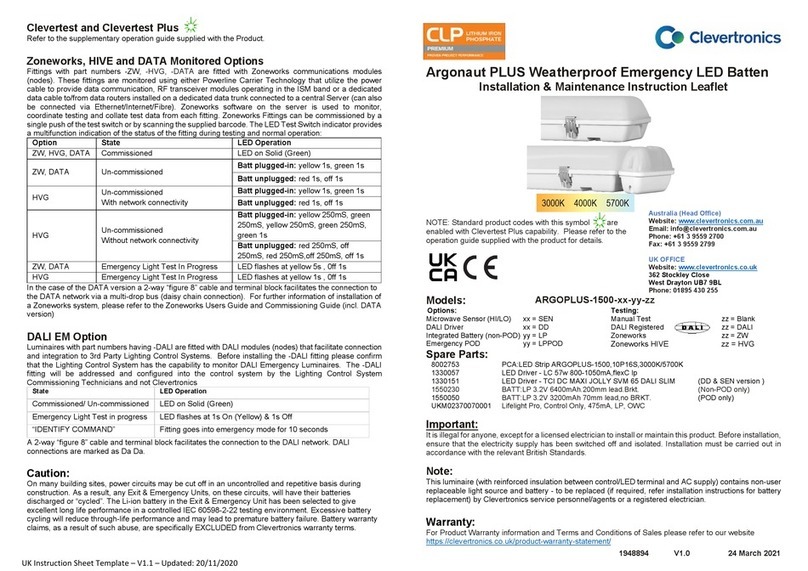
Zoneworks, HIVE (HV/HVG) and DATA Monitored Options
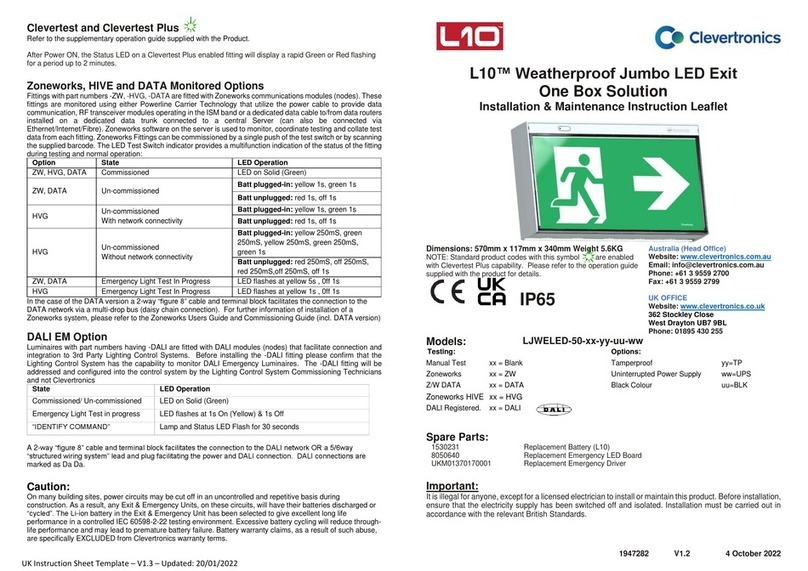
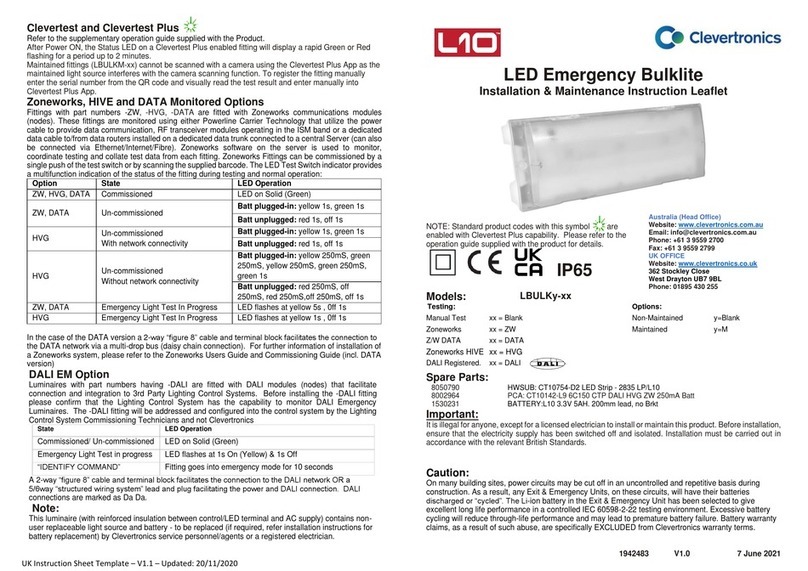
Fittings with part numbers -ZW, -HV, -HVG -DATA are fitted with Zoneworks communications modules
(nodes). These fittings are monitored using either Powerline Carrier Technology that utilize the power
cable to provide data communication, RF transceiver modules operating in the ISM band or a dedicated
data cable to/from data routers installed on a dedicated data trunk connected to a central Server (can also
be connected via Ethernet/Internet/Fibre). Zoneworks software on the server is used to monitor,
coordinate testing and collate test data from each fitting. Zoneworks Fittings can be commissioned by a
single push of the test switch or by scanning the supplied barcode. The LED Test Switch indicator provides
a multifunction indication of the status of the fitting during testing and normal operation:
Batt plugged-in: yellow 1s, green 1s
Batt unplugged: red 1s, off 1s
Un-commissioned
With network connectivity
Batt plugged-in: yellow 1s, green 1s
Batt unplugged: red 1s, off 1s
Un-commissioned
Without network connectivity
Batt plugged-in: yellow 250mS, green
250mS, yellow 250mS, green 250mS,
green 1s
Batt unplugged: red 250mS, off
250mS, red 250mS,off 250mS, off 1s
Emergency Light Test In Progress
LED flashes at yellow 5s , 0ff 1s
Emergency Light Test In Progress
LED flashes at yellow 1s , 0ff 1s
In the case of the DATA version a 2-way “figure 8” cable and terminal block facilitates the connection to
the DATA network via a multi-drop bus (daisy chain connection). For further information of installation of
a Zoneworks system, please refer to the Zoneworks Users Guide and Commissioning Guide (incl. DATA
version)
DALI EM Option
DALI Luminaires arefitted with DALI modules (nodes)that facilitateconnection and integrationto 3rd Party
Lighting Control Systems. Before installing the DALI luminaire, please confirm that the Lighting Control
System has the capability to monitor DALI Emergency Luminaires. The DALI fitting will be addressed and
configured into the control system by the Lighting Control System Commissioning Technicians and not
Clevertronics.
Commissioned/ Un-commissioned
Emergency Light Test in progress
LED flashes at 1s On (Yellow) & 1s Off
Lamp Flash for 30 seconds
A 2-way “figure 8” cable and terminal block facilitates the connection to the DALI network. DALI
connections are marked as Da Da.
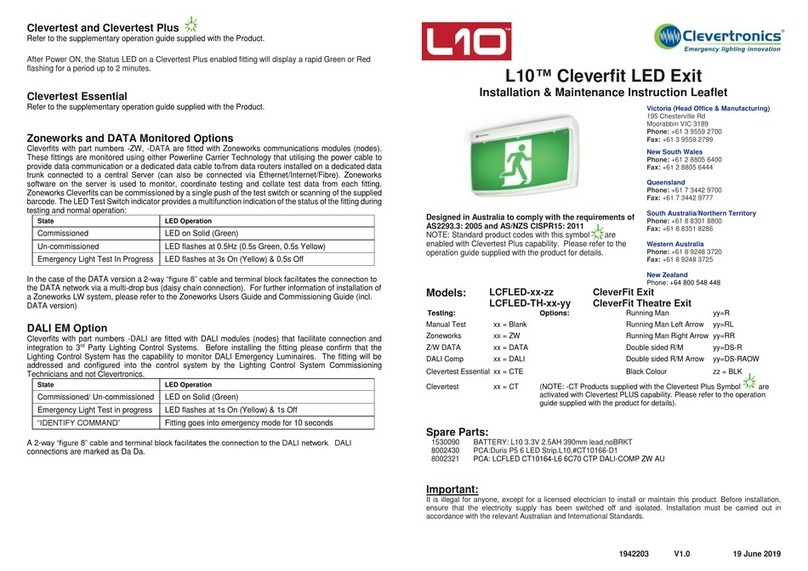
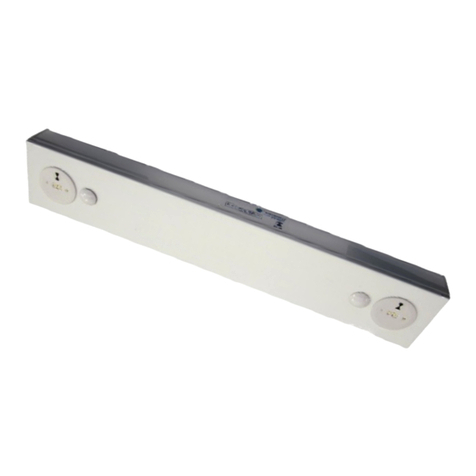
LPTM LIFELIGHT PRO Surface Mount Emergency Luminaire
Installation & Maintenance Instruction Leaflet
Victoria (Head Office & Manufacturing)
Website: www.clevertronics.com.au
Email: info@clevertronics.com.au
Phone: +61 3 9559 2700
Fax: +61 3 9559 2799
New South Wales
Phone: +61 2 8805 6400
Fax: +61 2 8805 6444
Queensland
Phone: +61 7 3442 9700
Fax: +61 7 3442 9777
South Australia/Northern Territory
Phone: +61 8 8301 8800
Fax: +61 8 8351 8286
Western Australia
Phone: +61 8 9207 0000
Fax: +61 8 9207 0088
New Zealand
Phone: +64 800 548 448
Designed in Australia to comply with the requirements
of AS2293.3: 2005 and AS/NZS CISPR15: 2017
NOTE: Standard product codes with this symbol are
enabled with Clevertest Plus capability. Please refer to the
operation guide supplied with the product for details.
CLIFEx-PRO-SM-xx-yy-zz-ww
Replacement Emergency LED Board
Replacement Emergency Driver
Important:
It is illegal for anyone, except for a licensed electrician to install or maintain this product. Before installation,
ensure that the electricity supply has been switched off and isolated. Installation must be carried out in
accordance with the relevant Australian and International Standards.
