manuals.online logo
Brands
  1. Home
  2. •
  3. Brands
  4. •
  5. CODELOCKS
  6. •
  7. Lock
  8. •
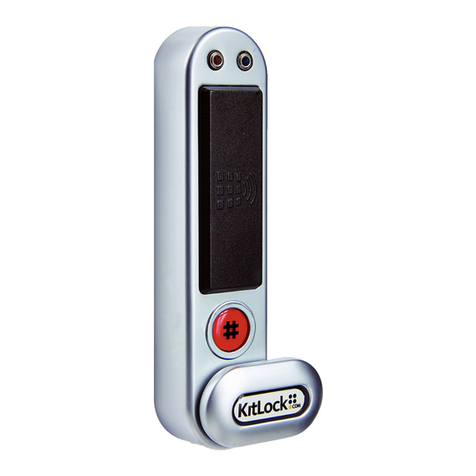
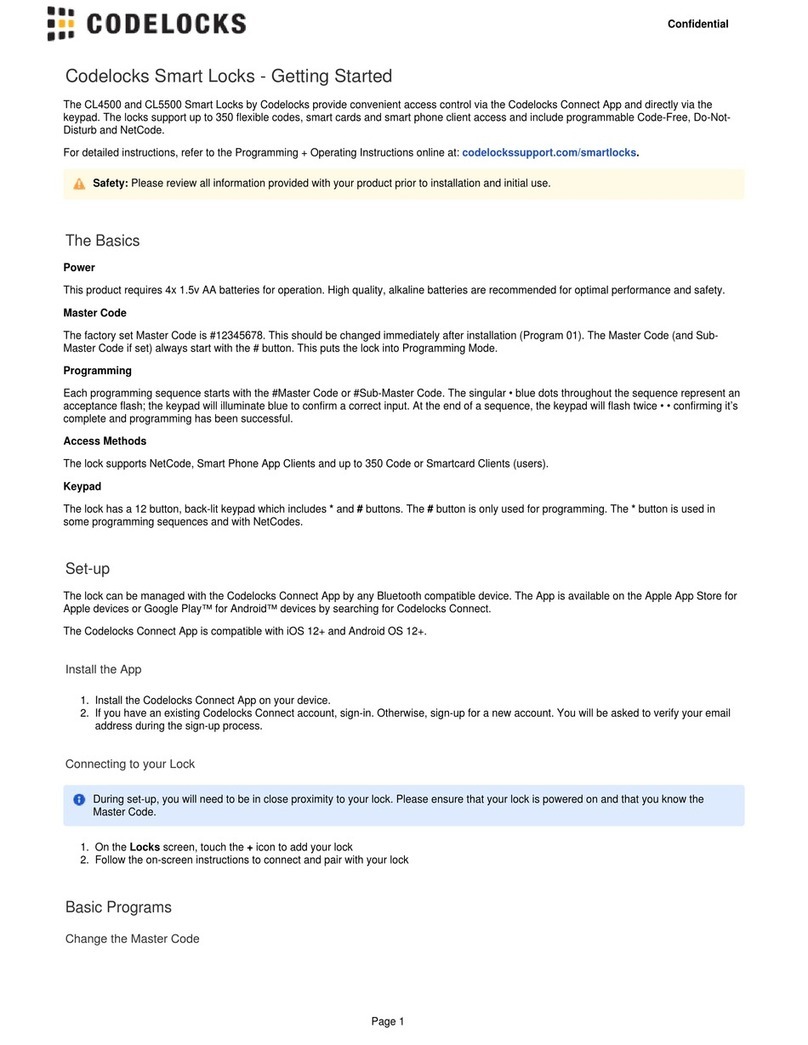
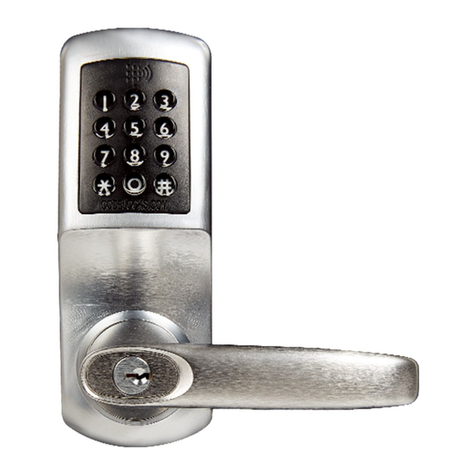
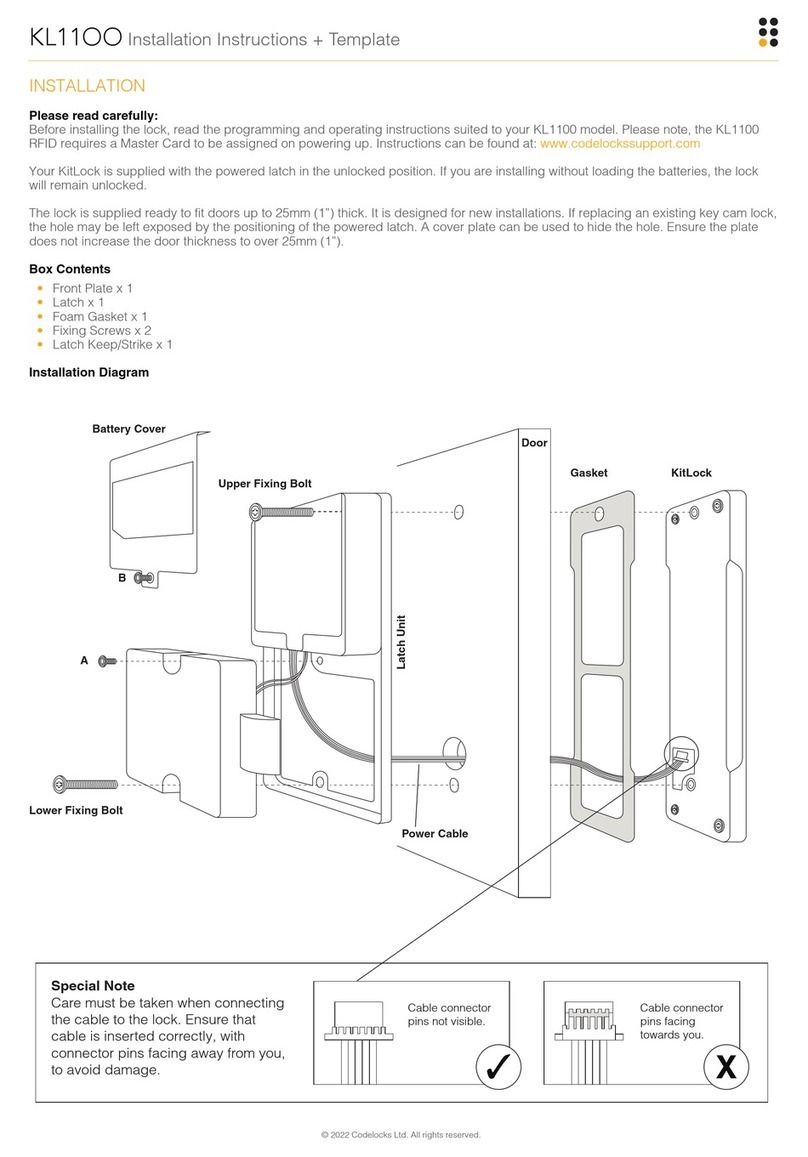
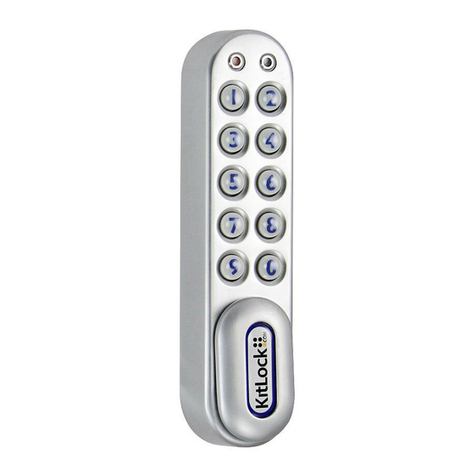
  9. CODELOCKS KL1050 C2 User manual

CODELOCKS KL1050 C2 User manual

Find more online at www.codelockssupport.com
Page 2
1.
2.
3.
4.
1.
2.
3.
4.
1.
2.
3.
4.
1.
2.
3.
4.
a.
5.
6.
1.
2.
1.
2.
3.
4.
5.
6.
1.
2.
3.
4.
1.
2.
3.
4.
First Use (Initialisation)
When you first put batteries into the lock,
both Red and Blue LEDs will flash
continuously and the lock will be unlocked.
For Private Use:
Open the handle to expose the #
button.
Press and hold the # button until
the Red LED is on continuously.
Touch a compatible card to
the front of the lock - the Blue LED
will flash to confirm card
acceptance. This card is now your
Master User Card.
Press the # button to finish.
For Public Use:
Open the handle to expose the #
button.
Press and hold the # button until
the Red LED is on continuously.
Touch a compatible card to the
front of the lock - the Blue LED will
flash to confirm card acceptance.
This card is now your Master User
Card.
Within 10 seconds of registering
the Master User Card, touch a
second compatible. card to the
front of the lock. The Blue LED will
flash to confirm card acceptance.
This card is now your first
Technician Card and the lock will
go into Public Function.
Change the Mode
To change between Public and Private
Functions:
Touch the Master User Card to the
front of the lock.
Open the handle to expose the #
button.
Press the # button 3 times in quick
succession.
The Blue LED will flash 3 times to
indicate private function. The Red
LED will flash 3 times to indicate
public function.
The motor will enable - this is expected
behaviour.
Using the Lock - Public
Use
The lock will remain open until the next user
touches a compatible card to the front of the
lock. Once locked, the lock will only be able
to be opened by the same card that was
used to lock the lock, the Master User Card
or the Technician Card.
When locked, the Red LED will flash every
5 seconds to indicate that the lock is locked.
If the Master User Card is used to open the
lock, the existing User Card will be deleted.
If the Technician Card is used to open the
lock, the existing User Card will be retained
and after 4 seconds, the lock will re-lock.
Add/Remove a Technician
Card
If the lock was previously in Private
Function, a Technician Card can now be
added. Note that adding a Technician Card
will place the lock into Public function. up to
10 Technician Cards can be added:
Touch the Master User Card to the
front of the lock.
Open the handle to expose the b#
utton.
Press and hold the button until#
the Red LED is lit. Release as soon
as the Red LED is lit.
Touch an unregistered compatible
card to the front of the lock. Both
LED's will flash and the motor will
run to confirm acceptance.
For removing a registered
Technician Card the Red
LED will flash twice and
the card removed.
To register additional Technician
Cards, repeat step 4 within 10
seconds.
To end the sequence press and
release the # button or wait 10
seconds and the programme will
end itself.
Note: If the card is already registered,
the Red LED will flash and the card will be
removed from the lock.
Enable Public Pairing
Public pairing prevents a User Card that has
been used to lock one lock from being able
to be used to lock additional locks whilst it is
paired with the original lock.
Touch the Master User Card to the
front of the lock.
Using the Lock - Private
Use
Open the lock by touching the Master User
Card or a User Card to the front of the lock.
The lock will remain open for 4 seconds
before re-locking.
Add/Remove a User Card
Touch the Master User Card to the
front of the lock.
Open the handle to expose the b#
utton.
Press and release the button, the#
Blue LED will turn on after 2
seconds.
Touch an unregistered User Card
to the front of the lock. The Blue
LED will flash and the motor will run
to confirm acceptance.
To register additional User
Cards, repeat step 4 within 10
seconds.
To end the sequence press and
release the # button, or do not
touch the lock for 10 seconds and
the programme will end itself.
Note: If the card is already registered,
the Red LED will flash and the card will be
removed from the lock.
Removing all User Cards
Touch the Master User Card to the
front of the lock.
Open the handle to expose the #
button.
Press and release the button.#
The Blue LED will turn on after 2
seconds.
Press and hold the button for 5#
seconds. All User Cards will be
removed.
Removing all Technician
Cards
Touch the Master User Card to the
front of the lock.
Open the handle to expose the b#
utton.
Press and hold the button until#
the Red LED is lit. Release as soon
as the Red LED is lit.
Press and hold the # button until
you see both the Blue and Red
LED lights at the same time. All
Technician Cards will be removed.
Find more online at www.codelockssupport.com
Page 3
2.
3.
1.
2.
3.
Open the handle to expose the b#
utton.
Press and hold the button for 10#
seconds. Both LED's will illuminate
to indication successful change,
followed by the Blue LED for Public
Pairing enabled or the Red LED for
Public Pairing disabled.
Low Battery
When the battery power is low the Red LED will flash three times
before the Blue LED flashes to signal acceptance of the smart card.
Batteries should be changed as soon as this happens.
The lock will operate for approximately 100 times with low battery.
Battery failure override
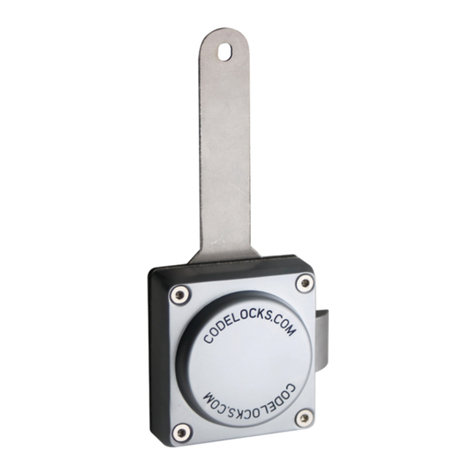
The Cabinet Lock has been designed so an external PP3 battery can
be placed against the contact points surrounding the Blue and Red
LED’s so the lock can be opened to replace the batteries should they
fail.
The procedure is as follows:
Place the contact points of the PP3 battery against the
contact points surrounding the Blue and Red LED’s.
The positive + PP3 terminal against the RED LED contact
point and the negative – PP3 terminal against the Blue LED.
Touch the Master Smart Card.
The motor will withdraw the locking pin allowing the lock to
be opened.
Fit new batteries by removing the upper fixing bolt and
swinging the lock down over the edge of the door. Refit the
lock.
Factory Reset
The factory reset procedure requires the door to be open and the lock
to be in an unlocked state.
Reset the Lock
Remove the rear-fixing bolt and swing the lock over the edge
of the door to reveal the battery compartment.
Remove one battery.
Press and hold the # button, replace the battery, the blue
LED will flash twice, release the # button. Within three
seconds press the # button three times. The blue LED will
flash twice and the lock will have reverted to the factory
default. All the registered smart card are removed.
CODELOCKS HEADQUARTERS
Tel: +44 (0) 1635 239645
Fax: +44 (0) 1635 239644
[email protected]
www.codelocks.com
Helpline, service & spares Freephone: 0800
393 405
POI-KL1050-v1:1216
CODELOCKS INC US
Tel: +1 714 979 2900
Fax: +1 714 979 2902
[email protected]
www.codelocks.us
Helpline, service & spares Toll free:
1.877.codelock
CODELOCKS (Australia) PTY LTD
Tel: +61 2 9882 1009
Fax: +61 2 9882 6030
[email protected]
www.codelocks.com.au
Helpline, service & spares Toll free: 1800
052 131

Other CODELOCKS Lock manuals

CODELOCKS CL500 User manual

CODELOCKS

CODELOCKS CL500 User manual

CODELOCKS Pushbutton 500 Series Quick start guide

CODELOCKS

CODELOCKS Pushbutton 500 Series Quick start guide

CODELOCKS CL2000 User manual

CODELOCKS

CODELOCKS CL2000 User manual

CODELOCKS CL210 User manual

CODELOCKS

CODELOCKS CL210 User manual

CODELOCKS KitLock Slam Latch User manual

CODELOCKS

CODELOCKS KitLock Slam Latch User manual

CODELOCKS CL600 User manual

CODELOCKS

CODELOCKS CL600 User manual

CODELOCKS KL1050 User manual

CODELOCKS

CODELOCKS KL1050 User manual

CODELOCKS CL6010 User manual

CODELOCKS

CODELOCKS CL6010 User manual

CODELOCKS KL1000 NetCode User manual

CODELOCKS

CODELOCKS KL1000 NetCode User manual

CODELOCKS CL4510 User manual

CODELOCKS

CODELOCKS CL4510 User manual

CODELOCKS CL5510 User manual

CODELOCKS

CODELOCKS CL5510 User manual

CODELOCKS CL200 User manual

CODELOCKS

CODELOCKS CL200 User manual

CODELOCKS CL4500 User manual

CODELOCKS

CODELOCKS CL4500 User manual

CODELOCKS CL50 User manual

CODELOCKS

CODELOCKS CL50 User manual

CODELOCKS Kit-Lock KL1100 User manual

CODELOCKS

CODELOCKS Kit-Lock KL1100 User manual

CODELOCKS CL5500 SERIES User manual

CODELOCKS

CODELOCKS CL5500 SERIES User manual

CODELOCKS CL100 User manual

CODELOCKS

CODELOCKS CL100 User manual

CODELOCKS CL4510 User manual

CODELOCKS

CODELOCKS CL4510 User manual

CODELOCKS KL1000 G3 NetCode User manual

CODELOCKS

CODELOCKS KL1000 G3 NetCode User manual

CODELOCKS CL255 Administrator guide

CODELOCKS

CODELOCKS CL255 Administrator guide

CODELOCKS CL1000 User manual

CODELOCKS

CODELOCKS CL1000 User manual

CODELOCKS CL5500 SERIES User manual

CODELOCKS

CODELOCKS CL5500 SERIES User manual

CODELOCKS CL4510 User manual

CODELOCKS

CODELOCKS CL4510 User manual

CODELOCKS CL5020 User manual

CODELOCKS

CODELOCKS CL5020 User manual

Popular Lock manuals by other brands

Emtek Classic Installation & programming guide

Emtek

Emtek Classic Installation & programming guide

BabyGo Magnetic Safety Lock instructions

BabyGo

BabyGo Magnetic Safety Lock instructions

Rottner EM2020 User instructions

Rottner

Rottner EM2020 User instructions

COMPX Timberline CB-235 instruction sheet

COMPX

COMPX Timberline CB-235 instruction sheet

Assa Abloy Yale Y-LL67AP user manual

Assa Abloy

Assa Abloy Yale Y-LL67AP user manual

CISA E-volution E6515 Series user guide

CISA

CISA E-volution E6515 Series user guide

CDVI V1SR quick start guide

CDVI

CDVI V1SR quick start guide

RS PRO 192-4543 manual

RS PRO

RS PRO 192-4543 manual

Safety 1st OutSmart HS271 user guide

Safety 1st

Safety 1st OutSmart HS271 user guide

COMPX CB-250 instruction sheet

COMPX

COMPX CB-250 instruction sheet

Gantner GAT NET.Lock 7020 System Installation, configuration & operation

Gantner

Gantner GAT NET.Lock 7020 System Installation, configuration & operation

Janus Nokē ONE quick start guide

Janus

Janus Nokē ONE quick start guide

Ebelco 300-LED Installation instruction guide

Ebelco

Ebelco 300-LED Installation instruction guide

TriTeq MicroIQ installation instructions

TriTeq

TriTeq MicroIQ installation instructions

YRHAND NX1 user manual

YRHAND

YRHAND NX1 user manual

Alarm Lock T2 Programming guide

Alarm Lock

Alarm Lock T2 Programming guide

Schlage B664 installation instructions

Schlage

Schlage B664 installation instructions

U-tec Ultraloq UL300 user guide

U-tec

U-tec Ultraloq UL300 user guide

manuals.online logo
manuals.online logoBrands
  • About & Mission
  • Contact us
  • Privacy Policy
  • Terms and Conditions

Copyright 2025 Manuals.Online. All Rights Reserved.