Ojmar OCS SMART User manual
Other Ojmar Lock manuals
Ojmar
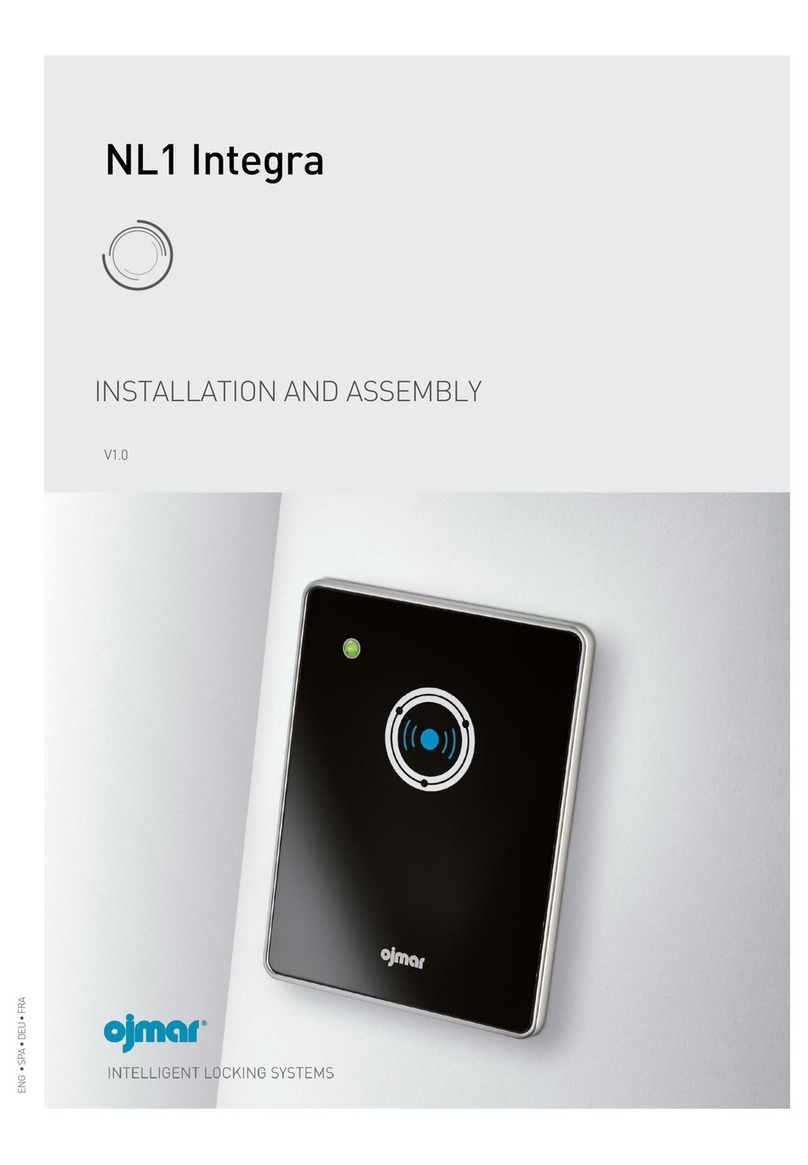
Ojmar NEXO NL1 Guide
Ojmar
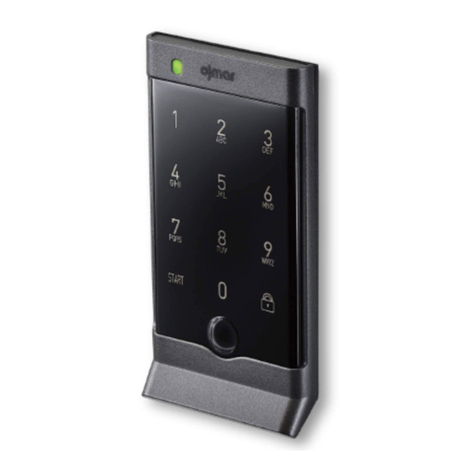
Ojmar OCS SMART User manual
Ojmar
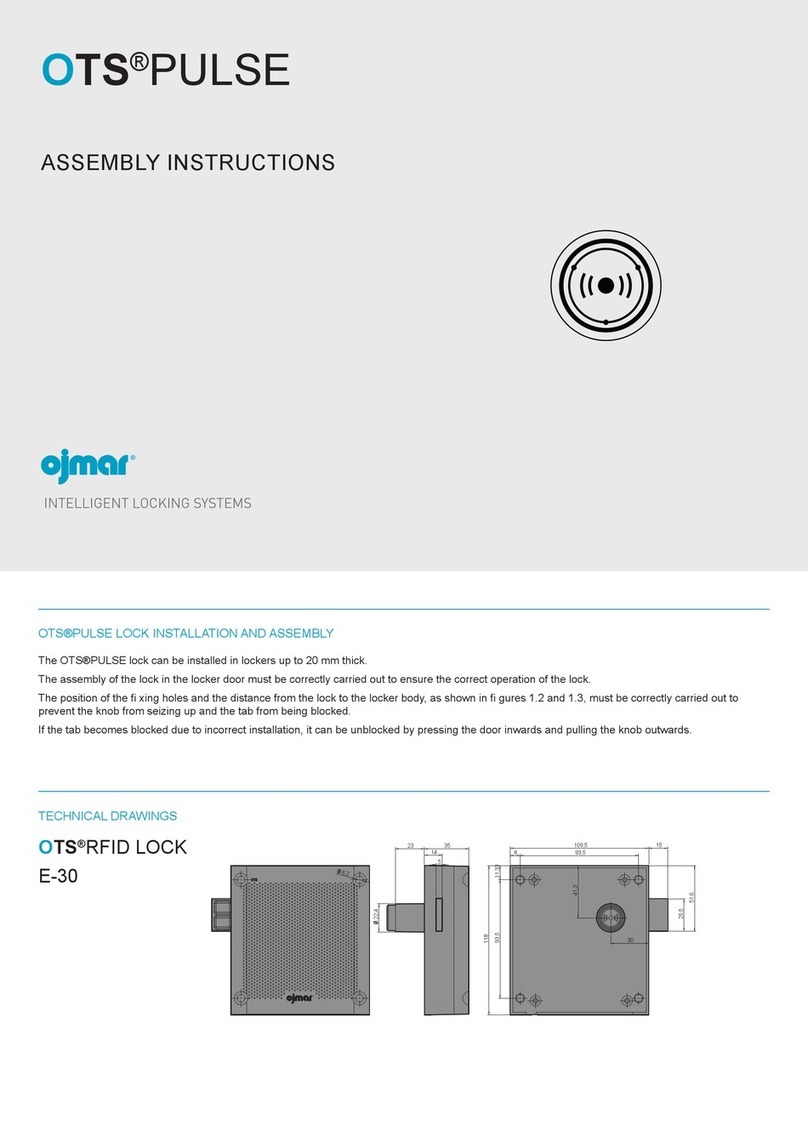
Ojmar OTS PULSE User manual

Ojmar
Ojmar INFOTERMINAL User manual
Ojmar
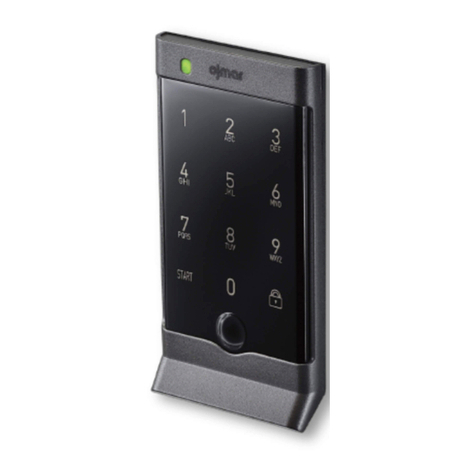
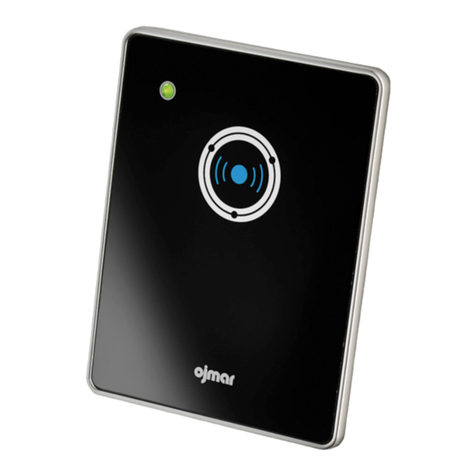
Ojmar OCS User manual
Ojmar
Ojmar Nexo NLX1 User manual
Ojmar
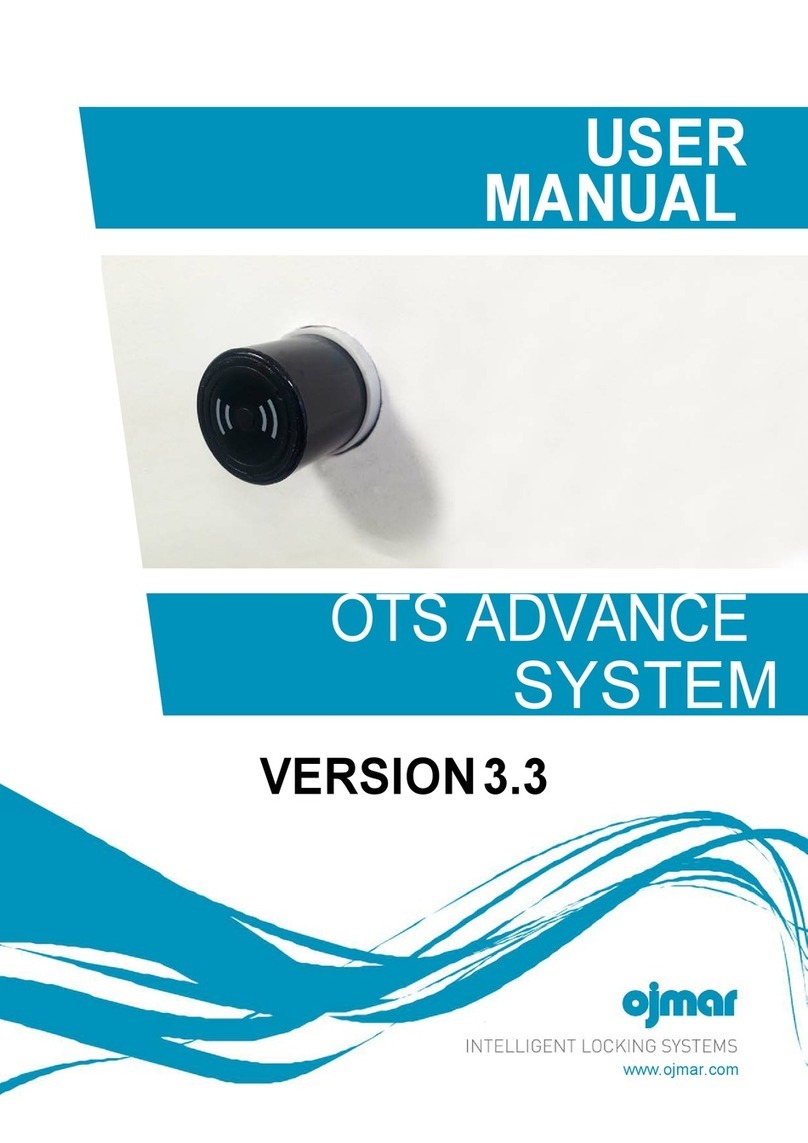
Ojmar OTS ADVANCE User manual

Ojmar
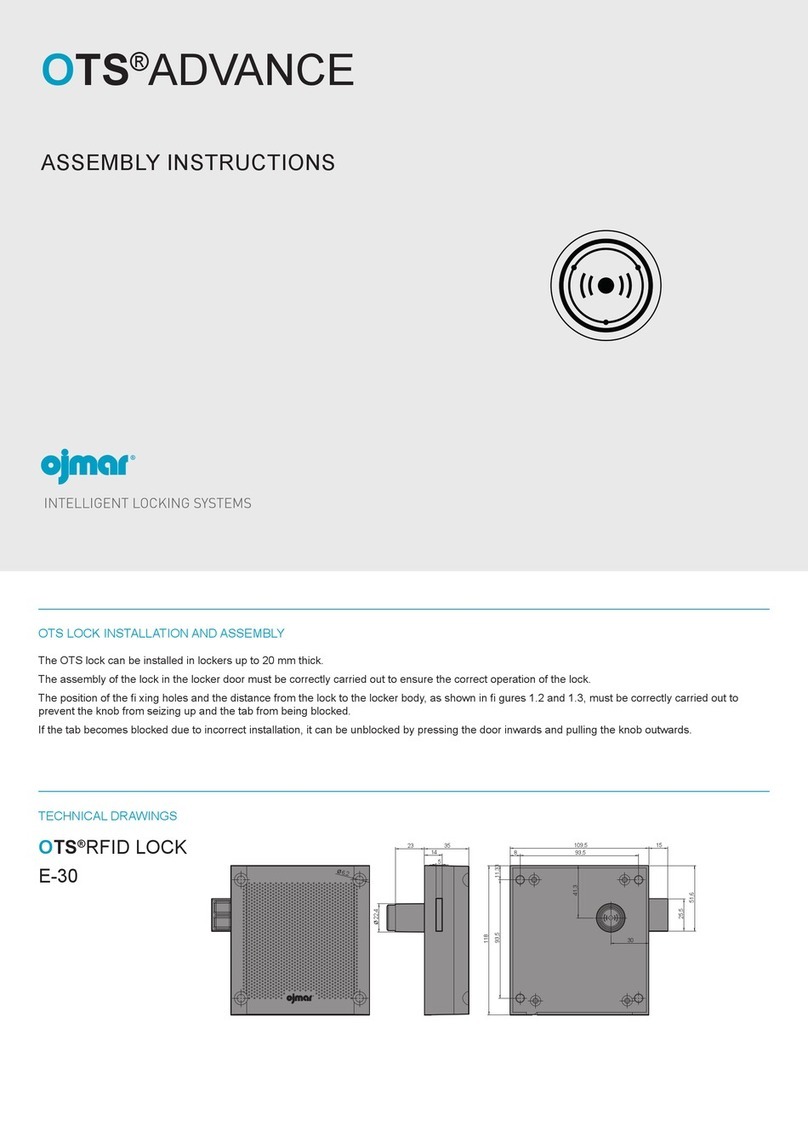
Ojmar OTS ADVANCE User manual
Ojmar
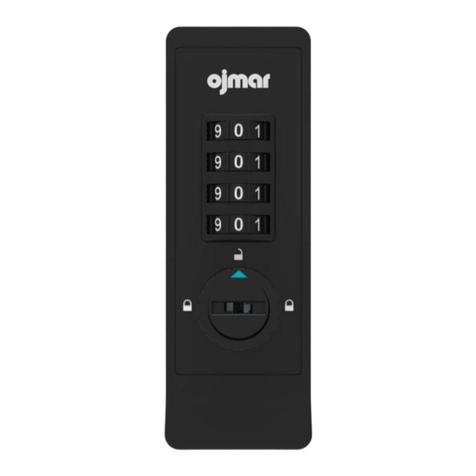
Ojmar OTS ADVANCE E-30 User manual
Ojmar
Ojmar LOCKR COMBI User manual

Ojmar
Ojmar OCS SMART User manual
Ojmar
Ojmar OTS BASIC User manual
Ojmar
Ojmar LOCKR COMBI 8001 Guide

Ojmar
Ojmar Nexo NLX1 User manual
Ojmar
Ojmar Nexo NLX1 Guide

Ojmar
Ojmar LOCKR COMBI 8001 User manual
Ojmar
Ojmar LOCKR 75 Operating instructions

Ojmar
Ojmar OCS PRO User manual

Ojmar
Ojmar OCS SMART User manual

Ojmar
Ojmar OTS ADVANCE User manual
Popular Lock manuals by other brands

Auslock
Auslock T11 user manual

Stealth SAFES
Stealth SAFES ShadowVault Instructions & Troubleshooting

Knox
Knox KeySecure 5 Admin & user guide

Kwikset
Kwikset 48334/01 Quick installation guide

Metra Electronics
Metra Electronics Door Access Terminal Combo Technical manual

Kilitronik
Kilitronik miniK10m operating manual


