manuals.online logo
Brands
  1. Home
  2. •
  3. Brands
  4. •
  5. Come.up Winch
  6. •
  7. Winch
  8. •
  9. Come.up Winch Seal Slim 9.5rs User manual

Come.up Winch Seal Slim 9.5rs User manual

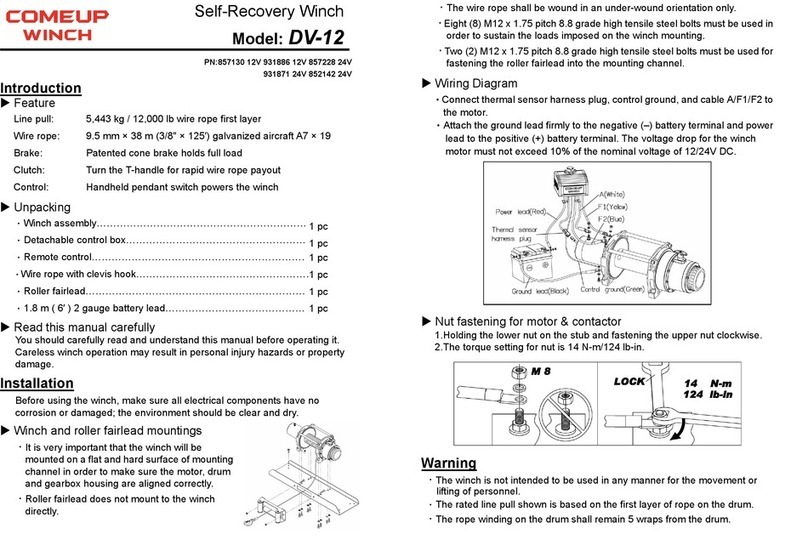
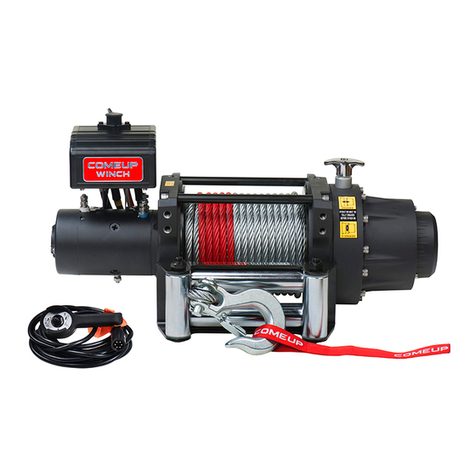
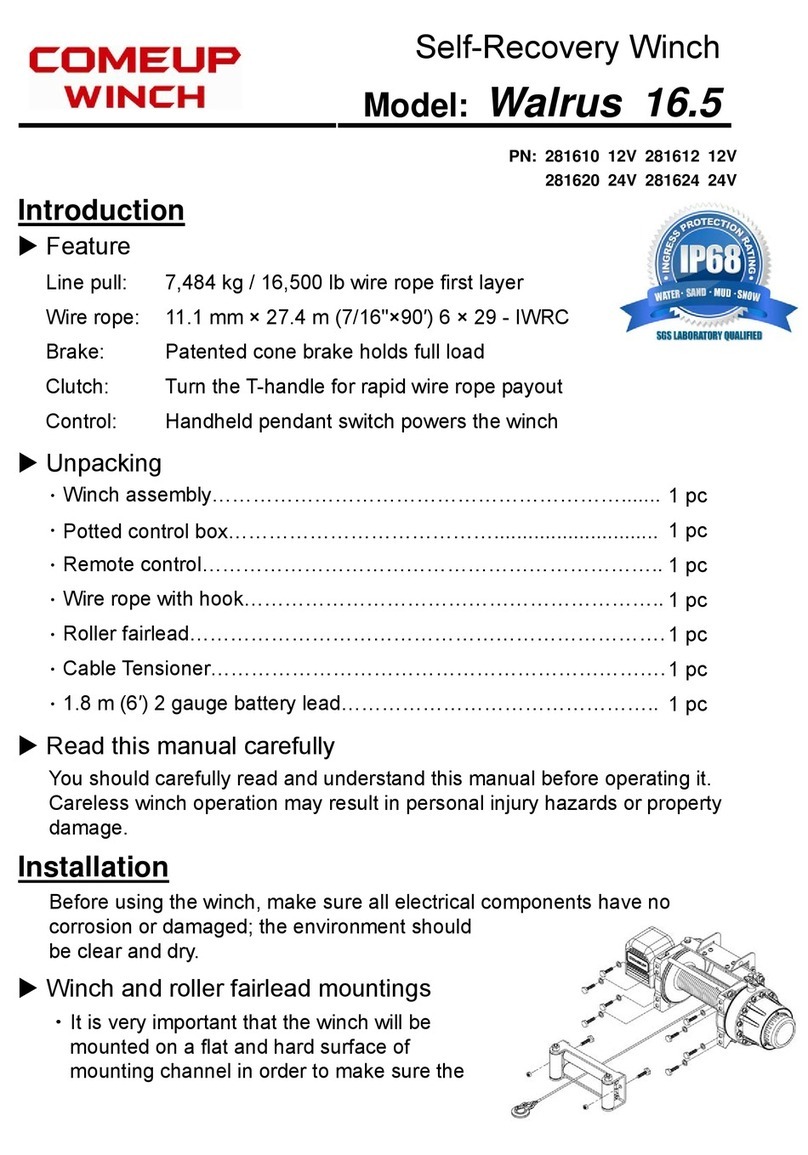
Self-Recovery Winch
Model: Seal Slim 9.5rs
PN: 295053 12V DC
Introduction
 Feature
Line pull: 4,309 kg / 9,500 lb synthetic rope first layer
Synthetic rope: 10 mm × 30.5 m (3/8"×100′) synthetic rope
Brake: Patented cone brake holds full load
Clutch: Turn the L-handle for rapid rope payout
Control: Both handheld pendant switch and built-in digital two
ways wireless transmitter power the winch
 Unpacking
.Winch assembly……………………………………………………....... 1 pc
.Control box…………………………………....………......................... 1 pc
.Remote control………………………………………………………….. 1 pc
.Synthetic rope with sling hook……………………………………….. 1 pc
.Hawse fairlead………………………..………………………………… 1 pc
.1.8 m (6′) 2 gauge battery lead……………………….………………. 1 pc
.Wireless transmitter……………………………………………………. 1 pc
 Read this manual carefully
You should carefully read and understand this manual before operating it.
Careless winch operation may result in personal injury hazards or property
damage.
Installation
Before using the winch, make sure all electrical components have no
corrosion or damaged; the environment
should be clear and dry.
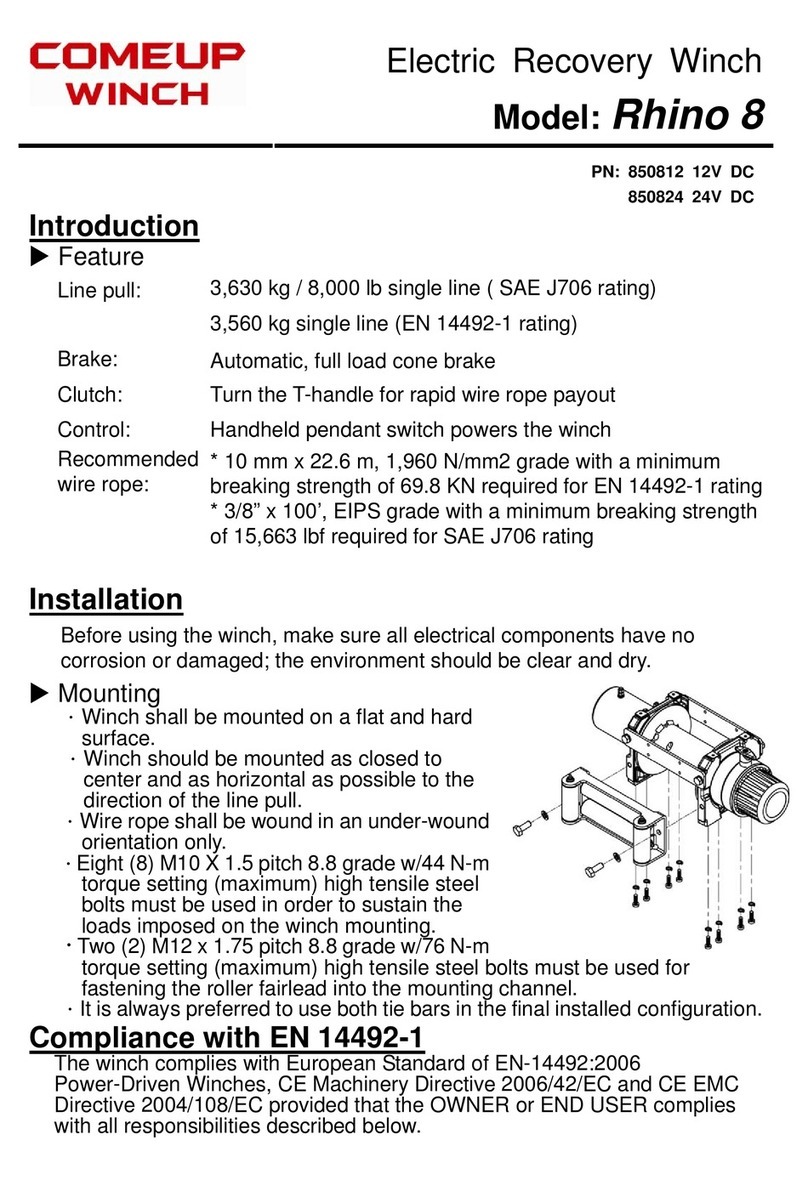
 Winch and hawse fairlead mountings
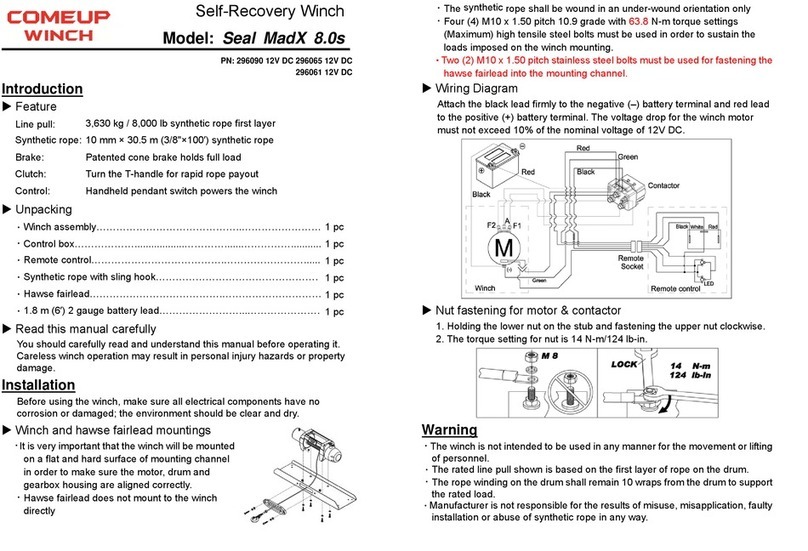
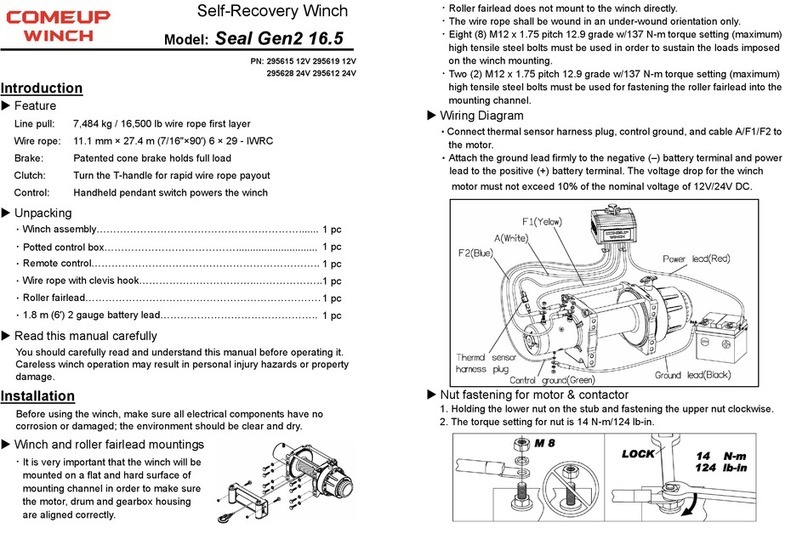
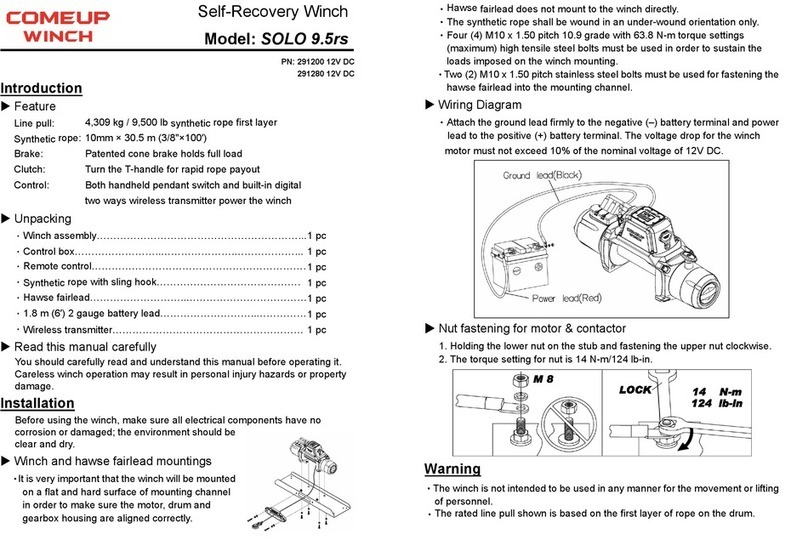
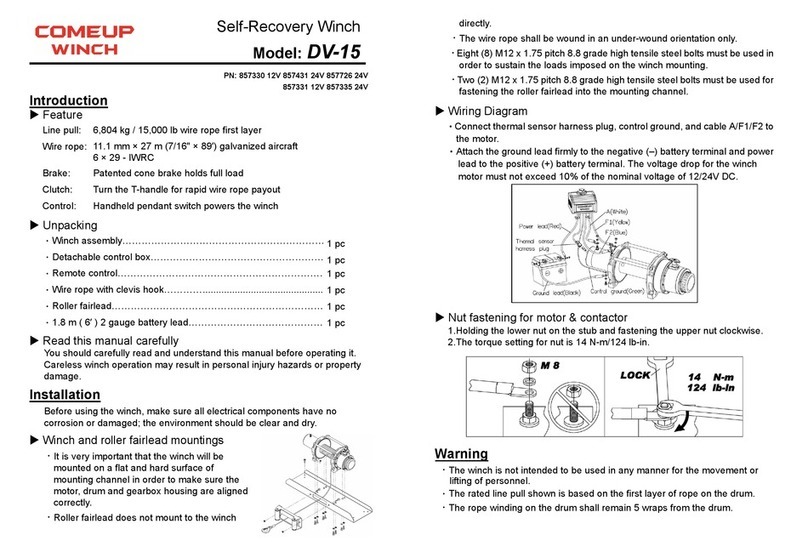
‧It is very important that the winch will be
mounted on a flat and hard surface of
mounting channel in order to make sure
the motor, drum and gearbox housing are
aligned correctly.
‧Hawse fairlead does not mount to the winch directly.
‧The synthetic rope shall be wound in an under-wound orientation only.
‧Four (4) M10 x 1.50 pitch 10.9 grade with 63.8 N-m torque settings
(maximum) high tensile steel bolts must be used in order to sustain the
loads imposed on the winch mounting.
‧Two (2) M10 x 1.50 pitch stainless steel bolts must be used for fastening the
hawse fairlead into the mounting channel.
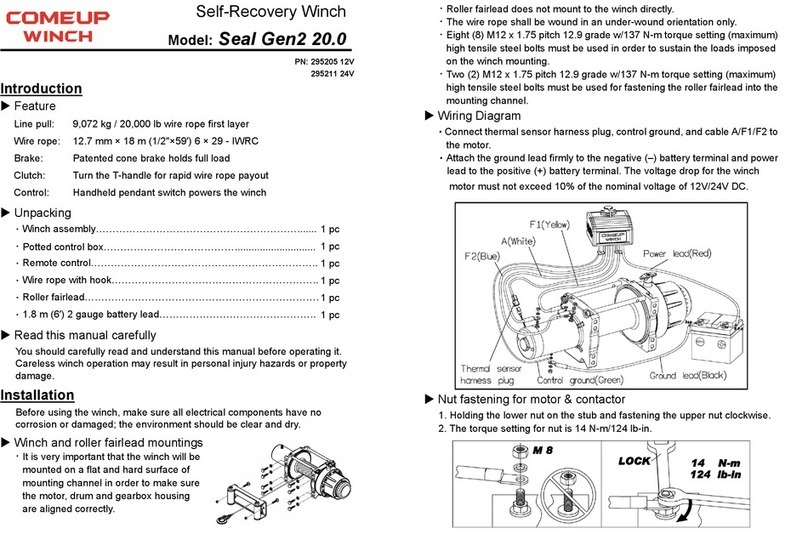
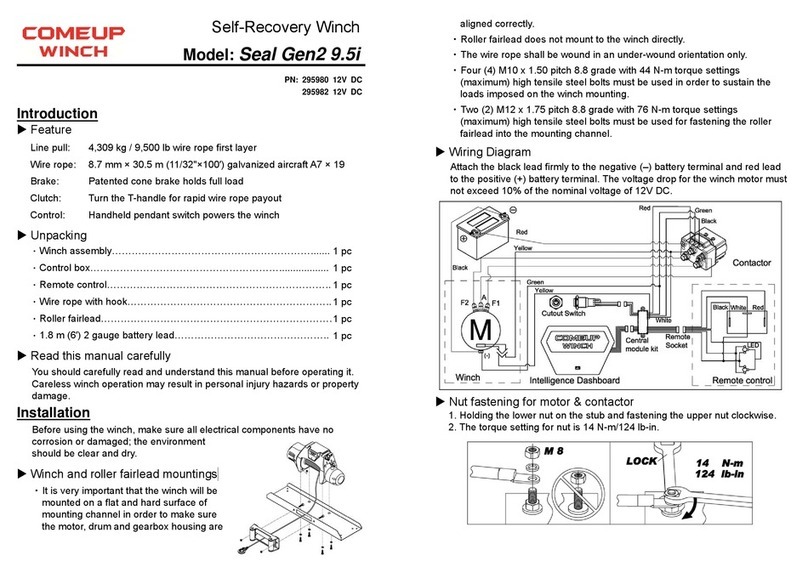
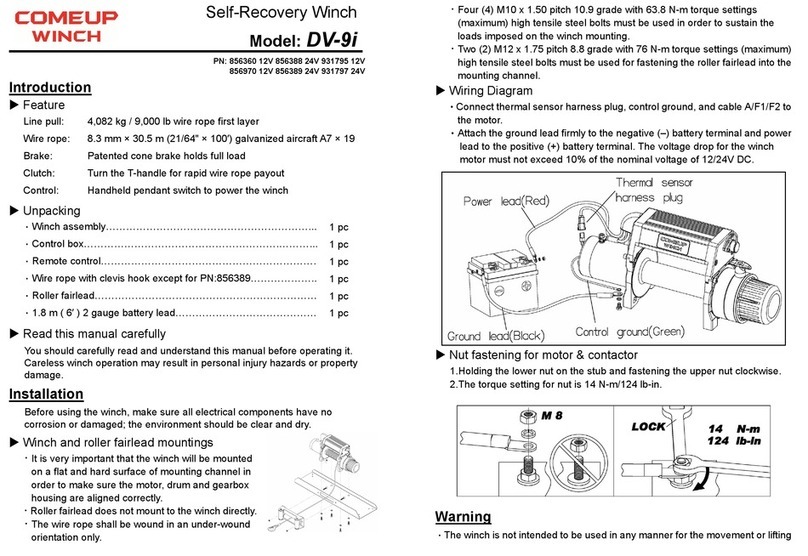
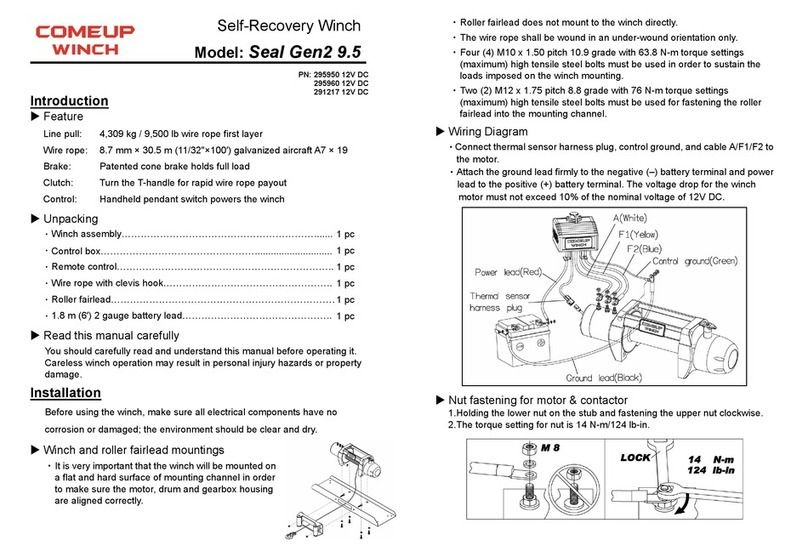
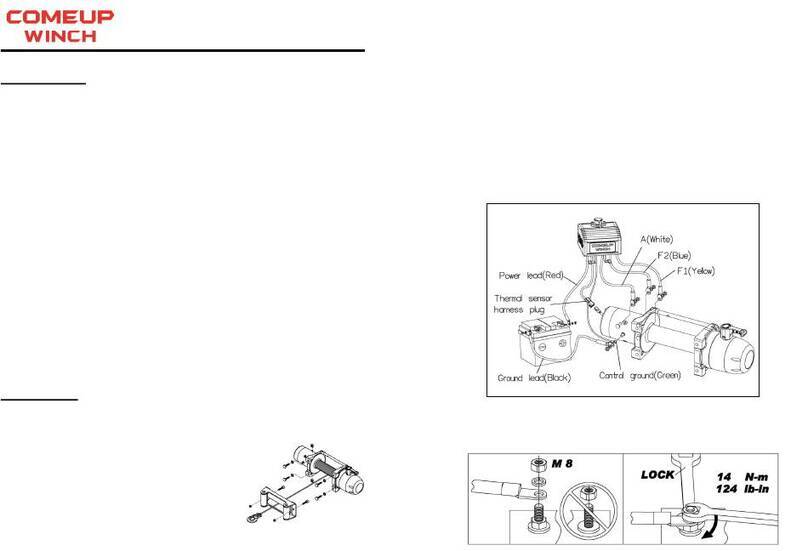
 Wiring Diagram
•Connect thermal sensor harness plug, control ground, and cable A/F1/F2 to
the motor.
•Attach the ground lead firmly to the negative (–) battery terminal and power
lead to the positive (+) battery terminal. The voltage drop for the winch
motor must not exceed 10% of the nominal voltage of 12V DC.
 Nut fastening for motor & contactor
1. Holding the lower nut on the stub and fastening the upper nut clockwise.
2. The torque setting for nut is 14 N-m/124 lb-in.
Warning
.The winch is not intended to be used in any manner for the movement or lifting
of personnel.
.The rated line pull shown is based on the first layer of rope on the drum.
.The rope winding on the drum shall remain 10 wraps from the drum to support
the rated load.
.Manufacturer is not responsible for the results of misuse, misapplication, faulty
installation or abuse of synthetic rope in any way.
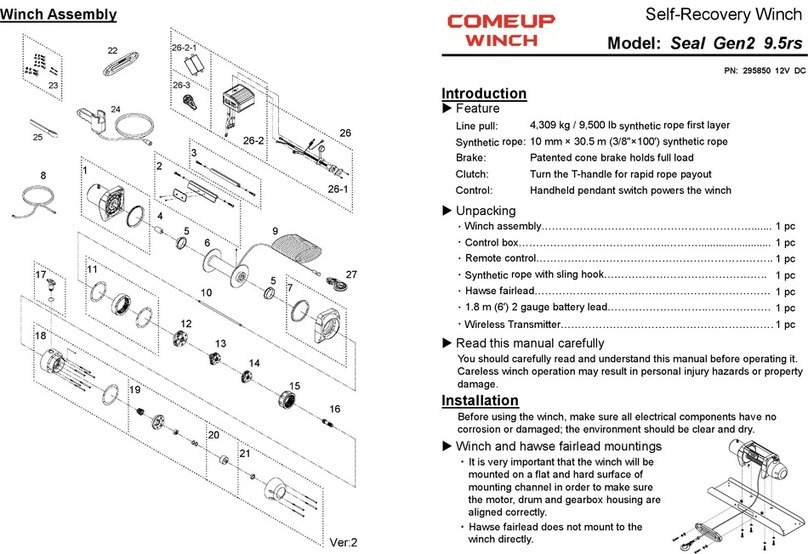
Parts List
Item No. Description Part No. Qty
1 Waterproof motor w/housing 12V 883576 1
2 Tie bar kit 883132 1
3 Motor coupling 880005 1
4 Drum bushing 880006 2
5 Drum kit 881521 1
6 Gearbox support rack 883578 1
7 Grounding lead 880009 1
8 Synthetic rope 883248 1
9 1st shaft 880011 1
10 3rd ring gear kit 880114 1
11 3rd stage carrier 880115 1
12 2nd stage carrier 880116 1
13 1st stage carrier 880117 1
14 1st & 2nd ring gear 880118 1
15 1st pinion 880119 1
16 Clutch kit 883236 1
17 Gear box kit 882524 1
18 Cone brake disc kit 880122 1
19 Brake clutch base 881100 1
20 Brake cover kit 882525 1
21 Mounting hardware 880024 1
22 Remote control 880126 1
23 Handsaver strap 880026 1
24 Control box 12V 883579 1
24-1 Remote socket kit 12V 881491 1
24-2 Control pack 12V 883581 1
24-2-1 Wireless receiver 884093 1
24-2-2 Cutout switch 882693 1
24-3 Wireless transmitter 883822 1
25 Sling hook 882477 1
26 Hawse fairlead 883410 1
Winch Assembly
2022/02/24 Ver:04
Connecting the cables of the control box to
the motor terminals (triangle type) and vehicle battery
Seal Gen2 / Seal Slim / DV Series
Connect the F1 cable (with a yellow ring on the cable) to
the F1 position (with a yellow mark on the motor
terminal), then using a 13mm wrench to fasten the nut.
Put on the motor terminal rubber sleeve.
1
Following is the procedure to connect these cables of the control box to the motor terminals and vehicle battery.
Connect the F2 cable (with a blue ring on the cable) to
the F2 position (with a blue mark on the motor
terminal), then using a 13mm wrench to fasten the nut.
Put on the motor terminal rubber sleeve.
2
Connect the A cable (with a white ring on the cable) to
the A position (with a white mark on the motor
terminal), then using a 13mm wrench to fasten the nut.
Put on the motor terminal rubber sleeve.
3
Seal Gen2 / Seal Slim / DV Series
Date: 15.12.2020 Version: 00 info@comeup.com.tw www.comeupwinch.com
Connect the white ground lead cable (with green tape)
and black power cord B (-) to the negative terminal on
the motor, then using a 13mm wrench to fasten the nut.
4
Plug the overheat protector socket of the control box into
the overheat protector socket of the motor.
5
ground
lead cable
black power cord B (-)
Connect the red power cord (+) of the control box and
black power cord (-) to the battery on the vehicle.
6
Pairing the wireless transmitter with the winch
wireless receiver module
Seal Slim 9.5rs and 12.5rs
Power on wireless transmitter
Press and hold the red power button for 6 ~ 8 seconds,
until the Green LED indicator stays illuminated.
1
Following is the procedure to pair the wireless transmitter (remote) with the winch wireless receiver module. This
pairing process should be performed each time you power on your winch.
Power on the winch wireless receiver module
Press the switch button on the control box to power on
the wireless receiver module.
The alarm in the control box will begin beeping as it is
waiting to be paired with the transmitter.
Note: If no action is taken to pair the wireless
transmitter, the alarm will stop beeping after 60
seconds.
2
Connect wireless transmitter with winch receiver
module
Press the cable in or cable out button for 1~2 seconds
to complete pairing process.
The LED indicator on the transmitter will blink while
pairing.
Once the transmitter is successfully paired, the winch
alarm will sound a 5 second long beep and then stop.
The wireless transmitter is now paired and ready to
operate your winch.
3
Seal Slim 9.5rs and 12.5rs
Date: 06.11.2020 Version: 01 info@comeup.com.tw www.comeupwinch.com
Power off wireless transmitter
Press and hold the red power button for 6 ~ 8 seconds
to power off the wireless transmitter.
The transmitter LED indicator turns off.
Note: The wireless transmitter will shut off
automatically if left idle for 5 minutes.
1
Power off wireless receiver module
Press the switch to power off the receiver.
The light on the switch turns off.
2
Note:
1. The wireless transmitter will shut off automatically if left idle for 5 minutes.
2. The LED indicator on transmitter will turn blinking green when transmitter battery is low.
3. The LED indicator on transmitter will turn blinking red when the connection is poor.
4. The power button of the transmitter also works as an emergency stop function while the wireless control is in
operation. While the wireless control is in operation (either cable in or cable out, the red light is on), once power
button pressed, the wireless control will be forced to power off immediately. The winch will stop running.
Powering off the winch receiver module and the wireless transmitter

This manual suits for next models

1

Other Come.up Winch Winch manuals

Come.up Winch Seal Gen2 9.5rs User manual

Come.up Winch

Come.up Winch Seal Gen2 9.5rs User manual

Come.up Winch DV-6s User manual

Come.up Winch

Come.up Winch DV-6s User manual

Come.up Winch Walrus 16.5 User manual

Come.up Winch

Come.up Winch Walrus 16.5 User manual

Come.up Winch GTD-650 User manual

Come.up Winch

Come.up Winch GTD-650 User manual

Come.up Winch Seal Gen2 12.5rs User manual

Come.up Winch

Come.up Winch Seal Gen2 12.5rs User manual

Come.up Winch 295750 12V User manual

Come.up Winch

Come.up Winch 295750 12V User manual

Come.up Winch DV-3500i User manual

Come.up Winch

Come.up Winch DV-3500i User manual

Come.up Winch GIO 120s User manual

Come.up Winch

Come.up Winch GIO 120s User manual

Come.up Winch Seal Slim 12.5rs Instruction Manual

Come.up Winch

Come.up Winch Seal Slim 12.5rs Instruction Manual

Come.up Winch Cub 4 User manual

Come.up Winch

Come.up Winch Cub 4 User manual

Come.up Winch SOLO 12.5rs User manual

Come.up Winch

Come.up Winch SOLO 12.5rs User manual

Come.up Winch Seal Gen2 9.5 User manual

Come.up Winch

Come.up Winch Seal Gen2 9.5 User manual

Come.up Winch DV-12 light User manual

Come.up Winch

Come.up Winch DV-12 light User manual

Come.up Winch Rhino 8 User manual

Come.up Winch

Come.up Winch Rhino 8 User manual

Come.up Winch Cub 3s User manual

Come.up Winch

Come.up Winch Cub 3s User manual

Come.up Winch DV-2500i User manual

Come.up Winch

Come.up Winch DV-2500i User manual

Come.up Winch Seal Gen2 16.5 User manual

Come.up Winch

Come.up Winch Seal Gen2 16.5 User manual

Come.up Winch DV-6 User manual

Come.up Winch

Come.up Winch DV-6 User manual

Come.up Winch Seal Slim 12.5 User manual

Come.up Winch

Come.up Winch Seal Slim 12.5 User manual

Come.up Winch Seal Gen2 9.5rsi User manual

Come.up Winch

Come.up Winch Seal Gen2 9.5rsi User manual

Come.up Winch DV-9si User manual

Come.up Winch

Come.up Winch DV-9si User manual

Come.up Winch GIO 120 User manual

Come.up Winch

Come.up Winch GIO 120 User manual

Come.up Winch Seal Gen2 12.5s User manual

Come.up Winch

Come.up Winch Seal Gen2 12.5s User manual

Come.up Winch Seal Gen2 9.5i User manual

Come.up Winch

Come.up Winch Seal Gen2 9.5i User manual

Popular Winch manuals by other brands

Harken Performa 50.2 STP Installation and maintenance manual

Harken

Harken Performa 50.2 STP Installation and maintenance manual

NOVAWINCH FENIX 25 Instructions and Operator’s Manual

NOVAWINCH

NOVAWINCH FENIX 25 Instructions and Operator’s Manual

Westfalia 82 45 37 instruction manual

Westfalia

Westfalia 82 45 37 instruction manual

Warrior Winches 8000EN owner's manual

Warrior Winches

Warrior Winches 8000EN owner's manual

Portable Winch PORTABLE CAPSTAN WINCH PCW5000 user guide

Portable Winch

Portable Winch PORTABLE CAPSTAN WINCH PCW5000 user guide

Landig ZE 4420 operating instructions

Landig

Landig ZE 4420 operating instructions

4x4 TOUGH 15-6068 user guide

4x4 TOUGH

4x4 TOUGH 15-6068 user guide

Sepson H100PF quick start guide

Sepson

Sepson H100PF quick start guide

XPower XP-12 owner's manual

XPower

XPower XP-12 owner's manual

Strongline ATW6005 instruction manual

Strongline

Strongline ATW6005 instruction manual

Kolpin Outdoors Polaris RZR XP 1000 Product instructions

Kolpin Outdoors

Kolpin Outdoors Polaris RZR XP 1000 Product instructions

Warrior Winches SAMURAI 175SS12 owner's manual

Warrior Winches

Warrior Winches SAMURAI 175SS12 owner's manual

TALBOT Industrie Goliath TS Series Use and maintenance

TALBOT Industrie

TALBOT Industrie Goliath TS Series Use and maintenance

Warrior Winches T1000 owner's manual

Warrior Winches

Warrior Winches T1000 owner's manual

Harken Powered Performa Winch 70.2 STP EL Installation and maintenance manual

Harken

Harken Powered Performa Winch 70.2 STP EL Installation and maintenance manual

Portable Winch PCW3000 user guide

Portable Winch

Portable Winch PCW3000 user guide

Tractel Jockey Operation and maintenance manual

Tractel

Tractel Jockey Operation and maintenance manual

Tulsa Rufnek 100 Service manual

Tulsa

Tulsa Rufnek 100 Service manual

manuals.online logo
manuals.online logoBrands
  • About & Mission
  • Contact us
  • Privacy Policy
  • Terms and Conditions

Copyright 2025 Manuals.Online. All Rights Reserved.