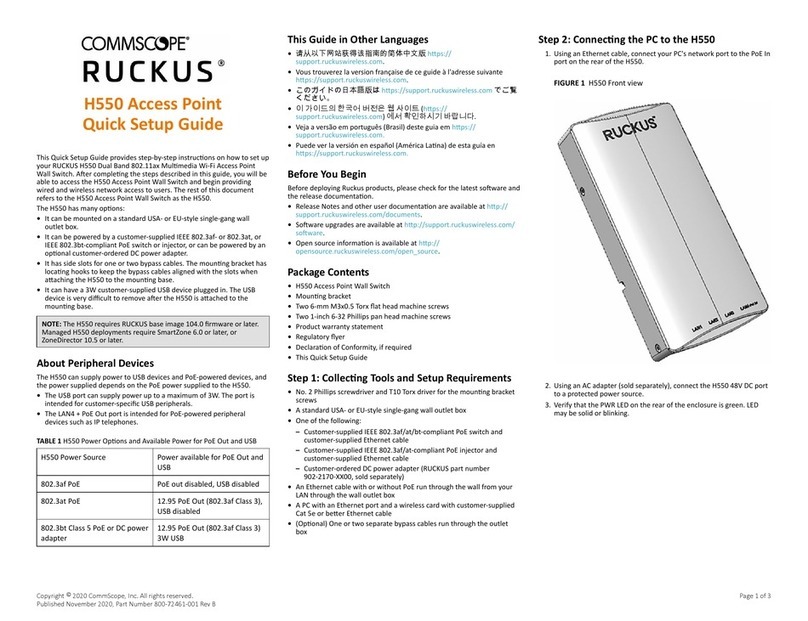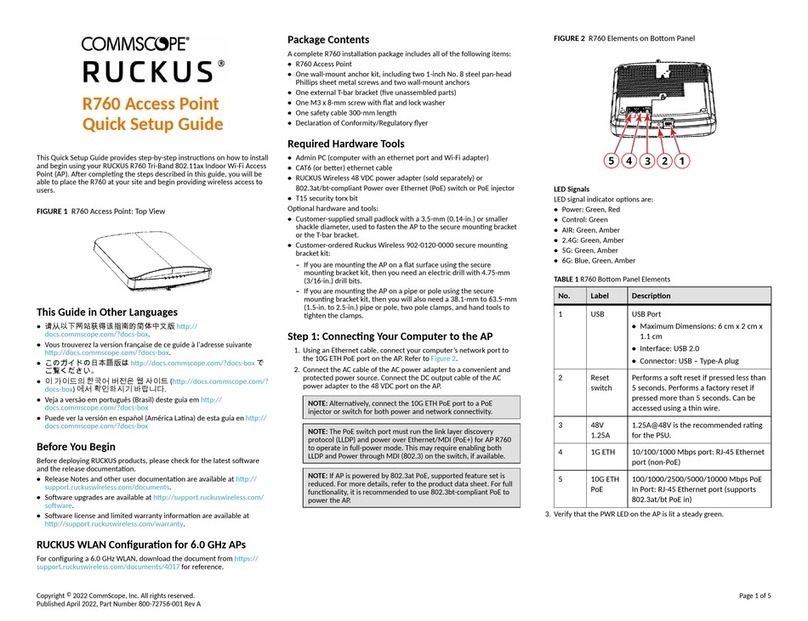
•Step 5b: Setup Using a Web Browser on page 3.
Setup Using the Unleashed Mobile App
To perform setup using the Unleashed Mobile App, download the iOS or
Android app from the app store.
1. As soon as the Unleashed AP is powered on and connected to the
local network, it boots up and begins broadcasng a temporary
unencrypted WLAN named “Congure.Me-[xxxxxx]” from both radios.
2. Using your client’s Wi-Fi connecon sengs, select and associate to
the “Congure.Me-[xxxxxx]” WLAN.
3. Launch the app, and follow the on-screen instrucons to congure
your Unleashed network(s).
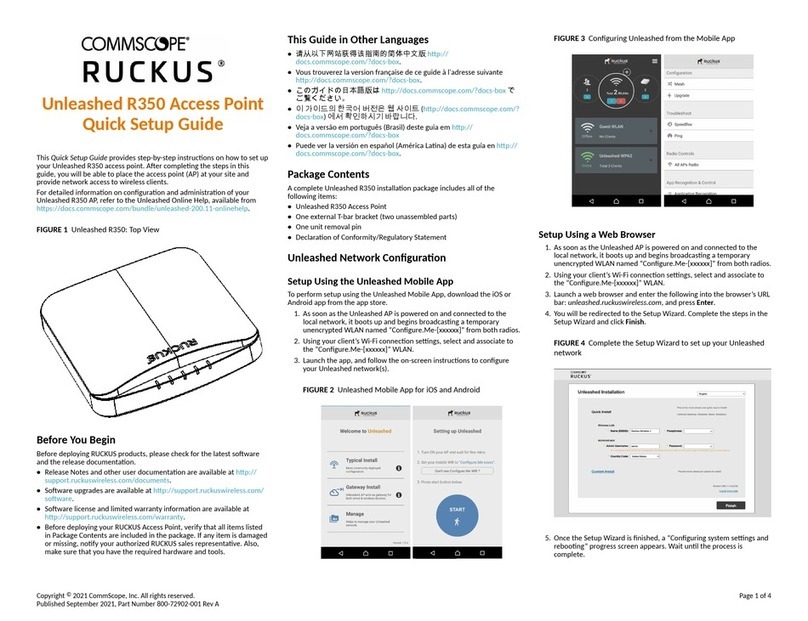
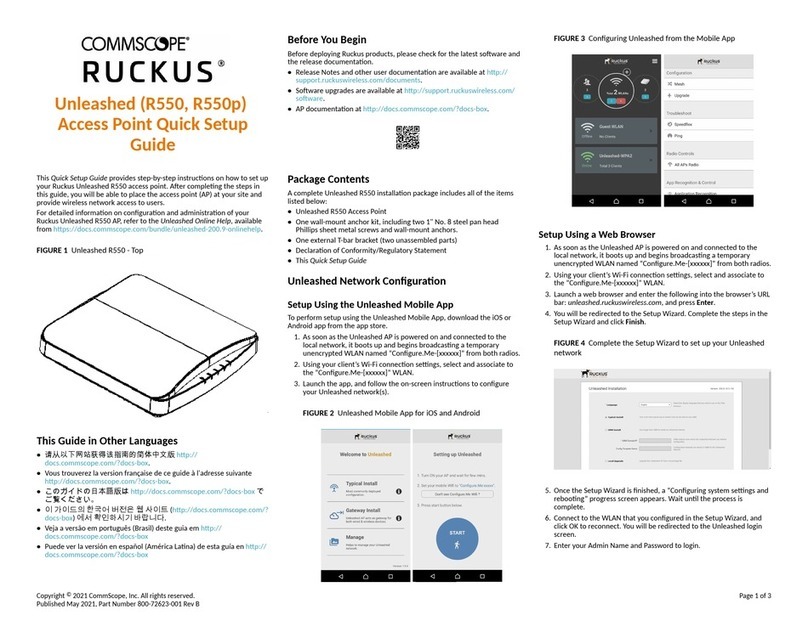
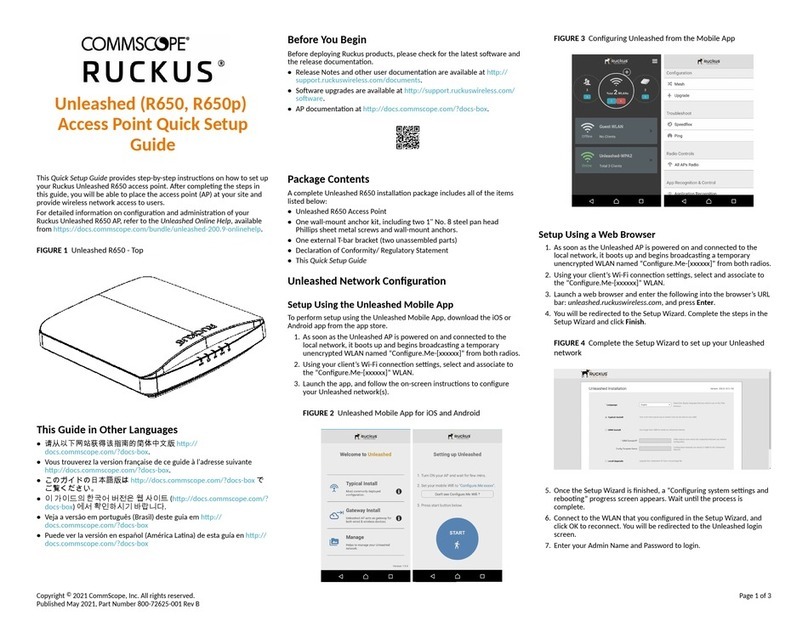
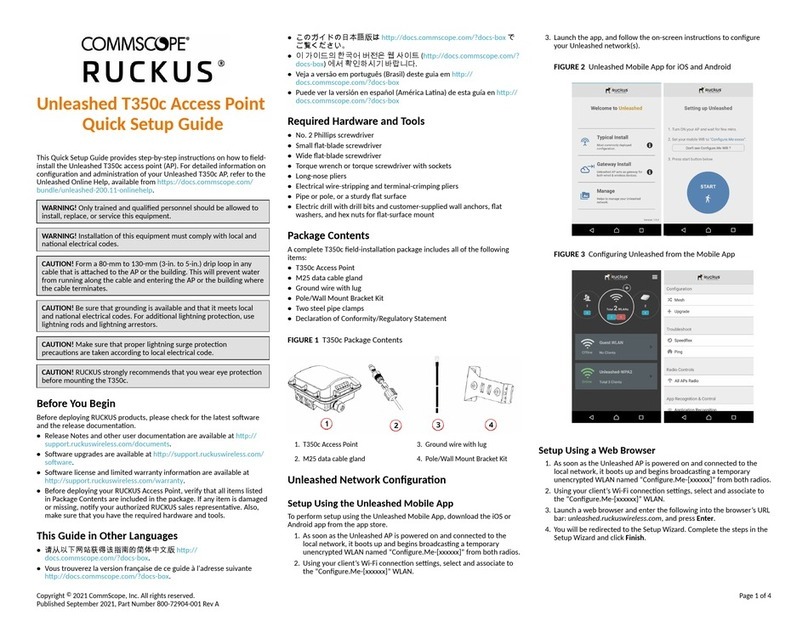
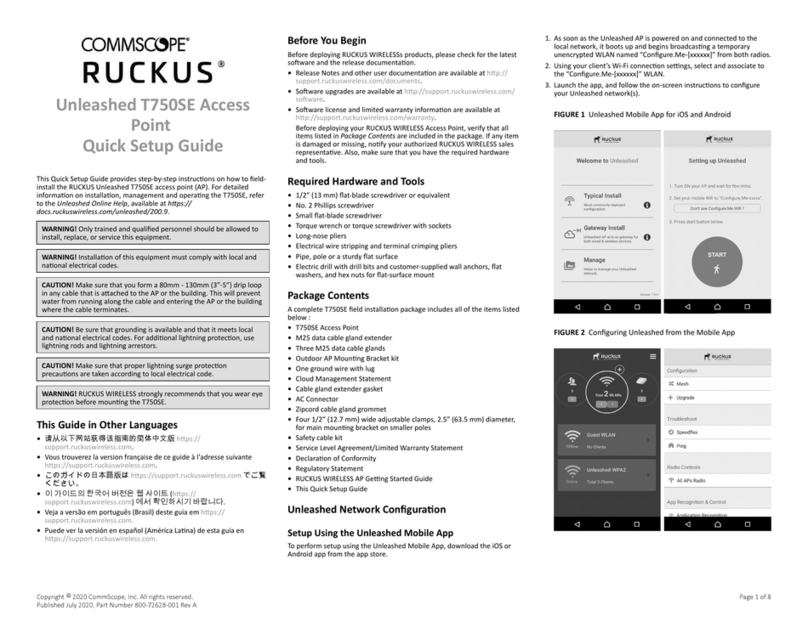
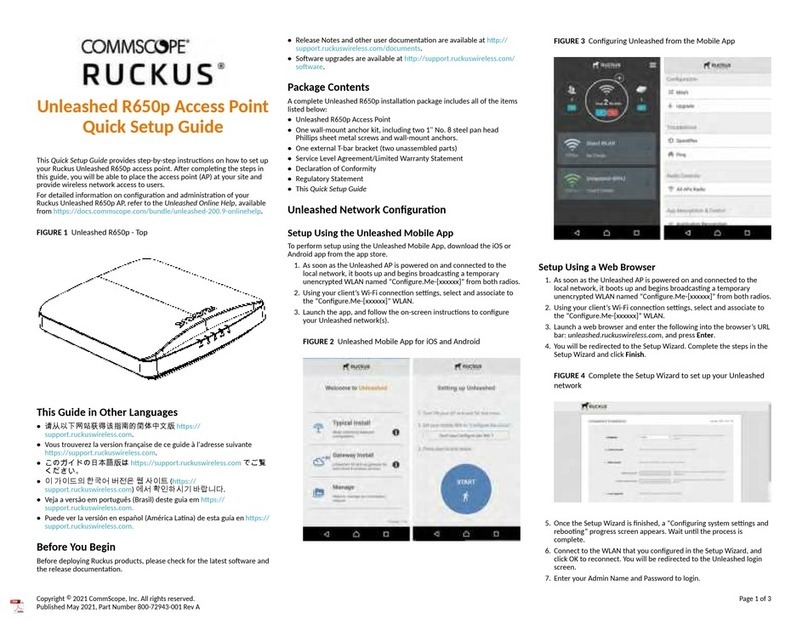
FIGURE 5 Unleashed Mobile App for iOS and Android
FIGURE 6 Conguring Unleashed from the Mobile App
Setup Using a Web Browser
1. As soon as the Unleashed AP is powered on and connected to the
local network, it boots up and begins broadcasng a temporary
unencrypted WLAN named “Congure.Me-[xxxxxx]” from both radios.
2. Using your client’s Wi-Fi connecon sengs, select and associate to
the “Congure.Me-[xxxxxx]” WLAN.
3. Launch a web browser and enter the following into the browser’s URL
bar: unleashed.ruckuswireless.com, and press Enter.
4. You will be redirected to the Setup Wizard. Complete the steps in the
Setup Wizard and click Finish.
FIGURE 7 Complete the Setup Wizard to set up your Unleashed
network
5. Once the Setup Wizard is nished, a “Conguring system sengs and
reboong” progress screen appears. Wait unl the process is
complete.
6. Connect to the WLAN that you congured in the Setup Wizard, and
click OK to reconnect. You will be redirected to the Unleashed login
screen.
7. Enter your Admin Name and Password to login.
FIGURE 8 The Login page
8. Upon successful login you will be presented with the Unleashed
Dashboard, which displays an overview of your Ruckus Unleashed
network.
Step 6: Customize Your Wireless LANs
Once the Unleashed Master AP has been inialized, you can ne-tune the
sengs of your rst WLAN (that you created during the setup wizard), and
create any addional WLANs needed prior to aaching addional
Unleashed member APs. Then, when you deploy addional member APs in
whatever order you prefer, they will automacally retrieve all WLAN
conguraon sengs (and any other sengs you have congured) from
the Unleashed Master AP.
1. From the dashboard, click anywhere in the WiFi Networks secon to
expand the display of your deployed WLANs.
2. On the le side of the screen, select the WLAN box for the WLAN you
would like to congure, and click the Edit buon to edit the
conguraon; or click Create to create a new WLAN.
3. If you made any changes to the original WLAN, you will be
disconnected and will need to reconnect once the changes have been
deployed on the AP radios.
Congratulaons! Your Unleashed network is now congured and ready for
use. You may now proceed to Step 7: Deploying Addional Unleashed
Access Points on page 3.
Step 7: Deploying Addional Unleashed Access
Points
Deploying addional Unleashed member APs is simply a maer of
connecng them to the same Layer 2 network (subnet) and providing
power. They will discover the Unleashed Master and join automacally. No
addional steps are necessary.
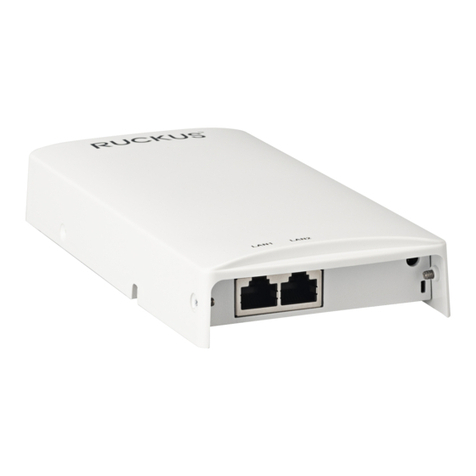
Step 8: Tesng the H550 Operaon
Aer a short pause to re-establish the Internet connecon, you can test
the H550.
1. Using any wireless-enabled PC or mobile device, search for and select
the wireless network you previously congured.
2. If you can connect, open a browser and navigate to any public
website.
3. Using any wired PC or other device and an Ethernet cable, plug into
an Ethernet port on the boom of the H550.
4. Open a browser and navigate to any public website.
5. Repeat Step 3 and Step 4 in this procedure for the other Ethernet
ports on the boom of the H550.
6. Verify that all connected PoE-powered devices and USB devices are
working correctly.
Congratulaons! Your H550 is acve and ready for use.
For More Informaon
For informaon on how to congure and manage your Unleashed
deployment, refer to the RUCKUS Unleashed User Guide, available at
hps://docs.commscope.com/bundle/unleashed-200.11-onlinehelp.
Copyright © 2021 CommScope, Inc. All rights reserved. Page 3 of 3
Published September 2021, Part Number 800-72903-001 Rev A
