Step 3: Aaching the Mounng Bracket to a Wall
Outlet Box
1. Use either the original wall outlet box screws or the factory-supplied
1-inch Phillips pan head machine screws to aach the H350 mounng
bracket to a single-gang wall outlet box.
NOTE: The H350 mounng bracket has four hooks that face up.
Make sure that the hooks are facing up when aaching the
mounng bracket to the wall outlet box.
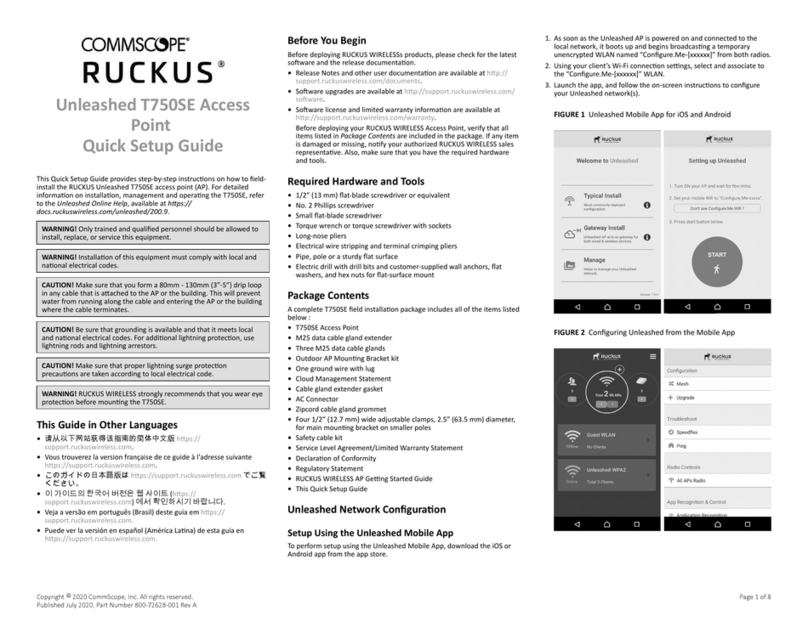
FIGURE 3 Mounng Bracket
2. Pull the LAN uplink Ethernet cable for the H350 through the wall
outlet box.
3. If you are powering the H350 with a customer-ordered 48V DC power
adapter, ensure that the power cable is able to reach the DC in port
without obstrucng the AP and prevenng the AP from mounng
ush with the wall bracket.
4. When you have extra bypass cables (usually one or two) that are to
bypass the H350, pull them through the wall outlet box.
NOTE: The bypass cables can be Ethernet, coaxial, or any other
type of cable, as required.
Drape the bypass cables across one or both of the upper hooks on
either side or both sides of the mounng bracket.
Step 4: Aaching the H350 to the Mounng
Bracket
1. Make sure that the mounng bracket is securely fastened as
described in Step 3: Aaching the Mounng Bracket to a Wall Outlet
Box on page 2.
2. If you have bypass cables (usually one or two, if any), make sure that
they are draped across one or both of the two upper hooks on the
mounng bracket.
FIGURE 4 Aaching the H350 to the Mounng Bracket
3. If you are installing a customer-supplied USB device (such as a BLE
beacon), then plug it securely into the USB jack on the boom of the
H350.
4. Pull the uplink Ethernet cable from your LAN through the outlet box,
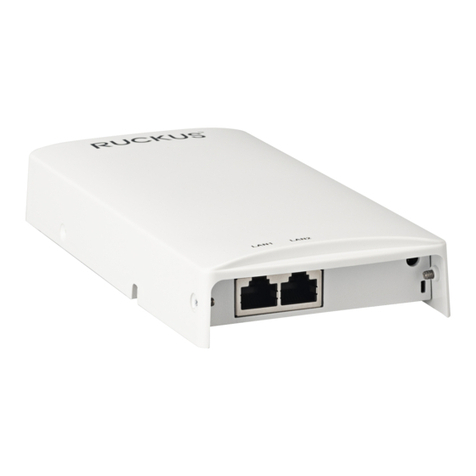
and plug it into the back of the H350.
5. The mounng bracket has two lower hooks that t into slots on the
boom of the H350. Rest the boom of the H350 on the lower hooks,
and lt the H350 unl it is up against the mounng bracket.
NOTE: Any oponal bypass cables should slide smoothly into the
slots on the sides of the H350.
6. Use a T10 Torx driver to screw the factory-supplied Torx at head
machine screws through the H350 screw holes into the threaded
inserts on the sides of the mounng bracket.
7. Aer the H350 has powered on, depending on the power mode,
either the USB power or PoE Out may be disabled.
Step 5: Congure Your Unleashed Network_H550
Unleashed can be deployed using either a Mobile App, available for both
iOS and Android, or using your PC’s web browser. Refer to the relevant
secon depending on which method you prefer to use:
•Step 5a: Setup Using the Unleashed Mobile App on page 2.
•Step 5b: Setup Using a Web Browser on page 2.
Setup Using the Unleashed Mobile App
To perform setup using the Unleashed Mobile App, download the iOS or
Android app from the app store.
1. As soon as the Unleashed AP is powered on and connected to the
local network, it boots up and begins broadcasng a temporary
unencrypted WLAN named “Congure.Me-[xxxxxx]” from both radios.
2. Using your client’s Wi-Fi connecon sengs, select and associate to
the “Congure.Me-[xxxxxx]” WLAN.
3. Launch the app, and follow the on-screen instrucons to congure
your Unleashed network(s).
FIGURE 5 Unleashed Mobile App for iOS and Android
FIGURE 6 Conguring Unleashed from the Mobile App
Setup Using a Web Browser
1. As soon as the Unleashed AP is powered on and connected to the
local network, it boots up and begins broadcasng a temporary
unencrypted WLAN named “Congure.Me-[xxxxxx]” from both radios.
Copyright © 2022 CommScope, Inc. All rights reserved. Page 2 of 3
Published January 2022, Part Number 800-73113-001 Rev A
