manuals.online logo
Brands
  1. Home
  2. •
  3. Brands
  4. •
  5. Converters.TV
  6. •
  7. Media Converter
  8. •
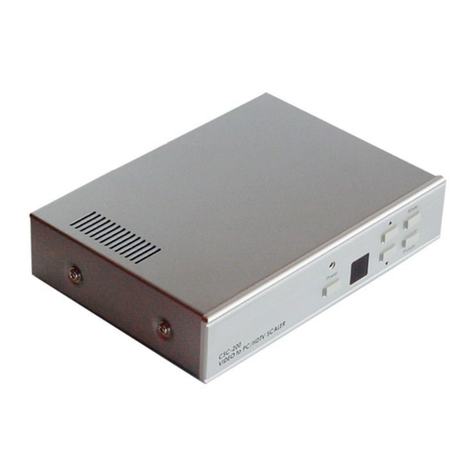
  9. Converters.TV CSC-200 User manual

Converters.TV CSC-200 User manual

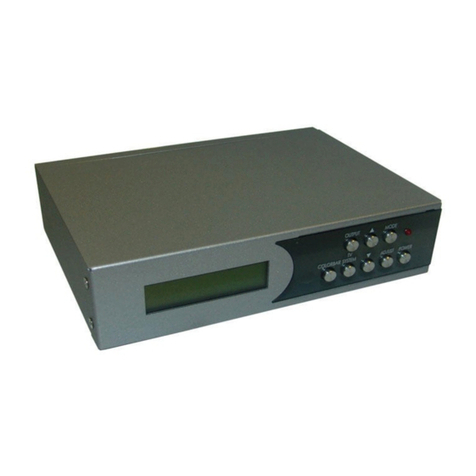
Magic View Video Scaler/
De-interlacer
(CSC-200)
Operation Manual
Please browse our online catalogue to view our full product range.
44-48 Maitland Road, Mayfield East, NS , 2304 Australia, [email protected]
Phone +61 249689313 Fax +61 249689314
www.converters.tv
Introduction
This unit is a high quality up-scaler converting Composite, S-Video and YCbCr into high
resolution PC or HDTV output. Input, output and picture can all be controlled via the
OSD menu, remote control. It is best suited for use with LCD projectors, CRT/LCD
monitors, and plasma or HDTV displays to improve picture quality.
Precautions
1. Do not expose this product to direct sunlight.
2. Keep the unit away from radiator, heat sources and magnetic field.
3. Do not place it in very dusty or humid locations.
4. Use this unit in a horizontal position only.
5. Do not put heavy objects on top of the converter.
6. Put the unit in an open space that has good ventilation.
7. If the unit is acting abnormally keep the unit away from TV or other electronic
equipment.
8. Unplug the unit from the power supply when it is not to be used for a long period
of time.
Features
•Professional Video Scaler/De-interlacer.
•Supports VGA, SVGA, XGA, SXGA (1280x1024) PC output.
•Supports HDTV output 480p, 576p, 720p, and 1080i.
•State-of-the art frame buffer technology.
•Reverse 3:2/2:2 pull down provides clear and crisp de-interlacing of video
originating from 24 film, such as DVD movies.
•Digital Noise Reduction.
•Brightness, Colour, Contrast, Sharpness and Tint adjustment.
•Dynamic format 4:3 or 16:9 output.
•3D comb filter for composite input ensures jitter-free picture.
•Compatible with NSTC and PAL video input.
•Easy to use IR remote control.
•OSD display.
Please browse our online catalogue to view our full product range.
44-48 Maitland Road, Mayfield East, NS , 2304 Australia, [email protected]
Phone +61 249689313 Fax +61 249689314
www.converters.tv
Operation Controls and Functions
Front Panel
1. Mode- if you press this button repeatedly it will toggle through the following
adjustment controls- Source-Resolution-Output-Aspect-3D enhance- Digital NR.
Source Mode- hile under this mode, press the up and down buttons to choose
the desired input mode from C-Video, S-Video and component inputs.
esolution Mode- If output is selected as RGB, press the up and down buttons to
choose from 640 x 480 (VGA), 800 x 600 (SVGA), 1024 x 768 (XGA) or 1280 x
1024 (SXGA) PC output. If output is selected as YPbPr press the up and down
arrows to choose from 480p, 576p, 720P or 1080i HDTV output.
Output Mode- Press the up and down arrows in order to select between PC RGB
output and HDTV YPbPr output.
Aspect Mode- Press the up and down arrows in order to select between standard
(4:3) aspect and wide (16:9) aspect ratio.
3D Enhance Mode- This mode is used to turn on or off the 3D comb filter
function. hen VCR or non-standard video source is connected to the input the
output picture may be jittering. If this occurs, please turn off the 3D enhance
function.
Digital N Mode- To turn on or turn off the digital noise reduction function.
2. Picture- Press this button and it will toggle through the following picture
adjustment parameters- Contrast-Bright-Colour-Tint-Sharpness.
Contrast- Press the up and down arrows in order to adjust the picture contrast
level (0~48).
Bright- Press the up and down arrows in order to adjust the level of picture
brightness (0~48).
Colour- Press the up and down arrows in order to adjust the colour saturation
level (0~48).
Tint- Press the up and down arrows in order to adjust the tint level (0~48).
Sharpness- Press the up and down arrows in order to adjust the sharpness level of
the picture (0~48).
3. - Press these buttons in order to toggle through the adjustment controls.
4. I Sensor- This is the infrared remote control sensor.
5. Power and LED button- press once to power on the unit, press again to turn off
the unit.
Please browse our online catalogue to view our full product range.
44-48 Maitland Road, Mayfield East, NS , 2304 Australia, [email protected]
Phone +61 249689313 Fax +61 249689314
www.converters.tv
6. Front Panel lockout- under certain circumstances it may be desirable to disable
the front panel controls. In order to do so, press the front panel lockout to ON
position. To lift the lockout and revert all parameters back to factory preset
values, please press mode and picture buttons simultaneously for over 10 seconds.
NOTE- Under the picture adjustment mode, press the up and down arrows
simultaneously and it will revert the selected parameter back to the factory-preset
value. Press both buttons for over 5 seconds and it will revert all picture adjustment
parameters back to their factory-preset values.
Rear Panel
1. S-Video- Use a S-Video cable to connect the S-Video output of the source video
equipment to the S-Video input port.
2. Composite Video- This is the C-Video input port. Use a composite video cable to
connect the composite video output of the source equipment to the C-Video input
port.
3. YCbCr input- Use a 3 RCA to 3 RCA YCbCr to connect the YCbCr output of
the source video equipment to the connector labeled YCbCr. Note that the plugs
colours have to match with the colour of the RCA Jacks.
4. PC In- Computer GB with H & V Sync-Connect the source computers VGA
output signal to the HD 15 connector PC In. This computer input signal is not
scaled but is available for pass-through when the video scaler is in the PC In
(Bypass) mode. Connect the scaled output to your projector, PDP or LCD display.
5. GB/YPbPr Output- The HD-15 D-Sub connector is shared by PC/RGBHV
output and HDTV/YPbPr output. hen PC/RGBHV output resolution is selected,
use the HD-15 to HD-15 VGA cable to connect the output to the PC input of your
display monitor. hen HDTV/YPbPr output is selected, use the HD-15 to YPbPr
3 x RCA cable to connect the output to the YPbPr input of you HDTV display.
6. DC Power Jack 5V 2A Center positive- This is the DC power supply input port.
Please browse our online catalogue to view our full product range.
44-48 Maitland Road, Mayfield East, NS , 2304 Australia, [email protected]
Phone +61 249689313 Fax +61 249689314
www.converters.tv
emote Control
1. Power- This is the power on and off button.
2. Display- This button allows you to enable or disable the on screen display of the
resolution information.
3. C-Video- Press the button to select composite video as input source.
4. S-Video- Press the button to select S-Video as input source.
5. YCbCr- Press this button to select YCbCr as the input source.
6. PC- Press the button to select PC input looping through to the output.
7. VGA- Press this button to select 640 x 480 as output resolution.
8. SVGA- Press this button to select 800 x 600 as output resolution.
9. XGA- Press this button to select 1024 x 768 as output resolution.
10. SXGA- Press this button to select 1280 x 1024 as output resolution.
11. 480p- Press this button to select 852 x 480p as output resolution.
12. 576p- Press this button to select 852 x 576p as output resolution.
13. 720p- Press this button to select 1280 x 720p as output resolution
14. 1080i-press this button to select 1920 x 1080i (interlaced) as output resolution.
15. Aspect atio- Press the button to switch between standard (4:3) and wide (16:9)
aspect ratio.
16. I -Set- hen the front panel is locked out; press this button for over 15 seconds
and it will lift the lockout.
17. 3D- Press to turn on or off the 3D enhance.
18. N - Press this button to turn on or off the digital noise reduction.
19. Mode- Press this button to toggle through the following adjustments: Source-
Resolution-Output-Aspect-3D Enhance-Digital NR.
20. Picture- Press this button to toggle through the following picture adjustments:
Contrast- Bright- Colour- Tint- Sharpness.
21. eset- Press this button and it will revert picture adjust back to factory preset
values.
Connection and Installation
The AC adaptor power unit should not be plugged into a wall outlet until all connections
are complete.
- Connect your Video or DVD device using the appropriate connector cable to the
Composite Video (Number 1 on rear panel), S-Video (Number 2 on rear panel) or
YCbCr input port (Number 3 on rear panel).
- Connect your PC, Notebook or MAC to the PC In port (Number 4 on rear panel).
- Connect your projector or HDTV to the RGB/YPbPr Output port (Number 5 on the
rear panel). The HD-15 D-Sub connector is shared by PC/RGBHV output and
HDTV/YPbPr output. hen PC/RGBHV output resolution is selected, use the HD-
15-to-HD-15 VGA cable to connect the output to the PC input of your display
monitor. hen HDTV/YPbPr output is selected, use the HD-15 to YPbPr 3 x RCA
cable to connect the output to the YPbPr input of you HDTV display.
Please browse our online catalogue to view our full product range.
44-48 Maitland Road, Mayfield East, NS , 2304 Australia, [email protected]
Phone +61 249689313 Fax +61 249689314
www.converters.tv
Once all connections are complete, switch the power button ON and please connect the
power supply provided to the power socket.
Specifications
Computer Input (Loop thru) RGB with HV Sync
Max Computer Input esolution 1600 x 1200
Computer Input Connector Type HD 15 Female
Computer Input Signal Level RGB @ 0.7V, H & V Sync @ TTL
Video Inputs Composite Video @ 1Vp-p 75ohm
S-Video @ 1Vp-p 75 ohm
YCbCr Y: 1Vpp 75ohm
CbCr: 0.7 Vp-p 75 ohm
Video Standard NTSC 3.58, PAL B/D/G/I
Video Input Connectors Composite Video on BNC
S-Video on 4 Pin Mini DIN
Component on BNC
Scaled Output esolutions PC ESOLUTION-
Pixels Format Scan
VGA- 640 x 480 RGBHV Progressive
SVGA- 800 x 600 RGBHV Progressive
XGA- 1024 x 768 RGBHV Progressive
SXGA- 1280 x 1024 RGBHV Progressive
HDTV ESOLUTION-
16.9- 1280 x 720p YPbPr Progressive
16.9- 1920 x 1080i YPbPr Interlaced
852 x 480p YPbPr Progressive
862 x 676p YPbPr Progressive
Scaled Output Vertical efresh ates
and Horizontal Scan ates
Manual Control Front Panel Buttons
I emote Control Yes
Video Adjustments Brightness, Contrast, Colour Saturation, Tint
and Sharpness.
Weight 1 Kg
Dimensions 204 (D) x 154 ( ) x 46 (H) mm
Power Source 100 ~ 240 VAC to DC 5V 2A Center positive
Desktop Switching Adaptor
Please browse our online catalogue to view our full product range.
44-48 Maitland Road, Mayfield East, NS , 2304 Australia, [email protected]
Phone +61 249689313 Fax +61 249689314
www.converters.tv

Other Converters.TV Media Converter manuals
Converters.TV 686 User manual

Converters.TV

Converters.TV 686 User manual

Converters.TV CN-100PM/N User manual

Converters.TV

Converters.TV CN-100PM/N User manual

Converters.TV CM-333 User manual

Converters.TV

Converters.TV CM-333 User manual

Converters.TV 15320 User manual

Converters.TV

Converters.TV 15320 User manual

Converters.TV CDM-630 User manual

Converters.TV

Converters.TV CDM-630 User manual

Converters.TV 691 User manual

Converters.TV

Converters.TV 691 User manual

Converters.TV 15153 User manual

Converters.TV

Converters.TV 15153 User manual

Converters.TV 921 User manual

Converters.TV

Converters.TV 921 User manual

Converters.TV 840 User manual

Converters.TV

Converters.TV 840 User manual

Converters.TV 901 User manual

Converters.TV

Converters.TV 901 User manual

Converters.TV 930 User manual

Converters.TV

Converters.TV 930 User manual

Converters.TV 15421 User manual

Converters.TV

Converters.TV 15421 User manual

Converters.TV 3G SDI to HDMI Converter User manual

Converters.TV

Converters.TV 3G SDI to HDMI Converter User manual

Converters.TV 975 User manual

Converters.TV

Converters.TV 975 User manual

Converters.TV 15338 User manual

Converters.TV

Converters.TV 15338 User manual

Converters.TV 15200 User manual

Converters.TV

Converters.TV 15200 User manual

Converters.TV 15155 User manual

Converters.TV

Converters.TV 15155 User manual

Converters.TV CDM-820 User manual

Converters.TV

Converters.TV CDM-820 User manual

Converters.TV 326 User manual

Converters.TV

Converters.TV 326 User manual

Converters.TV 967 User manual

Converters.TV

Converters.TV 967 User manual

Converters.TV 612 User manual

Converters.TV

Converters.TV 612 User manual

Converters.TV CDM-830T-BNC User manual

Converters.TV

Converters.TV CDM-830T-BNC User manual

Converters.TV 15267 User manual

Converters.TV

Converters.TV 15267 User manual

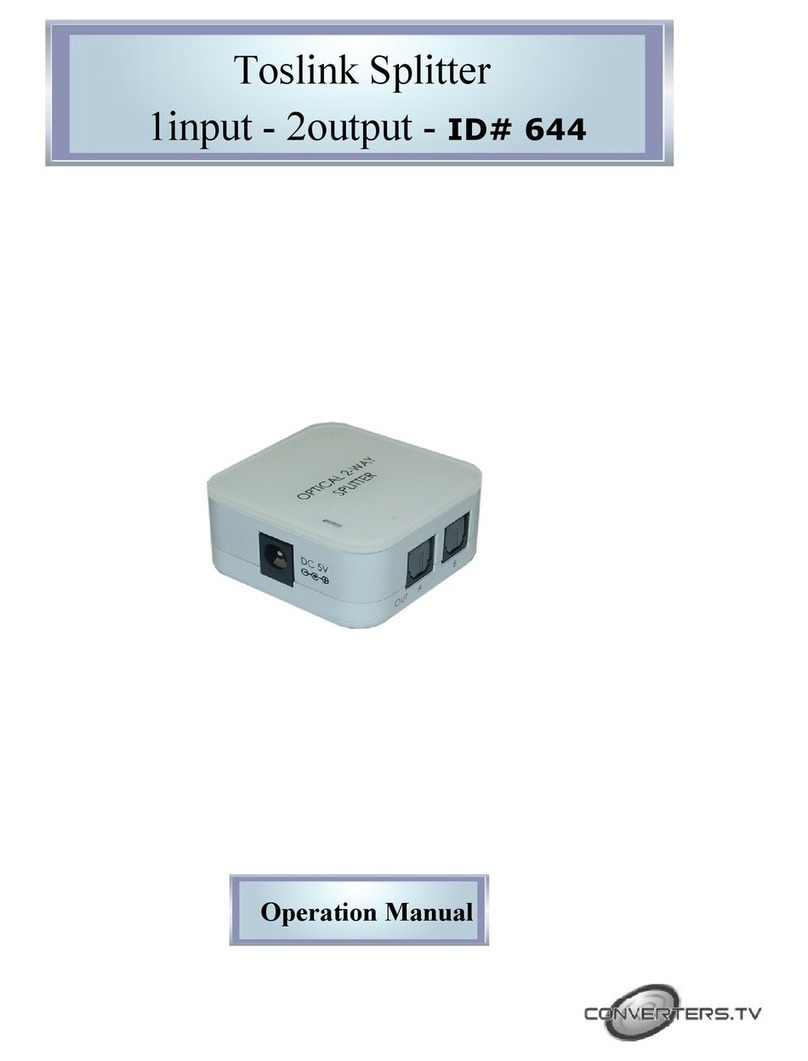
Converters.TV 644 User manual

Converters.TV

Converters.TV 644 User manual
Popular Media Converter manuals by other brands

ECG MP 2500 instruction manual

ECG

ECG MP 2500 instruction manual

Transition Networks C/E-PSW-FX-03(LH) user guide

Transition Networks

Transition Networks C/E-PSW-FX-03(LH) user guide

Nicols SPLIT DMX 248 user manual

Nicols

Nicols SPLIT DMX 248 user manual

Cross Technologies 2117 instruction manual

Cross Technologies

Cross Technologies 2117 instruction manual

AJA Video Systems Inc ADA4 user manual

AJA Video Systems Inc

AJA Video Systems Inc ADA4 user manual

SC&T HAE01 user manual

SC&T

SC&T HAE01 user manual

AMS TSL2591 EVM user guide

AMS

AMS TSL2591 EVM user guide

ZeeVee HDbridge 2840 Configuration guide

ZeeVee

ZeeVee HDbridge 2840 Configuration guide

Eaton DC1-1D-A6 OE1 Series Instruction leaflet

Eaton

Eaton DC1-1D-A6 OE1 Series Instruction leaflet

Cobalt Digital Inc 9903-UDX-ADDA product manual

Cobalt Digital Inc

Cobalt Digital Inc 9903-UDX-ADDA product manual

Transition Networks NANOMETER E-100BTX-SX-01 user guide

Transition Networks

Transition Networks NANOMETER E-100BTX-SX-01 user guide

Fema Electronica ASGARD CCT-01 manual

Fema Electronica

Fema Electronica ASGARD CCT-01 manual

Procon MelcoBEMS MINI installation manual

Procon

Procon MelcoBEMS MINI installation manual

Panduit Atlona OmniStream AT-OMNI-512 manual

Panduit

Panduit Atlona OmniStream AT-OMNI-512 manual

Siemens SINAMICS G120D operating instructions

Siemens

Siemens SINAMICS G120D operating instructions

Speaka Professional SP-9395928 operating instructions

Speaka Professional

Speaka Professional SP-9395928 operating instructions

Adcom GDA-600 owner's manual

Adcom

Adcom GDA-600 owner's manual

TMB ProPlex PP010VCDIN quick start guide

TMB

TMB ProPlex PP010VCDIN quick start guide

manuals.online logo
manuals.online logoBrands
  • About & Mission
  • Contact us
  • Privacy Policy
  • Terms and Conditions

Copyright 2025 Manuals.Online. All Rights Reserved.