manuals.online logo
Brands
  1. Home
  2. •
  3. Brands
  4. •
  5. Corbin
  6. •
  7. Motorcycle Accessories
  8. •
  9. Corbin BMW-K12R-F-E User manual

Corbin BMW-K12R-F-E User manual

Part Number: BMW-K12R-F-E, BMW-K12R-R-E,
BMW-K12R-SMUG
Description: Front and Rear Saddles
Fitment: 2005 BMW K1200 R
Revision: 2
Tools Required Parts List
10mm socket or combination wrench
T25 torx socket wrench (to remove battery cable)
T45 torx socket wrench
5mm Allen key
Side cutters or scissors (for trimming zip ties)
Loctite® or similar
1 #A00673 Top mount bracket
1 #P10044 Bottom mount bracket
1 #CB-TWRHRN-36=01 Wiring pigtail with fuse
6 6mm flat washers
6 6mm hex head bolts
2 8” zip ties
NOTE: We recommend the use of Loctite® or
other threadlock compound when assembling
parts on your motorcycle.
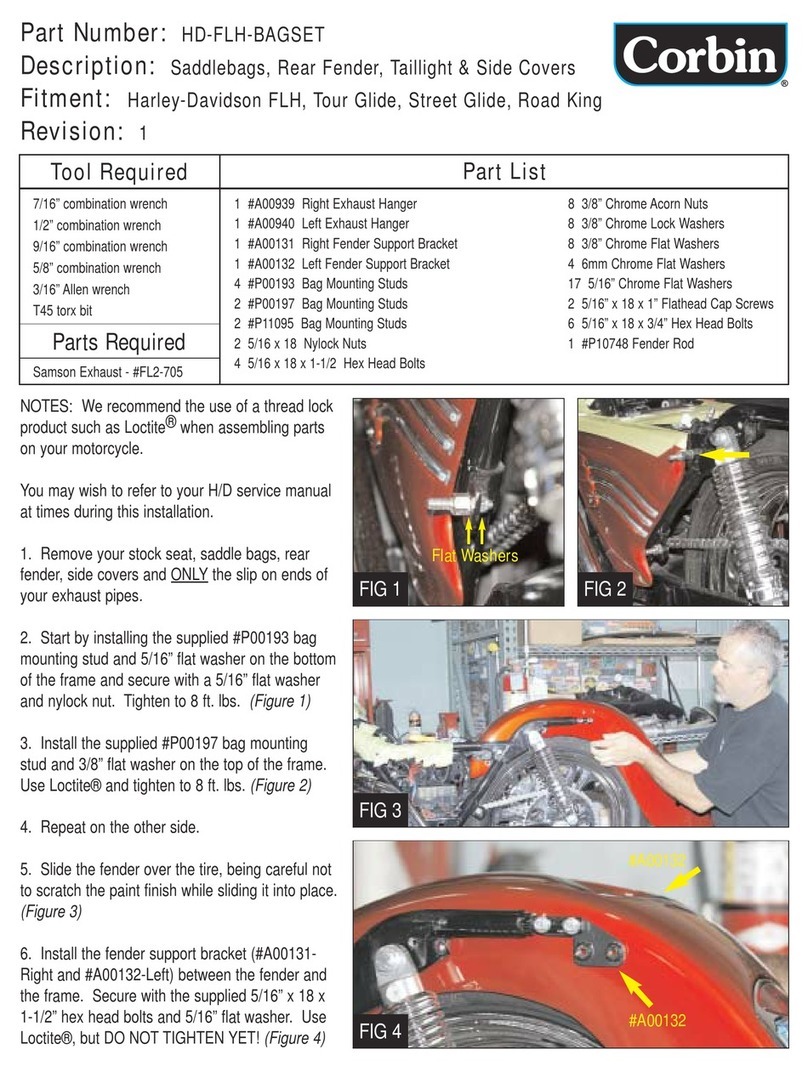
Saddle Installation:
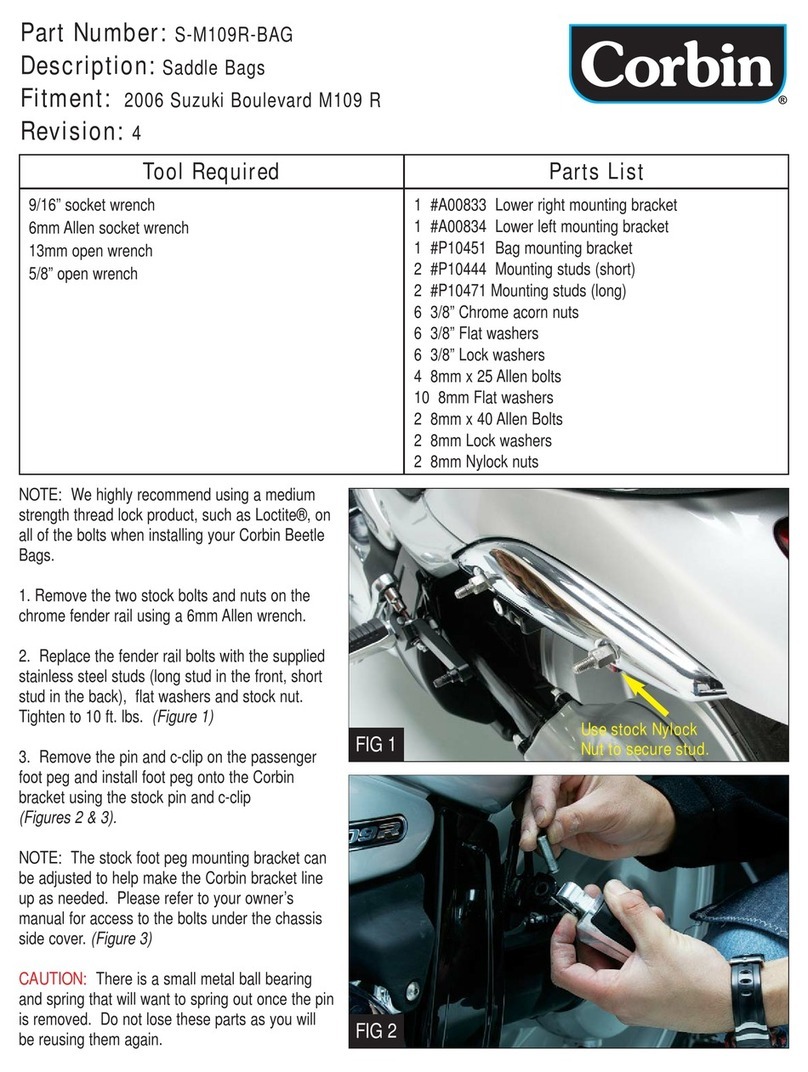
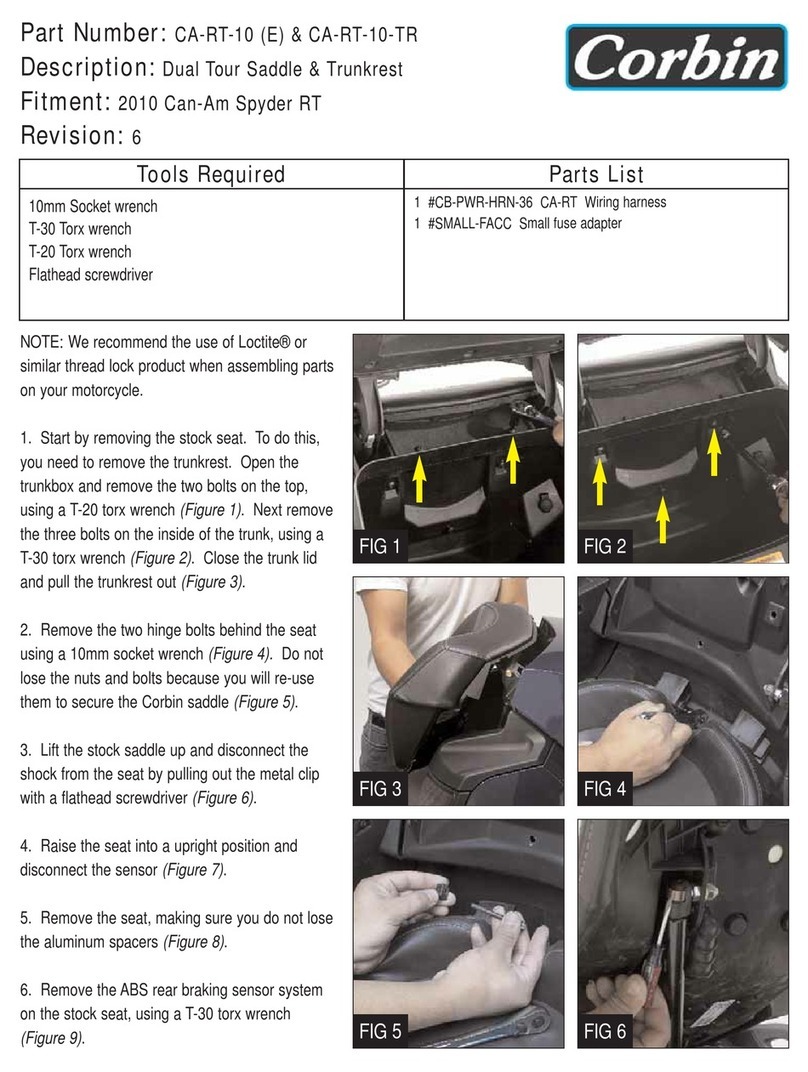
1. Remove stock seat and stock saddle bags.
2. Install Corbin brackets on your motorcycle
chassis as shown in Figure 1. Use the included
bolts with a flat washer on each side. Tighten the
6mm bolt to 6 ft. lbs. Don’t forget the Loctite®!
3. Front saddle secures to the spool brackets
mounted on the front chassis of the bike and latch
mechanism in the rear. Simply slide the saddle
into place, nose-first, then lower onto the latch pin.
Push down until you get TWO clicks. To remove,
just squeeze the tab to release the lock.
4. Rear saddle installs with two tongues in the
front and latch in the rear. To remove, use the
stock key to unlock and pull up.
NOTE: Front and rear seat brackets can be
adjusted to get the best fit.
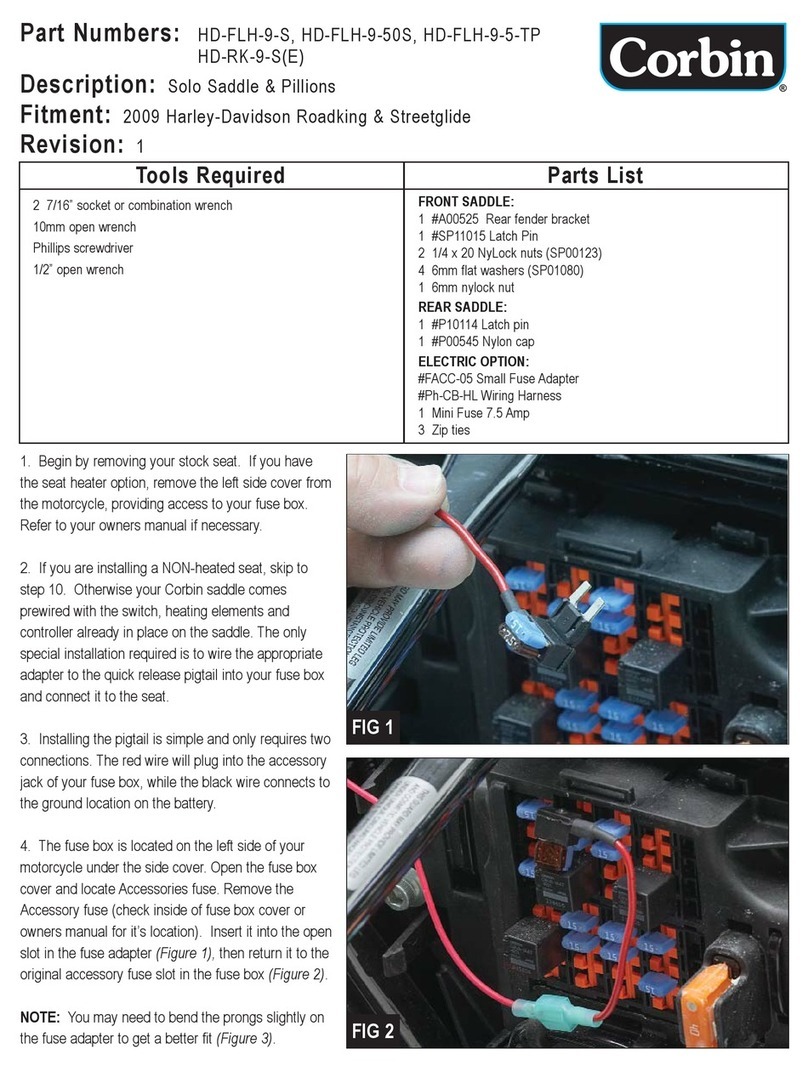
Heater Installation:
1. Remove the top tank panel to expose the
battery. Figure 2. FIG 3
FIG 2
FIG 1
Questions? Give us a holler...
800-223-4332
tech@corbin.com
FIG 4
FIG 5
FIG 6
FIG 7
2. Remove the right side panel by removing three hex head
bolts (Figure 3). Remove the panel by pulling up on the
panel to unlatch it from the center panel. You may have to
jiggle the panel to help it unlatch. Figure 4.
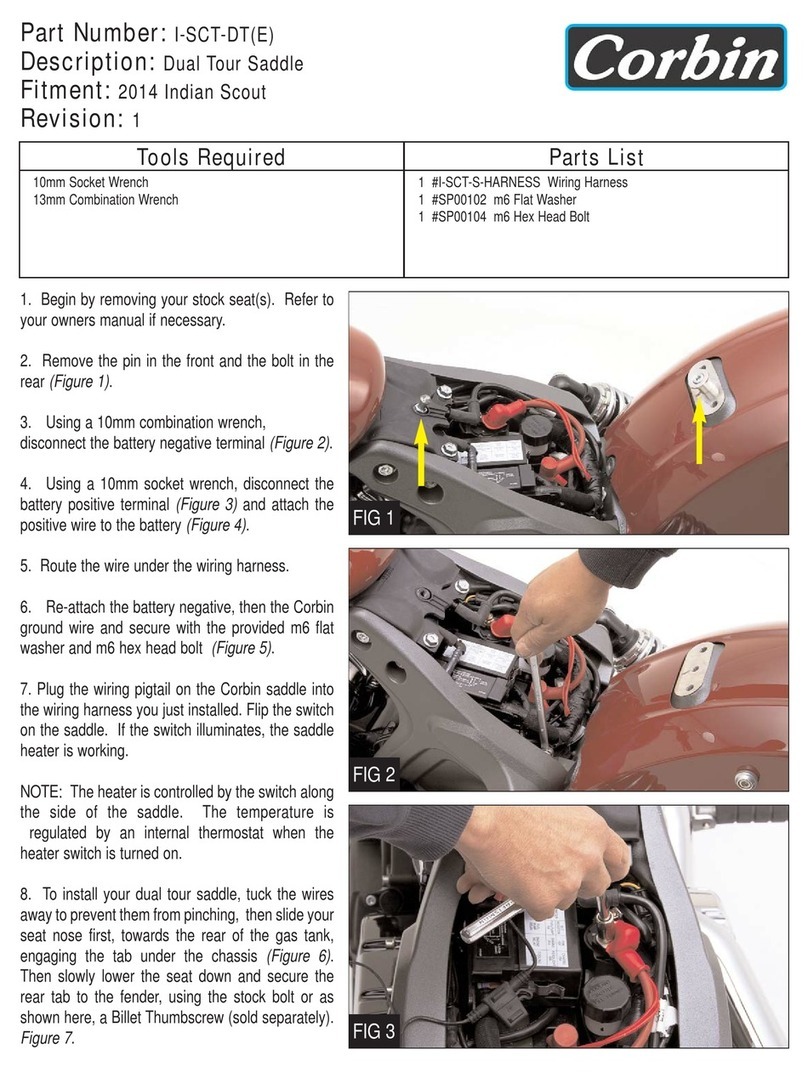
3. Install the wire harness by attaching the wire with the fuse
to the positive terminal of the battery and the wire without the
fuse, to the negative terminal. Figure 5.
4. Route pigtail to seat area under the right panel. Be sure
to route wiring where it will not get pinched by anything,
keeping in mind potential pinch points when mounting the
front and rear saddles on the bike.
5. Bundle loose wiring and secure to subframe with included
zip ties. Do not tighten excessively or you may damage the
wiring...just secure it in place for cleanliness.
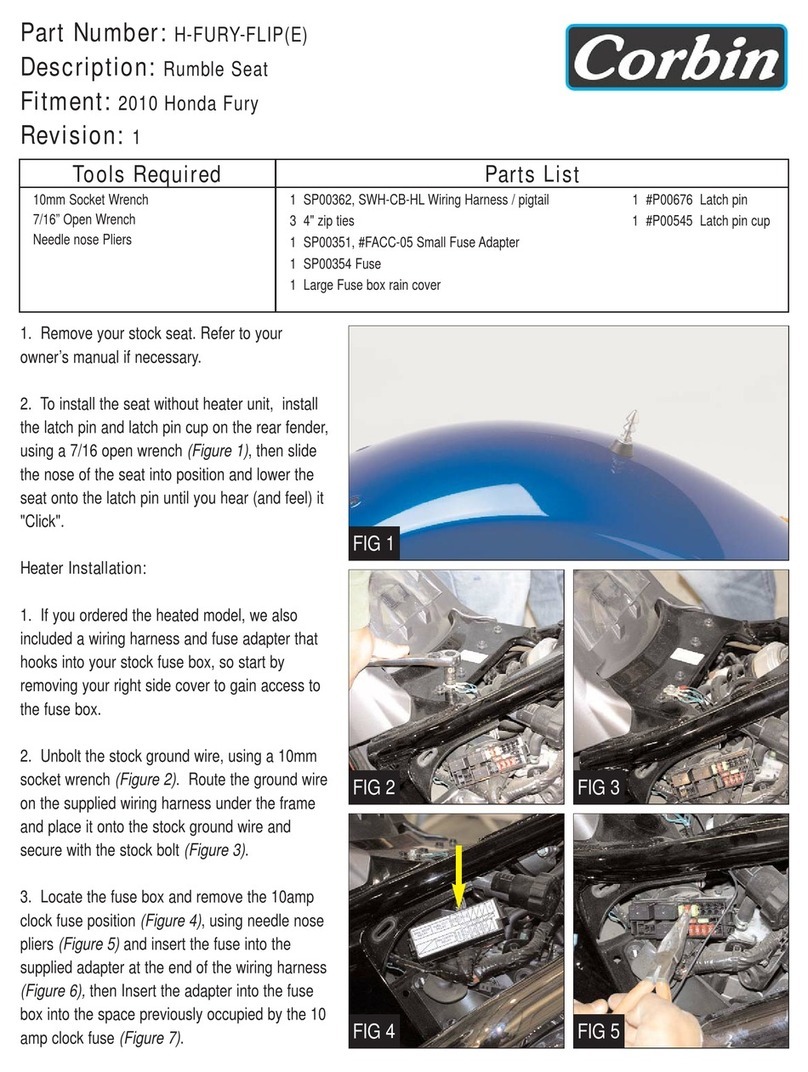
6. Plug in each seat and test (figures 6 & 7). To do this, just
plug the pigtail into the seat, turn on your ignition switch and
flip the switch on the saddle. If the switch illuminates, the
saddle heater is working.
7. If both seats work fine, reinstall your right side panel and
top tank panel and proceed with saddle mounting as outlined
above.
NOTE: The heater is controlled by the switch along the side
of both the front and rear saddles. The temperature is
regulated by an internal thermostat when the heater switch is
turned on.
SURFACE TEMPERATURE PERFORMANCE

This manual suits for next models

2

Other Corbin Motorcycle Accessories manuals

Corbin KV-900-6-BAG User manual

Corbin

Corbin KV-900-6-BAG User manual

Corbin HD-FLH-BAGSET User manual

Corbin

Corbin HD-FLH-BAGSET User manual

Corbin I-SCT-DTE User manual

Corbin

Corbin I-SCT-DTE User manual

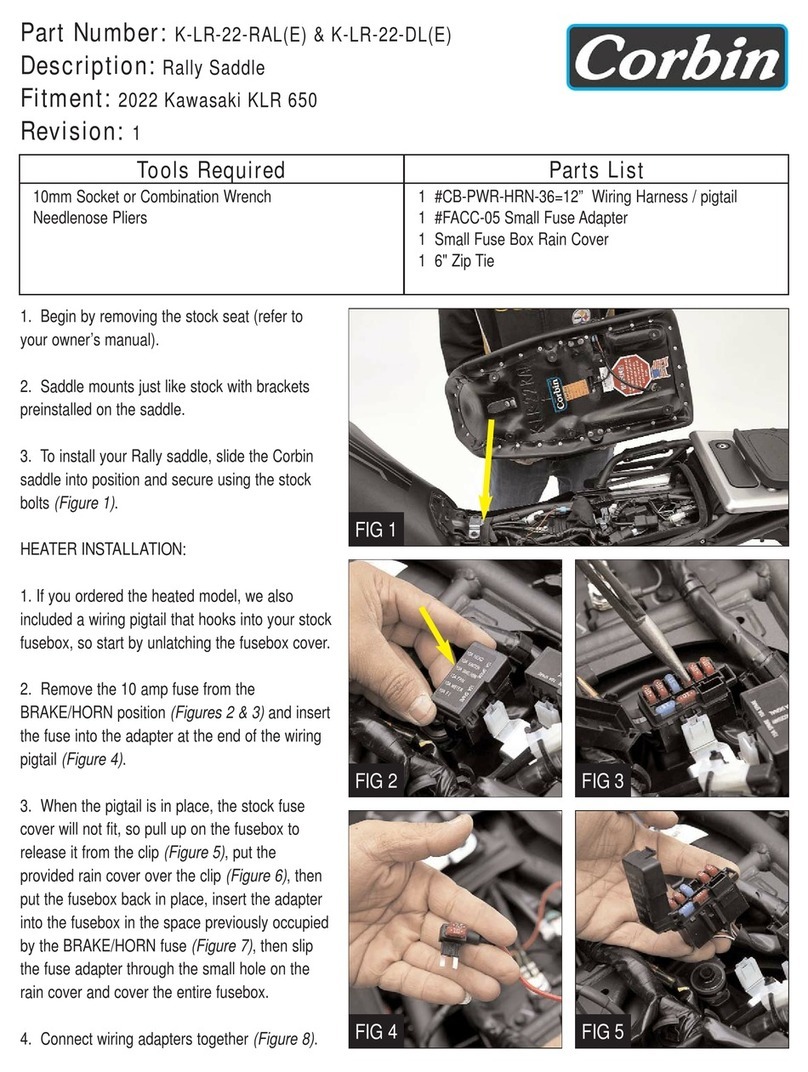
Corbin K-LR-22-RAL User manual

Corbin

Corbin K-LR-22-RAL User manual

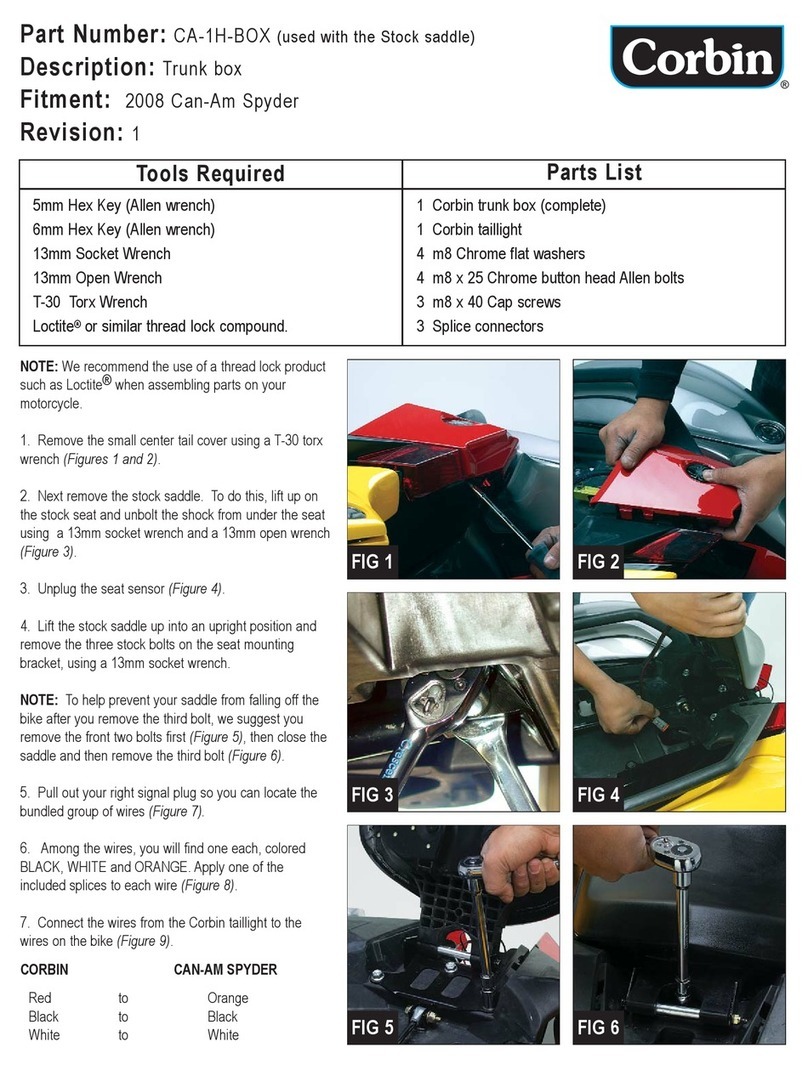
Corbin CA-1H-BOX User manual

Corbin

Corbin CA-1H-BOX User manual

Corbin HD-FLH-9-S User manual

Corbin

Corbin HD-FLH-9-S User manual

Corbin H-FURY-FLIP User manual

Corbin

Corbin H-FURY-FLIP User manual

Corbin S-M109R-BAG User manual

Corbin

Corbin S-M109R-BAG User manual

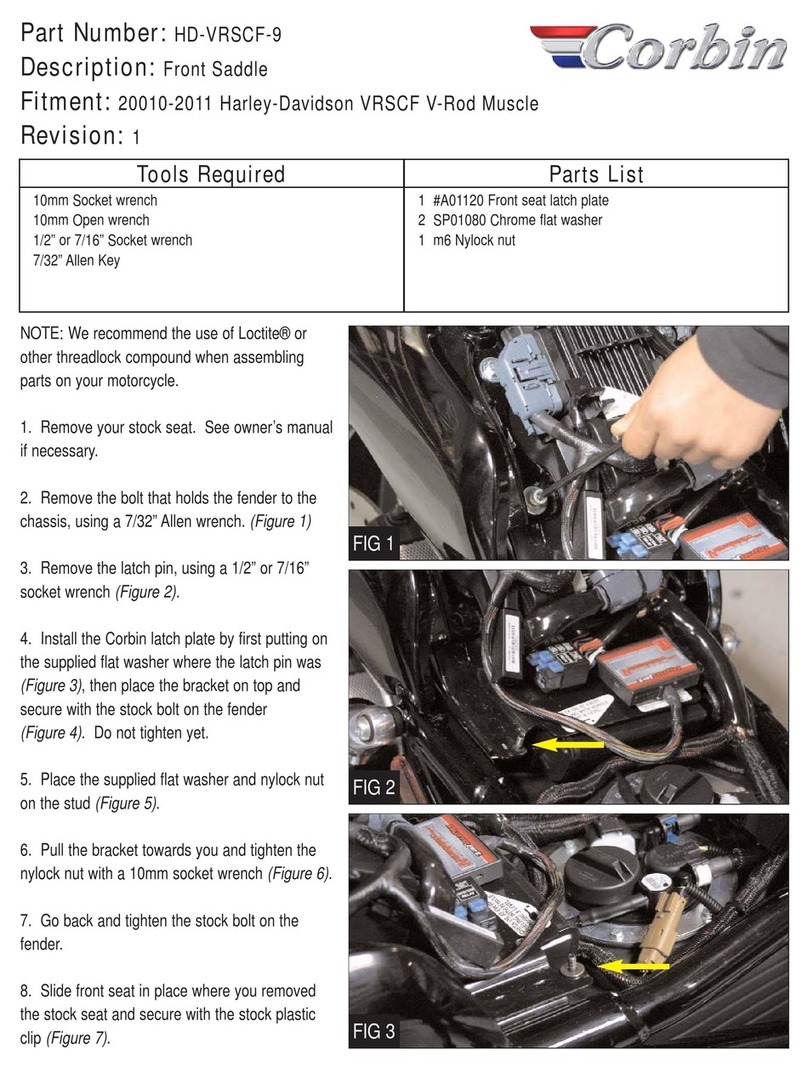
Corbin HD-VRSCF-9 User manual

Corbin

Corbin HD-VRSCF-9 User manual

Corbin CA-BAG-ST User manual

Corbin

Corbin CA-BAG-ST User manual

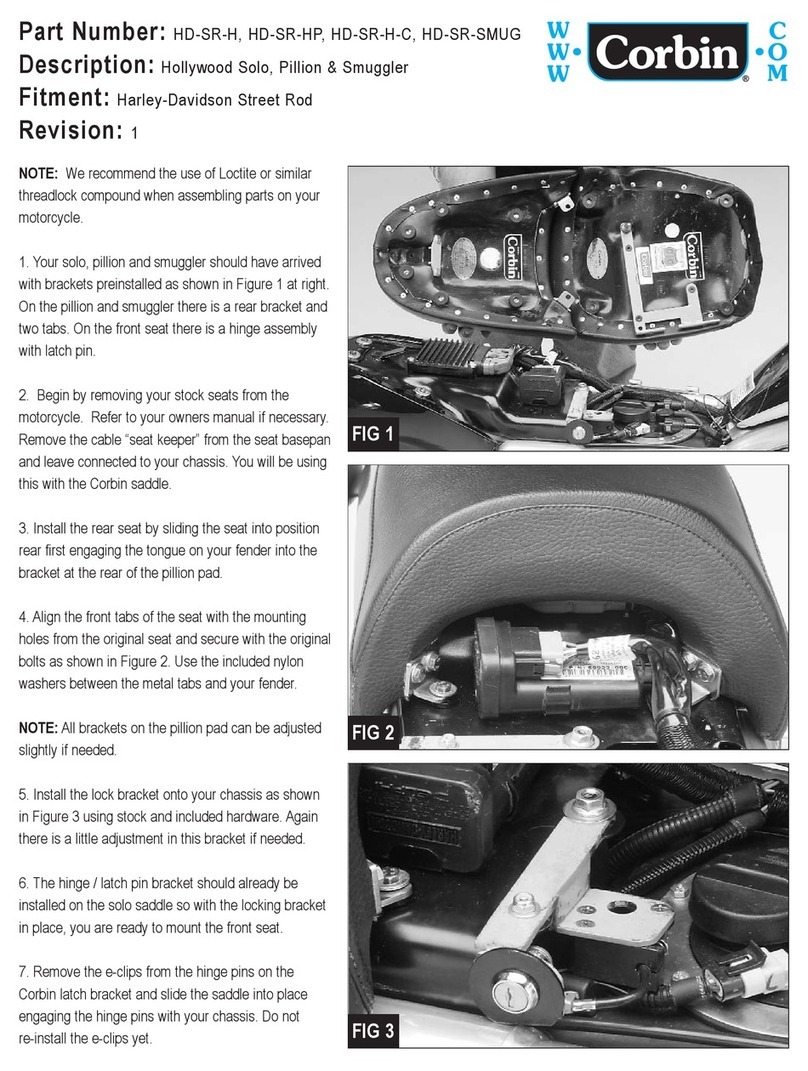
Corbin HD-SR-H User manual

Corbin

Corbin HD-SR-H User manual

Corbin CA-RT-10 User manual

Corbin

Corbin CA-RT-10 User manual

Popular Motorcycle Accessories manuals by other brands

SW-Motech HTA.11.667.10000 Mounting instructions

SW-Motech

SW-Motech HTA.11.667.10000 Mounting instructions

DYNATEK D2K-EXTHARNESS User instructions

DYNATEK

DYNATEK D2K-EXTHARNESS User instructions

hepco & becker 5052515 00 01 manual

hepco & becker

hepco & becker 5052515 00 01 manual

Deca WM23 instruction manual

Deca

Deca WM23 instruction manual

Shad KIT TOPMASTER S0BR12ST quick start guide

Shad

Shad KIT TOPMASTER S0BR12ST quick start guide

AGV RP60 Owner's instructions

AGV

AGV RP60 Owner's instructions

R&G FI0124BK Fitting instructions

R&G

R&G FI0124BK Fitting instructions

KEDO 60520R manual

KEDO

KEDO 60520R manual

Sanmak T/ST/DI/REF operating instructions

Sanmak

Sanmak T/ST/DI/REF operating instructions

Lightspeed ANR quick start guide

Lightspeed

Lightspeed ANR quick start guide

Wolfman B-Base B300 Mounting instructions

Wolfman

Wolfman B-Base B300 Mounting instructions

SHIN YO 550-500 quick start guide

SHIN YO

SHIN YO 550-500 quick start guide

Crivit CASCO JET Instructions for use

Crivit

Crivit CASCO JET Instructions for use

Kappa K22N manual

Kappa

Kappa K22N manual

VMT F30A X Mounting instructions

VMT

VMT F30A X Mounting instructions

Titan Bulldog quick start guide

Titan

Titan Bulldog quick start guide

hepco & becker Lock it TANKRING KIT manual

hepco & becker

hepco & becker Lock it TANKRING KIT manual

Meec tools 212-061 User instructions

Meec tools

Meec tools 212-061 User instructions

manuals.online logo
manuals.online logoBrands
  • About & Mission
  • Contact us
  • Privacy Policy
  • Terms and Conditions

Copyright 2025 Manuals.Online. All Rights Reserved.