Part Number: HD-FLH-BAGSET
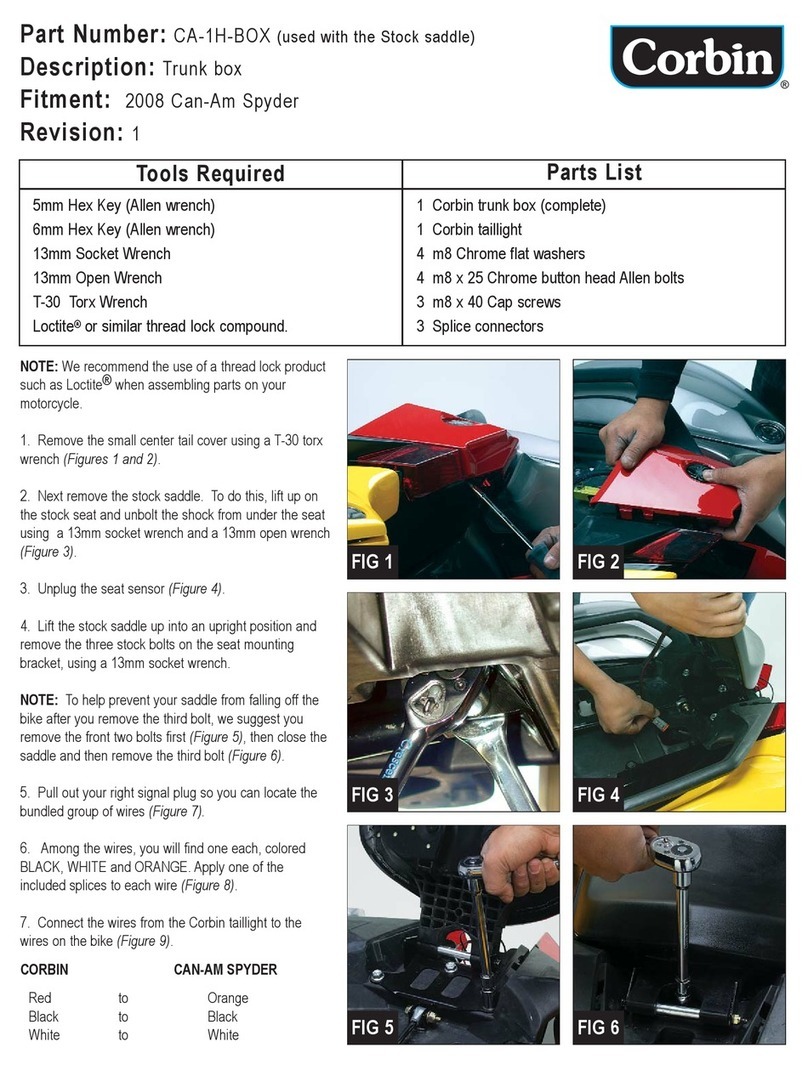
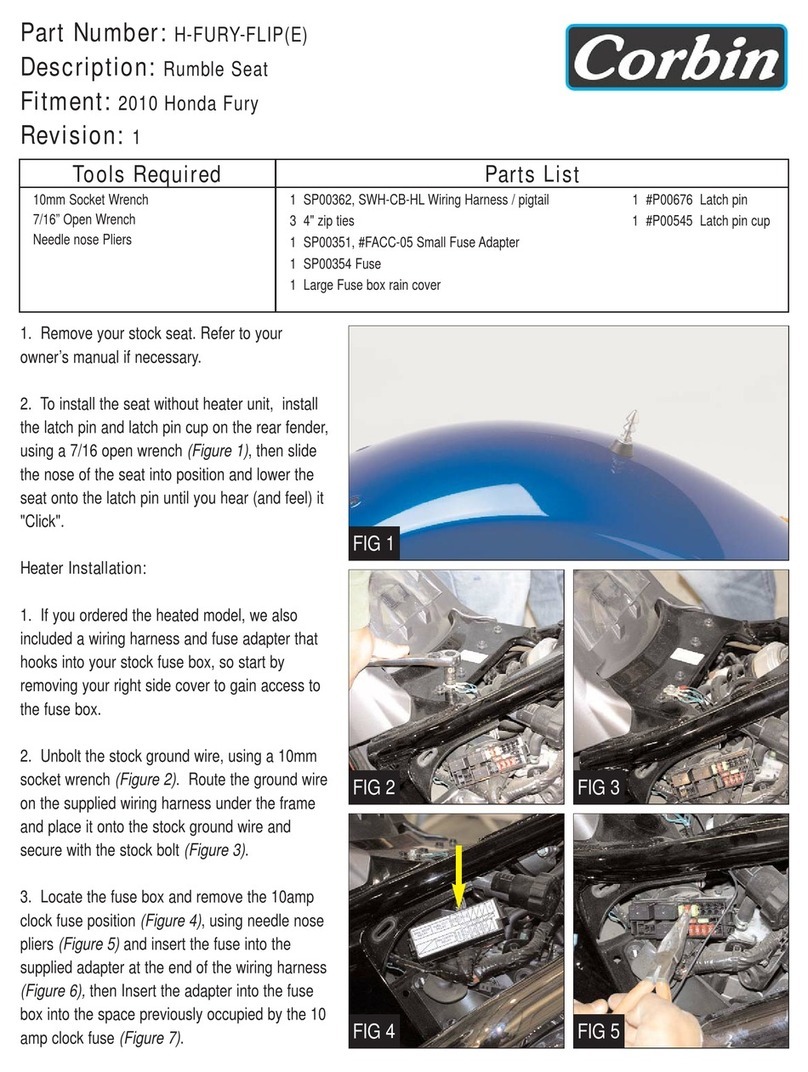
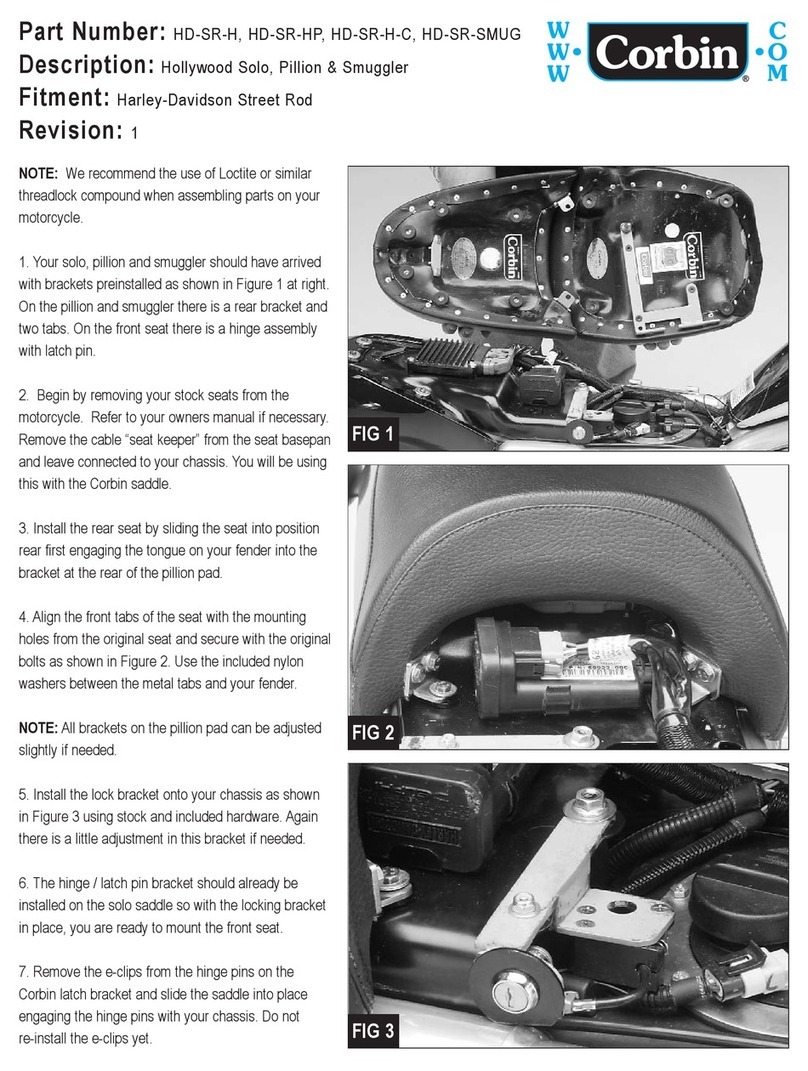
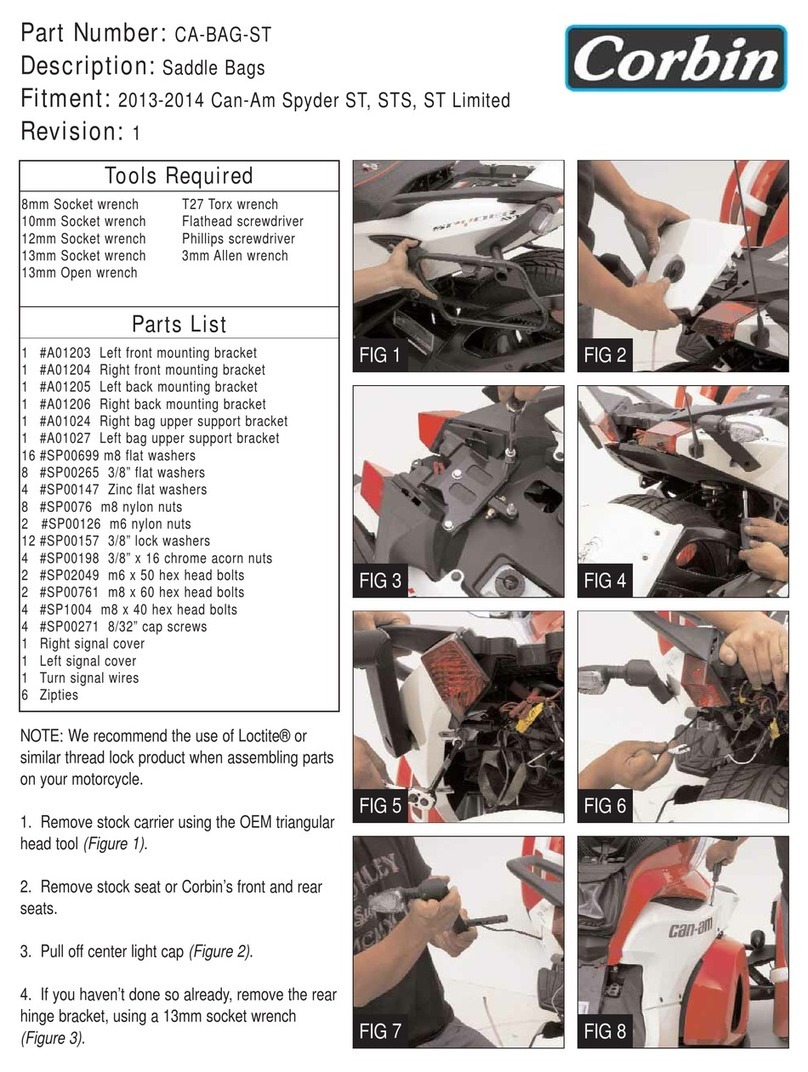
Description: Saddlebags, Rear Fender, Taillight & Side Covers
Fitment: Harley-Davidson FLH, Tour Glide, Street Glide, Road King
Revision: 1
Tool Required Part List
7/16” combination wrench
1/2” combination wrench
9/16” combination wrench
5/8” combination wrench
3/16”Allen wrench
T45 torx bit
Parts Required
Samson Exhaust - #FL2-705
1 #A00939 Right Exhaust Hanger 8 3/8” ChromeAcorn Nuts
1 #A00940 Left Exhaust Hanger 8 3/8” Chrome Lock Washers
1 #A00131 Right Fender Support Bracket 8 3/8” Chrome Flat Washers
1 #A00132 Left Fender Support Bracket 4 6mm Chrome Flat Washers
4 #P00193 Bag Mounting Studs 17 5/16” Chrome Flat Washers
2 #P00197 Bag Mounting Studs 2 5/16” x 18 x 1” Flathead Cap Screws
2 #P11095 Bag Mounting Studs 6 5/16” x 18 x 3/4” Hex Head Bolts
2 5/16 x 18 Nylock Nuts 1 #P10748 Fender Rod
4 5/16 x 18 x 1-1/2 Hex Head Bolts
NOTES: We recommend the use of a thread lock
product such as Loctite®when assembling parts
on your motorcycle.
You may wish to refer to your H/D service manual
at times during this installation.
1. Remove your stock seat, saddle bags, rear
fender, side covers and ONLYthe slip on ends of
your exhaust pipes.
2. Start by installing the supplied #P00193 bag
mounting stud and 5/16” flat washer on the bottom
of the frame and secure with a 5/16” flat washer
and nylock nut. Tighten to 8 ft. lbs. (Figure 1)
3. Install the supplied #P00197 bag mounting
stud and 3/8” flat washer on the top of the frame.
Use Loctite® and tighten to 8 ft. lbs. (Figure 2)
4. Repeat on the other side.
5. Slide the fender over the tire, being careful not
to scratch the paint finish while sliding it into place.
(Figure 3)
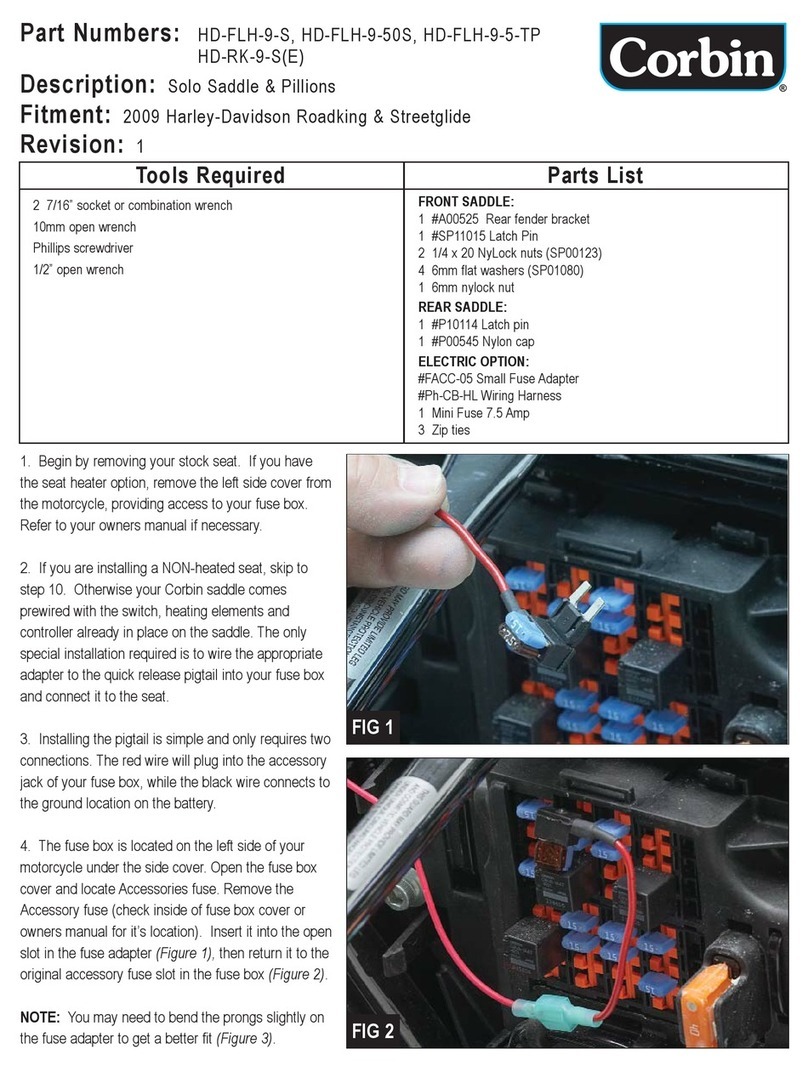
6. Install the fender support bracket (#A00131-
Right and #A00132-Left) between the fender and
the frame. Secure with the supplied 5/16” x 18 x
1-1/2” hex head bolts and 5/16” flat washer. Use
Loctite®, but DO NOT TIGHTEN YET! (Figure 4) FIG 4
FIG 3
FIG 1 FIG 2
Flat Washers
#A00132
#A00132
