manuals.online logo
Brands
  1. Home
  2. •
  3. Brands
  4. •
  5. Corbin
  6. •
  7. Motorcycle Accessories
  8. •
  9. Corbin HD-FLH-9-S User manual

Corbin HD-FLH-9-S User manual

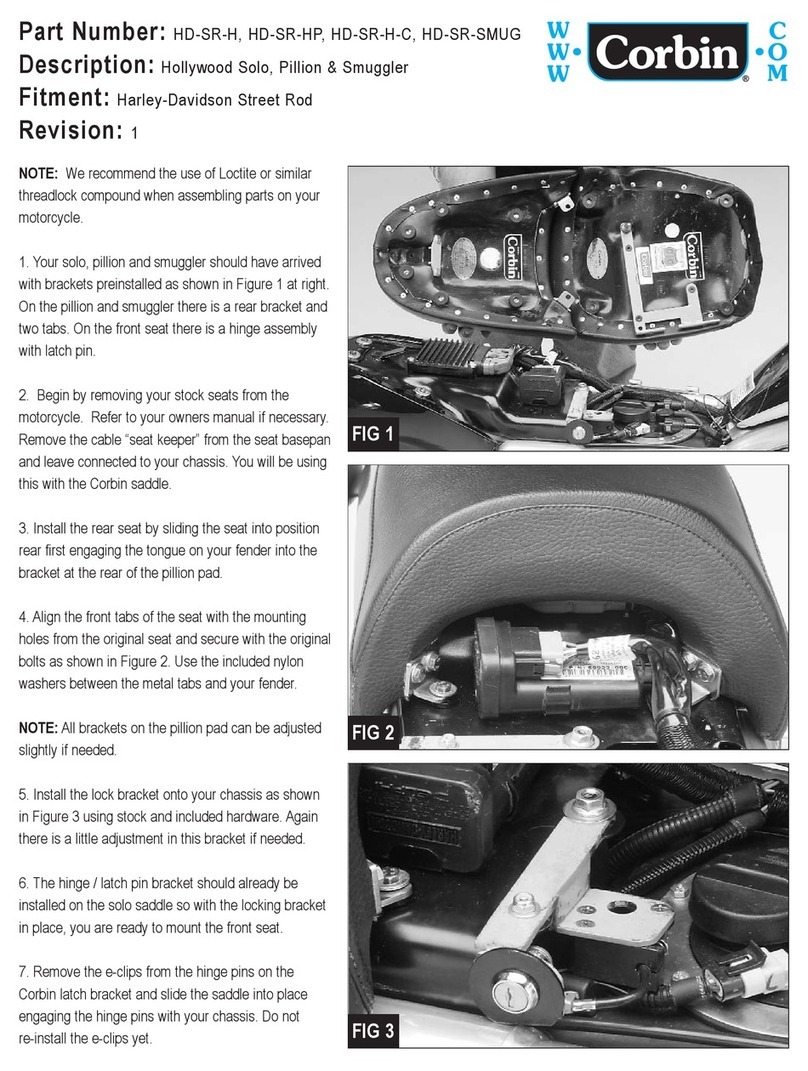
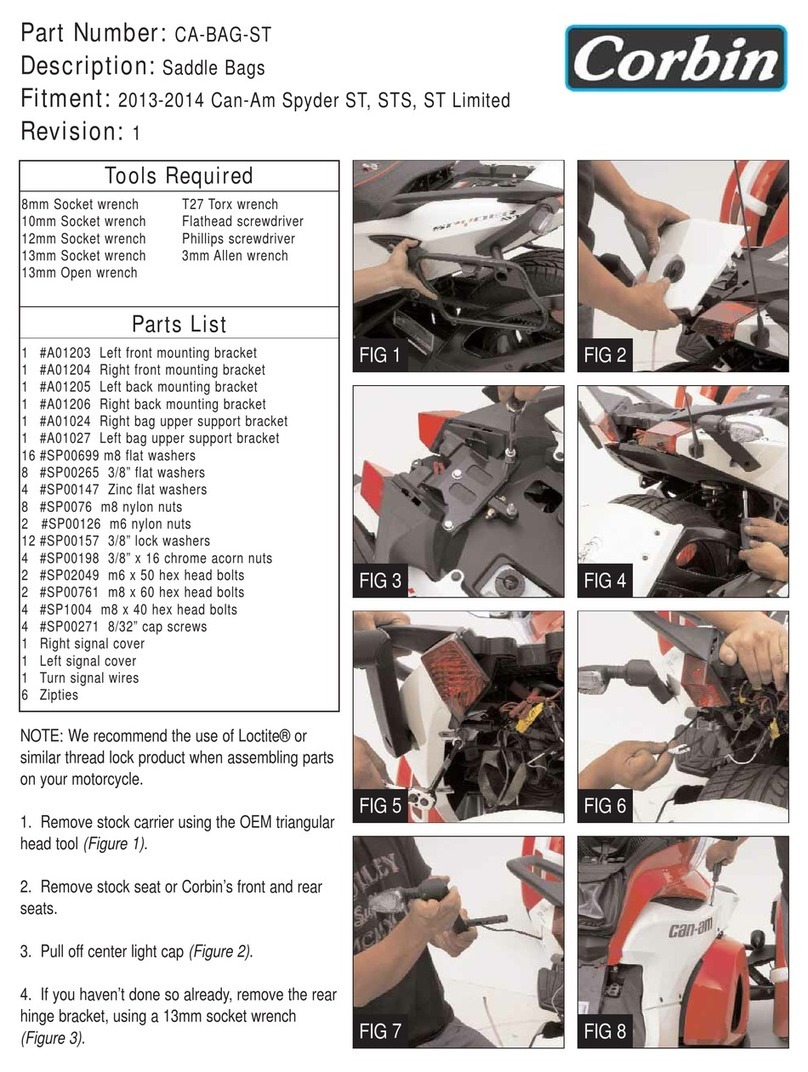
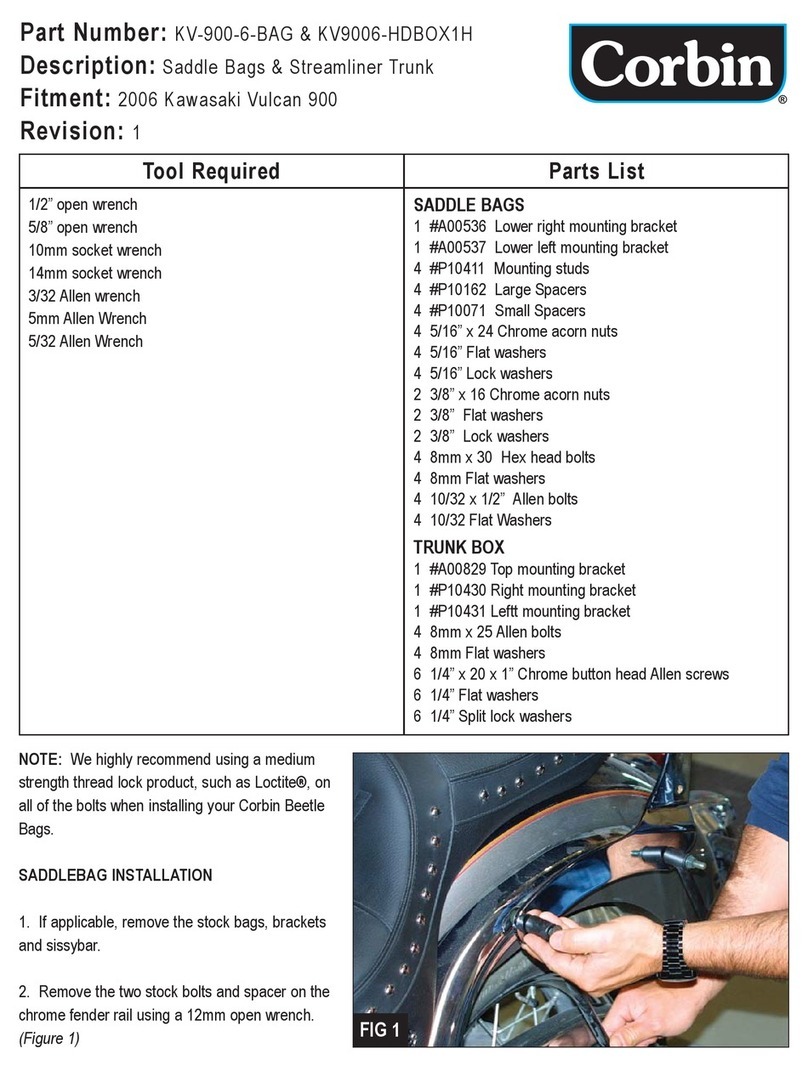
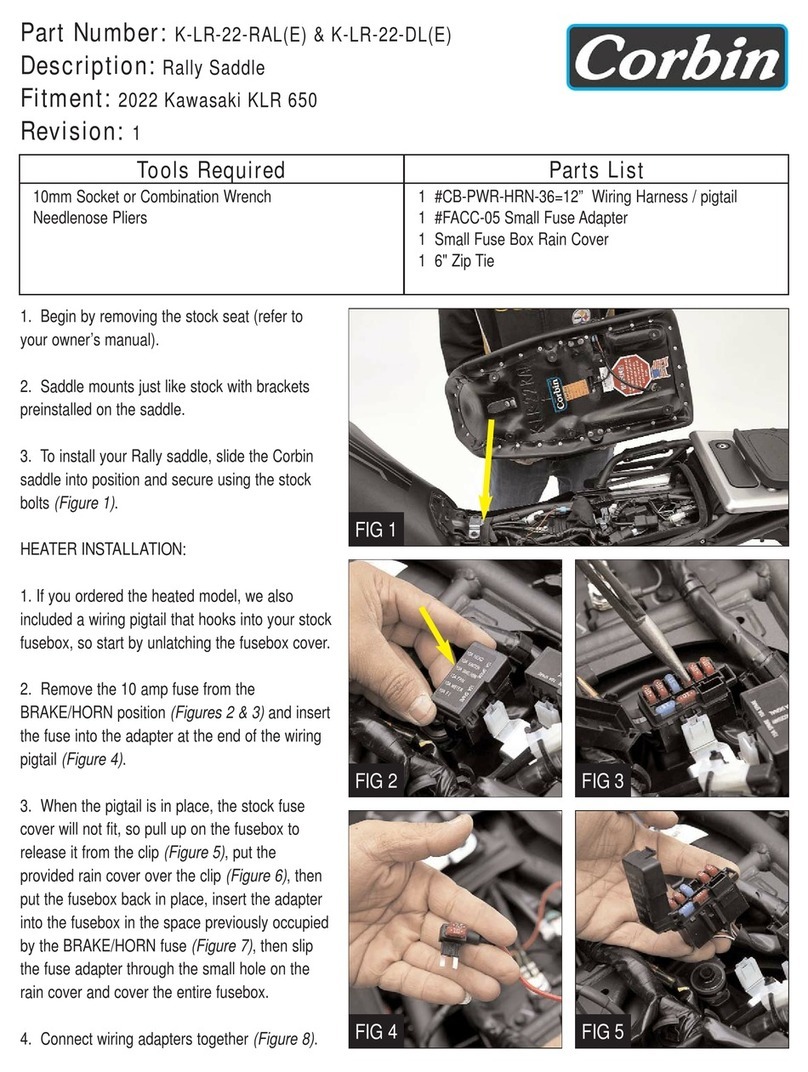
Part Numbers: HD-FLH-9-S, HD-FLH-9-50S, HD-FLH-9-5-TP
HD-RK-9-S(E)
Description: Solo Saddle & Pillions
Fitment: 2009 Harley-Davidson Roadking & Streetglide
Revision: 1
FIG 1
FIG 2
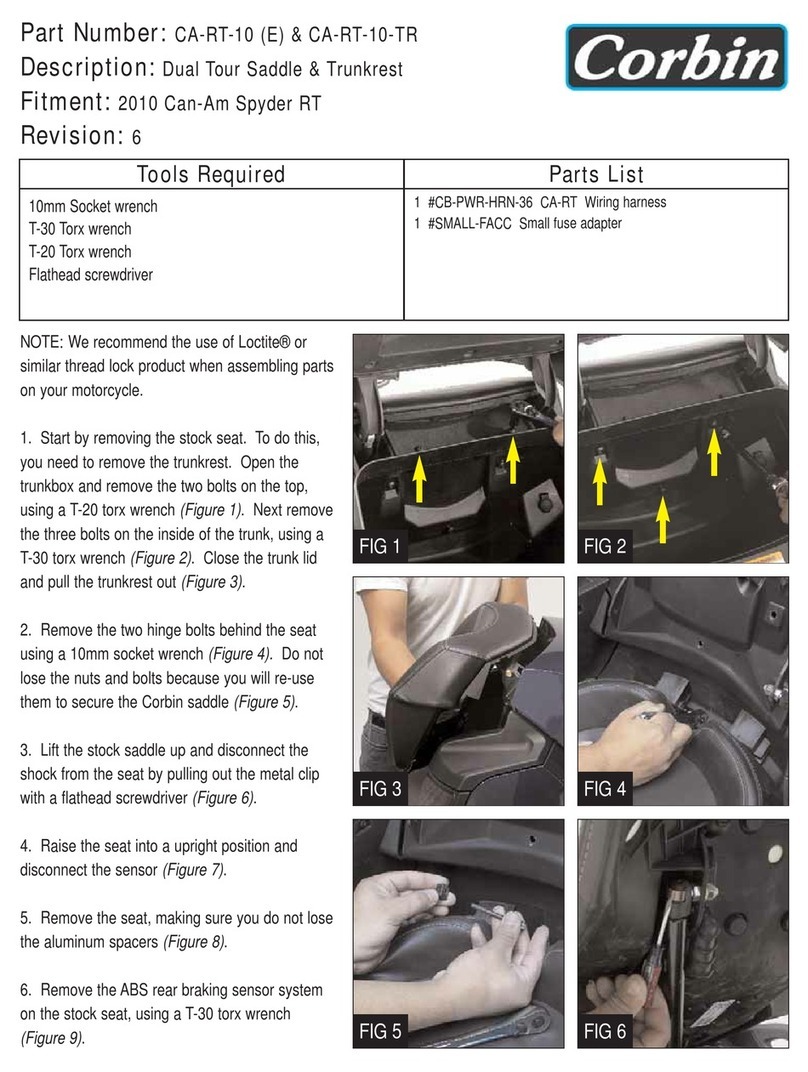
1. Begin by removing your stock seat. If you have
the seat heater option, remove the left side cover from
the motorcycle, providing access to your fuse box.
Refer to your owners manual if necessary.
2. If you are installing a NON-heated seat, skip to
step 10. Otherwise your Corbin saddle comes
prewired with the switch, heating elements and
controller already in place on the saddle. The only
special installation required is to wire the appropriate
adapter to the quick release pigtail into your fuse box
and connect it to the seat.
3. Installing the pigtail is simple and only requires two
connections. The red wire will plug into the accessory
jack of your fuse box, while the black wire connects to
the ground location on the battery.
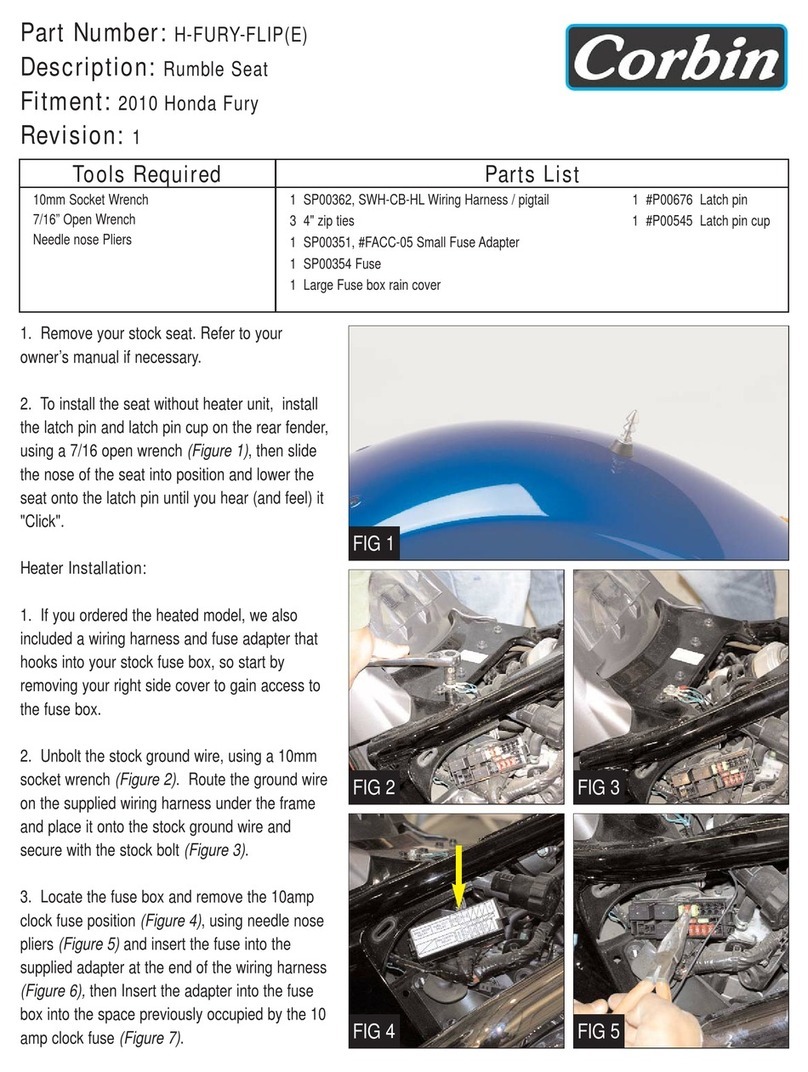
4. The fuse box is located on the left side of your
motorcycle under the side cover. Open the fuse box
cover and locate Accessories fuse. Remove the
Accessory fuse (check inside of fuse box cover or
owners manual for it’s location). Insert it into the open
slot in the fuse adapter (Figure 1), then return it to the
original accessory fuse slot in the fuse box (Figure 2).
NOTE: You may need to bend the prongs slightly on
the fuse adapter to get a better fit (Figure 3).
Tools Required Parts List
2 7/16” socket or combination wrench
10mm open wrench
Phillips screwdriver
1/2” open wrench
FRONT SADDLE:
1 #A00525 Rear fender bracket
1 #SP11015 Latch Pin
2 1/4 x 20 NyLock nuts (SP00123)
4 6mm flat washers (SP01080)
1 6mm nylock nut
REAR SADDLE:
1 #P10114 Latch pin
1 #P00545 Nylon cap
ELECTRIC OPTION:
#FACC-05 Small Fuse Adapter
#Ph-CB-HL Wiring Harness
1 Mini Fuse 7.5 Amp
3 Zip ties
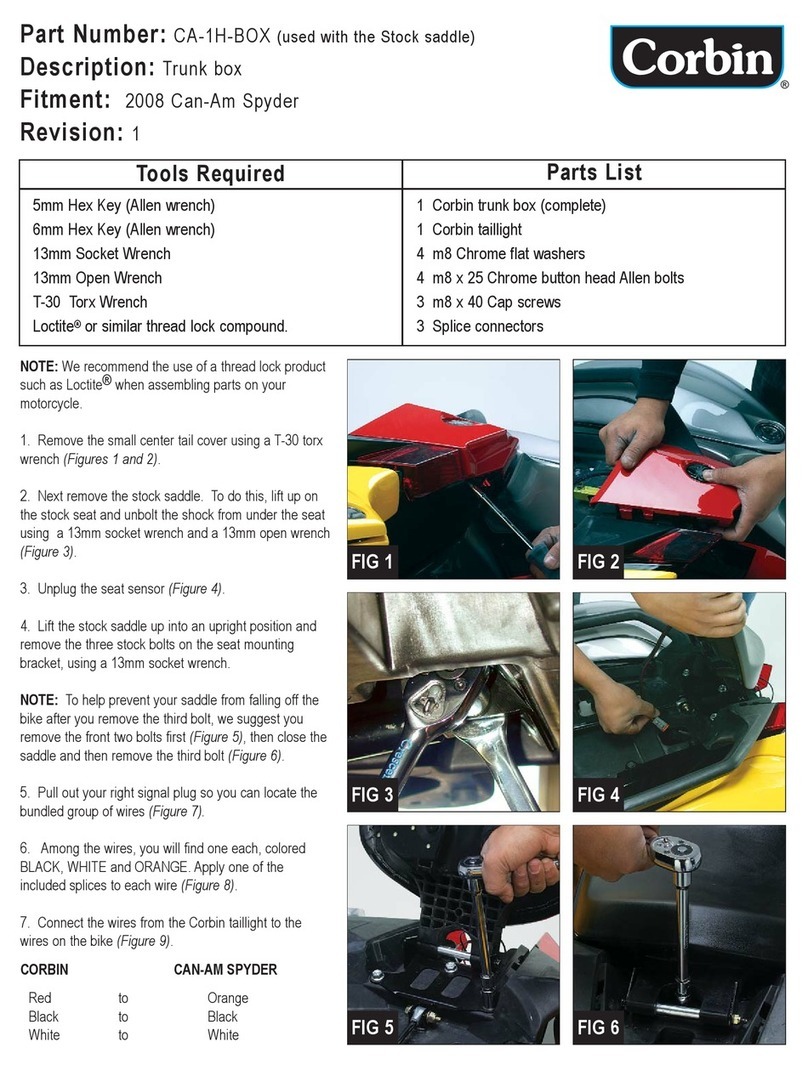
5. Replace the fuse box cover, making sure not to
pinch the wires.
6. Route the wiring where it will not be pinched
against the chassis, by the seat or other objects as
this could cause a short.
7. Attach the ground wire to the negative terminal on
the battery, using a Phillips screwdriver. (Figure 4)
8.
Wind up the wiring harness leaving approximately
10” of wiring to connect to the saddle. Tie the excess
with the provided zip ties and secure neatly out of the
way before mounting the seat to prevent potential
damage. (Figure 5)
9. Reinstall the side cover
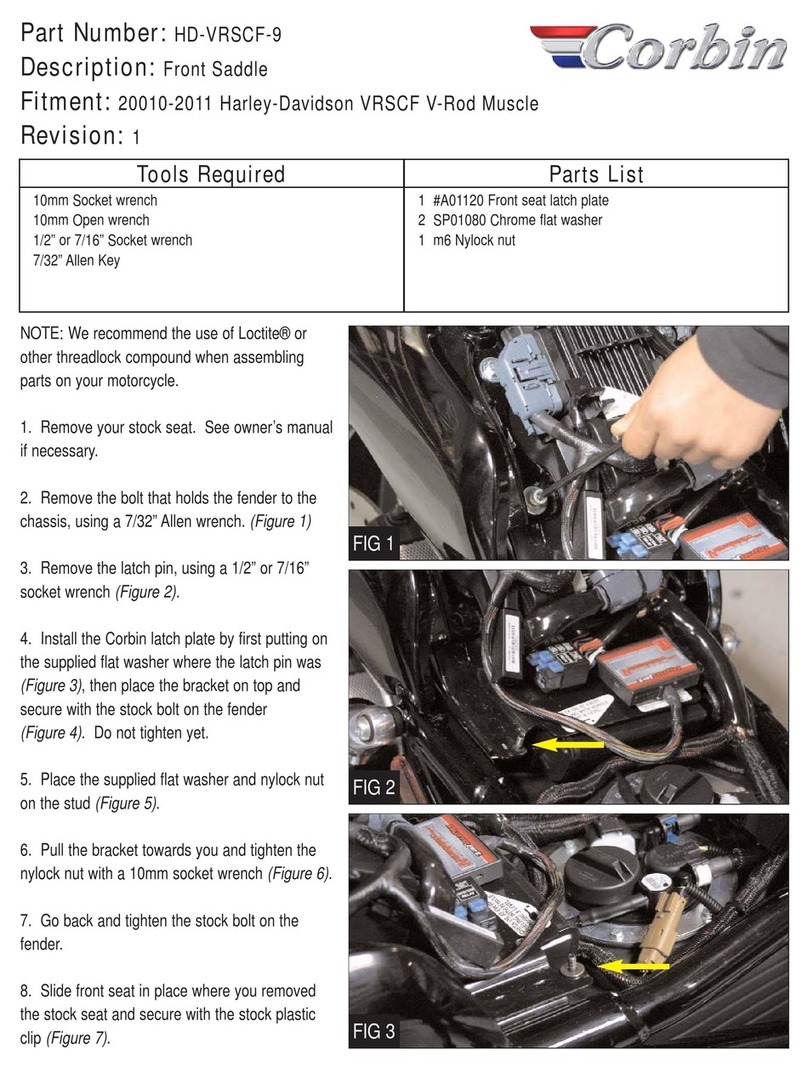
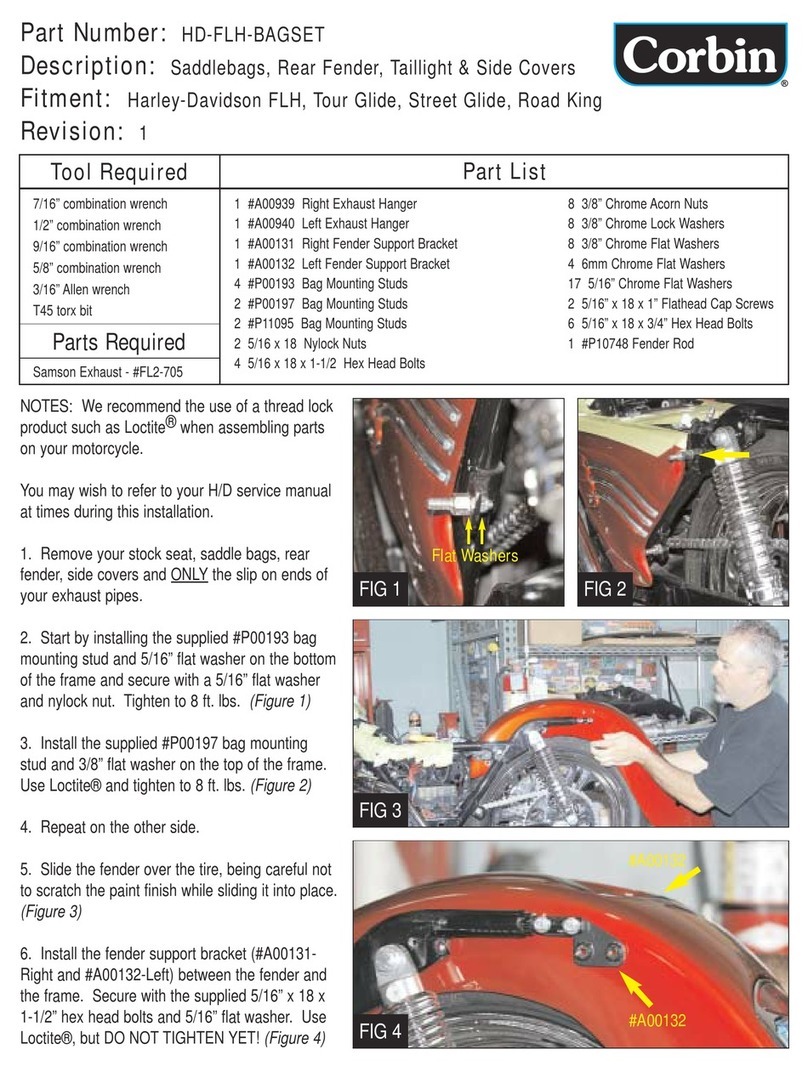
10. Install the supplied #SP11015 latch pin and 6mm
flat washer into the tab at the base of the gas tank.
Secure with a 6mm flat washer and nylock nut, using
a 7/16” open wrench for the pin and a 10mm open
wrench for the nut. Tighten to 6 ft. lbs. (Figure 6).
11. Mount the rear bracket to your fender as shown in
Figure 7 using the 1/4 x 20 NyLock nuts and 1/4” large
washers. Slide the bracket onto the studs and secure
in place. Again, there is adjustment built into this
bracket, start roughly in the center and adjust as
needed after the seat is installed.
12. Figure 8 shows how your chassis should look
when the saddle is ready to install. Notice the rear
bracket lays on the fender to create a platform parallel
to the ground. If it slopes radically downward, it has
been installed in reverse. Remove and apply correctly.
Tighten these nuts to 10 ft. lbs.
NOTE: The threaded holes in the rear bracket are not
used in this application.
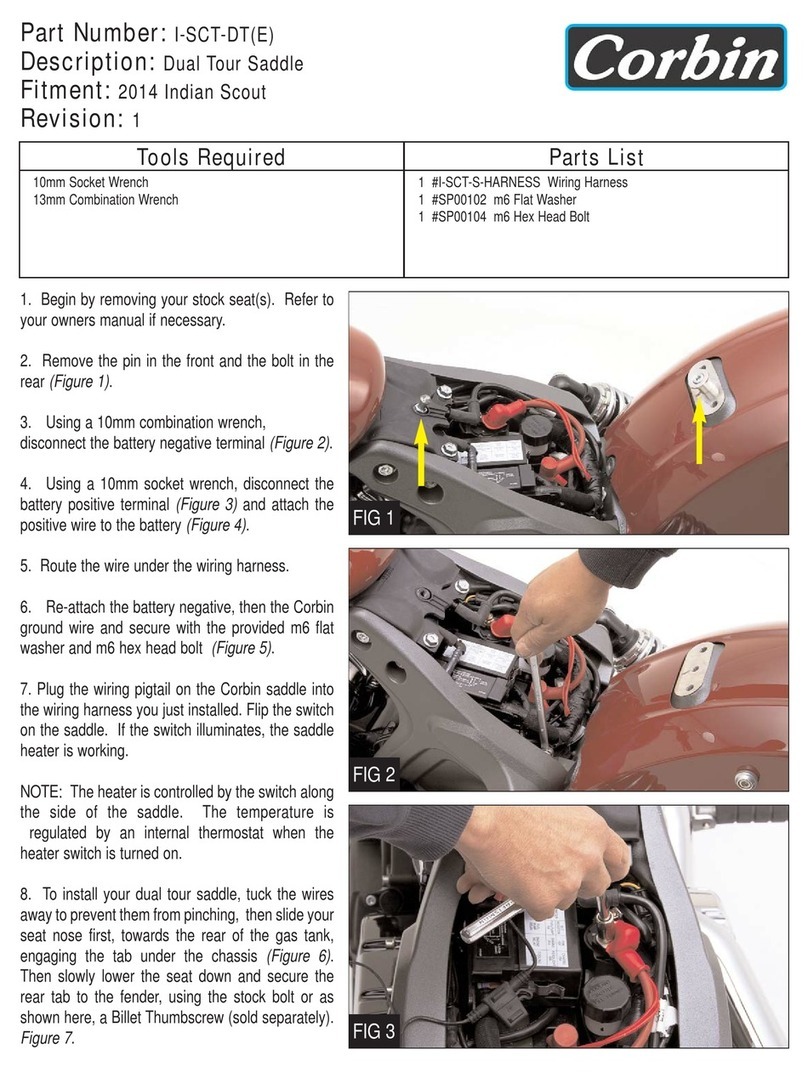
13. To install your saddle, simply slide the tongue
located at the REAR of the seat under the rear fender
bracket. Now lower the nose of the seat so the lock
mechanism engages with the latch pin.
NOTE: When the seat is installed properly, you will
hear ONE click as the lock engages the latch pin. If
needed, you can add a washer under the latch pin to
raise it up.
FIG 3
FIG 4
FIG 5
FIG 6
14. If the saddle does not appear to sit properly on the
motorcycle, you can adjust the front and rear brackets
as needed.
15. Once secured in place, simply insert the key and
turn clockwise to disengage the lock and remove. If
the saddle does not release, push down on the nose
of the saddle to take pressure off the lock mechanism
and then turn the key. Now pull up the nose of the
saddle and remove.
16. To install the rear seat, start by screwing the
supplied #P10114 latch pin and #P00545 nylon cap
into the rear thread nut of the rear fender, using a
7/16” open wrench.
17. To install the rear seat, slide the front tongue
under the bracket, then line the lock under the seat to
the latch pin on the fender and push down until it locks
in place (Figure 9).
NOTE: You will need to remove the front seat to allow
the front tongue on the rear seat to slide in under the
bracket.
18. Your heated seat is ready for a test drive. The
heater is controlled by the switch along the side of the
saddle. There is a low position and a high position and
temperature will be controlled by an internal
thermostat. The rider area is operated by the single
switch. Heat will only operate when motorcycle ignition
is ON and takes a couple minutes to warm up.
NOTE: Heater controller shuts off automatically after 1
hour. Turn switch off and on to restart for another hour.
Questions? Give us a holler...
800-223-4332
tech@corbin.com
FIG 7
FIG 8
FIG 9
SURFACE TEMPERATURE PERFORMANCE

This manual suits for next models

4

Other Corbin Motorcycle Accessories manuals

Corbin HD-VRSCF-9 User manual

Corbin

Corbin HD-VRSCF-9 User manual

Corbin I-SCT-DTE User manual

Corbin

Corbin I-SCT-DTE User manual

Corbin HD-SR-H User manual

Corbin

Corbin HD-SR-H User manual

Corbin CA-1H-BOX User manual

Corbin

Corbin CA-1H-BOX User manual

Corbin BMW-K12R-F-E User manual

Corbin

Corbin BMW-K12R-F-E User manual

Corbin CA-BAG-ST User manual

Corbin

Corbin CA-BAG-ST User manual

Corbin HD-FLH-BAGSET User manual

Corbin

Corbin HD-FLH-BAGSET User manual

Corbin KV-900-6-BAG User manual

Corbin

Corbin KV-900-6-BAG User manual

Corbin CA-RT-10 User manual

Corbin

Corbin CA-RT-10 User manual

Corbin K-LR-22-RAL User manual

Corbin

Corbin K-LR-22-RAL User manual

Corbin H-FURY-FLIP User manual

Corbin

Corbin H-FURY-FLIP User manual

Corbin S-M109R-BAG User manual

Corbin

Corbin S-M109R-BAG User manual

Popular Motorcycle Accessories manuals by other brands

Caberg AVALON manual

Caberg

Caberg AVALON manual

PUIG 21217N quick start guide

PUIG

PUIG 21217N quick start guide

Kirby Morgan SuperLite 17B Maintenance manual

Kirby Morgan

Kirby Morgan SuperLite 17B Maintenance manual

PUIG 9746 manual

PUIG

PUIG 9746 manual

B-PWR SG4FB1-1 Instruction guide

B-PWR

B-PWR SG4FB1-1 Instruction guide

DUCABIKE PRT03 manual

DUCABIKE

DUCABIKE PRT03 manual

Two Brothers Racing 005-32804xV installation instructions

Two Brothers Racing

Two Brothers Racing 005-32804xV installation instructions

hepco & becker 6547571 01 01 quick start guide

hepco & becker

hepco & becker 6547571 01 01 quick start guide

Shark RSJ user manual

Shark

Shark RSJ user manual

100% AIRCRAFT 80004-368-10 user manual

100%

100% AIRCRAFT 80004-368-10 user manual

Cobrra NEMO 2 Instructions for installation and use

Cobrra

Cobrra NEMO 2 Instructions for installation and use

Sena X1S user guide

Sena

Sena X1S user guide

Takegawa Mikuni VM26 instruction manual

Takegawa

Takegawa Mikuni VM26 instruction manual

R&G ECC0337R Fitting instructions

R&G

R&G ECC0337R Fitting instructions

Memphis Shades 2321-0074 Mounting instructions

Memphis Shades

Memphis Shades 2321-0074 Mounting instructions

SHOEI NEOTEC3 393 Instructions for use

SHOEI

SHOEI NEOTEC3 393 Instructions for use

N-Com B901-R User instructions and safety

N-Com

N-Com B901-R User instructions and safety

PUIG 3763 Mounting instructions

PUIG

PUIG 3763 Mounting instructions

manuals.online logo
manuals.online logoBrands
  • About & Mission
  • Contact us
  • Privacy Policy
  • Terms and Conditions

Copyright 2025 Manuals.Online. All Rights Reserved.