manuals.online logo
Brands
  1. Home
  2. •
  3. Brands
  4. •
  5. Corbin
  6. •
  7. Motorcycle Accessories
  8. •
  9. Corbin CA-1H-BOX User manual

Corbin CA-1H-BOX User manual

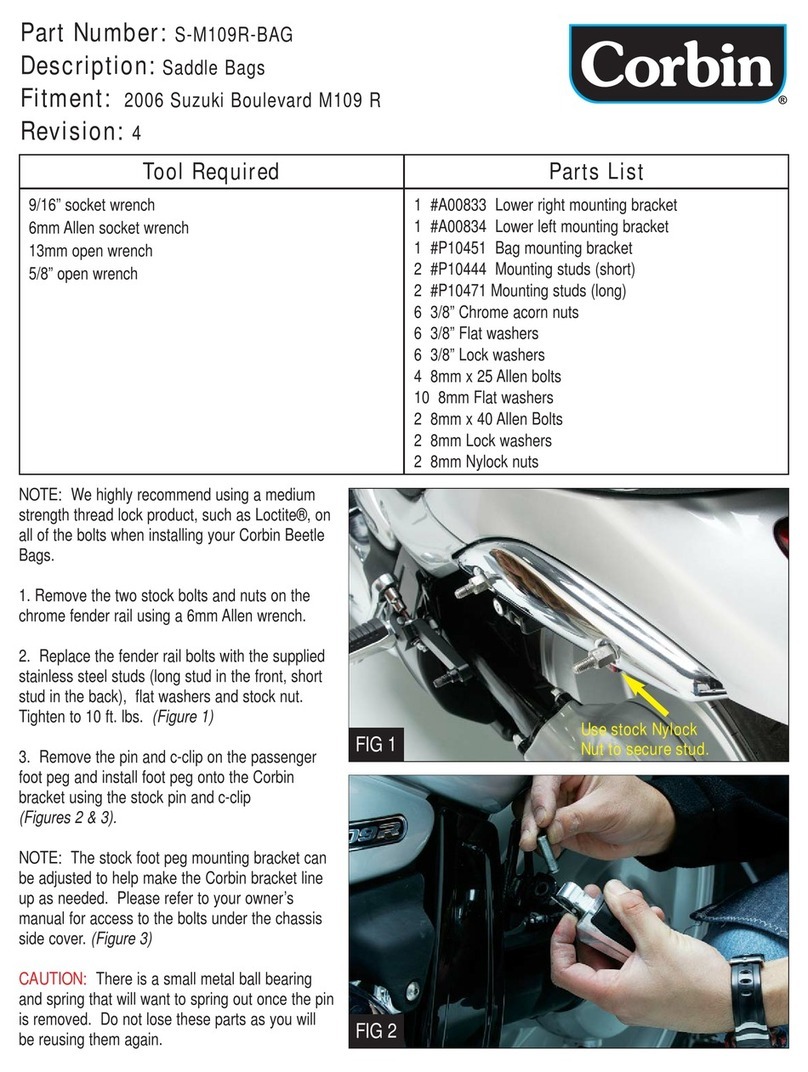
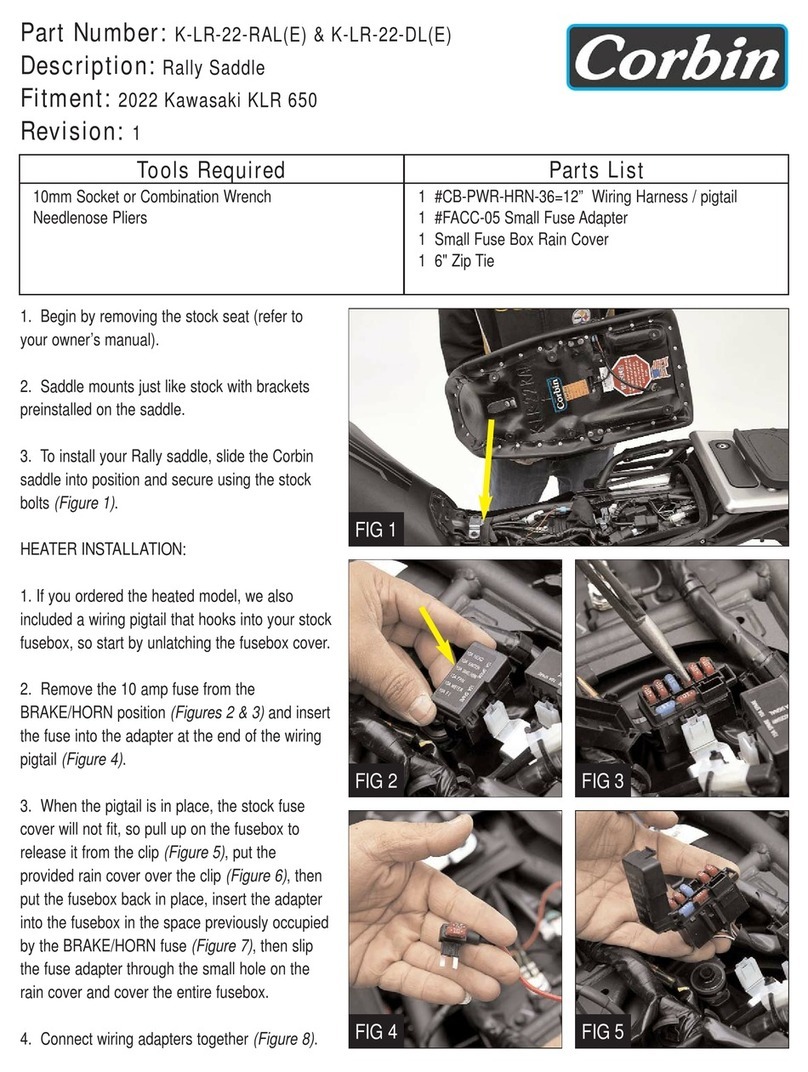
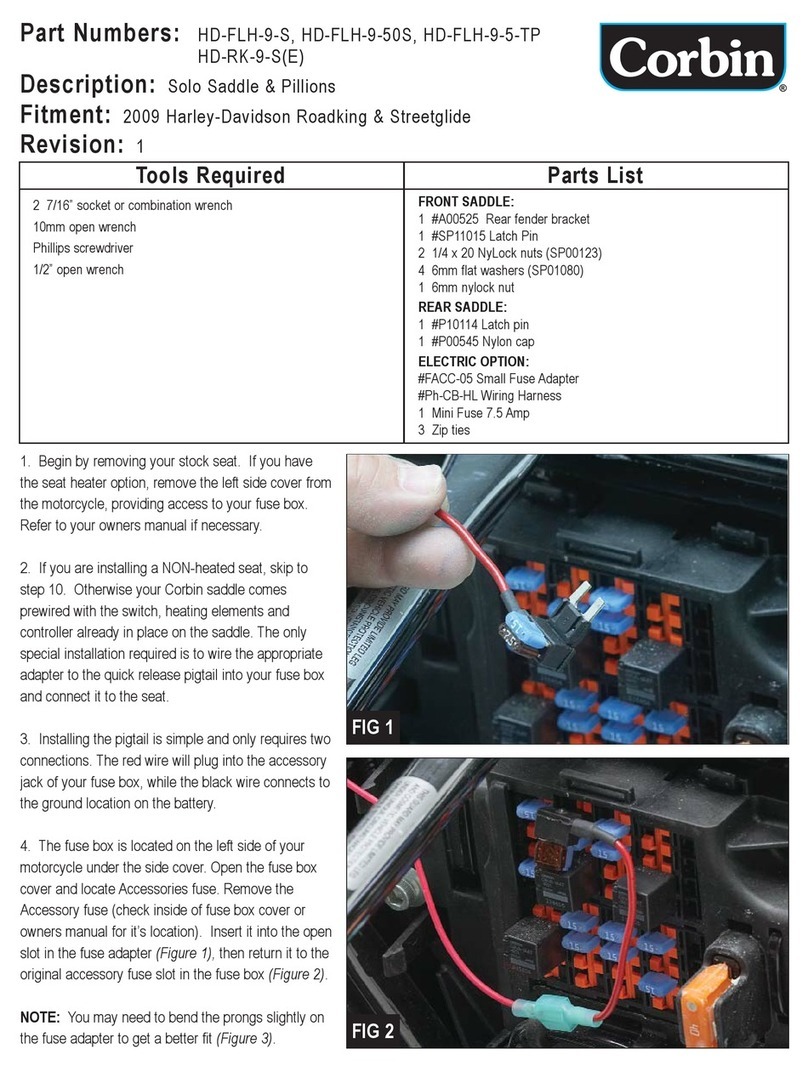
Part Number: CA-1H-BOX (used with the Stock saddle)
Description: Trunk box
Fitment: 2008 Can-Am Spyder
Revision: 1
Tools Required Parts List
5mm Hex Key (Allen wrench)
6mm Hex Key (Allen wrench)
13mm Socket Wrench
13mm Open Wrench
T-30 Torx Wrench
Loctite®or similar thread lock compound.
1 Corbin trunk box (complete)
1 Corbin taillight
4 m8 Chrome flat washers
4 m8 x 25 Chrome button head Allen bolts
3 m8 x 40 Cap screws
3 Splice connectors
NOTE: We recommend the use of a thread lock product
such as Loctite®when assembling parts on your
motorcycle.
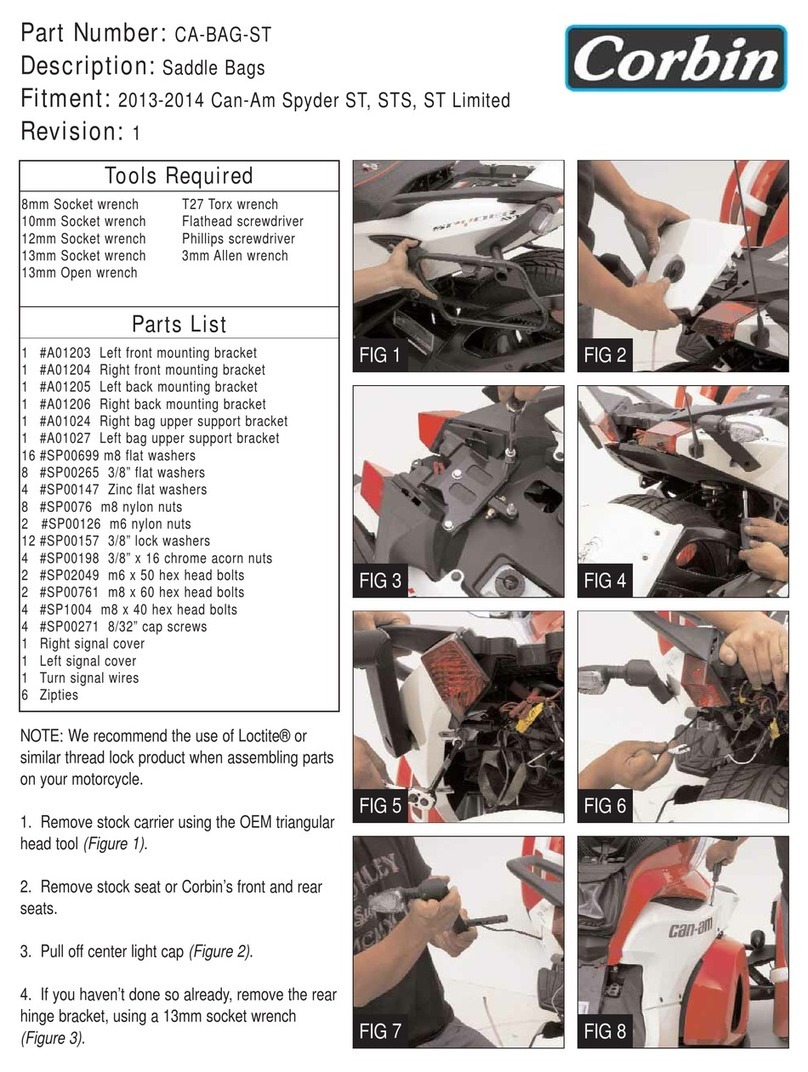
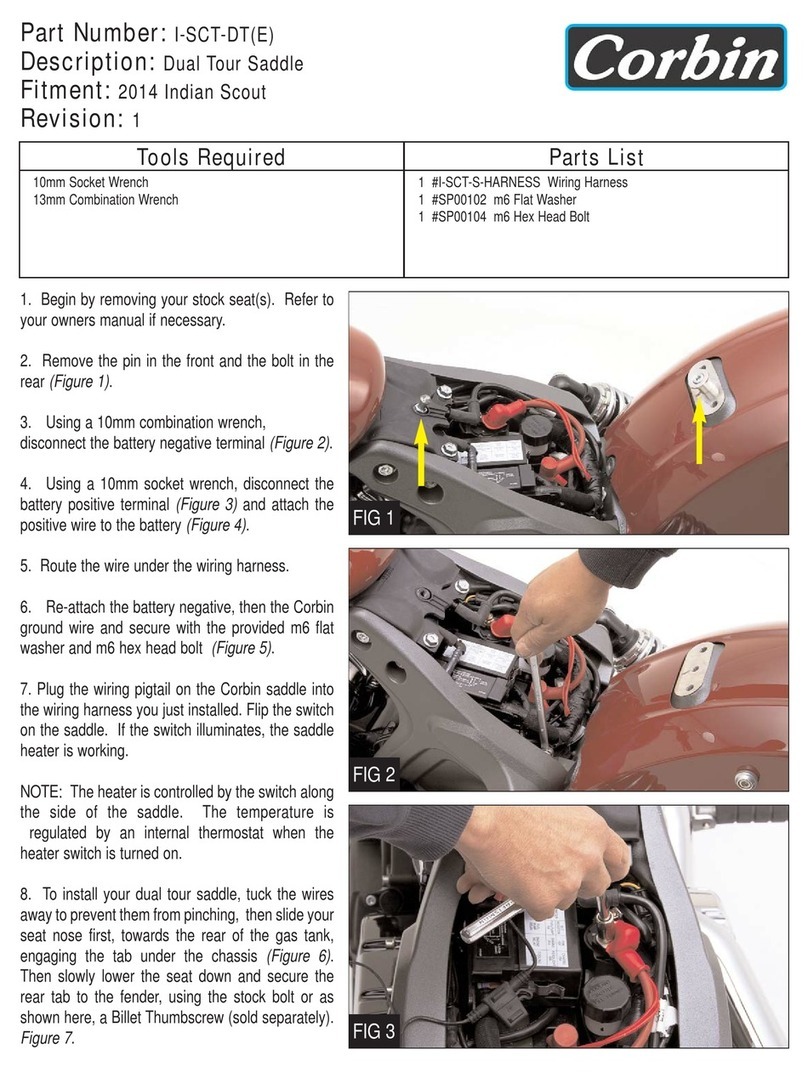
1. Remove the small center tail cover using a T-30 torx
wrench (Figures 1 and 2).
2. Next remove the stock saddle. To do this, lift up on
the stock seat and unbolt the shock from under the seat
using a 13mm socket wrench and a 13mm open wrench
(Figure 3).
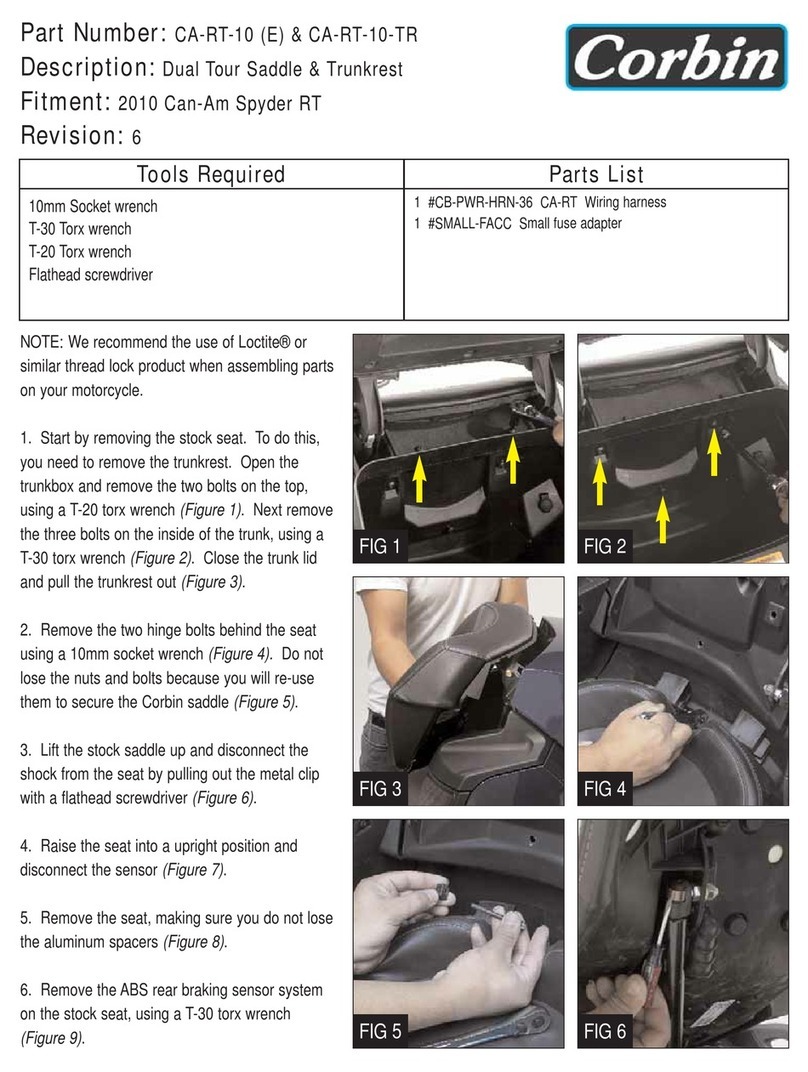
3. Unplug the seat sensor (Figure 4).
4. Lift the stock saddle up into an upright position and
remove the three stock bolts on the seat mounting
bracket, using a 13mm socket wrench.
NOTE: To help prevent your saddle from falling off the
bike after you remove the third bolt, we suggest you
remove the front two bolts first (Figure 5), then close the
saddle and then remove the third bolt (Figure 6).
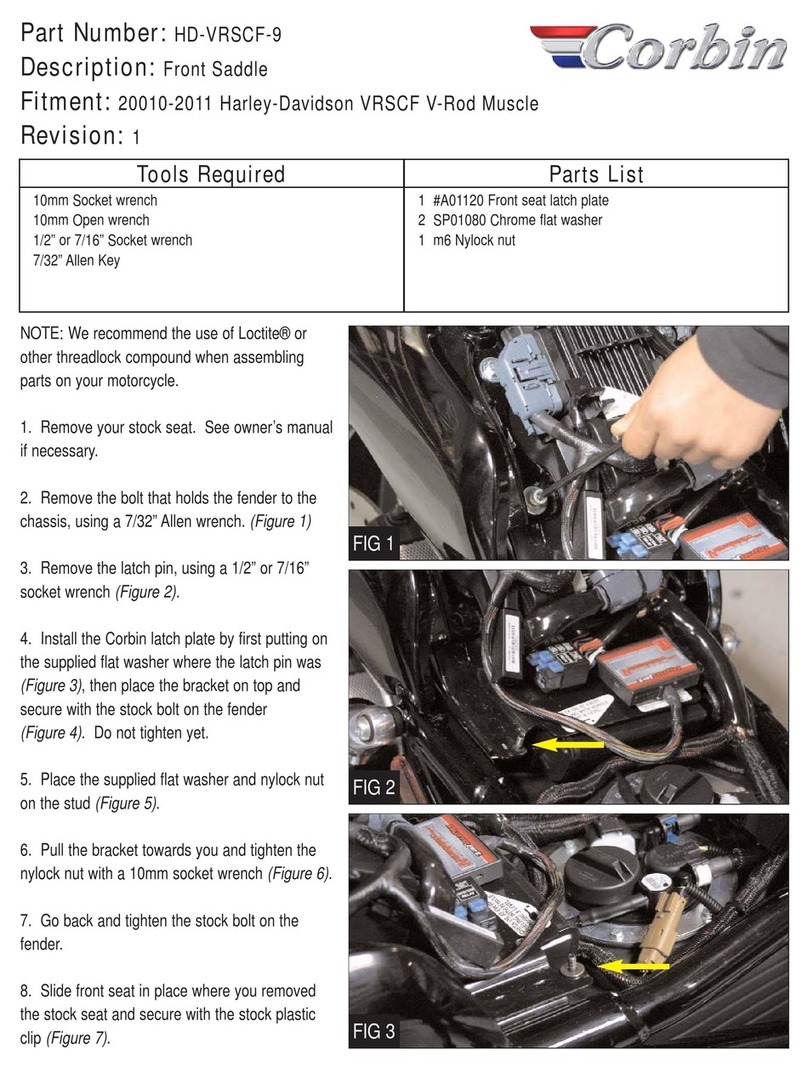
5. Pull out your right signal plug so you can locate the
bundled group of wires (Figure 7).
6. Among the wires, you will find one each, colored
BLACK, WHITE and ORANGE. Apply one of the
included splices to each wire (Figure 8).
7. Connect the wires from the Corbin taillight to the
wires on the bike (Figure 9).
CORBIN CAN-AM SPYDER
Red to Orange
Black to Black
White to White FIG 5
FIG 3
FIG 1
FIG 6
FIG 4
FIG 2
Questions? Give us a call!
800-223-4332
[email protected]
FIG 7
FIG 9
FIG 11
FIG 13
FIG 8
FIG 10
FIG 12
FIG 14
8. Now carefully and neatly tuck the wires all away back
where it was.
9. Install the taillight bracket to the seat mounting
bracket (Figure 10) and secure with the supplied m8 x 40
cap screws, using a 6mm Allen wrench. Use Loctite®
and tighten to 10-12 ft. lbs.
NOTE: Secure the hole in the rear first (Figure 11), then
put your saddle in the upright position and secure the
front two bolts (Figure 12).
10. Test the lighting to make sure everything works as it
should. Lighting should provide the following:
Running light
Brake light
11. Now go back and plug in your seat sensor and
reinstall the shock to your stock saddle.
12. Place your Corbin trunk onto the mounting bracket
(Figure 13) and secure the four locations with the
provided m8 chrome flat washers and m8 x 25 chrome
button head Allen bolts, using a 5mm Allen wrench
(Figure 14). Tighten to 10-12 ft. lbs. and use Loctite®.
Remember to take care and use good judgement when
loading the Corbin trunk. Although it is capable of
handling a great deal of luggage, you do not want to
overload your bike or carry weight too high.
Enjoy the ride!

Other Corbin Motorcycle Accessories manuals

Corbin HD-SR-H User manual

Corbin

Corbin HD-SR-H User manual

Corbin H-FURY-FLIP User manual

Corbin

Corbin H-FURY-FLIP User manual

Corbin S-M109R-BAG User manual

Corbin

Corbin S-M109R-BAG User manual

Corbin BMW-K12R-F-E User manual

Corbin

Corbin BMW-K12R-F-E User manual

Corbin HD-FLH-BAGSET User manual

Corbin

Corbin HD-FLH-BAGSET User manual

Corbin CA-BAG-ST User manual

Corbin

Corbin CA-BAG-ST User manual

Corbin K-LR-22-RAL User manual

Corbin

Corbin K-LR-22-RAL User manual

Corbin CA-RT-10 User manual

Corbin

Corbin CA-RT-10 User manual

Corbin HD-FLH-9-S User manual

Corbin

Corbin HD-FLH-9-S User manual

Corbin HD-VRSCF-9 User manual

Corbin

Corbin HD-VRSCF-9 User manual

Corbin I-SCT-DTE User manual

Corbin

Corbin I-SCT-DTE User manual

Corbin KV-900-6-BAG User manual

Corbin

Corbin KV-900-6-BAG User manual

Popular Motorcycle Accessories manuals by other brands

DYNATEK D2K-HD1 User instructions

DYNATEK

DYNATEK D2K-HD1 User instructions

SRC Royal Enfield Himalayan quick start guide

SRC

SRC Royal Enfield Himalayan quick start guide

thousand TRAVELER LIGHT owner's manual

thousand

thousand TRAVELER LIGHT owner's manual

Petzl ELIA TECHNICAL NOTICE

Petzl

Petzl ELIA TECHNICAL NOTICE

PUIG 8543 Mounting instructions

PUIG

PUIG 8543 Mounting instructions

R&G FI0074BK Fitting instructions

R&G

R&G FI0074BK Fitting instructions

Ops-Core Mesh Helmet Cover installation guide

Ops-Core

Ops-Core Mesh Helmet Cover installation guide

GBRacing BA12-6-GBR-SET Fitting instructions

GBRacing

GBRacing BA12-6-GBR-SET Fitting instructions

Cycle Sounds CYCLE SOUNDS 4405-0018 quick guide

Cycle Sounds

Cycle Sounds CYCLE SOUNDS 4405-0018 quick guide

hepco & becker Easyrack quick start guide

hepco & becker

hepco & becker Easyrack quick start guide

SHOEI TR-3 Instructions for use

SHOEI

SHOEI TR-3 Instructions for use

Bagster Boomerang 7526CB Fitting instructions

Bagster

Bagster Boomerang 7526CB Fitting instructions

Kuryakyn 7529 installation instructions

Kuryakyn

Kuryakyn 7529 installation instructions

Kappa K'FORCE MONOKEY KFR580A owner's manual

Kappa

Kappa K'FORCE MONOKEY KFR580A owner's manual

iWeld FANTOM 4 XL user manual

iWeld

iWeld FANTOM 4 XL user manual

hepco & becker 6302523 00 01 manual

hepco & becker

hepco & becker 6302523 00 01 manual

DYNATEK D2KI-1P User instructions

DYNATEK

DYNATEK D2KI-1P User instructions

hepco & becker Lock it 6503521 00 01 quick start guide

hepco & becker

hepco & becker Lock it 6503521 00 01 quick start guide

manuals.online logo
manuals.online logoBrands
  • About & Mission
  • Contact us
  • Privacy Policy
  • Terms and Conditions

Copyright 2025 Manuals.Online. All Rights Reserved.