Ambient humidity < 45%, it shows blue
45% ≤ ambient humidity ≤ 65%, it turns green;
ambient humidity >65%, it displays red
In the standby state, press the power button to turn on, the operation
indicator lights up and the default fan speed is high, and the default humidity
is 50%. In the power-on state, press the power button to turn off, the
running indicator light goes off and the compressor stops immediately, and
then the fan will be turned off after a delay of 30 seconds.
● Auto mode: The unit is equipped with a modern hygrostat
(humidity controller) and switches off automatically after reaching the
desired humidity in order to save energy. The compressor switches off
first and the fan turns off after 30 seconds. When the humidity in the
room rises again, the unit switches on automatically.
When automatic mode is activated, the target humidity can be set
between 30% and 80% in 5% increments using the two arrow keys.
The dehumidifier starts dehumidifying when the room humidity is at least
3% higher than the set target humidity.
Note: When the unit defrosts under this mode, the indicator lights up.
● Continuously drying mode: In continuous operation, the unit
works continuously without controlling by humidity until the water tank is
full or the dehumidifier is switched off manually.
During operation, the current humidity is shown on the display.
Note: When the unit defrosts under this mode, the indicator lights up.
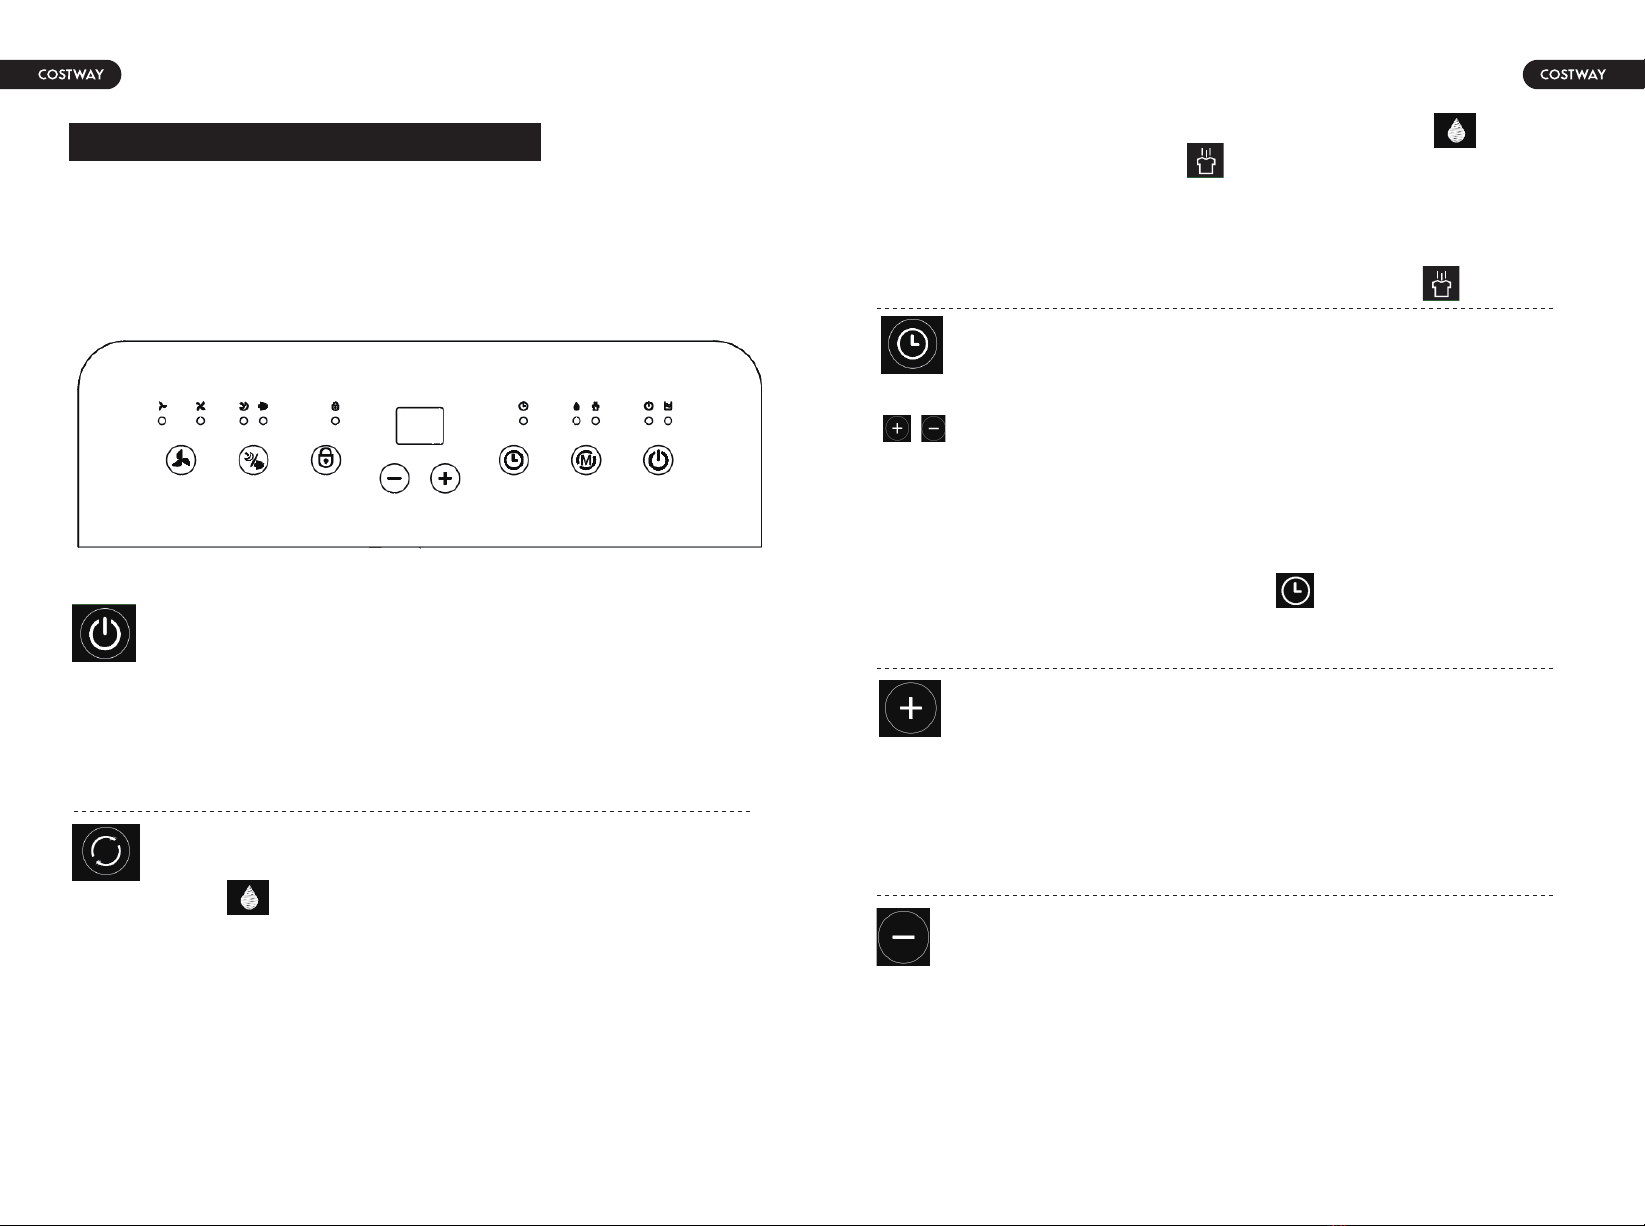
5. OPERATION
5.1 CONTROL PANEL
5.2 CONTROL PANEL
5.3 SETTINGS
Press the timer button to active the timer function and then press the
to set the time.Each time you press this button, the value increases
by 1 hour, and the value "88" is displayed on the display.
In the running state, use the timer function to "turn off the machine
regularly".
In the standby state, use the timer function to "turn on the machine
regularly".
Whatever the state is, the timer indicator lights up when the timer is
set.
Set the time to "00" to cancel the timing function.
Timer button
Power button
Mode button
08 09
Press this button to set up humidity and timing time; humidity adjustment
sequence is 30% to 35% - 40% - 45% - 50% - 55% - 60% - 65% - 70% -
75% - 80% - 30%;
The time is set to 00, press this key, it will display 00 and flash, and then every
time you press this key, the timing time will be from 01-02-03-...... to 24 .
Increase button
Press this button to lower humidity setting and timing time; humidity
adjustment sequence is 30% to 80% - 75% - 70% - 65% - 60% - 55% - 50%
- 45% - 40% - 35% - 30%;
The time is set to 00, press this key, it will display 00 and flash, and then every
time you press this key, the timing time will be from 24-23-22-...... to 00.
Decrease button