Croydex WC266205E User manual
Other Croydex Bathroom Fixture manuals
Croydex
Croydex PA670100 User manual
Croydex
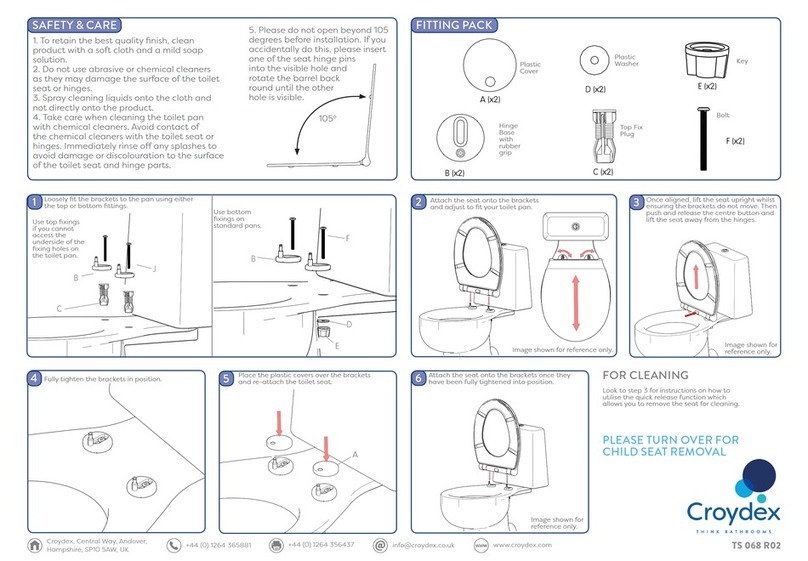
Croydex TS 068 R02 User manual
Croydex
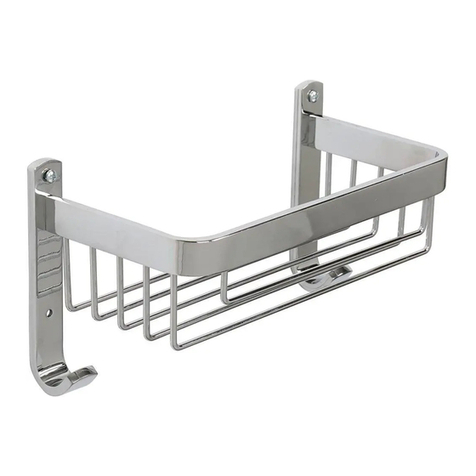
Croydex QM770341 User manual
Croydex
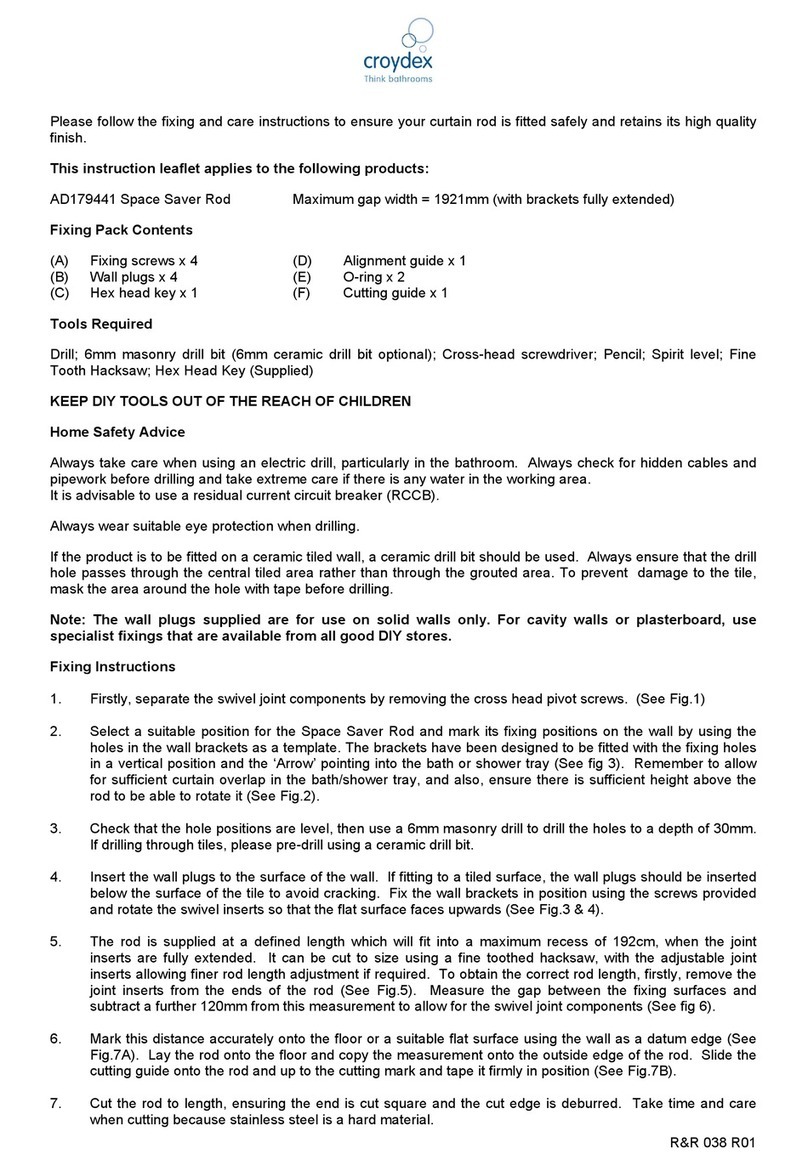
Croydex AD179441 Installation guide
Croydex
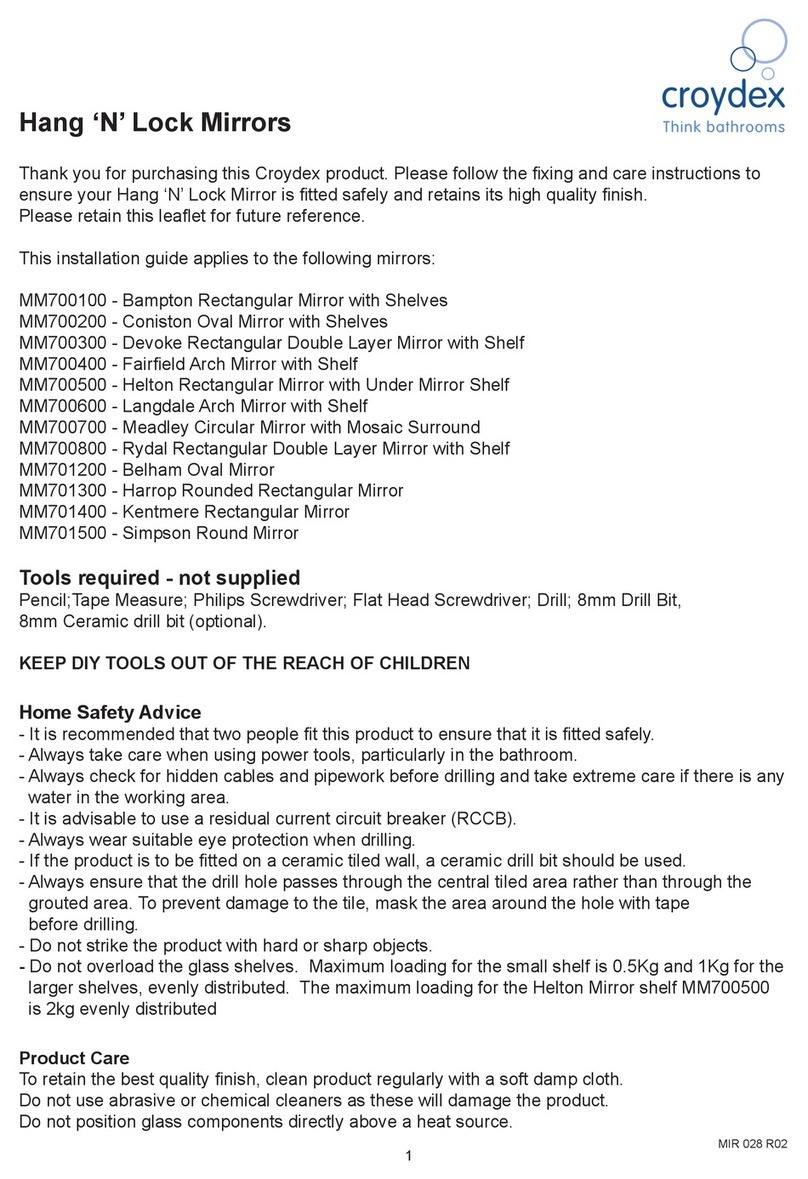
Croydex MM700100 User manual

Croydex
Croydex QM781941 User manual
Croydex
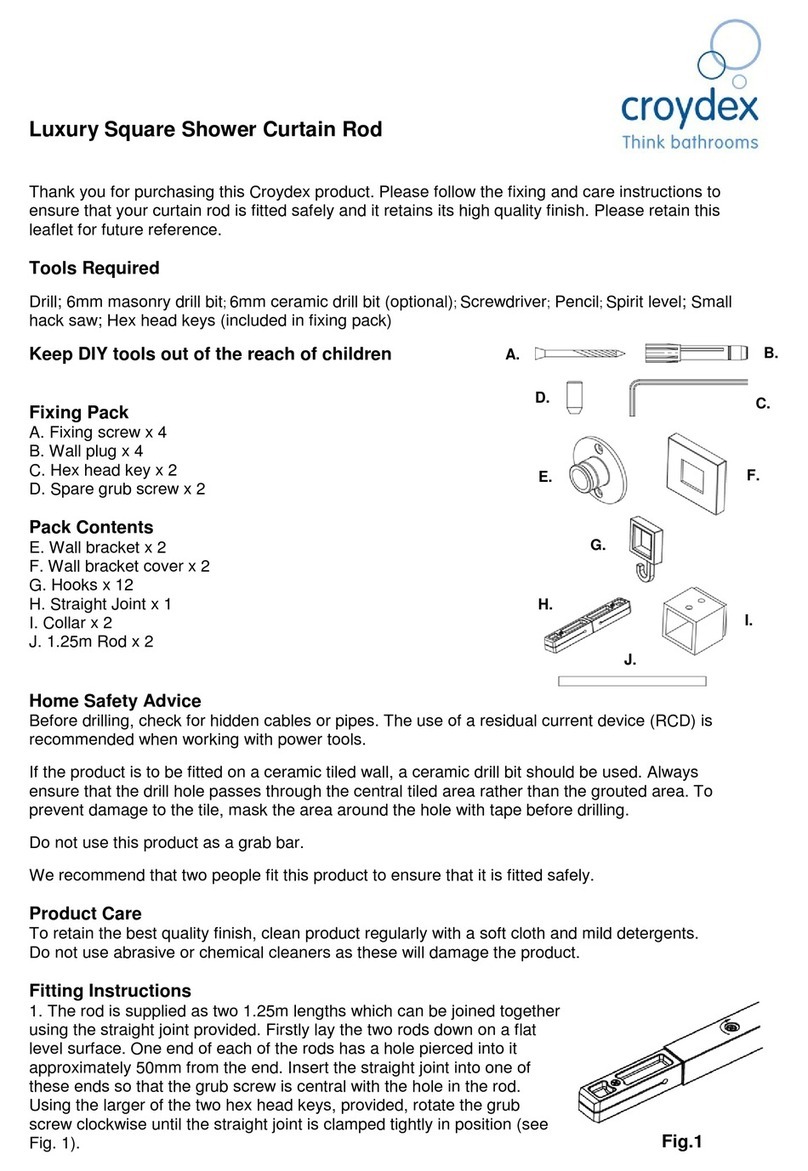
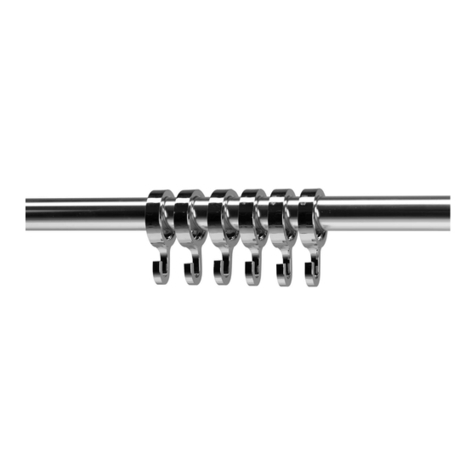
Croydex Luxury Round Shower Curtain Rod AD116541 User manual

Croydex
Croydex WA971022 User manual
Croydex
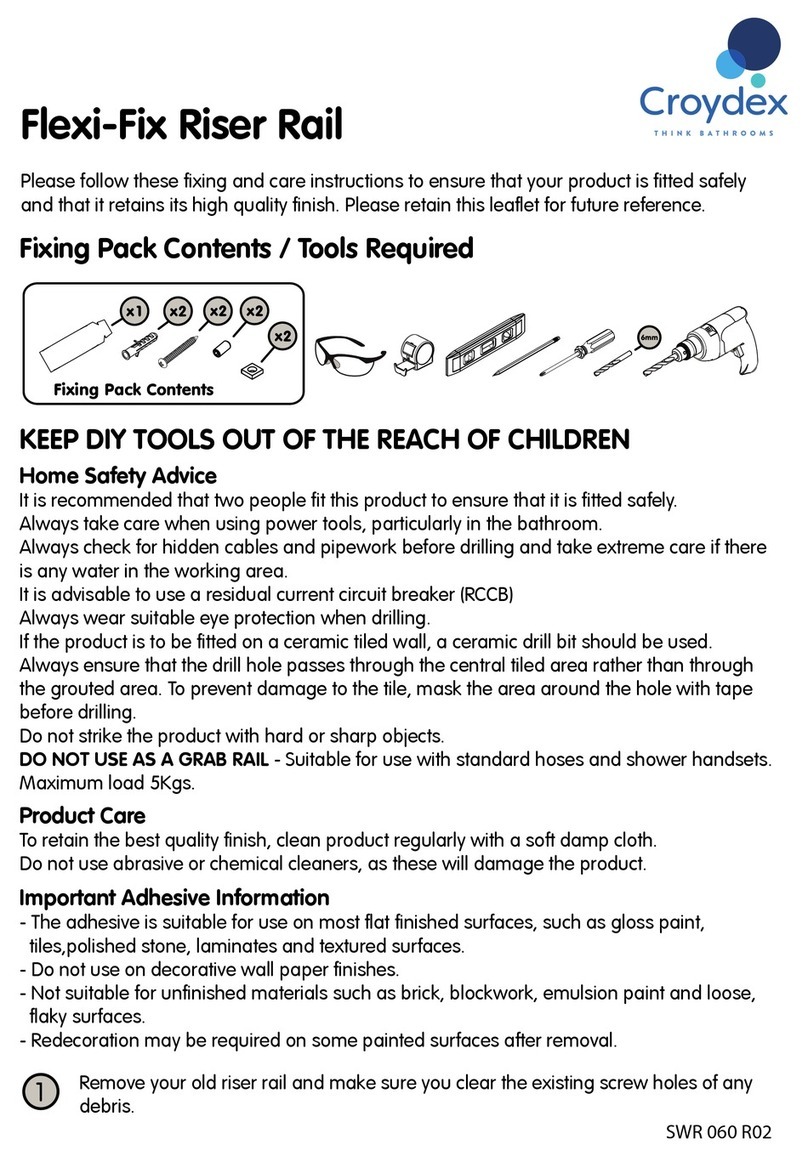
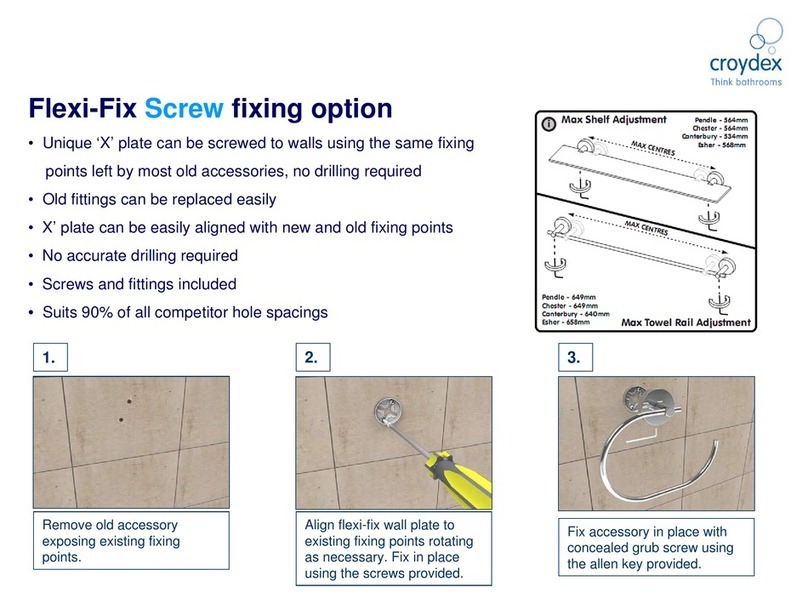
Croydex Flexi-Fix User manual
Croydex
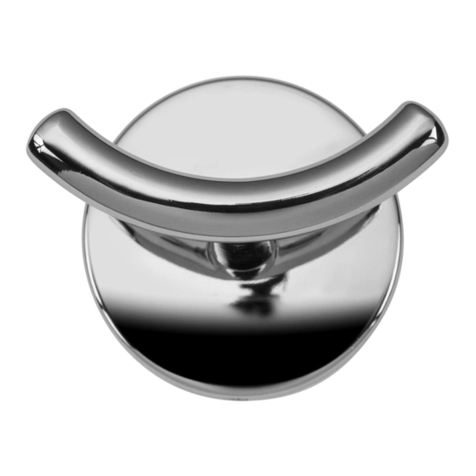
Croydex Hampstead Wall Mounted Accessory User manual

Croydex
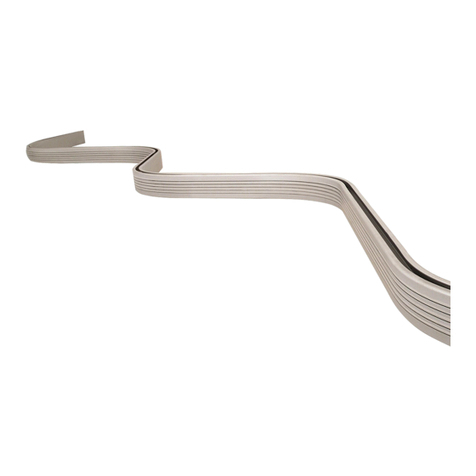
Croydex QM391941 Manual
Croydex
Croydex GP78100 Manual
Croydex
Croydex FLEXI FIX AJ402041 User manual
Croydex
Croydex QM361941 User manual
Croydex
Croydex STICK 'N' LOCK PREMIUM User manual
Croydex
Croydex AM302021 User manual

Croydex
Croydex FLEXI FIX User manual
Croydex
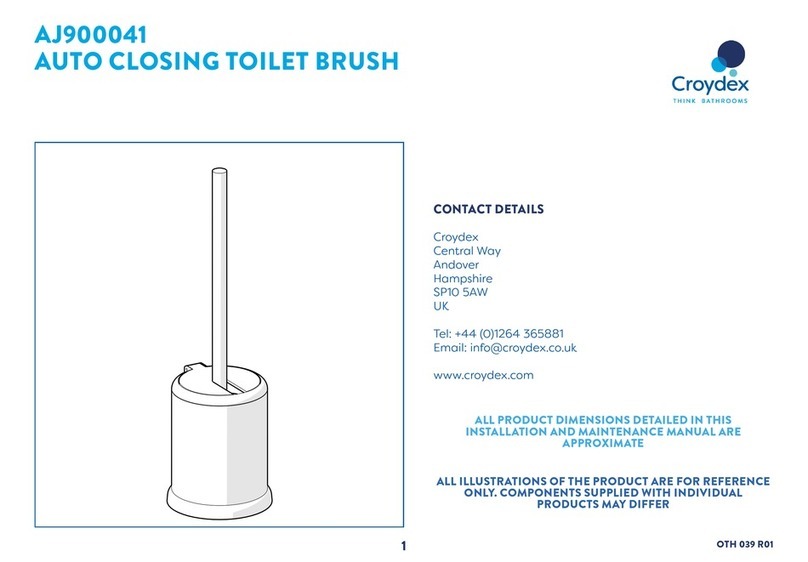
Croydex AJ900041 User manual
Croydex
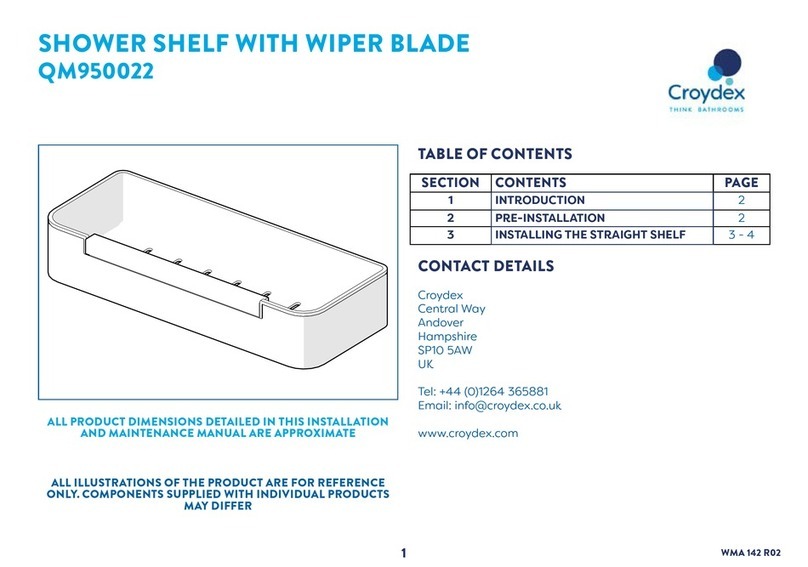
Croydex QM950022 User manual
Croydex
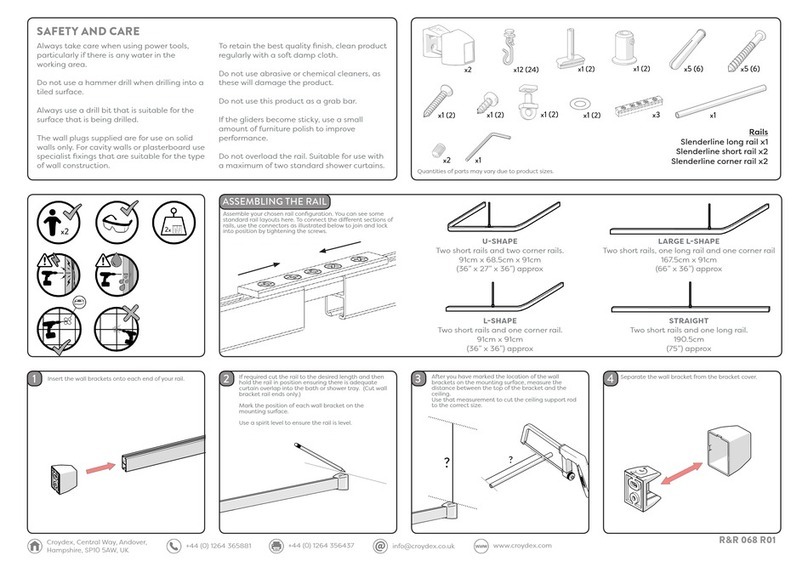
Croydex SLIMLINE GP87000SF User manual
Popular Bathroom Fixture manuals by other brands

Fontana Showers
Fontana Showers EMILIA FS3362 installation instructions

Spectrum Brands
Spectrum Brands Pfister Verve LG16-VRV Quick installation guide

Kohler
Kohler K-T944-4 Homeowner's guide
Signature Hardware
Signature Hardware DREA 953914 manual

Fackelmann
Fackelmann 82951 Instructions for mounting and use
Omnires
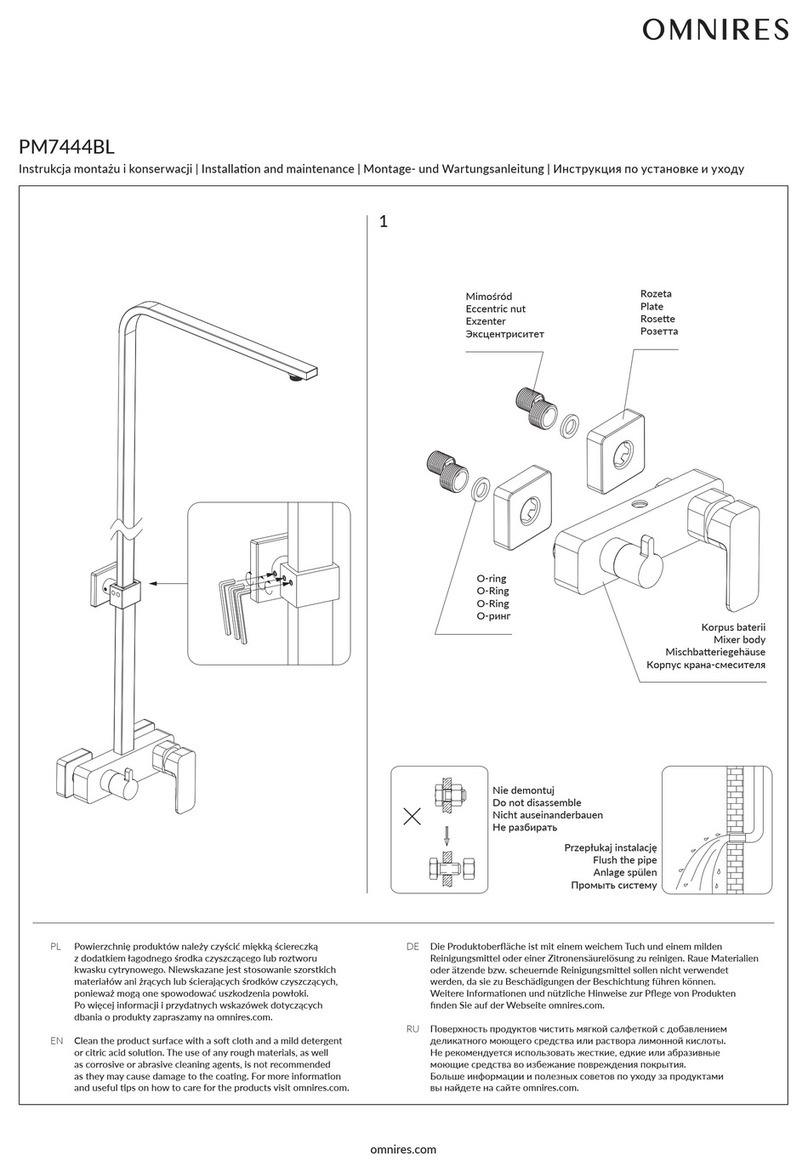
Omnires PM7444BL Installation and Maintenance


