manuals.online logo
Brands
  1. Home
  2. •
  3. Brands
  4. •
  5. Croydex
  6. •
  7. Bathroom Fixture
  8. •
  9. Croydex AM302021 User manual

Croydex AM302021 User manual

Fixing Pack Contents
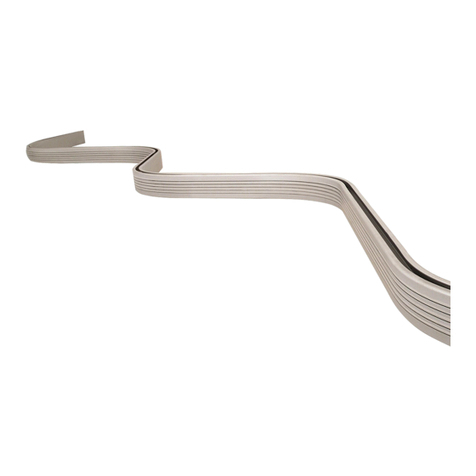
Flexi-Fix Riser Rail
Please follow these fixing and care instructions to ensure that your product is
fitted safely
and that it retains its high quality finish. Please retain this leaflet for future
reference.
Fixing Pack Contents / Tools Required
Home Safety Advice
It is recommended that two people fit this product to ensure that it is fitted safely.
Always take care when using power tools, particularly in the bathroom.
Always check for hidden cables and pipework before drilling and take extreme care if there is
any water in the working area.
It is advisable to use a residual current circuit breaker (RCCB)
Always wear suitable eye protection when drilling.
If the product is to be fitted on a ceramic tiled wall, a ceramic drill bit should be used.
Always ensure that the drill hole passes through the central tiled area rather than through the
grouted area. To prevent damage to the tile, mask the area around the hole with tape before
drilling.
Do not strike the product with hard or sharp objects.
DO NOT USE AS A GRAB RAIL - Suitable for use with standard hoses and shower handsets.
Maximum load 5Kg.
Product Care
To retain the best quality finish, clean product regularly with a soft damp cloth.
Do not use abrasive or chemical cleaners, as these will damage the product.
KEEP DIY TOOLS OUT OF THE REACH OF CHILDREN
Important Adhesive Information
- The adhesive is suitable for use on most flat finished surfaces, such as gloss paint, tiles,
polished stone, laminates and textured surfaces.
- Do not use on decorative wall paper finishes.
- Not suitable for unfinished materials such as brick, blockwork, emulsion paint and loose, flaky
surfaces.
- Redecoration may be required on some painted surfaces after removal.
SWR 060 R03
ALWAYS CHECK THE PACKAGING FOR FIXINGS AND PARTS BEFORE THROWING AWAY AND RECYCLING.
PLEASE READ THROUGH AND FULLY UNDERSTAND THE INSTRUCTION LEAFLET BEFORE STARTING THE INSTALLATION
OF THIS PRODUCT.
ENSURE YOU HAVE ALL THE FIXINGS AND PARTS BEFORE ATTEMPTING TO ASSEMBLE OR FIT THIS PRODUCT!
CENTRES
AWHEN USING EXISTING HOLES
40mm
Drill holes
i
CHECK
LEVEL
WHEN DRILLING NEW HOLES
30mm
Centres
B
AM1824## /
AM1825## /
AM1826##
Max Distance =
720mm
TIP!
To ensure the
Riser Rail is
vertical, mark the
wall using one
wall plate and
using a spirit level,
mark the second
plate whilst being
careful not to
exceed the
recommended
centre distances.
NOTE
Wall plugs supplied
are suitable for a
solid wall fixing
only.
For cavity walls or
plasterboard use
specialist fixings
available from all
good DIY stores.
1Remove your old riser rail and make sure you clear the existing screw holes
of any debris.
2Fix your Flexi-Fix brackets to the wall using one of the three methods
below.
Remove old wall plate.
(PLATE SHOWN FOR
REFERENCE ONLY.)
CAUTION!
Ensure holes in
the wall are
sutiable for
re-use.
It may be
necessary to
drill new holes.
Using a pencil mark
the screw hole
centres for the wall
plates 30mm apart.
Insert wall plugs into the wall and fix
the wall plates tightly into position
using screws supplied.
Flexi-Fix Wall Plate will fit
existing hole centres of -
Max - 34mm apart
Min - 15mm apart
SWR 060 R03
AM3000## /
AM3020##
Max Distance =
600mm
3
Once the Flexi-Fix
wall plates are
secured to the
wall, place the
Riser Rail brackets
over each of the
Flexi-Fix wall
plates and secure
by tightening the
grub screw with
the hex key
provided.
DO NOT
OVERTIGHTEN.
WHEN USING ADHESIVE FIXING METHOD
24
LEAVE
HOURS
C( )
i
CHECK
LEVEL
Assemble wall plate, alignment
guide and locking nut as shown.
Remove backing from adhesive
pad on alignment guide.
Please refer to Important Adhesive Information at
the front of this leaflet before proceeding
Place assembled wall plate in
desired location and press firmly.
Cut the end of the sachet and apply
a generous amount of adhesive to
the back of the wall plate as shown.
(Each sachet has sucient adhesive
for two wall plates).
Carefully place the wall plate over the
alignement quide and allow the rotation
of the locking nut to secure the wall plate
in position. DO NOT PRESS IN POSITION!
Leave the adhesive to set for 24 Hours
Undo locking nut and remove wall
plate leaving the alignment guide
stuck to wall
Sucient
adhesive must be
applied to give a
uniform thickness
of approximately
1.5mm when the
wall plate is
positioned
against the wall.
Before starting
ensure all surfaces
are clean and free
from dirt and soap
residue,
particularly if
adhereing to tiled
walls.
SWR 060 R03
TIP!
To ensure the
Riser Rail is
vertical, mark the
wall using one
wall plate and
using a spirit level,
mark the second
plate whilst being
careful not to
exceed the
recommended
centre distances.
Step 3
Place the square
nut into the recess
in the back of the
wall bracket.
Partially insert the
grub screw into
the threaded hole
in the square nut.
Image shown for reference only - grub
screw previously fitted into wall bracket.
AM1824## /
AM1825## /
AM1826##
Max Distance =
720mm
AM3000## /
AM3020##
Max Distance =
600mm
4With the wall brackets secured onto the
Flexi-Fix wall plates, insert the riser rail,
together with all accessories in
between the wall brackets.
SWR 060 R03
6You can adjust the height and rotation
to all of the accessories which are used
with the Flexi Fix Riser Rail as
demonstrated in the illustration.
Step 4
Step 5
5Remove the bracket end caps and secure
the riser rail in position by tightening the
grub screws using a flat bladed
screwdriver.
Replace the wall bracket caps.
Step 6
Note:- Hose retaining ring not included
in Flexi-Fix Riser Rail AM182641.
Hose Retaining
Ring
CONTACT DETAILS
UK: Croydex, Central Way, Andover,
Hampshire, SP10 5AW, UK
EU: MIL, Unit 8 Purcellsinch Ind Est,
Dublin Road, Kilkenny, R95 HP71,
Ireland
Tel: +44 (0)1264 365881
Email: info@croydex.co.uk
www.croydex.co.uk

This manual suits for next models

1

Other Croydex Bathroom Fixture manuals
Croydex AJ900041 User manual

Croydex

Croydex AJ900041 User manual

Croydex GP78100 Manual

Croydex

Croydex GP78100 Manual

Croydex QM391941 Manual

Croydex

Croydex QM391941 Manual
Croydex QM770341 User manual

Croydex

Croydex QM770341 User manual

Croydex AP2300 User manual

Croydex

Croydex AP2300 User manual

Croydex QM391941 Manual

Croydex

Croydex QM391941 Manual

Croydex QM950122 User manual

Croydex

Croydex QM950122 User manual
Croydex QM950022 User manual

Croydex

Croydex QM950022 User manual
Croydex ATTRACTIVE PREMIUM QM770321 User manual
Croydex

Croydex ATTRACTIVE PREMIUM QM770321 User manual

Croydex Flexi-Fix Riser Rail AM182041 Installation guide
Croydex

Croydex Flexi-Fix Riser Rail AM182041 Installation guide

Croydex Hampstead Wall Mounted Accessory User manual
Croydex

Croydex Hampstead Wall Mounted Accessory User manual

Croydex Luxury Round Shower Curtain Rod AD116541 User manual
Croydex

Croydex Luxury Round Shower Curtain Rod AD116541 User manual

Croydex WC266205E User manual

Croydex

Croydex WC266205E User manual
Croydex TS 068 R02 User manual

Croydex

Croydex TS 068 R02 User manual
Croydex STICK 'N' LOCK PREMIUM User manual
Croydex

Croydex STICK 'N' LOCK PREMIUM User manual

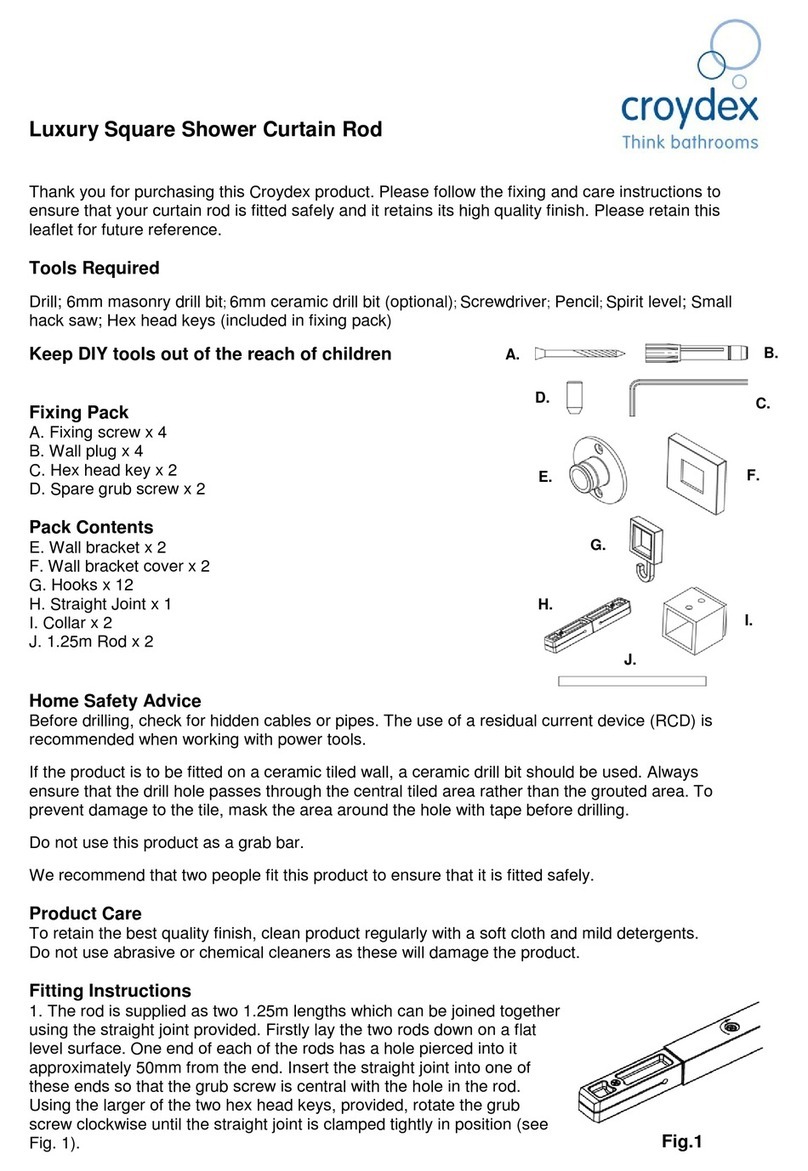
Croydex FLEXI FIX AJ402041 User manual
Croydex

Croydex FLEXI FIX AJ402041 User manual

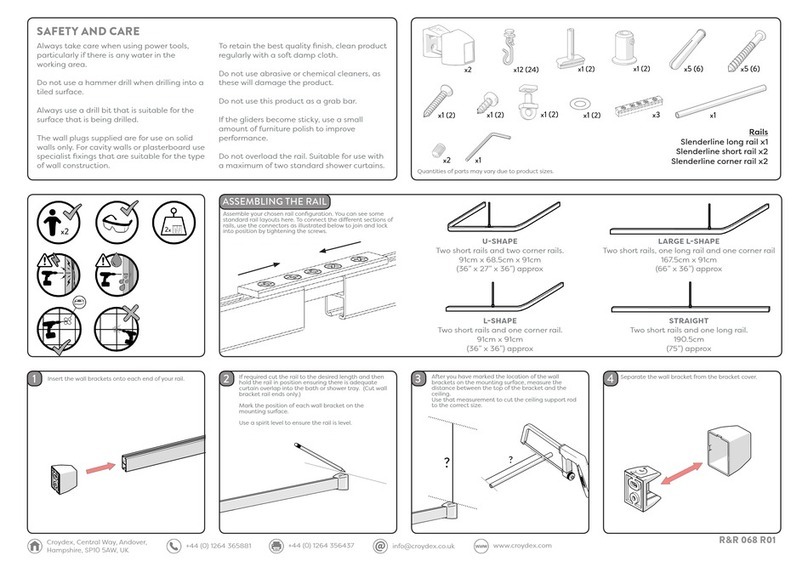
Croydex LUXURY SQUARE ROD AD116441 User manual
Croydex

Croydex LUXURY SQUARE ROD AD116441 User manual

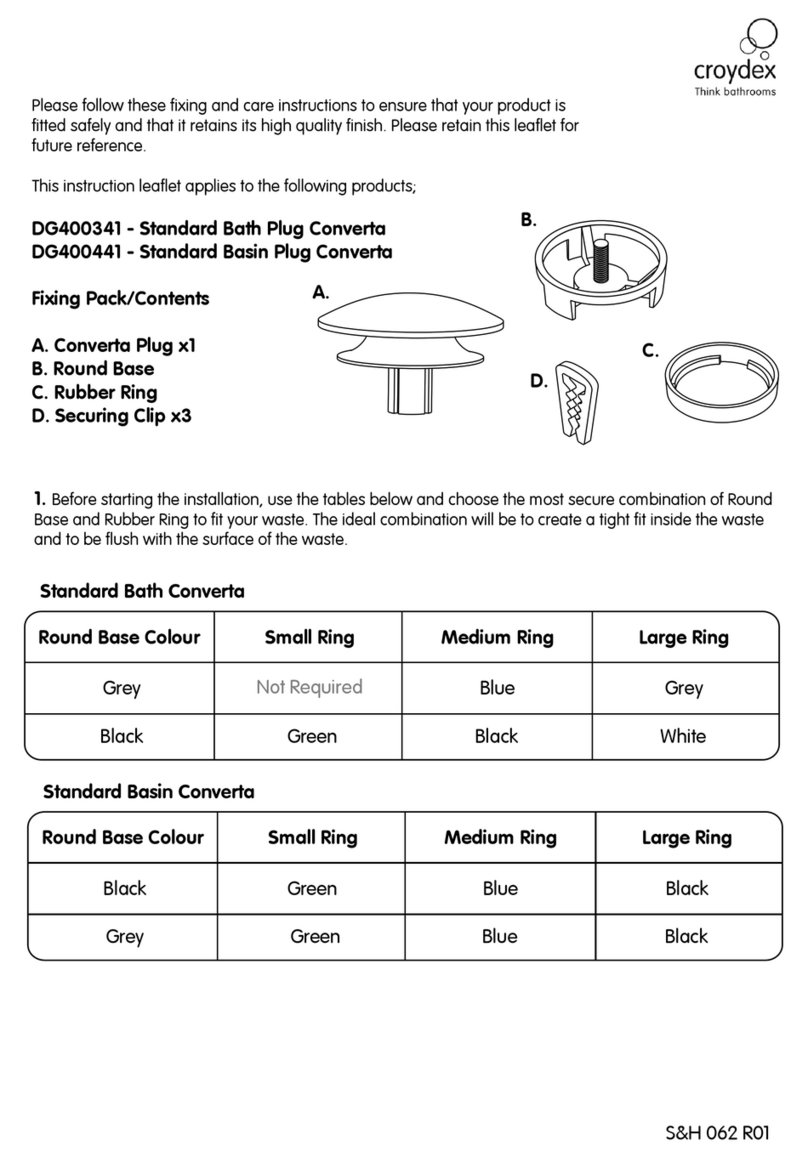
Croydex SLIMLINE GP87000SF User manual
Croydex

Croydex SLIMLINE GP87000SF User manual

Croydex DG400341 User manual

Croydex

Croydex DG400341 User manual

Croydex WA971022 User manual

Croydex

Croydex WA971022 User manual

Croydex MM700100 User manual

Croydex

Croydex MM700100 User manual

Croydex FLEXI FIX User manual

Croydex

Croydex FLEXI FIX User manual

Croydex PA670100 User manual

Croydex

Croydex PA670100 User manual

Croydex QM361941 User manual

Croydex

Croydex QM361941 User manual

Popular Bathroom Fixture manuals by other brands
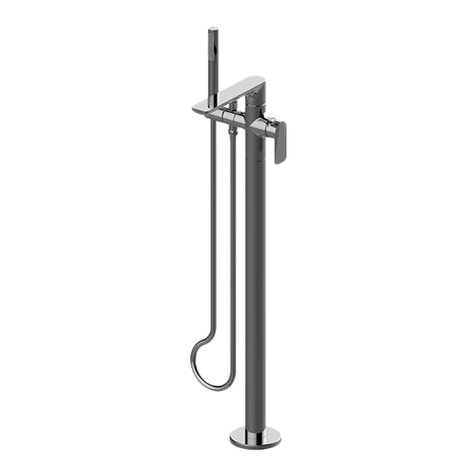
Graff ONDA E-6354-LM61N Series Instructions for assembly and use
Graff

Graff ONDA E-6354-LM61N Series Instructions for assembly and use

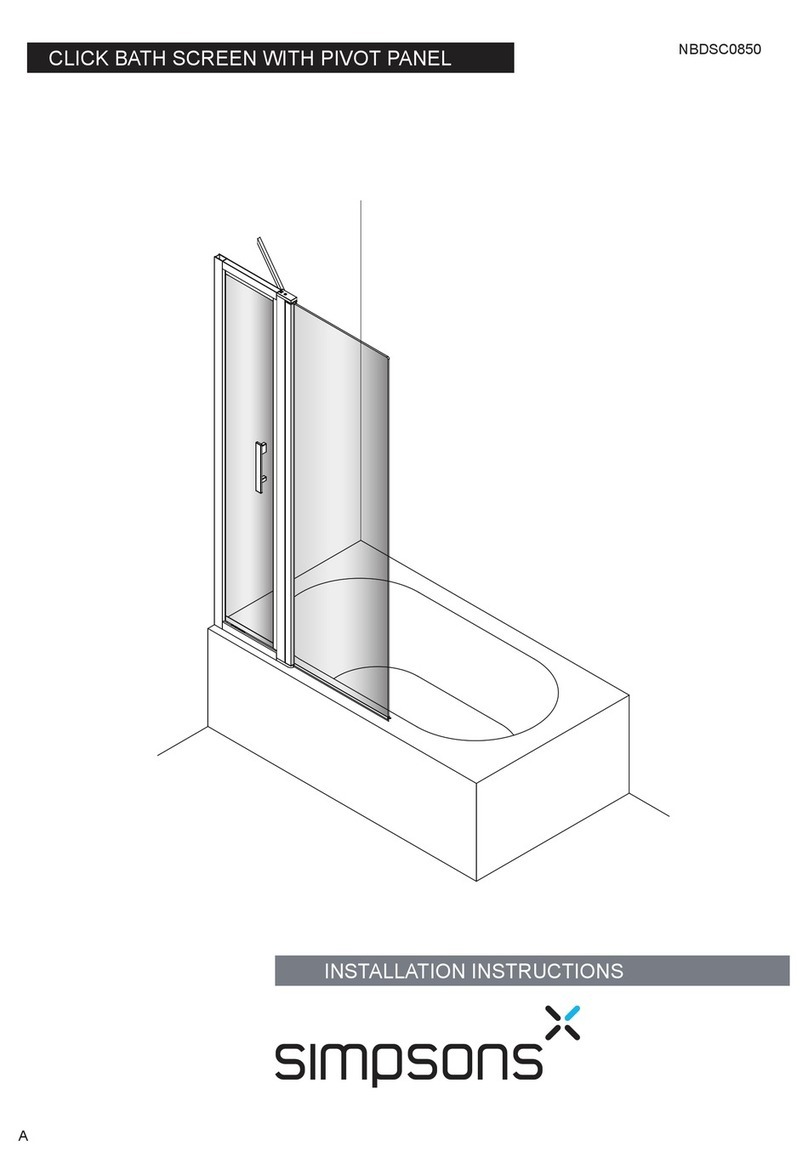
Simpsons NBDSC0850 installation instructions

Simpsons

Simpsons NBDSC0850 installation instructions

Sunshower DELUXE HEALTH installation manual
Sunshower

Sunshower DELUXE HEALTH installation manual

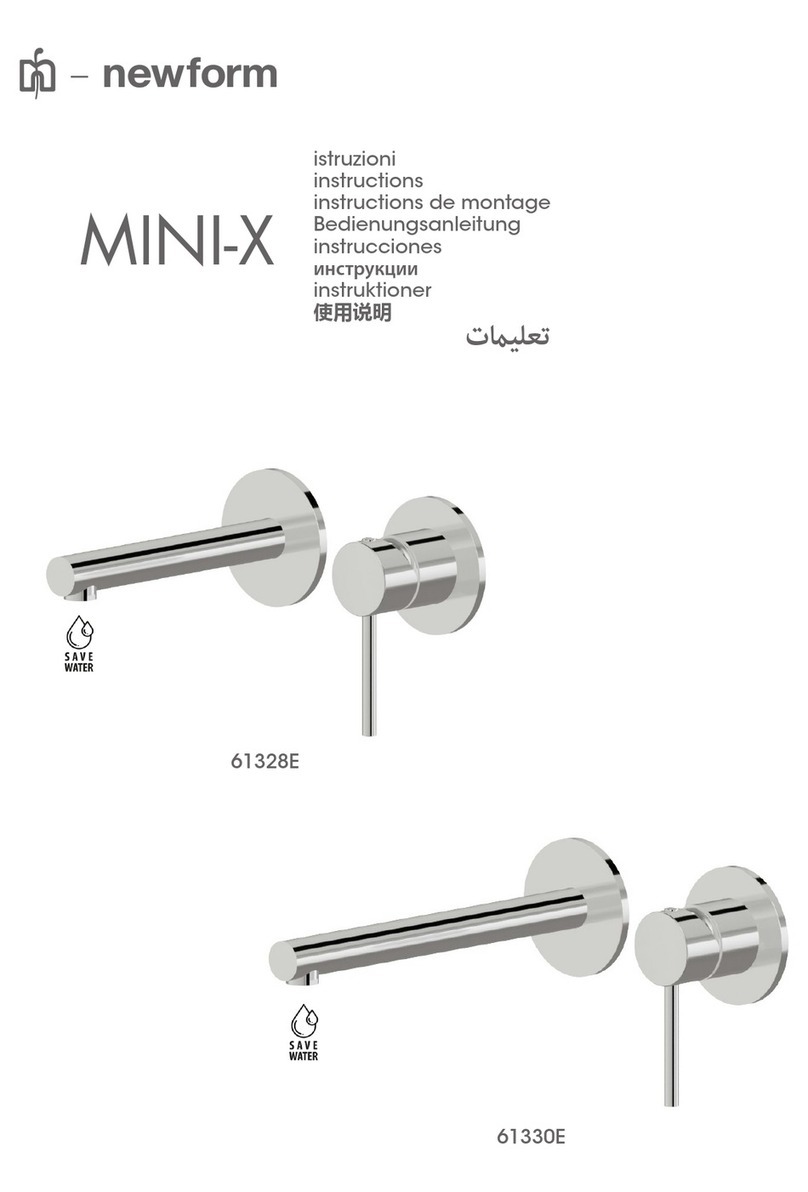
newform MINI-X 61328E instructions

newform

newform MINI-X 61328E instructions
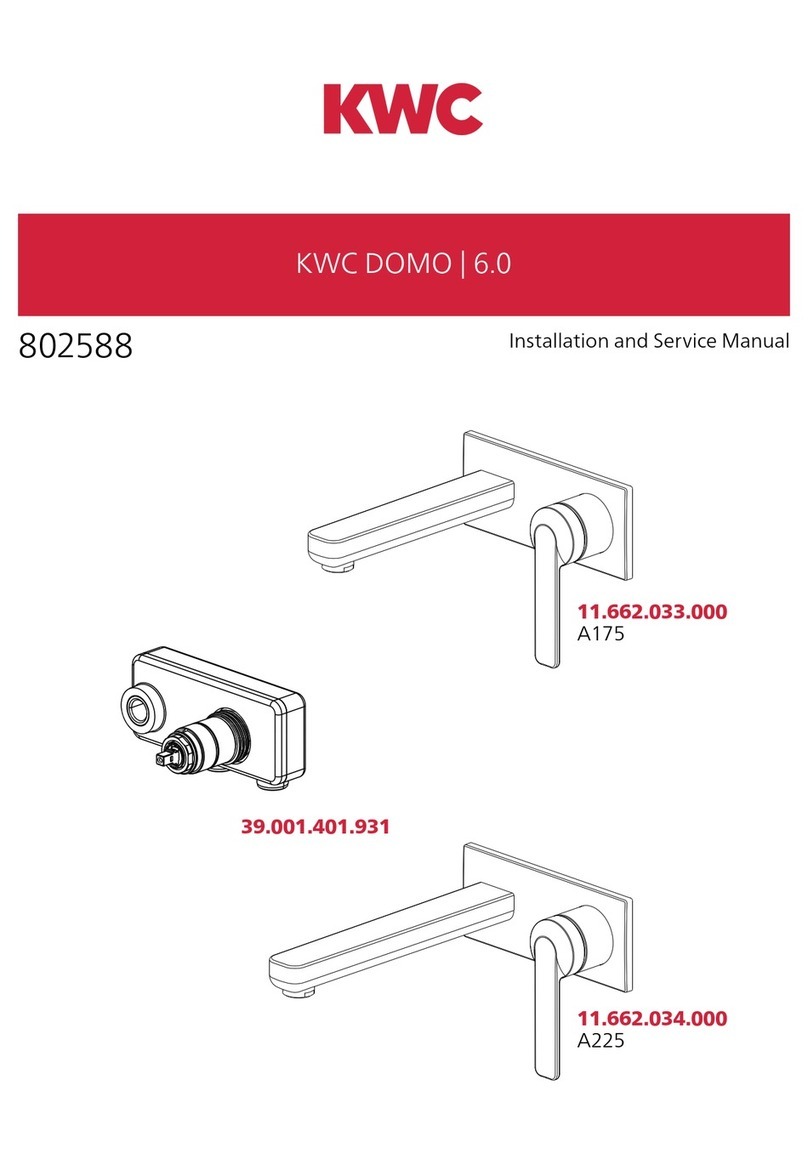
KWC DOMO 6.0 11.662.033.000 Installation and service manual
KWC

KWC DOMO 6.0 11.662.033.000 Installation and service manual

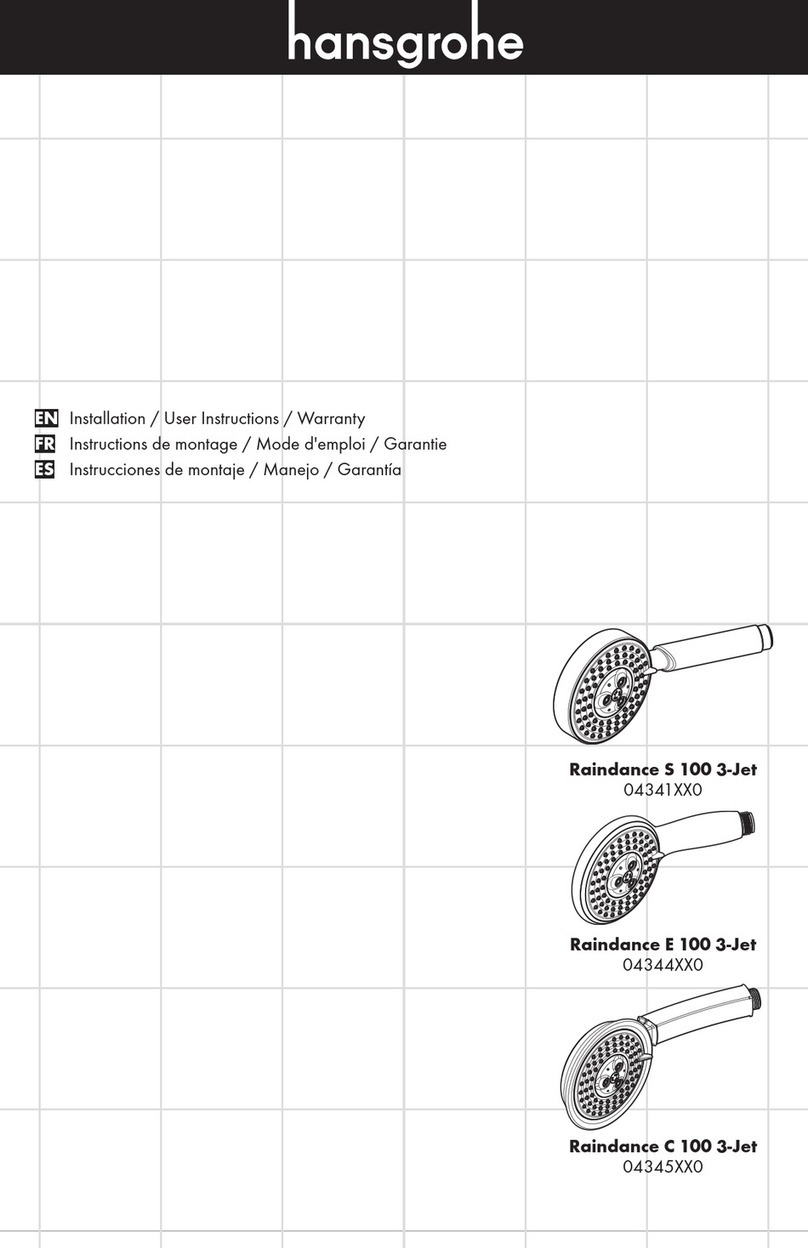
Hans Grohe Raindance S 100 3-Jet 04341 0 Series Installation/User Instructions/Warranty

Hans Grohe

Hans Grohe Raindance S 100 3-Jet 04341 0 Series Installation/User Instructions/Warranty
Relax LAGO Assembly instructions

Relax

Relax LAGO Assembly instructions
American Standard One T064.60X installation instructions

American Standard

American Standard One T064.60X installation instructions

Panasonic DH-3JP2 Operating and installation instructions

Panasonic

Panasonic DH-3JP2 Operating and installation instructions

Kohler K-8501 Homeowner's guide

Kohler

Kohler K-8501 Homeowner's guide

newform X-STEEL 316 29499 Series instructions
newform

newform X-STEEL 316 29499 Series instructions

Galvin Engineering Clinimix CP-BS 100.90.70.20 Installation guidelines

Galvin Engineering

Galvin Engineering Clinimix CP-BS 100.90.70.20 Installation guidelines

Lefroy Brooks CB-1020 Installation, operating,  & maintenance instructions
Lefroy Brooks

Lefroy Brooks CB-1020 Installation, operating, & maintenance instructions

Cobra EL-1002-C instruction manual

Cobra

Cobra EL-1002-C instruction manual

Gessi RETTANGOLO 23413 manual

Gessi

Gessi RETTANGOLO 23413 manual
METHVEN Amio 01-4606 installation guide
METHVEN

METHVEN Amio 01-4606 installation guide

Hughes 40K45G Installation, operation and maintenance instructions
Hughes

Hughes 40K45G Installation, operation and maintenance instructions

Hans Grohe Unica'E 27645007 Assembly instructions

Hans Grohe

Hans Grohe Unica'E 27645007 Assembly instructions

manuals.online logo
manuals.online logoBrands
  • About & Mission
  • Contact us
  • Privacy Policy
  • Terms and Conditions

Copyright 2025 Manuals.Online. All Rights Reserved.