manuals.online logo
Brands
  1. Home
  2. •
  3. Brands
  4. •
  5. Croydex
  6. •
  7. Bathroom Fixture
  8. •
  9. Croydex SLIMLINE GP87000SF User manual

Croydex SLIMLINE GP87000SF User manual

+44 (0) 1264 365881 +44 (0) 1264 356437 info@croydex.co.uk www.croydex.com
1
R&R 068 R01
Always take care when using power tools,
particularly if there is any water in the
working area.
Do not use a hammer drill when drilling into a
tiled surface.
Always use a drill bit that is suitable for the
surface that is being drilled.
The wall plugs supplied are for use on solid
walls only. For cavity walls or plasterboard use
specialist fixings that are suitable for the type
of wall construction.
2
ASSEMBLING THE RAIL
To retain the best quality finish, clean product
regularly with a soft damp cloth.
Do not use abrasive or chemical cleaners, as
these will damage the product.
Do not use this product as a grab bar.
If the gliders become sticky, use a small
amount of furniture polish to improve
performance.
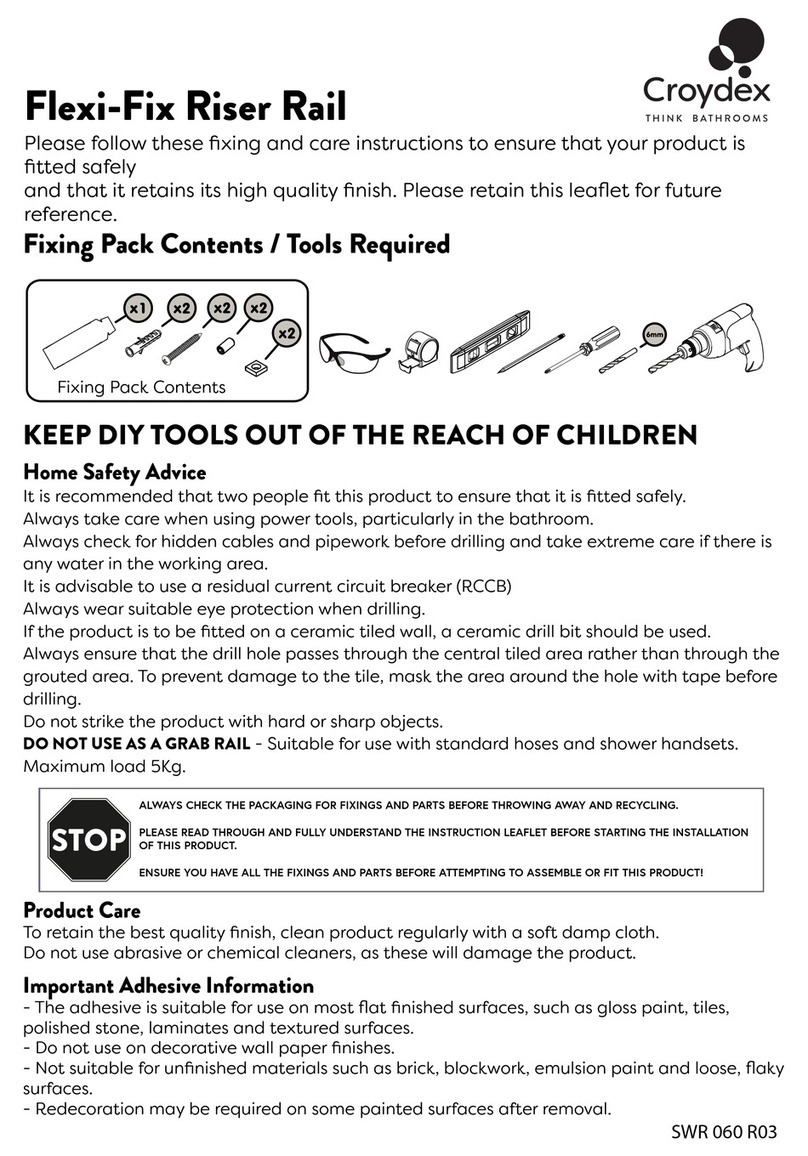
Do not overload the rail. Suitable for use with
a maximum of two standard shower curtains.
U-SHAPE
Two short rails and two corner rails.
91cm x 68.5cm x 91cm
(36” x 27” x 36”) approx
LARGE L-SHAPE
Two short rails, one long rail and one corner rail
167.5cm x 91cm
(66” x 36”) approx
STRAIGHT
Two short rails and one long rail.
190.5cm
(75”) approx
L-SHAPE
Two short rails and one corner rail.
91cm x 91cm
(36” x 36”) approx
SAFETY AND CARE
x1 (2)
x12 (24) x1 (2) x1 (2) x5 (6) x5 (6)
x1 (2) x1 (2) x1
Rails
Slenderline long rail x1
Slenderline short rail x2
Slenderline corner rail x2
x1 (2)
x2
Insert the wall brackets onto each end of your rail. If required cut the rail to the desired length and then
hold the rail in position ensuring there is adequate
curtain overlap into the bath or shower tray. (Cut wall
bracket rail ends only.)
Mark the position of each wall bracket on the
mounting surface.
Use a spirit level to ensure the rail is level.
Assemble your chosen rail configuration. You can see some
standard rail layouts here. To connect the dierent sections of
rails, use the connectors as illustrated below to join and lock
into position by tightening the screws.
After you have marked the location of the wall
brackets on the mounting surface, measure the
distance between the top of the bracket and the
ceiling.
Use that measurement to cut the ceiling support rod
to the correct size.
Quantities of parts may vary due to product sizes.
3 4 Separate the wall bracket from the bracket cover.
x2 2x
x1x2
Croydex, Central Way, Andover,
Hampshire, SP10 5AW, UK
??
x3
Croydex, Central Way, Andover,
Hampshire, SP10 5AW, UK +44 (0) 1264 365881 +44 (0) 1264 356437 info@croydex.co.uk www.croydex.com
Slide the end stops to the desired location and twist
the hook to lock it in position. Then add a hook onto
the end stop.
Slide the bracket covers over the wall bracket to
ensure the rail is secure.
910
R&R 068 R01
11
13 16
Secure the ceiling bracket to the ceiling using the fixing
screw provided.
Insert the hook gliders and end stop into the rail and
then slide the wall bracket cover onto the rail. The
location of the end stop should be nearest your shower.
Place the rail into the wall brackets and lock in place
using the grub screw and hex key provided. DO NOT
OVER-TIGHTEN.
Assemble the ceiling support rod.
12
8
Place the rail into the wall brackets and slide the
ceiling support to the desired location. Mark the
position of the ceiling bracket on the mounting
surface ensuring it is vertical.
1514
Plastic washer
65 7 Slide the ceiling support assembly into the top
section of the rail.
Separate the ceiling bracket from the assembly then
mark the centre, drill and insert a wall plug in the
position marked on the ceiling.
Screw the wall bracket to the mounting surface.
Insert the ceiling support rod into the ceiling bracket
and secure in position using the small screw provided.
Place the wall brackets in the marked location, ensuring
that the open face of the wall bracket is facing towards
the showering area, then mark the hole positions.
Drill the marked holes and insert wall plugs.

Other Croydex Bathroom Fixture manuals

Croydex Flexi-Fix Riser Rail AM182041 Installation guide

Croydex

Croydex Flexi-Fix Riser Rail AM182041 Installation guide

Croydex ATTRACTIVE PREMIUM QM770321 User manual

Croydex

Croydex ATTRACTIVE PREMIUM QM770321 User manual

Croydex FLEXI FIX AJ402041 User manual

Croydex

Croydex FLEXI FIX AJ402041 User manual

Croydex TS 068 R02 User manual

Croydex

Croydex TS 068 R02 User manual

Croydex QM391941 Manual

Croydex

Croydex QM391941 Manual

Croydex FLEXI FIX User manual

Croydex

Croydex FLEXI FIX User manual

Croydex PA670100 User manual

Croydex

Croydex PA670100 User manual

Croydex WC266205E User manual

Croydex

Croydex WC266205E User manual

Croydex AJ900041 User manual

Croydex

Croydex AJ900041 User manual

Croydex MM700100 User manual

Croydex

Croydex MM700100 User manual

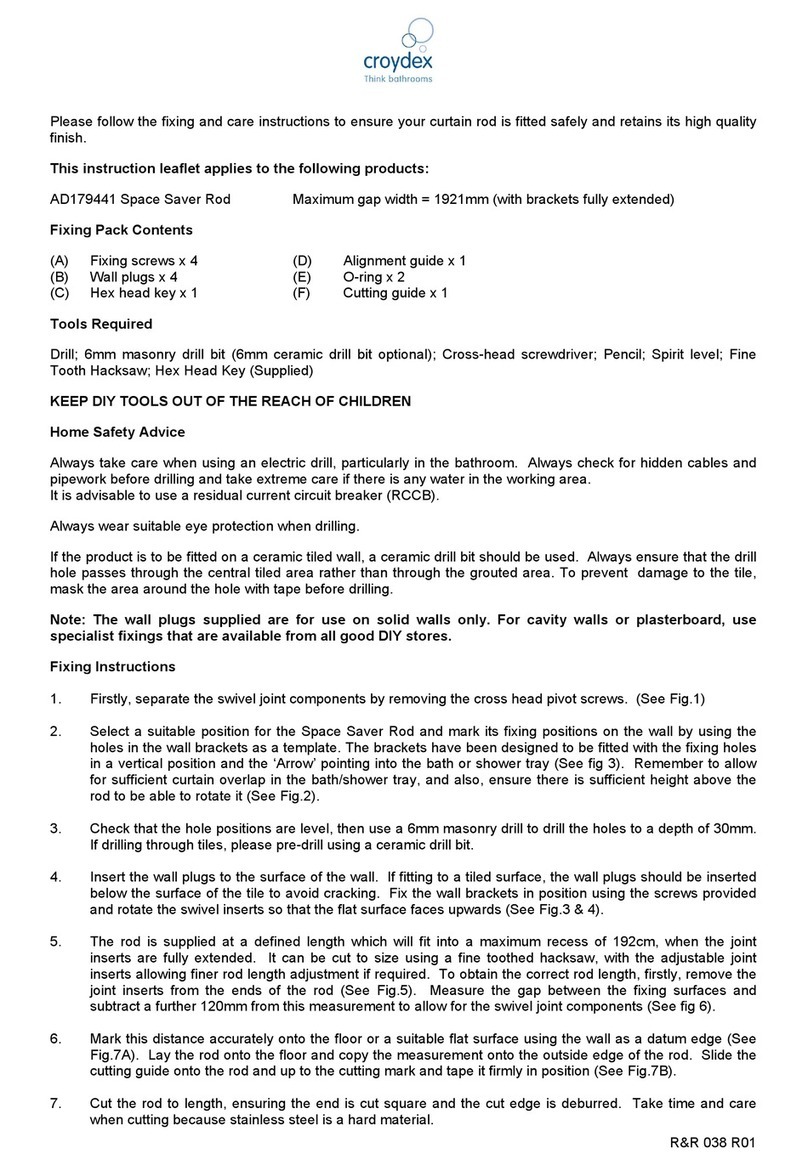
Croydex AD179441 Installation guide

Croydex

Croydex AD179441 Installation guide

Croydex QM770341 User manual

Croydex

Croydex QM770341 User manual

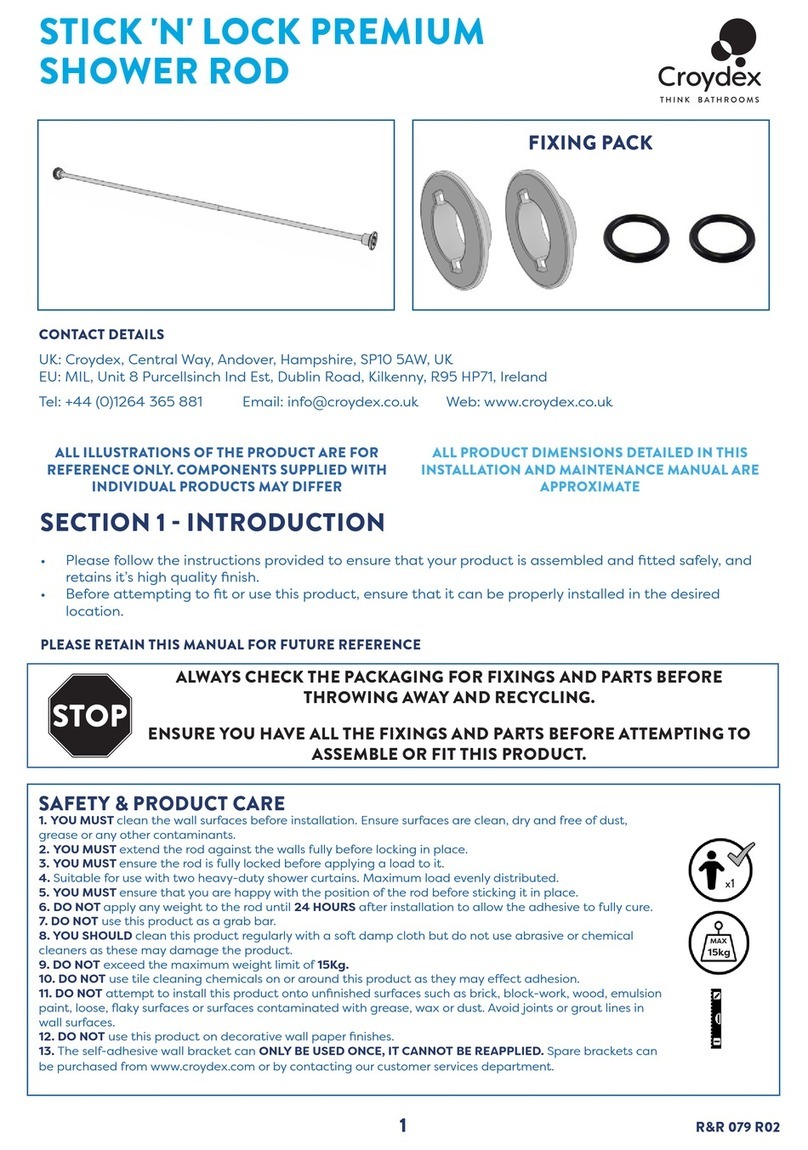
Croydex STICK 'N' LOCK PREMIUM User manual

Croydex

Croydex STICK 'N' LOCK PREMIUM User manual

Croydex Flexi-Fix User manual

Croydex

Croydex Flexi-Fix User manual

Croydex Hampstead Wall Mounted Accessory User manual

Croydex

Croydex Hampstead Wall Mounted Accessory User manual

Croydex AM302021 User manual

Croydex

Croydex AM302021 User manual

Croydex QM361941 User manual

Croydex

Croydex QM361941 User manual

Croydex QM950122 User manual

Croydex

Croydex QM950122 User manual

Croydex DG400341 User manual

Croydex

Croydex DG400341 User manual

Croydex QM781941 User manual

Croydex

Croydex QM781941 User manual

Croydex LUXURY SQUARE ROD AD116441 User manual

Croydex

Croydex LUXURY SQUARE ROD AD116441 User manual

Croydex Luxury Round Shower Curtain Rod AD116541 User manual

Croydex

Croydex Luxury Round Shower Curtain Rod AD116541 User manual

Croydex GP78100 Manual

Croydex

Croydex GP78100 Manual

Croydex WA971022 User manual

Croydex

Croydex WA971022 User manual

Popular Bathroom Fixture manuals by other brands

EQUATION BH-1401E Assembly, Use, Maintenance Manual

EQUATION

EQUATION BH-1401E Assembly, Use, Maintenance Manual

Relax Light 67-B1 Assembly instructions

Relax

Relax Light 67-B1 Assembly instructions

Zuchetti SPA Z94236 manual

Zuchetti

Zuchetti SPA Z94236 manual

Sanela SLU 33NB Mounting instructions

Sanela

Sanela SLU 33NB Mounting instructions

Kallista Tuxedo P72037 installation guide

Kallista

Kallista Tuxedo P72037 installation guide

Voda STORM VST32 quick start guide

Voda

Voda STORM VST32 quick start guide

Hans Grohe 35807803 Assembly

Hans Grohe

Hans Grohe 35807803 Assembly

Kohler K-484 installation guide

Kohler

Kohler K-484 installation guide

HERMITAGE BATH 97 Series installation manual

HERMITAGE BATH

HERMITAGE BATH 97 Series installation manual

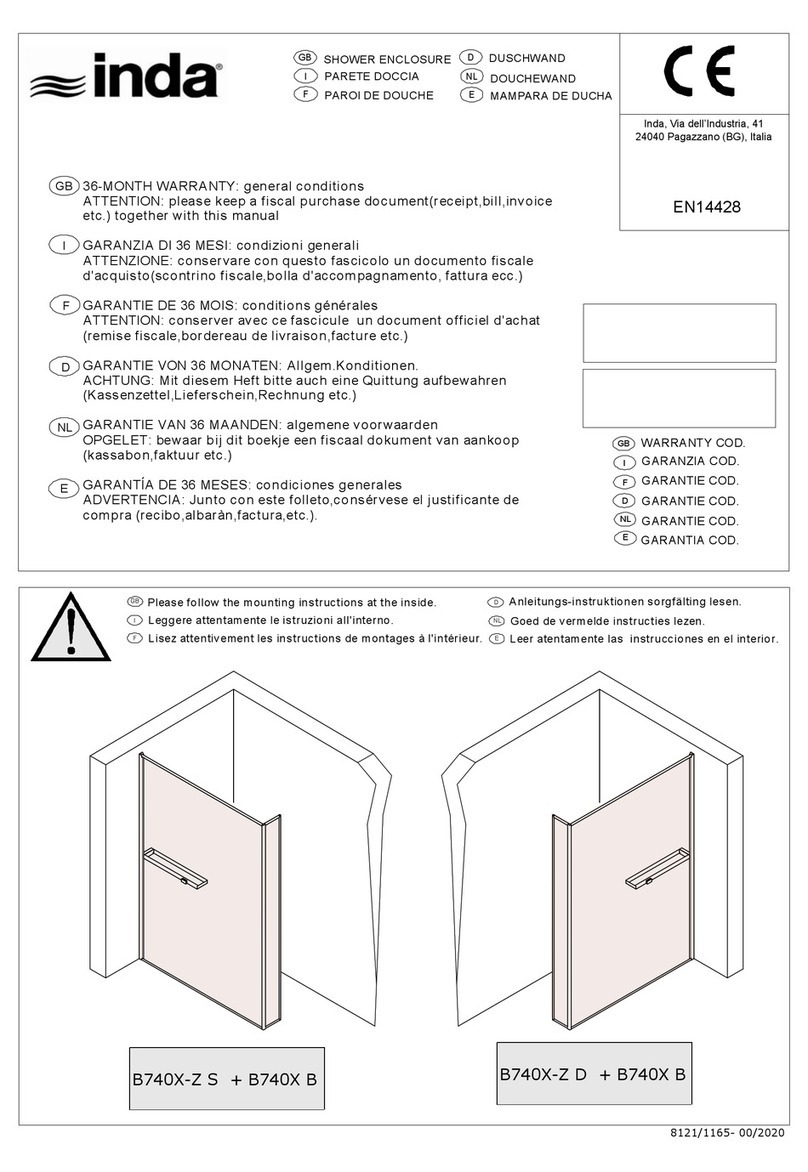
INDA B740X-Z S installation instructions

INDA

INDA B740X-Z S installation instructions

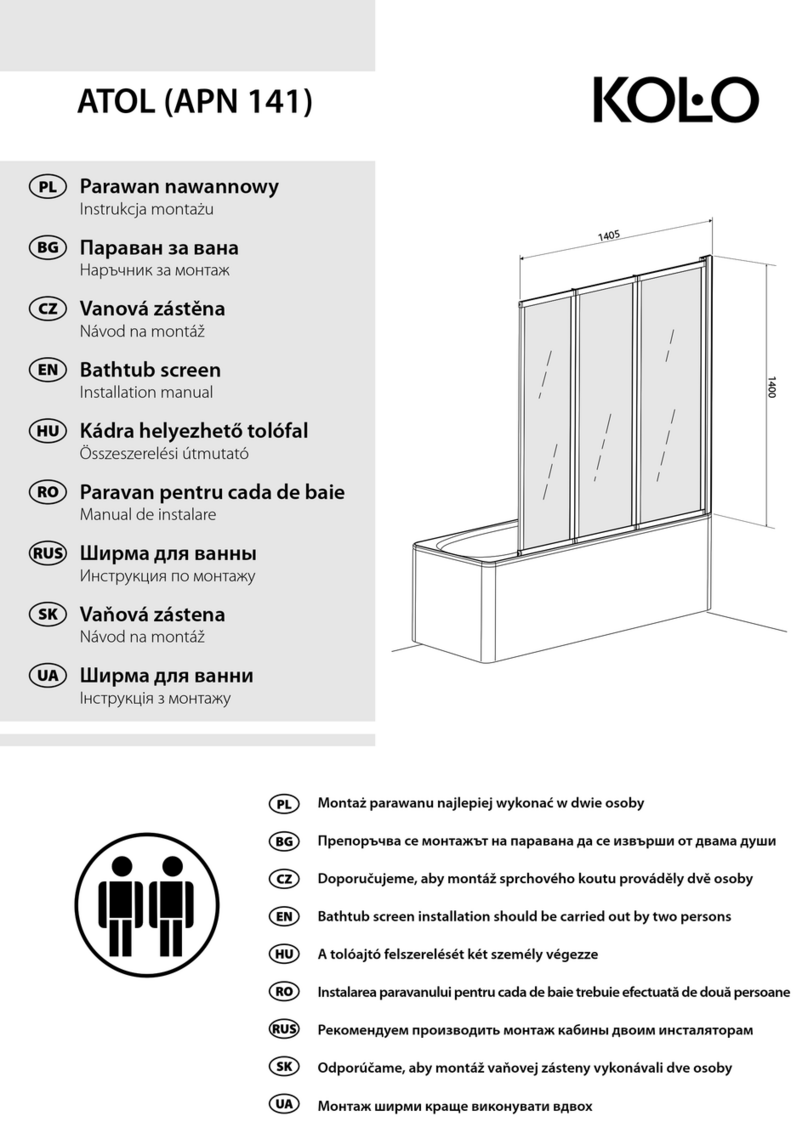
KOLO ATOL APN 141 installation manual

KOLO

KOLO ATOL APN 141 installation manual

Dornbracht BigRain 41 400 979 FF installation instructions

Dornbracht

Dornbracht BigRain 41 400 979 FF installation instructions

Dimex360 Akuaplus Elite RDM8077223CP Instruction

Dimex360

Dimex360 Akuaplus Elite RDM8077223CP Instruction

Kohler K-15996 Installation and care guide

Kohler

Kohler K-15996 Installation and care guide

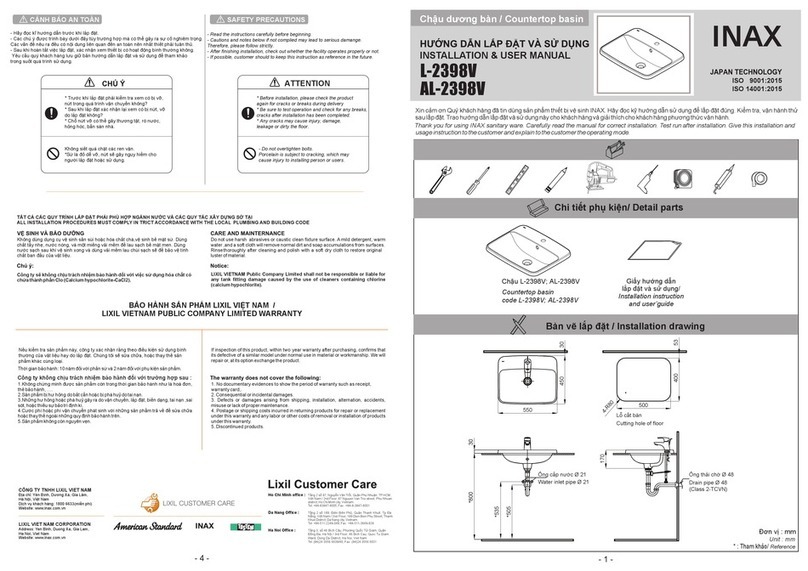
Inax L-2398V Installation & user manual

Inax

Inax L-2398V Installation & user manual

Gessi VIA MANZONI 38725 manual

Gessi

Gessi VIA MANZONI 38725 manual

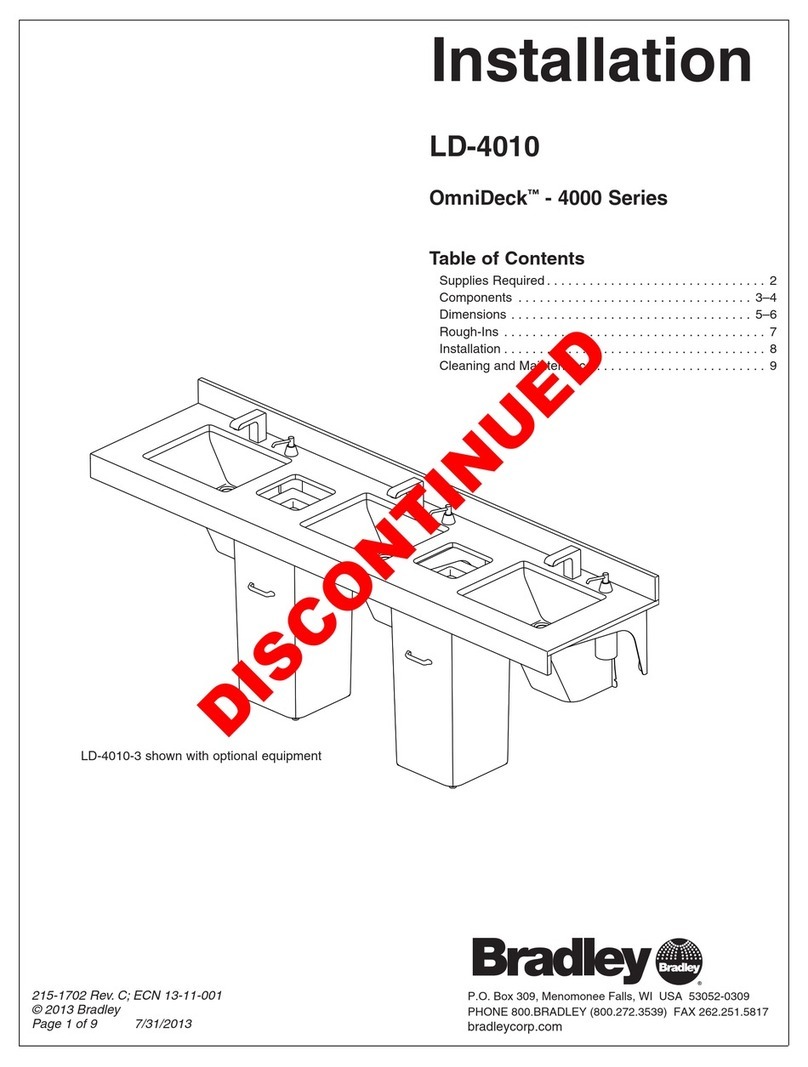
Bradley OmniDeck 4000 Series installation guide

Bradley

Bradley OmniDeck 4000 Series installation guide

Symmons Naru 412HS Operation & maintenance manual

Symmons

Symmons Naru 412HS Operation & maintenance manual

manuals.online logo
manuals.online logoBrands
  • About & Mission
  • Contact us
  • Privacy Policy
  • Terms and Conditions

Copyright 2025 Manuals.Online. All Rights Reserved.