manuals.online logo
Brands
  1. Home
  2. •
  3. Brands
  4. •
  5. CRU
  6. •
  7. Enclosure
  8. •
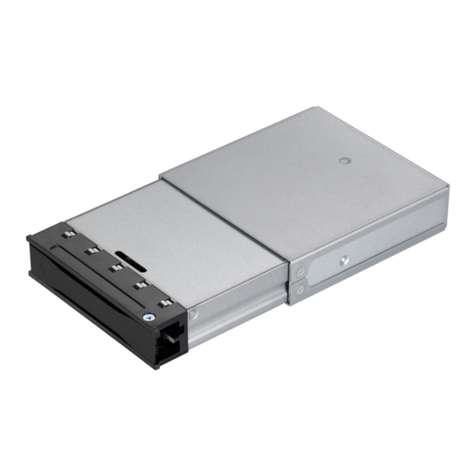
  9. CRU DataPort DP25 RAID Dock 3JR User manual

CRU DataPort DP25 RAID Dock 3JR User manual

Protecting Your Digital AssetsTM
© 2015 CRU Acquisition Group LLC, ALL RIGHTS RESERVED. DataPort®and CRU®are trademarks of CRU Acquisition Group, LLC
and are protected by trademark law.
Product Warranty
CRU warrants this product to be free of signicant defects in material and workmanship for a period of three years from the original
date of purchase. CRU’s warranty is nontransferable and is limited to the original purchaser.
Limitation of Liability
The warranties set forth in this agreement replace all other warranties. CRU expressly disclaims all other warranties, including but
not limited to, the implied warranties of merchantability and tness for a particular purpose and non-infringement of third-party rights
with respect to the documentation and hardware. No CRU dealer, agent, or employee is authorized to make any modication, exten-
sion, or addition to this warranty. In no event will CRU or its suppliers be liable for any costs of procurement of substitute products
or services, lost prots, loss of information or data, computer malfunction, or any other special, indirect, consequential, or incidental
damages arising in any way out of the sale of, use of, or inability to use any CRU product or service, even if CRU has been advised of
the possibility of such damages. In no case shall CRU’s liability exceed the actual money paid for the products at issue. CRU reserves
the right to make modications and additions to this product without notice or taking on additional liability.
FCC Compliance Statement: “This device complies with Part 15 of the FCC rules. Operation is subject to the following two condi-
tions: (1) This device may not cause harmful interference, and (2) this device must accept any interference received, including interfer-
ence that may cause undesired operation.”
This equipment has been tested and found to comply with the limits for a Class B digital device, pursuant to Part 15 of the FCC Rules.
These limits are designed to provide reasonable protection against harmful interference when the equipment is operated in a home
or commercial environment. This equipment generates, uses, and can radiate radio frequency energy and, if not installed and used in
accordance with the instruction manual, may cause harmful interference to radio communications.
In the event that you experience Radio Frequency Interference, you should take the following steps to resolve the problem:
1) Ensure that the case of your attached drive is grounded.
2) Use a data cable with RFI reducing ferrites on each end.
3) Use a power supply with an RFI reducing ferrite approximately 5 inches from the DC plug.
4) Reorient or relocate the receiving antenna.
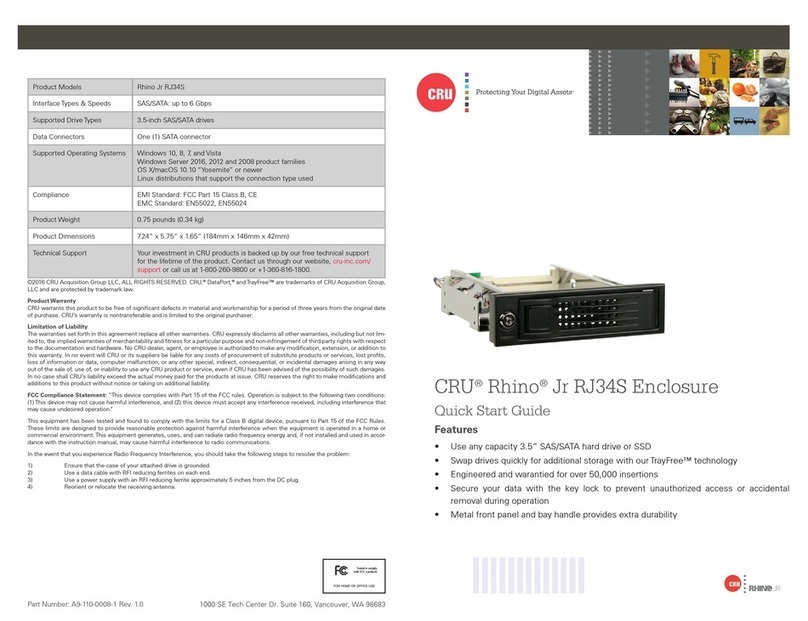
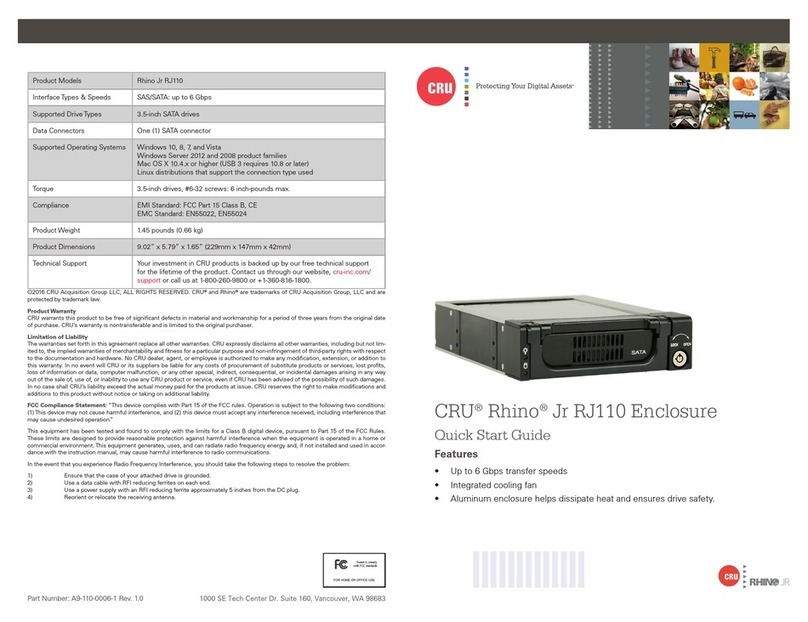
Product Models DataPort DP25 RAID Dock 3JR, DataPort DP25 RAID Carrier
Interface Types & Speeds USB 3.0: up to 5 Gbps
Drive Types Supported 2.5-inch SATA rotational hard drives, 2.5-inch SATA SSD hard drives*
Supported DataPort 25
Carriers and Frames
DataPort 25 Hand-Held RAID*, DataPort DP25-3SJR, DataPort DP25 RAID Car-
rier, DataPort 25 SATA 6G
Data Connectors One (1) USB 3 Type B connector
Supported Operating Windows 8.1, 8, 7, and Vista
Windows Server 2012, 2008, and 2003 product families
Mac OS X 10.4.x or higher
Linux distributions that support the connection type used
Torque 2.5-inch hard drives, M3 screws: 4 inch-pounds max.
Compliance EMI Standard: FCC Part 15 Class B, CE
EMC Standard: EN55022, EN55024
Product Weight 1.9 pounds (0.862 kg)
Product Dimensions 6.34” x 4.37” x 1.38” (161mm x 102mm x 26mm)
Technical Support Your investment in CRU products is backed up by our free technical support for
the lifetime of the product. Contact us through our website, cru-inc.com/support
or call us at 1-800-260-9800 or +1-360-816-1800.
*See Section 2 for warnings about drive and hardware support.
FOR HOME OR OFFICE USE
CRU®DataPort®DP25 RAID Dock 3JR
and DataPort DP25 RAID Carrier
Quick Start Guide
Features
• Access your data anywhere via USB 3.0
• RAID Modes: No RAID (requires port-multiplication support), RAID 0, RAID 1, Span.
• RAID conguration switches on the carrier make this model ideal for those who
want the exibility of using multiple types of RAID sets in the same enclosure
• Supports 5 Gbps transfer speeds
Part Number: A5-025-0020-4 Rev. 1.3
2CRU DataPort DP25 RAID Dock 3JR and DataPort DP25 RAID Carrier Quick Start Guide
Protecting Your Digital AssetsTM
3
CRU DataPort DP25 RAID Dock 3JR and DataPort DP25 RAID Carrier Quick Start Guide
PMS711 2cyan
85magenta
76yellow
10.25.12
CRU Mark
1 USAGE WARNINGS
• Do not use this product to transport data from previously formatted RAID drive pairs
used in other DP25 models or data loss may result! All drives must be initially unfor-
matted before rst use.
• The single-drive DataPort 25 USB 3.0 Carrier (8531-4009-9500) does not support SSD
drives when used inside the DataPort DP25 RAID Dock 3JR frame.
• The DataPort 25 Hand-Held RAID (with USB 2.0 and SATA) was the previous generation
of this product. If the previous DataPort 25 Hand-Held RAID carrier (8511-5170-9500)
is used with the newer DataPort DP25 RAID Dock 3JR frame (8570-6370-9500), or the
newer DataPort DP25 RAID Carrier (8511-6309-9500) is used with the older DataPort 25
Hand-Held RAID frame (8512-3202-9500), the DIP Switch settings on the back of the
carrier will be overridden by the DIP Switch settings on the back of the frame/dock. You
must take into account this behavior or data loss may result!
2 INSTALLATION STEPS
2.1 CONFIGURING RAID SETTINGS
The DataPort DP25 RAID Dock 3JR frame and DataPort DP25 RAID Carrier operate in four dif-
ferent congurations, which are determined by DIP switch “SW1” on the rear of the frame or
carrier board. Set the DIP switch to the desired conguration. Both the carrier and the frame
are set to “No RAID” by default.
When conguring the DIP switches on the frame, you must set the DIP switches
on the carrier to “No RAID”, and when conguring DIP switches on the carrier, you
must set the DIP switches on the frame to “No RAID”. If you do not do so, your
RAID settings may be changed and loss of data could result!
“SW1” DIP Switch Settings
POSITION 1 POSITION 2 POSITION 3
No RAID* Off Off On
Span On Off On
RAID 1 Off On On
RAID 0 On On On
*Requires that a port-multiplier-aware host SATA port be used during frame installation
Each time you change the DIP switch settings, you must cycle power on the unit in
order for the settings to take effect.
2.2 HARD DRIVE INSTALLATION
a. Press the Eject button on the front of the DataPort DP25 RAID Dock 3JR frame to release
the button, and again to eject the carrier (may be sold separately). If the lock is engaged
and the eject button will not release the carrier, insert the provided DataPort Key into the
dock and turn it 90 degrees counterclockwise to release the lock so that you can eject the
carrier.
b. Slide the cover of the carrier back and off.
c. Remove the screw kit from the carrier.
d. Insert a 2.5” SATA hard drive, with the top label facing up, into the bottom unied power
and data connector inside the carrier.
e. Secure the hard drive to the carrier using mounting screws from the provided screw kit.
f. Insert the second 2.5” SATA hard drive, again with the top label facing up, into the top
unied power and data connector.
g. Secure the hard drive to the carrier using the provided mounting screws.
h. Replace the cover and secure it by inserting two screws from the provided screw kit into
the rear of the carrier.
2.3 OPERATING YOUR DATAPORT DP25 RAID DOCK 3JR UNIT
a. Connect the DataPort DP25 RAID Dock 3JR AC adapter into a power source and the other
end to the rear of the dock.
b. Attach the provided USB 3 cable to the rear of the dock and the other end to an open USB
3 port on your computer.
c. Slide the carrier into the dock.
d. Insert the provided DataPort key into the keylock on the front of the dock and turn it 90
degrees clockwise to secure the carrier into the dock and power it on.
When any RAID set or hard drives are rst used with the DataPort DP25 RAID Dock 3JR, they
will show up as blank, unallocated volumes and you’ll need to format each one before you
can use them.
STOP!
NOTE

This manual suits for next models

1

Other CRU Enclosure manuals

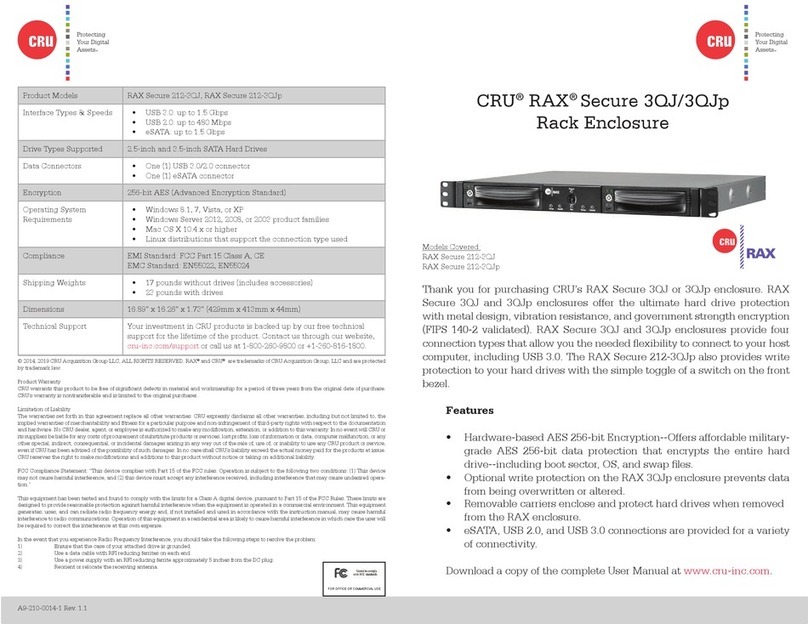
CRU RAX Secure 212-3QR User manual

CRU

CRU RAX Secure 212-3QR User manual

CRU Rhino Jr RJ32T User manual

CRU

CRU Rhino Jr RJ32T User manual

CRU Data Express 50 User manual

CRU

CRU Data Express 50 User manual

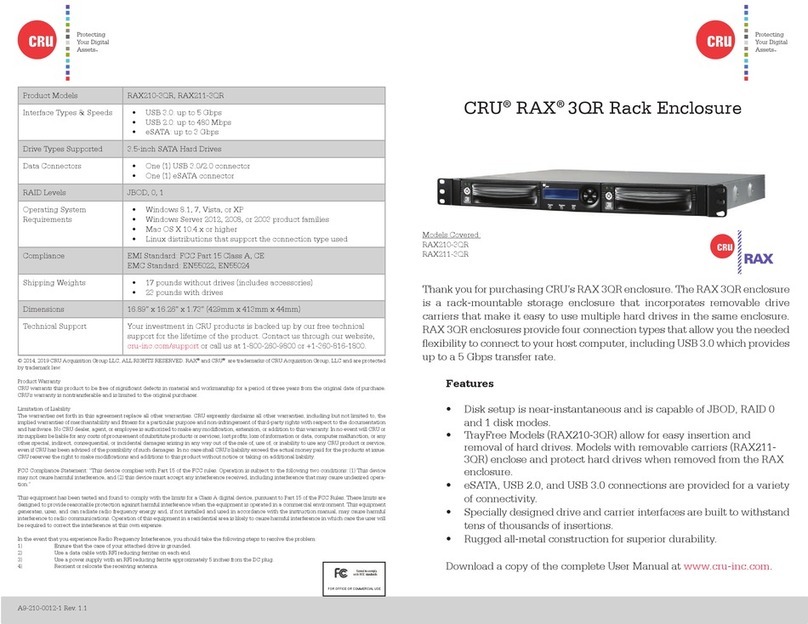
CRU RTX220-3QR User manual

CRU

CRU RTX220-3QR User manual

CRU RTX 1-Bay-3Q User manual

CRU

CRU RTX 1-Bay-3Q User manual

CRU MoveDock USB 3.0 User manual

CRU

CRU MoveDock USB 3.0 User manual

CRU QX310 v2 User manual

CRU

CRU QX310 v2 User manual

CRU DataPort DP25 SATA 6G User manual

CRU

CRU DataPort DP25 SATA 6G User manual

CRU RAX Secure 212-3QJ User manual

CRU

CRU RAX Secure 212-3QJ User manual

CRU DataPort 1U User manual

CRU

CRU DataPort 1U User manual

CRU DataPort 2 Bay User manual

CRU

CRU DataPort 2 Bay User manual

CRU DataPort 4-Bay SATA Hard Drive Enclosure User manual

CRU

CRU DataPort 4-Bay SATA Hard Drive Enclosure User manual

CRU DataPort DP27 User manual

CRU

CRU DataPort DP27 User manual

CRU RTX430-3QR User manual

CRU

CRU RTX430-3QR User manual

CRU DataPort SecureDock User manual

CRU

CRU DataPort SecureDock User manual

CRU Data Express QX310 User manual

CRU

CRU Data Express QX310 User manual

CRU Rhino Jr RJ33S User manual

CRU

CRU Rhino Jr RJ33S User manual

CRU RTX220-3SJ User manual

CRU

CRU RTX220-3SJ User manual

CRU Rhino Jr RJ110 User manual

CRU

CRU Rhino Jr RJ110 User manual

CRU DataPort 20 User manual

CRU

CRU DataPort 20 User manual

CRU RAX 215DC-3QJ User manual

CRU

CRU RAX 215DC-3QJ User manual

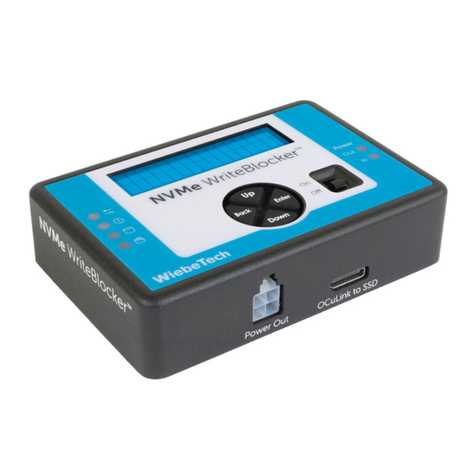
CRU NVMe WriteBlocker User manual

CRU

CRU NVMe WriteBlocker User manual

CRU DataPort DP10 User manual

CRU

CRU DataPort DP10 User manual

CRU Data Express 200i-SWU2 User manual

CRU

CRU Data Express 200i-SWU2 User manual

Popular Enclosure manuals by other brands

StarTech.com InfoSafe UNI3510U2E instruction manual

StarTech.com

StarTech.com InfoSafe UNI3510U2E instruction manual

LEGRAND Wiremold WAPENCL installation instructions

LEGRAND

LEGRAND Wiremold WAPENCL installation instructions

StarTech.com S2510BU3PW user manual

StarTech.com

StarTech.com S2510BU3PW user manual

Manhattan 130103 instructions

Manhattan

Manhattan 130103 instructions

COUGAR MX430 MESH RGB user manual

COUGAR

COUGAR MX430 MESH RGB user manual

inXtron External Storage Enclosure for 3.5" IDE Hard... user manual

inXtron

inXtron External Storage Enclosure for 3.5" IDE Hard... user manual

GRAUPNER Li-Po SAFE Bag Use and safety instructions

GRAUPNER

GRAUPNER Li-Po SAFE Bag Use and safety instructions

StorCase Technology Data Silo DS100 user guide

StorCase Technology

StorCase Technology Data Silo DS100 user guide

Orion Storage enclosure user manual

Orion

Orion Storage enclosure user manual

Sonnet Fusion 400 user guide

Sonnet

Sonnet Fusion 400 user guide

Natec RHINO M.2 user manual

Natec

Natec RHINO M.2 user manual

RaidSonic Technology Icy Box IB-1916M-C32 manual

RaidSonic Technology

RaidSonic Technology Icy Box IB-1916M-C32 manual

Sony VCT-CGR1 operating instructions

Sony

Sony VCT-CGR1 operating instructions

NCR 7603-K301 Kit instructions

NCR

NCR 7603-K301 Kit instructions

Force Computers MODUSYS 2000 Kernel manual

Force Computers

Force Computers MODUSYS 2000 Kernel manual

LevelOne BOH-1400 Quick installation guide

LevelOne

LevelOne BOH-1400 Quick installation guide

Vantec NexStar MX manual

Vantec

Vantec NexStar MX manual

Vantec NexStar CX specification

Vantec

Vantec NexStar CX specification

manuals.online logo
manuals.online logoBrands
  • About & Mission
  • Contact us
  • Privacy Policy
  • Terms and Conditions

Copyright 2025 Manuals.Online. All Rights Reserved.