manuals.online logo
Brands
  1. Home
  2. •
  3. Brands
  4. •
  5. CRU
  6. •
  7. Enclosure
  8. •
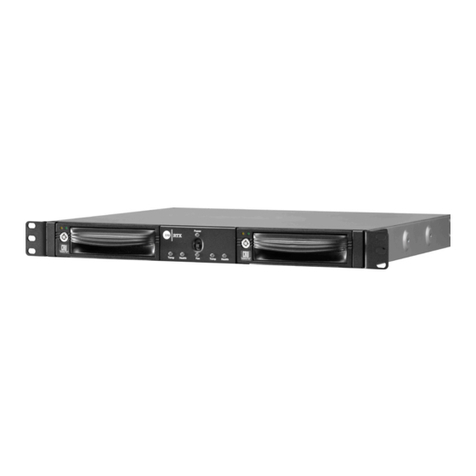
  9. CRU RTX220-3QR User manual

CRU RTX220-3QR User manual

Protecting Your
Digital Assets™
Protecting Your
Digital Assets™
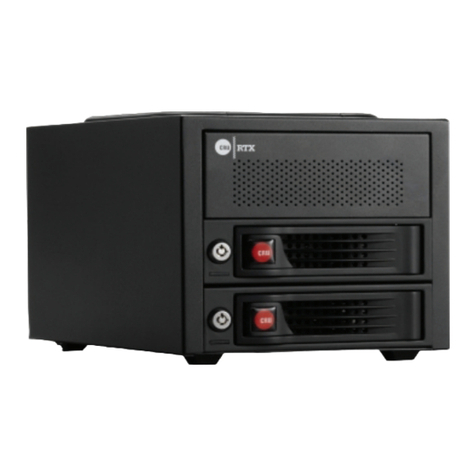
RTX™2 Bay-3QR Quick Start Guide
RTX220-3QR, RTX221-3QR, and RTX Secure 222-3QR
1. Installation Steps
1.1 HDD Installation for RTX220-3QR
a. Pull the ejection handle, open the door.
b. Slide in your SATA hard drive, connector-end rst.
c. Shut the door.
1.2 HDD Installation for RTX221-3QR and RTX Secure 222-3QR
a. Slide the drive carrier out of RTX.
b. The carrier’s cover is held in place by a screw on
the rear of the carrier. Remove the screw, then
remove the cover.
c. Slide the drive in from the front of the carrier.
d. Mate the connection on the drive with the
connection on the drive carrier circuit board.
e. Flip the drive/carrier assembly over, and secure
the drive in place with the provided screws.
f. Attach the Temperature Control Cooling Sensor
to the top of the drive with an adhesive strip.
g. Replace the carrier cover and secure the screw on the rear of the carrier.
Slide the carrier into RTX
NOTE – A ashing green LED on the bay indicates bay fan failure. Call
CRU technical support for assistance.
RAX Branding
2c85m76y
PMS 711C
68c70m
PMS 2726
RTX is a trademark of CRU Acquisitions Group, LLC. Other marks are the property of their respective owners. © 2013 CRU Acquisitions
Group, LLC. All rights reserved.
Limited Product Warranty
CRU-DataPort (CRU) warrants RTX to be free of signicant defects in material and workmanship for a period of three years from the
original date of purchase. CRU’s warranty is nontransferable and is limited to the original purchaser.
Limitation of Liability
The warranties set forth in this agreement replace all other warranties. CRU expressly disclaims all other warranties, including but not
limited to, the implied warranties of merchantability and tness for a particular purpose and non-infringement of third-party rights with
respect to the documentation and hardware. No CRU dealer, agent or employee is authorized to make any modication, extension, or
addition to this warranty. In no event will CRU or its suppliers be liable for any costs of procurement of substitute products or services,
lost prots, loss of information or data, computer malfunction, or any other special, indirect, consequential, or incidental damages arising
in any way out of the sale of, use of, or inability to use any CRU product or service, even if CRU has been advised of the possibility of
such damages. In no case shall CRU’s liability exceed the actual money paid for the products at issue. CRU reserves the right to make
modications and additions to this product without notice or taking on additional liability.
FCC Compliance Statement: “This device complies with Part 15 of the FCC rules. Operation is subject to the following two conditions:
(1) This device may not cause harmful interference, and (2) this device must accept any interference received, including interference
that may cause undesired operation.”
This equipment has been tested and found to comply with the limits for a Class A digital device, pursuant to Part 15 of the FCC Rules.
These limits are designed to provide reasonable protection against harmful interference when the equipment is operated in a commer-
cial environment. This equipment generates, uses, and can radiate radio frequency energy and, if not installed and used in accordance
with the instruction manual, may cause harmful interference to radio communications. Operation of this equipment in a residential area
is likely to cause harmful interference in which case the user will be required to correct the interference at this own expense.
In the event that you experience Radio Frequency Interference, you should take the following steps to resolve the problem:
1. Ensure that the case of your attached drive is grounded.
2. Use a data cable with RFI reducing ferrites on each end.
3. Use a power supply with an RFI reducing ferrite approximately 5 inches from the DC plug.
4. Reorient or relocate the receiving antenna FOR OFFICE OR COMMERCIAL USE
Product Models RTX220-3QR, RTX221-3QR, RTX Secure 222-3QR
Host Connections and
Data Interface Speeds:
• USB 3.0: Up to 5 Gbps
• eSATA: up to 2400 Mbps
• Dual FireWire 800: up to 800 Mbps
• USB 2.0: up to 480 Mbps
Drive Types Supported 3.5 inch SATA (Serial-ATA) Hard Drives
Operating System
Requirements
Windows XP, Vista, Windows 7, Windows 8
Mac OS X 10.4 or higher
Linux distributions that support the connection type
Power Supply Input: 100-240VAC, Output: 120 Watts
Cooling Fan 60mm exhaust fan
Shipping Weights 8.5 pounds without drives, 11.5 pounds with drives
Dimensions (177mm W x 270mm D x 160mm H)
Warranty 3 years
Support Your investment in CRU products is backed up by our free technical
support for the lifetime of the product. Contact us through our website,
cru-inc.com/support or call us at 1-800-260-9800 or +1-360-816-1800.
A9-220-0005-1 Rev. 1.0
PMS711 2cyan
85magenta
76yellow
10.25.12
CRU Mark
3. Setup
RTX-3QR can connect to your computer in one of four ways (eSATA, USB 2.0,
FW 800, and USB 3.0). Choose one of those four cables to use and plug it into
RTX. Connect the power cord to the unit and to a grounded electrical outlet.
Switch the unit on.
4. Creating a New RAID
Use the LCD and interface buttons to complete this step if you did not purchase
your unit pre-congured.
a. Upon insertion of new disks, the LCD will read “RAID Error: not a RAID set.”
Press “Enter” on the front interface twice.
b. The LCD screen will display “MAKE A NEW RAID?” Select “yes.”
c. Select your RAID type (RAID 0 or 1)
d. The LCD will read “Will erase all data OK?” If okay, select “yes.”
5. Changing the RAID Type
Use the LCD and front interface buttons to complete this step)
a. Disconnect RTX from the computer.
b. Press the Up button, for the ‘Change RAID Mode’ screen.
c. Press the Enter button.
d. Press the Down or Up button to select the desired RAID type.
e. The screen will display ‘Will Erase all Data.’ If data is backed up press Enter.
The new conguration is selected and RTX will reboot.
6. Adding a new disk
RAID 1
In the event of a disk failure or removal for a RAID 1, the RAID will continue to
function in a degraded state. Add a new disk to RTX-3QR to rebuild the RAID.
After the new drive has been detected RTX-3QR will ask to add a new disk.
Press the enter button to select yes to add the disk. The disk will be added
to the RAID and the RAID will begin to rebuild. The LCD screen will display
the percent complete for the rebuild. You can toggle to the approximate time
remaining by pressing enter on the front panel.
RAID 0
Never remove a drive from a RAID 0 as this will cause the loss of all data. In
the event of a disk failure for a RAID 0, the RAID will be destroyed. Add a
drive and then press the Up button to create a new RAID. Follow the display
prompts to build a new array.
7. Buzzer and Temperature Conguration
The free software application “Congurator” allows users to change RTX-3QR’s
settings to meet individual needs. Congurator allows the user to set the
password, enable and disable audible alarms, and change the thresholds for
temperature warnings and alarms.
Use FireWire 800 in either FireWire port or a USB type-A to A cable in the USB
2.0/eSATA combo port to congure your product.
To download Congurator and for the full Congurator manual, please visit
http://www.wiebetech.com/software/congurator.php.
8. Encryption information (RTX Secure 222-3QR only)
RTX Secure 222-3QR includes an internal encryption key preinstalled in
each bay. After inserting any drive and formatting it, that drive will only be
readable in the RTX Secure 222-3QR and will be fully encrypted—including
the boot sector, operating system and all les—without performance
degradation. The internal encryption key can be overridden by inserting a
different encrypion key in the front of the bay.
RAID IS NOT A Backup
Because your RTX-3QR features a redundant RAID mode which protects against a
hard drive mechanical failure, it is an excellent part of any backup strategy. However,
a RAID is not, in itself, a backup strategy. Many things besides hard drive failure can
compromise your data (e.g. malware, theft, re, etc.) That’s why it’s important to have
another copy of your data somewhere else. Follow the 3-2-1 backup rule: your data
should exist in three different places on two different storage media and at least one of
those copies should be maintained offsite.
If you do not have an effective backup strategy, you may not be able to recover your
data, or the cost of recovery may be quite expensive. Our warranty does not cover
costs associated with data loss (nor do the warranties of other hard drive manufactur-
ers). We know it would be heartbreaking to lose your data, so please plan accordingly!

Other manuals for RTX220-3QR

1

This manual suits for next models

3

Other CRU Enclosure manuals

CRU DataPort 22 User manual

CRU

CRU DataPort 22 User manual

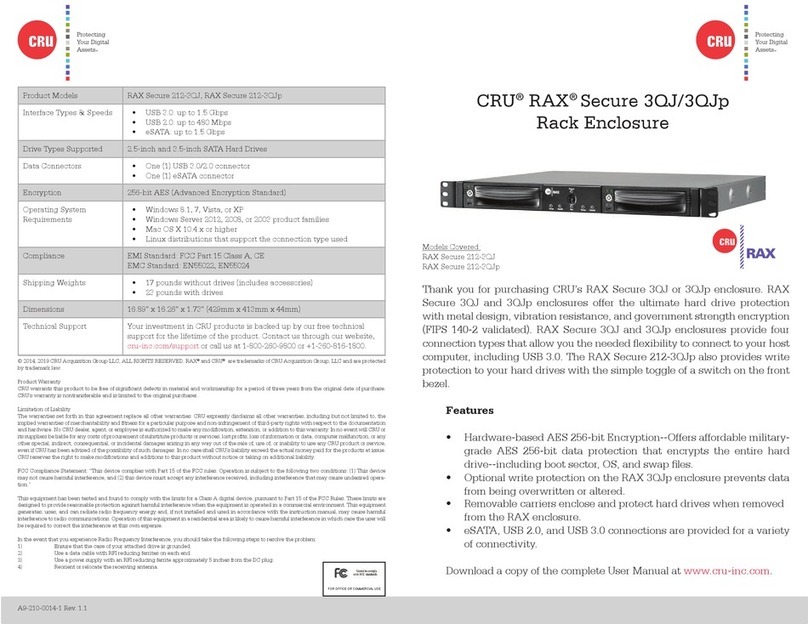
CRU RAX Secure 212-3QR User manual

CRU

CRU RAX Secure 212-3QR User manual

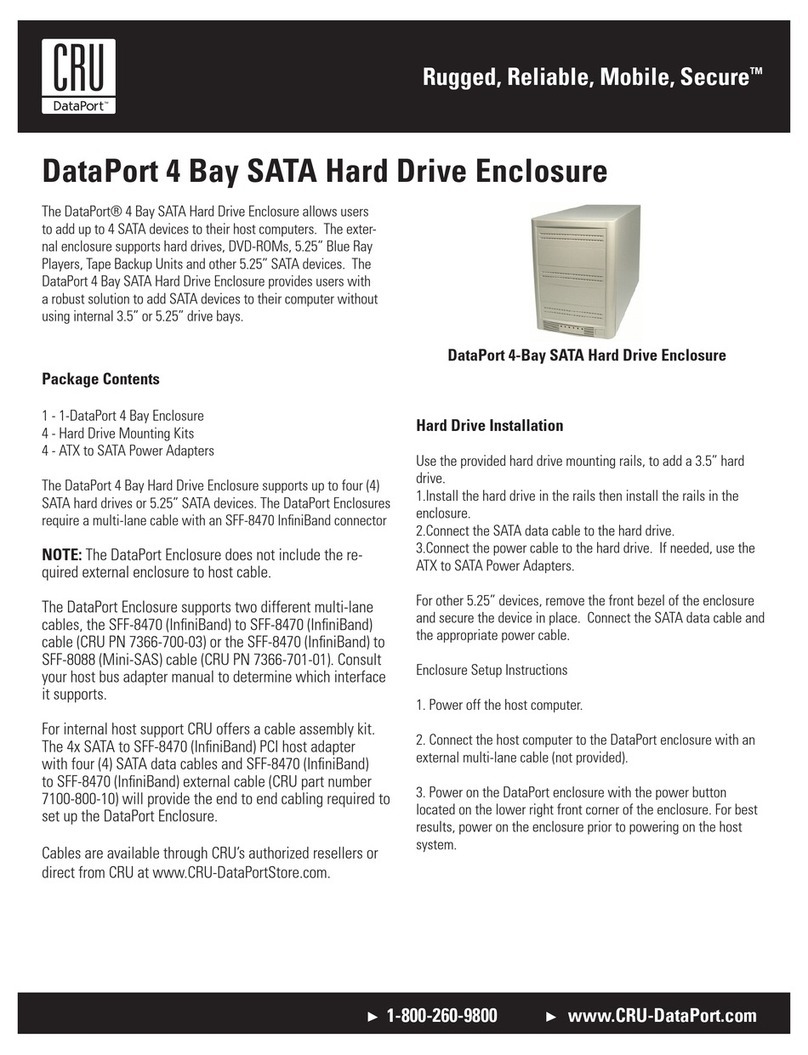
CRU DataPort 4-Bay SATA Hard Drive Enclosure User manual

CRU

CRU DataPort 4-Bay SATA Hard Drive Enclosure User manual

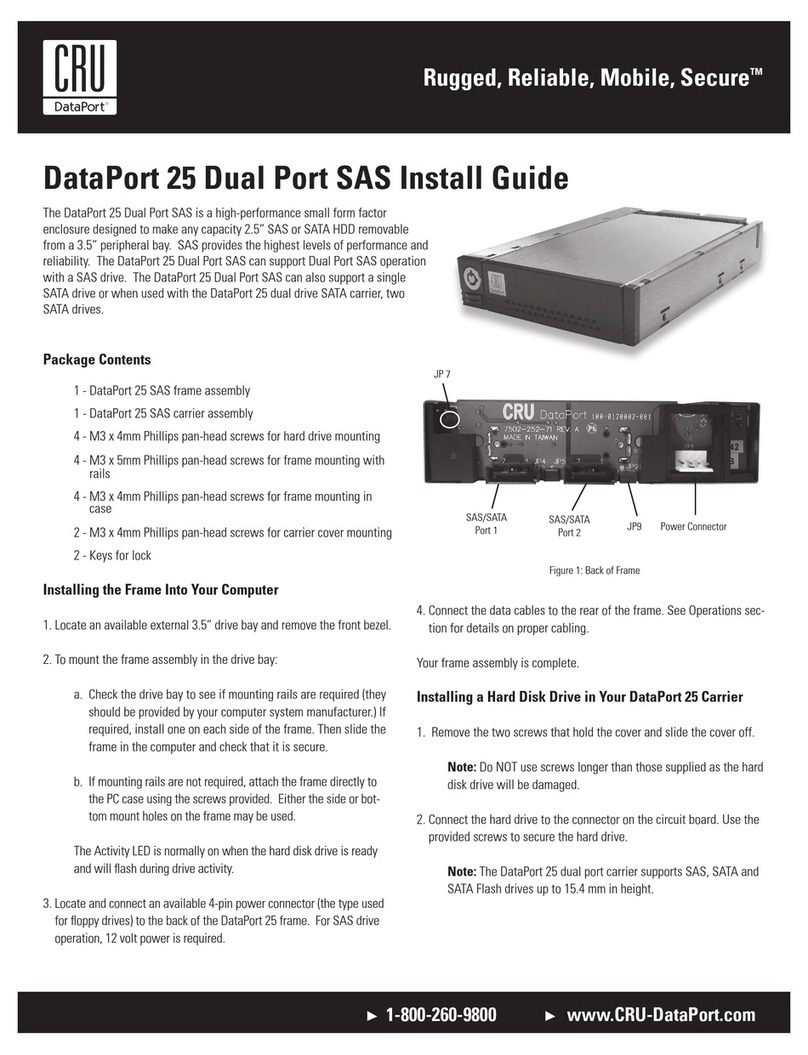
CRU DataPort 25 Dual Port SAS User manual

CRU

CRU DataPort 25 Dual Port SAS User manual

CRU DataPort DP25 RAID Dock 3JR User manual

CRU

CRU DataPort DP25 RAID Dock 3JR User manual

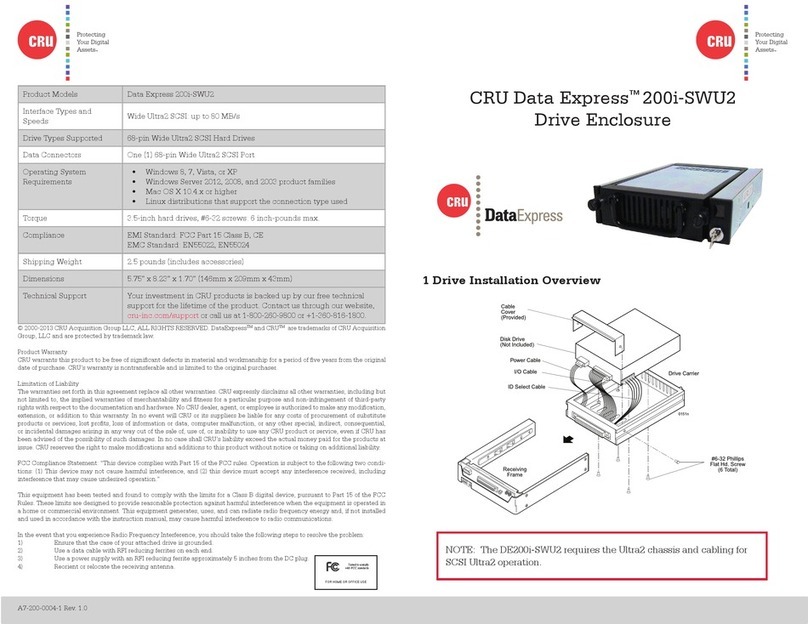
CRU Data Express 200i-SWU2 User manual

CRU

CRU Data Express 200i-SWU2 User manual

CRU DataPort 20 User manual

CRU

CRU DataPort 20 User manual

CRU RAX 3QJ Series User manual

CRU

CRU RAX 3QJ Series User manual

CRU Data Express 50 User manual

CRU

CRU Data Express 50 User manual

CRU DE100 Ultra 160 User manual

CRU

CRU DE100 Ultra 160 User manual

CRU DataPort 41 User manual

CRU

CRU DataPort 41 User manual

CRU DataPort 2 Bay User manual

CRU

CRU DataPort 2 Bay User manual

CRU Rhino Jr RJ400 User manual

CRU

CRU Rhino Jr RJ400 User manual

CRU Data Express QX310 User manual

CRU

CRU Data Express QX310 User manual

CRU DataPort DP27 User manual

CRU

CRU DataPort DP27 User manual

CRU DataPort DP25 SATA 6G User manual

CRU

CRU DataPort DP25 SATA 6G User manual

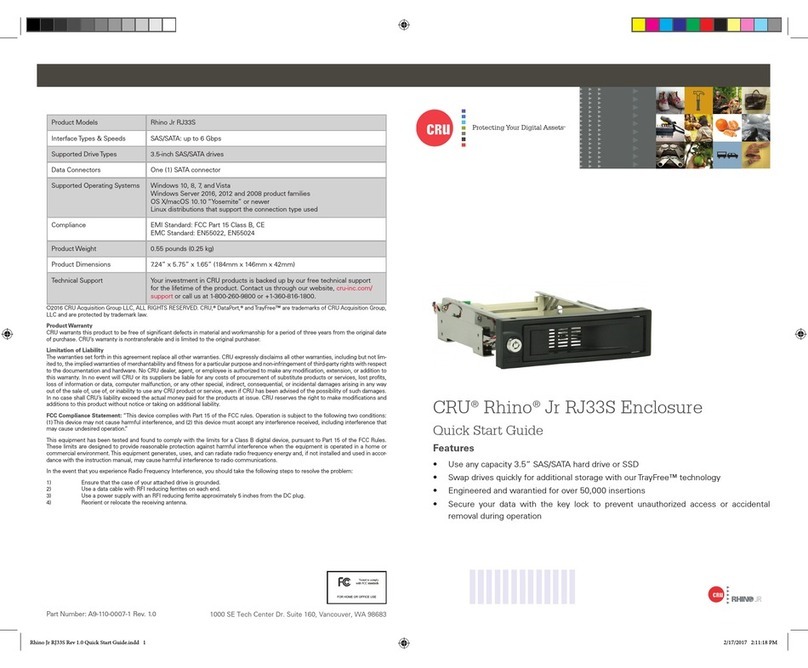
CRU Rhino Jr RJ33S User manual

CRU

CRU Rhino Jr RJ33S User manual

CRU RAX 215DC-3QJ User manual

CRU

CRU RAX 215DC-3QJ User manual

CRU DataPort 1U User manual

CRU

CRU DataPort 1U User manual

CRU Rhino Jr RJ34S User manual

CRU

CRU Rhino Jr RJ34S User manual

CRU Rhino Jr RJ110 User manual

CRU

CRU Rhino Jr RJ110 User manual

CRU Rhino Jr RJ32T User manual

CRU

CRU Rhino Jr RJ32T User manual

CRU RAX211-3QR User manual

CRU

CRU RAX211-3QR User manual

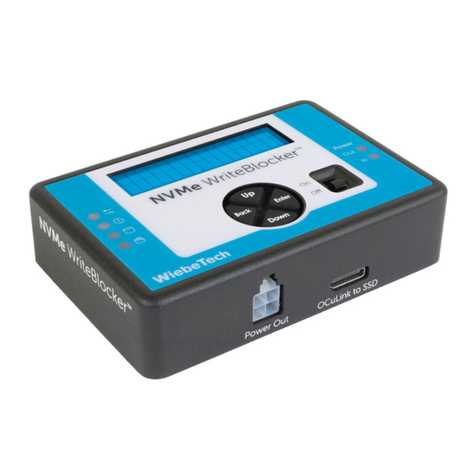
CRU NVMe WriteBlocker User manual

CRU

CRU NVMe WriteBlocker User manual

Popular Enclosure manuals by other brands

CRU Dataport DE75i-SW160 install guide

CRU Dataport

CRU Dataport DE75i-SW160 install guide

Stahl 8118 Series operating instructions

Stahl

Stahl 8118 Series operating instructions

StarTech.com SAT2510BU3 instruction manual

StarTech.com

StarTech.com SAT2510BU3 instruction manual

Rosewill ATX COMPUTER CASE R7439K user manual

Rosewill

Rosewill ATX COMPUTER CASE R7439K user manual

Eclipse P400 user manual

Eclipse

Eclipse P400 user manual

StarTech.com SAT3510BU2E instruction manual

StarTech.com

StarTech.com SAT3510BU2E instruction manual

nVent Hoffman JIC Swing-Out Panel Kit instruction manual

nVent Hoffman

nVent Hoffman JIC Swing-Out Panel Kit instruction manual

Vynco VMC334 installation instructions

Vynco

Vynco VMC334 installation instructions

Aruba Networks PowerConnect W-AP124 installation guide

Aruba Networks

Aruba Networks PowerConnect W-AP124 installation guide

Pulsar 7/TRP20/SATEL Assembly instructions

Pulsar

Pulsar 7/TRP20/SATEL Assembly instructions

StarTech.com SAT2510BU32 instruction manual

StarTech.com

StarTech.com SAT2510BU32 instruction manual

IBM 4 U installation guide

IBM

IBM 4 U installation guide

PORT CONNECT 900030 user guide

PORT CONNECT

PORT CONNECT 900030 user guide

Siemens SIRIUS ACT 3SU180-N Series Original operating instructions

Siemens

Siemens SIRIUS ACT 3SU180-N Series Original operating instructions

StarTech.com SAT2510U2F Spec sheet

StarTech.com

StarTech.com SAT2510U2F Spec sheet

Musway BASSREFLEX MR108Q manual

Musway

Musway BASSREFLEX MR108Q manual

Netstor TurboBox Xtreme NA265A Quick installation guide

Netstor

Netstor TurboBox Xtreme NA265A Quick installation guide

Sonnet FUSION 400 user guide

Sonnet

Sonnet FUSION 400 user guide

manuals.online logo
manuals.online logoBrands
  • About & Mission
  • Contact us
  • Privacy Policy
  • Terms and Conditions

Copyright 2025 Manuals.Online. All Rights Reserved.