manuals.online logo
Brands
  1. Home
  2. •
  3. Brands
  4. •
  5. CRU
  6. •
  7. Enclosure
  8. •
  9. CRU DataPort 20 User manual

CRU DataPort 20 User manual

Protecting Your
Digital Assets™
Protecting Your
Digital Assets™
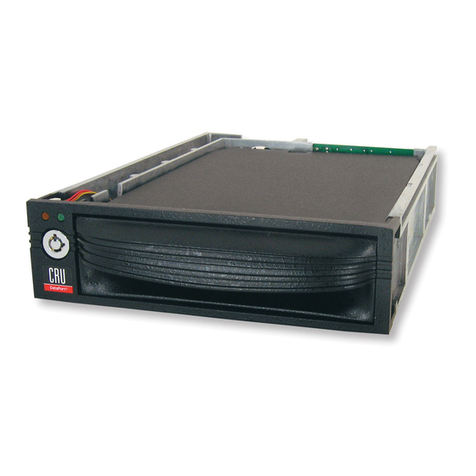
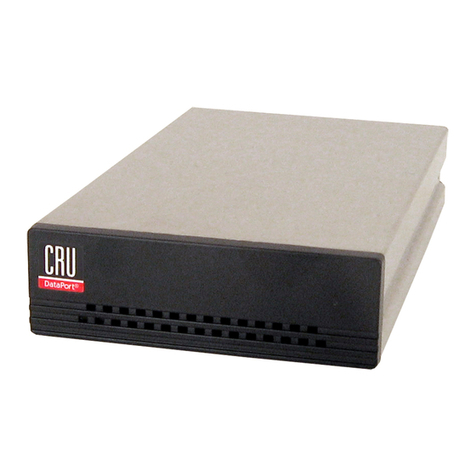
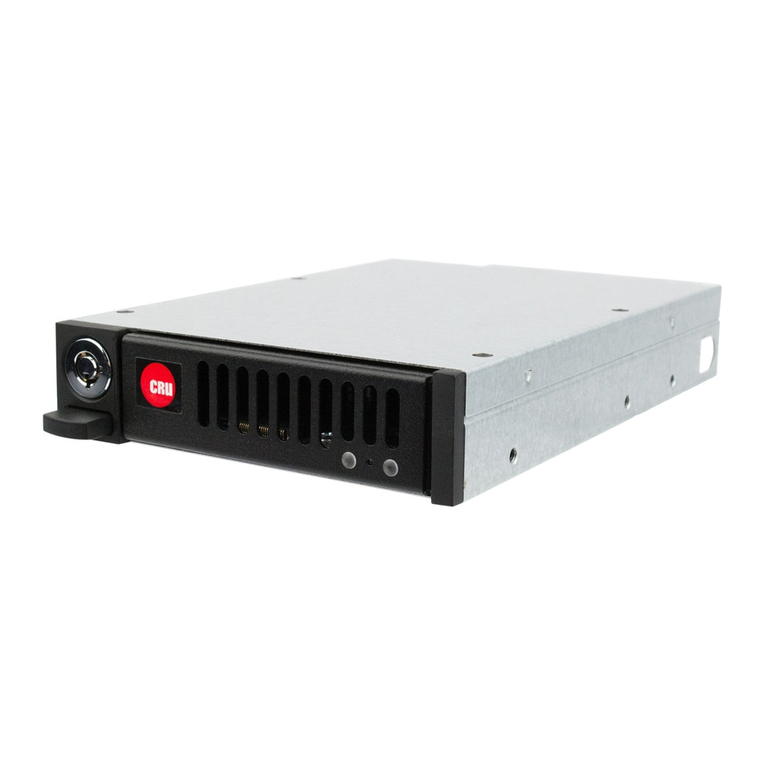
CRU DataPort®20 Enclosure
Thank you for purchasing CRU’s DataPort 20. Versatile and affordable, the
DataPort 20 frame and removable carrier provide exibility for standard
12.7mm slimline optical drive bays. Whether looking for additional storage
capacity, off-site backup or easy hard drive swapping, the DataPort 20 is the
solution. This innovative frame and removable carrier combination allows you
to add removable storage to one of the smallest bays in your computer. The
DataPort 20 supports one 2.5” 7mm SATA hard drive or solid state drive and
will operate at 6 Gbps speeds when used with SATA Revision 3.0 drives and
host.
Features
• Designed to t into 12.7mm slimline optical drive bays
• Removable carrier allows quick and easy access to drives for hot
swapping or data mobility
• Mechanical keylock on frame to prevent accidental ejection of the
carrier
• Receiving frame interconnect rated for 25,000 insertions
• Transfer data up to 6 Gbps using SATA Revision 3.0 drives and host
© 2013 CRU Acquisition Group LLC, ALL RIGHTS RESERVED. DataPort® and CRUTM are trademarks of CRU Acquisition
Group, LLC and are protected by trademark law.
Product Warranty
CRU warrants this product to be free of signicant defects in material and workmanship for a period of ve years from the origi-
nal date of purchase. CRU’s warranty is nontransferable and is limited to the original purchaser.
Limitation of Liability
The warranties set forth in this agreement replace all other warranties. CRU expressly disclaims all other warranties, including
but not limited to, the implied warranties of merchantability and tness for a particular purpose and non-infringement of third-
party rights with respect to the documentation and hardware. No CRU dealer, agent, or employee is authorized to make any
modication, extension, or addition to this warranty. In no event will CRU or its suppliers be liable for any costs of procurement
of substitute products or services, lost prots, loss of information or data, computer malfunction, or any other special, indirect,
consequential, or incidental damages arising in any way out of the sale of, use of, or inability to use any CRU product or service,
even if CRU has been advised of the possibility of such damages. In no case shall CRU’s liability exceed the actual money paid
for the products at issue. CRU reserves the right to make modications and additions to this product without notice or taking
on additional liability.
FCC Compliance Statement: “This device complies with Part 15 of the FCC rules. Operation is subject to the following two
conditions: (1) This device may not cause harmful interference, and (2) this device must accept any interference received,
including interference that may cause undesired operation.”
This equipment has been tested and found to comply with the limits for a Class B digital device, pursuant to Part 15 of the
FCC Rules. These limits are designed to provide reasonable protection against harmful interference when the equipment is
operated in a home or commercial environment. This equipment generates, uses, and can radiate radio frequency energy and,
if not installed and used in accordance with the instruction manual, may cause harmful interference to radio communications.
In the event that you experience Radio Frequency Interference, you should take the following steps to resolve the problem:
1) Ensure that the case of your attached drive is grounded.
2) Use a data cable with RFI reducing ferrites on each end.
3) Use a power supply with an RFI reducing ferrite approximately 5 inches from the DC plug.
4) Reorient or relocate the receiving antenna. FOR HOME OR OFFICE USE
A6-020-0001-1 Rev. 2.0
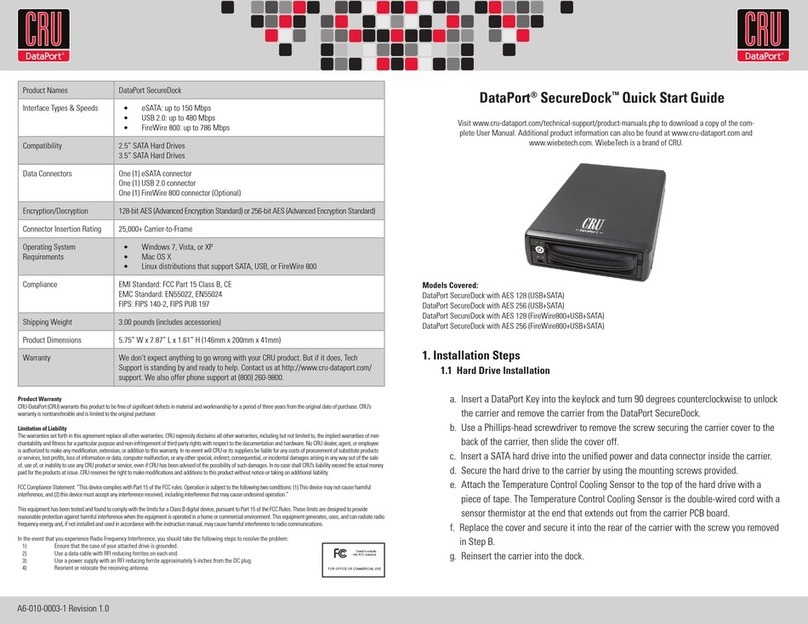
Product Models DataPort 20
Host Interfaces • SATA: up to 6 Gbps
Drive Types Supported 2.5 inch SATA (Serial-ATA) Hard Drives
Connectors One (1) SATA data connector
One (1) SATA 6-pin slimline power connector
Operating System
Requirements
• Windows 8, 7, Vista, or XP
• Windows Server 2012, 2008, and 2003 product families
• Mac OS X 10.4.x or higher
• Linux distributions that support the connection type used
Torque 2.5 inch hard drives, M3 screws: 4 inch-pounds max.
Compliance EMI Standard: FCC Part 15 Class B, CE
EMC Standard: EN55022, EN55024
Shipping Weight 0.68 pounds (includes accessories)
Product Dimensions 4.96” x 0.5” x 5.04” (126mm x 13mm x 128mm)
Technical Support Your investment in CRU products is backed up by our free technical
support for the lifetime of the product. Contact us through our website,
cru-inc.com/support or call us at 1-800-260-9800 or +1-360-816-1800.
PMS711 2cyan
85magenta
76yellow
10.25.12
CRU Mark
1. Installation Steps
1.1 Frame Installation
a. Mount the DataPort 20 frame into the computer chassis. The DataPort
20 frame is interchangeable with most slimline optical drives as well as
a variety of slimline mounting brackets and bezels. Please consult the
chassis manufacturer’s user manual for specic mounting instructions.
b. Connect the DataPort 20 frame to the motherboard with a SATA data cable
and to power with a 6-pin SATA slimline connector (sold separately).
1.2 Drive Installation
a. Carrier side caps are packaged within the carrier and are marked “left”
and “right” as viewed from the logo end of the carrier. The “back” mark
indicates the connector end of the hard drive. Using two of the supplied
screws, mount one side cap to a 2.5” SATA HDD. Slide the 2.5” SATA hard
drive into the DataPort 20 carrier, ensuring that the pins of the unied
SATA power and data connector on the rear of the drive are visible through
the slot on the rear of the carrier.
b. Mount the other black plastic side cap to the HDD, capturing the outer
carrier metal and securing both the side cap and the drive to the carrier.
1.3 Operating Your DataPort 20
c. Slide the carrier into the DataPort 20 frame and push rmly until the carrier
clicks into place. The drive will power on automatically if the computer is
turned on.
d. You may optionally lock the drive carrier into the frame. Insert the plastic
key into the ejection button and turn the key 90 degrees clockwise.
Your DataPort 20 is now ready to use! If the hard drive is already formatted, it can
be used right away. If the hard drive is brand new, or its format is not compatible
with your computer, the drive will need to be formatted before being used.
2. LED Behavior
# LED Name Color State Description
1 Drive Activity Amber Intermittent Flashes when the drive is being accessed.
2 Power Green Solid Unit is powered on.
3. Safe Cartridge Removal from a Computer
a. Turn off the computer or properly dismount the drive from the system. To
dismount the drive, ensure there are no le transfers in progress and the amber
Drive Activity LED is off before turning the DataPort 20 off.
b. If the drive carrier is locked into the DataPort 20 frame, insert the plastic key
into the ejection button and turn it 90 degrees counterclockwise.
c. Press in on the ejection button to eject the carrier.
4. Warnings and Notices
• The main circuit board of the HDD carrier is susceptible to static electricity.
Proper grounding is strongly recommended to prevent electrical damage to the
enclosure or other connected devices, including the computer host. Avoid all
dramatic movement, tapping on the unit, and vibration.
• Avoid placing the HDD carrier close to magnetic devices, high voltage devices,
or near a heat source. This includes any place where the product will be subject
to direct sunlight. Do NOT allow water to make contact with the carrier or
receiving frame.
• Before starting any type of hardware installation, please ensure that all power
switches have been turned off and all power cords have been disconnected to
prevent personal injury and damage to the hardware.
• To avoid overheating, the DataPort 20 should be operated in a well-ventilated
area.
• Remove the drives before transporting the DataPort 20 to prevent damage to
the drive interfaces.
NOTE: Do not over-tighten the screws on the side caps, or the carrier may
fail to eject properly from the frame.

Other CRU Enclosure manuals

CRU DataPort 41 User manual

CRU

CRU DataPort 41 User manual

CRU Rhino Jr RJ110 User manual

CRU

CRU Rhino Jr RJ110 User manual

CRU MoveDock USB 3.0 User manual

CRU

CRU MoveDock USB 3.0 User manual

CRU DataExpress 115 DCmini User manual

CRU

CRU DataExpress 115 DCmini User manual

CRU DataPort DP25 SATA 6G User manual

CRU

CRU DataPort DP25 SATA 6G User manual

CRU DataPort DP25 RAID Dock 3JR User manual

CRU

CRU DataPort DP25 RAID Dock 3JR User manual

CRU DataPort 1U User manual

CRU

CRU DataPort 1U User manual

CRU RAX Secure 212-3QR User manual

CRU

CRU RAX Secure 212-3QR User manual

CRU Data Express 200i-SWU2 User manual

CRU

CRU Data Express 200i-SWU2 User manual

CRU DataPort 22 User manual

CRU

CRU DataPort 22 User manual

CRU DataPort 25 Dual Port SAS User manual

CRU

CRU DataPort 25 Dual Port SAS User manual

CRU DE100 Ultra 160 User manual

CRU

CRU DE100 Ultra 160 User manual

CRU ToughTech Duo C User manual

CRU

CRU ToughTech Duo C User manual

CRU DataPort 2 Bay User manual

CRU

CRU DataPort 2 Bay User manual

CRU DataPort 4-Bay SATA Hard Drive Enclosure User manual

CRU

CRU DataPort 4-Bay SATA Hard Drive Enclosure User manual

CRU Data Express QX310 User manual

CRU

CRU Data Express QX310 User manual

CRU RTX220-3SJ User manual

CRU

CRU RTX220-3SJ User manual

CRU QX310 v2 User manual

CRU

CRU QX310 v2 User manual

CRU Rhino Jr RJ33S User manual

CRU

CRU Rhino Jr RJ33S User manual

CRU RTX430-3QR User manual

CRU

CRU RTX430-3QR User manual

CRU RAX Secure 212-3QJ User manual

CRU

CRU RAX Secure 212-3QJ User manual

CRU Rhino Jr RJ34S User manual

CRU

CRU Rhino Jr RJ34S User manual

CRU RAX 3QJ Series User manual

CRU

CRU RAX 3QJ Series User manual

CRU DataPort SecureDock User manual

CRU

CRU DataPort SecureDock User manual

Popular Enclosure manuals by other brands

Eden EX- SERIES owner's manual

Eden

Eden EX- SERIES owner's manual

Renkforce Raspberry Pi  2253747 operating instructions

Renkforce

Renkforce Raspberry Pi 2253747 operating instructions

Icy Box IB-1818-U31 manual

Icy Box

Icy Box IB-1818-U31 manual

Crestron Automation Enclosures CAEN Series Specification sheet

Crestron

Crestron Automation Enclosures CAEN Series Specification sheet

Nanoxia Deep Silence 5 instruction manual

Nanoxia

Nanoxia Deep Silence 5 instruction manual

Chieftec Elox Series product manual

Chieftec

Chieftec Elox Series product manual

Netstor NS372TB3 user manual

Netstor

Netstor NS372TB3 user manual

nvent SCHROFF Interscale M user manual

nvent

nvent SCHROFF Interscale M user manual

L-Acoustics 12XT user manual

L-Acoustics

L-Acoustics 12XT user manual

Vertiv Liebert Quick installation guide

Vertiv

Vertiv Liebert Quick installation guide

powerstick MOSAIC quick start guide

powerstick

powerstick MOSAIC quick start guide

Genesis Titan 303 Quick installation guide

Genesis

Genesis Titan 303 Quick installation guide

Netstor NS780TB3 user manual

Netstor

Netstor NS780TB3 user manual

Cooler Master HAF XB user guide

Cooler Master

Cooler Master HAF XB user guide

Western Digital Ultrastar Data102 installation guide

Western Digital

Western Digital Ultrastar Data102 installation guide

Manhattan 702911 user manual

Manhattan

Manhattan 702911 user manual

Velatia ORMAZABAL basic pfu Series General instructions

Velatia

Velatia ORMAZABAL basic pfu Series General instructions

Lenovo ThinkSystem SD650 manual

Lenovo

Lenovo ThinkSystem SD650 manual

manuals.online logo
manuals.online logoBrands
  • About & Mission
  • Contact us
  • Privacy Policy
  • Terms and Conditions

Copyright 2025 Manuals.Online. All Rights Reserved.