manuals.online logo
Brands
  1. Home
  2. •
  3. Brands
  4. •
  5. CRU
  6. •
  7. Enclosure
  8. •
  9. CRU RAX 215DC-3QJ User manual

CRU RAX 215DC-3QJ User manual

Protecting Your
Digital Assets™
Protecting Your
Digital Assets™
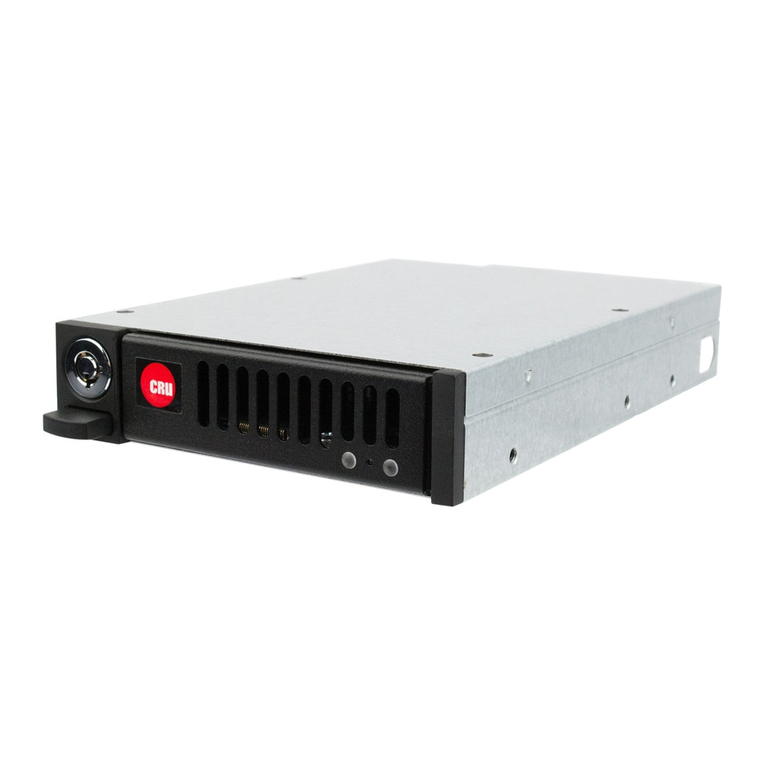
CRU®RAX® 215DC-3QJ
Rack Enclosure
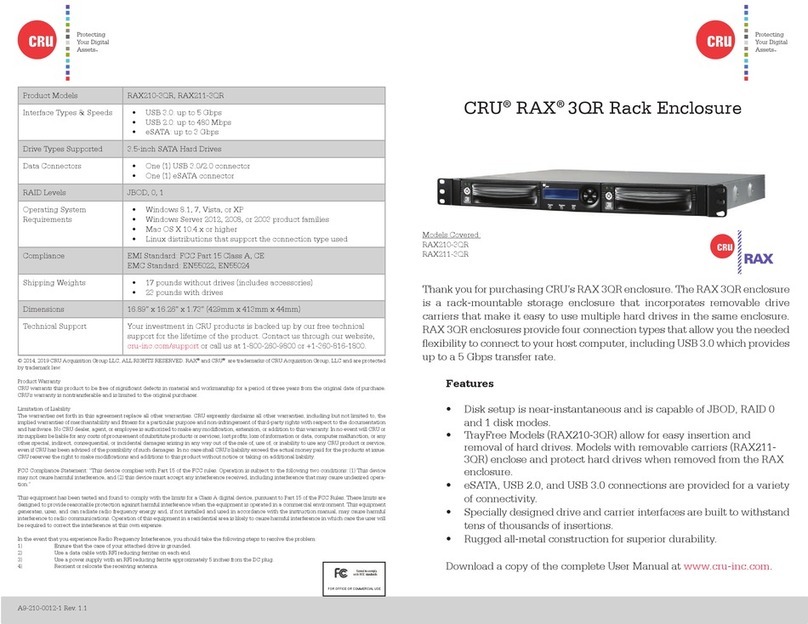
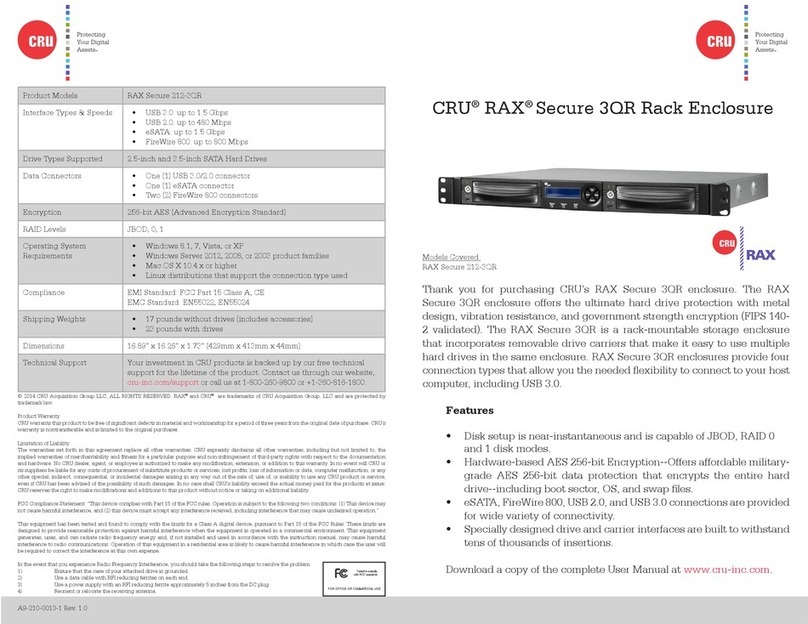
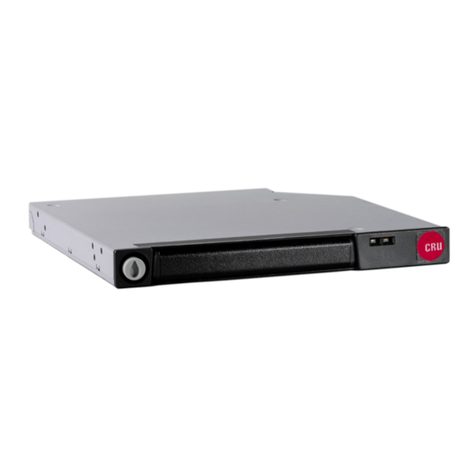
Thank you for purchasing CRU’s RAX215DC-3QJ enclosure. With its rugged
metal construction, the RAX215DC-3QJ enclosures is specically designed
to access digital content on DX115 DC carriers. The RAX215DC-3QJ boasts
our unique “Auto Start” feature which allows the DX115 DC drive carriers
to be automatically powered up seconds after the carrier has been installed,
without having the push the on/off button.
Features
• “Auto-Start” automatically powers on installed DX115 DC carriers
seconds after insertion
• Drive activity/fault LEDs for each drive bay
• 3-year warranty for repair
• Free US-based customer support
• Specially designed drive and carrier interfaces are built to withstand
tens of thousands of insertions.
©2014, 2019 CRU Acquisition Group LLC, ALL RIGHTS RESERVED. RAX®and CRU®are trademarks of CRU Acquisition
Group, LLC and are protected by trademark law.
Product Warranty
CRU warrants this product to be free of signicant defects in material and workmanship for a period of three years from the
original date of purchase. CRU’s warranty is nontransferable and is limited to the original purchaser.
Limitation of Liability
The warranties set forth in this agreement replace all other warranties. CRU expressly disclaims all other warranties,
including but not limited to, the implied warranties of merchantability and tness for a particular purpose and non-
infringement of third-party rights with respect to the documentation and hardware. No CRU dealer, agent, or employee is
authorized to make any modication, extension, or addition to this warranty. In no event will CRU or its suppliers be liable
for any costs of procurement of substitute products or services, lost prots, loss of information or data, computer malfunc-
tion, or any other special, indirect, consequential, or incidental damages arising in any way out of the sale of, use of, or
inability to use any CRU product or service, even if CRU has been advised of the possibility of such damages. In no case
shall CRU’s liability exceed the actual money paid for the products at issue. CRU reserves the right to make modications
and additions to this product without notice or taking on additional liability.
FCC Compliance Statement: “This device complies with Part 15 of the FCC rules. Operation is subject to the following two
conditions: (1) This device may not cause harmful interference, and (2) this device must accept any interference received,
including interference that may cause undesired operation.”
This equipment has been tested and found to comply with the limits for a Class A digital device, pursuant to Part 15 of the
FCC Rules. These limits are designed to provide reasonable protection against harmful interference when the equipment
is operated in a commercial environment. This equipment generates, uses, and can radiate radio frequency energy and,
if not installed and used in accordance with the instruction manual, may cause harmful interference to radio communica-
tions. Operation of this equipment in a residential area is likely to cause harmful interference in which case the user will
be required to correct the interference at this own expense.
In the event that you experience Radio Frequency Interference, you should take the following steps to resolve the problem:
1) Ensure that the case of your attached drive is grounded.
2) Use a data cable with RFI reducing ferrites on each end.
3) Use a power supply with an RFI reducing ferrite approximately 5 inches from the DC plug.
4) Reorient or relocate the receiving antenna.
FOR OFFICE OR COMMERCIAL USE
A9-215-0003-1 Rev. 1.1
RAX Branding
2c85m76y
PMS 711C
68c70m
PMS 2726
PMS711 2cyan
85magenta
76yellow
10.25.12
CRU Mark
1 Installation Steps
a. Slide the drive carrier out of the frame assembly.
b. The carrier’s cover is held in place by two screws; one on either side of the
carrier. Remove the screws and then remove the cover.
c. Insert the drive into the carrier. Mate the connection on the drive with the
connection on the drive carrier circuit board.
d. Flip the drive/carrier assembly over and secure the drive in place with the
provided screws.
e. Replace the cover and secure it with the two screws you removed in Step B.
f. Slide the carrier into the frame assembly.
2 Connecting and Powering the RAX215DC-3QJ Unit
Connect the data cable to the RAX215DC-3QJ unit and your computer. Plug in
the power cord to a grounded electrical outlet. Insert DX115DC carriers (with hard
drives installed) into the unit and turn on the power. Your RAX215DC-3QJ unit is
now ready to use!
3 Rack Mounting Warnings
Elevated Operating Ambient Temperature: The operating ambient temperature of
the rack environment may be greater than the room ambient temperature if the
unit is installed in a closed or multi-unit rack assembly. Install the equipment in an
environment compatible with the maximum ambient temperature of 40° C.
Reduced Air Flow: Do not block or inhibit the air ow required for safe operation
of the unit.
Mechanical Loading: Ensure that the unit is secure and level in the rack.
Circuit Overloading: Do not overload the circuits. Refer to the name plate ratings
on the equipment.
Reliable Grounding: Maintain reliable grounding of rack-mounted equipment
by using indirect connections to the branch circuit (i.e. UPS battery backups,
power strips).
Removing the Cover: Turn off and unplug the unit before removing the cover.
4 Technical Specications
Product Models RAX215DC-3QJ
Interface Types & Speeds • eSATA: up to 3 Gbps
• USB 3.0: up to 5 Gbps
Drive Types Supported 3.5-inch SATA Hard Drives
Data Connectors • One (1) USB 3.0/2.0 connector
• One (1) eSATA connector
Operating System
Requirements
• Windows 8.1, 7, Vista, or XP
• Windows Server 2012, 2008, or 2003 product families
• Mac OS X 10.4.x or higher
• Linux distributions that support the connection type used
Compliance EMI Standard: FCC Part 15 Class A, CE
EMC Standard: EN55022, EN55024
Shipping Weights • 17 pounds without drives (includes accessories)
• 23 pounds with drives
Dimensions 16.89” x 16.26” x 1.73” (429mm x 413mm x 44mm)
Technical Support Your investment in CRU products is backed up by our free techni-
cal support for the lifetime of the product. Contact us through our
website, cru-inc.com/support or call us at 1-800-260-9800 or +1-360-
816-1800.

Other CRU Enclosure manuals

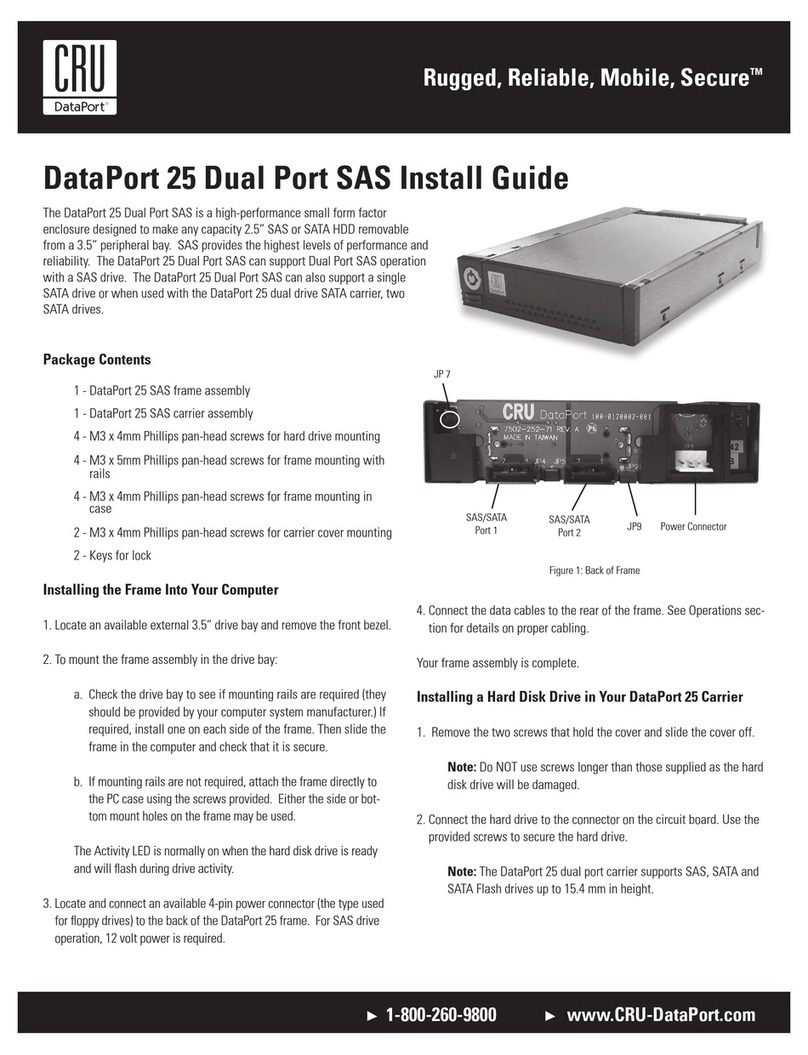
CRU DataPort 25 Dual Port SAS User manual

CRU

CRU DataPort 25 Dual Port SAS User manual

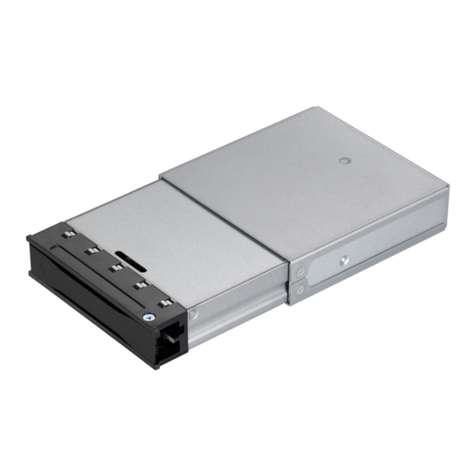
CRU Rhino Jr RJ400 User manual

CRU

CRU Rhino Jr RJ400 User manual

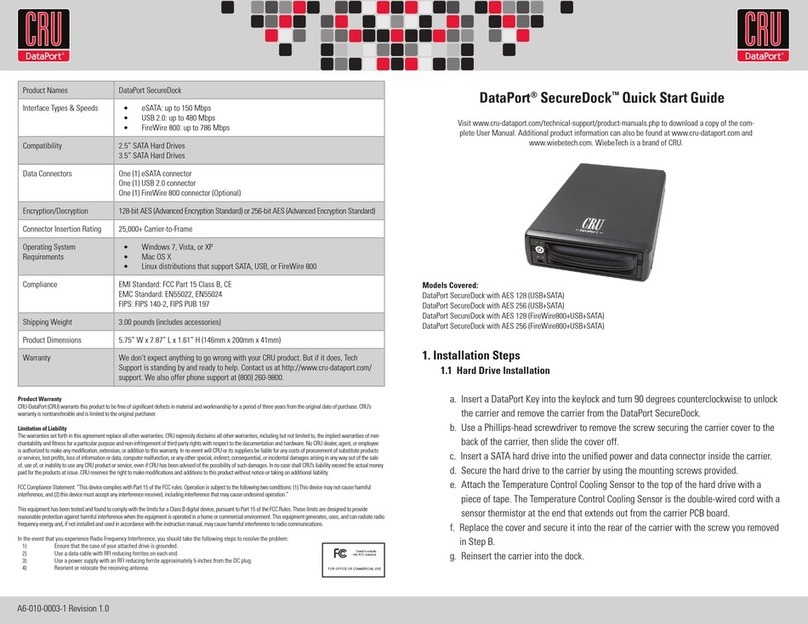
CRU DataPort 41 User manual

CRU

CRU DataPort 41 User manual

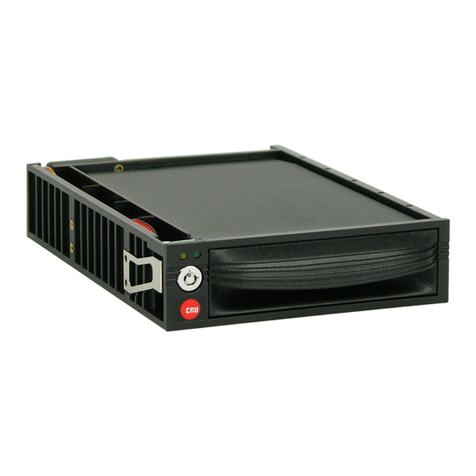
CRU DataPort DP27 User manual

CRU

CRU DataPort DP27 User manual

CRU Data Express 50 User manual

CRU

CRU Data Express 50 User manual

CRU DataPort 2 Bay User manual

CRU

CRU DataPort 2 Bay User manual

CRU RAX Secure 212-3QJ User manual

CRU

CRU RAX Secure 212-3QJ User manual

CRU DataPort 22 User manual

CRU

CRU DataPort 22 User manual

CRU DataPort DP25 SATA 6G User manual

CRU

CRU DataPort DP25 SATA 6G User manual

CRU DataPort DP10 User manual

CRU

CRU DataPort DP10 User manual

CRU RTX430-3QR User manual

CRU

CRU RTX430-3QR User manual

CRU RTX430-3QR User manual

CRU

CRU RTX430-3QR User manual

CRU Rhino Jr RJ33S User manual

CRU

CRU Rhino Jr RJ33S User manual

CRU Rhino Jr RJ34S User manual

CRU

CRU Rhino Jr RJ34S User manual

CRU DataPort DP25 RAID Dock 3JR User manual

CRU

CRU DataPort DP25 RAID Dock 3JR User manual

CRU RTX220-3SJ User manual

CRU

CRU RTX220-3SJ User manual

CRU Data Express QX310 User manual

CRU

CRU Data Express QX310 User manual

CRU MoveDock USB 3.0 User manual

CRU

CRU MoveDock USB 3.0 User manual

CRU QX310 v2 User manual

CRU

CRU QX310 v2 User manual

CRU DataPort 1U User manual

CRU

CRU DataPort 1U User manual

CRU DE100 Ultra 160 User manual

CRU

CRU DE100 Ultra 160 User manual

CRU DataPort 4-Bay SATA Hard Drive Enclosure User manual

CRU

CRU DataPort 4-Bay SATA Hard Drive Enclosure User manual

CRU DataPort 20 User manual

CRU

CRU DataPort 20 User manual

CRU RTX220-3QR User manual

CRU

CRU RTX220-3QR User manual

Popular Enclosure manuals by other brands

Akyga AK939BL manual

Akyga

Akyga AK939BL manual

Philips SL300I/05 Instructions for use

Philips

Philips SL300I/05 Instructions for use

JetStor 824JXD Software manual

JetStor

JetStor 824JXD Software manual

Digitus DA-71106 manual

Digitus

Digitus DA-71106 manual

Roger ME-40-24V operating manual

Roger

Roger ME-40-24V operating manual

Phanteks eclipse p400 user manual

Phanteks

Phanteks eclipse p400 user manual

Schaeffer AG RASPBERRY PI HOUSING instruction manual

Schaeffer AG

Schaeffer AG RASPBERRY PI HOUSING instruction manual

Vectronics VEC-1604KC Assembly manual

Vectronics

Vectronics VEC-1604KC Assembly manual

Altronix TROVE T2PXK7F8V installation guide

Altronix

Altronix TROVE T2PXK7F8V installation guide

StorCase Technology Data Express D400 user guide

StorCase Technology

StorCase Technology Data Express D400 user guide

StarTech.com SM21BMU31CI3 quick start guide

StarTech.com

StarTech.com SM21BMU31CI3 quick start guide

TOOQ Shura TQE-2223B user manual

TOOQ

TOOQ Shura TQE-2223B user manual

Uctronics U6243 Assembly guide

Uctronics

Uctronics U6243 Assembly guide

EnerSys Alpha SE41 Technical Advisory Bulletin

EnerSys

EnerSys Alpha SE41 Technical Advisory Bulletin

Chieftronic G1 user manual

Chieftronic

Chieftronic G1 user manual

DeLOCK 42606 user manual

DeLOCK

DeLOCK 42606 user manual

Inateck SA01004 instruction manual

Inateck

Inateck SA01004 instruction manual

Supermicro SC946ED-R2KJBOD user manual

Supermicro

Supermicro SC946ED-R2KJBOD user manual

manuals.online logo
manuals.online logoBrands
  • About & Mission
  • Contact us
  • Privacy Policy
  • Terms and Conditions

Copyright 2025 Manuals.Online. All Rights Reserved.