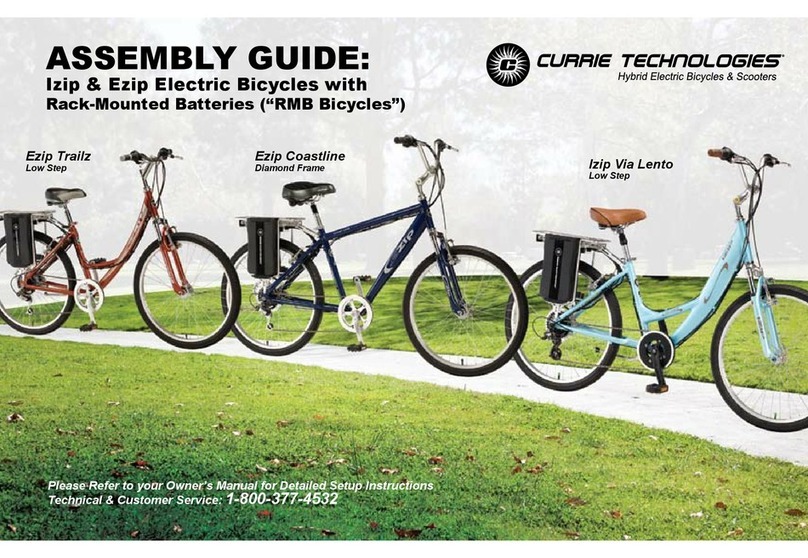
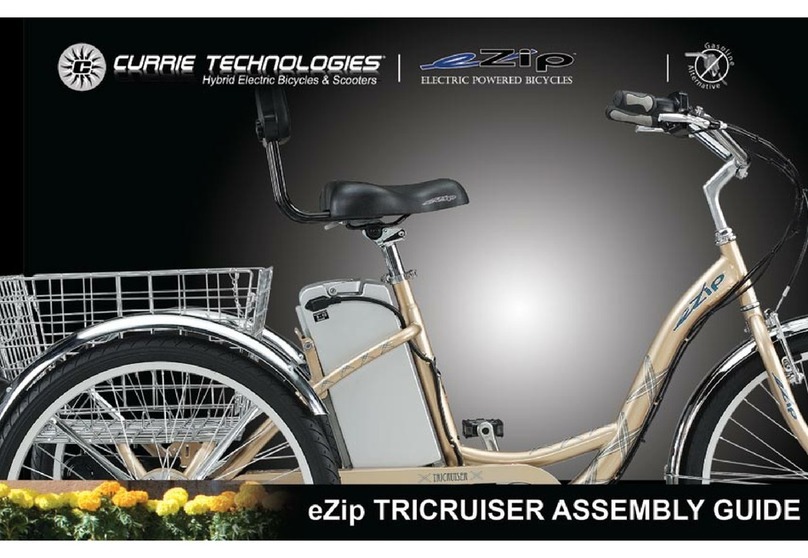
Currie tech IZIP User manual


2
FULLY CHARGE BATTERIES BEFORE FIRST USE - Batteries should be fully
charged immediately when they are received and immediately after each use for the recommended charge
times (see below).
• Li-Ion(LithiumIon)batteries4-6hours(2-3hoursforViaUrbano)
• SLA(SealedLeadAcid)batteries6-10hours
With proper care and maintenance your Currie Technologies® Hybrid Electric Bicycle will provide ease of use and be fun to ride.
Below are points that will help you to maximize the enjoyment you get from your new hybrid electric bicycle.
Factors to maximize the range oF your hybrid electric bicycle
- the more the rider pedals the further the distance traveled. Continuous riding, as opposed to
frequent stopping and starting, will yield the greatest range possible
- the flatter the road the further the distance traveled
- cold weather can adversely affect the battery capacity
- traveling with a tailwind will increase distance traveled, traveling into a headwind will decrease distance
traveled
- the smoother the terrain (roadways vs. fireroads, etc.) the further the distance traveled
- the lighter the rider, resulting in less drain on the batteries, the further distance traveled
- a properly maintained bicycle will yield the greatest range possible
- properly inflated tires have less rolling resistance and will be easier to pedal
- properly charged and maintained batteries will yield the greatest range possible. Batteries stored in
coldareas(below50degreesFahrenheit/10degreesCelsius)willshowreducedrange.Batteriesthathavenot
been kept in optimum condition will show reduced range and run time.
!

3
correctFITTING-MAKE
SUREYOURHELMETCOVERS
YOURFOREHEAD.
incorrectFITTING.FOREHEAD
ISEXPOSEDANDVULNERABLE
TOSERIOUSINJURY.
• ALWAYSWEARAPROPERLYFITTEDHELMETWHENYOURIDE
YOURBICYCLE.
• DONOTRIDEATNIGHT.
• CPSCRECORDSSHOWTHATABOUT35%OFBICYCLE
RELATEDDEATHSOCCURAFTERDARK.
• AVOIDRIDINGINWETCONDITIONS.
• CPSCRECORDSSHOWTHATABOUT65%OFINJURIES
HAPPENTOCHILDRENUNDER15YEARSOFAGE.
• RIDEONLYWITHADULTSUPERVISION
HELMETS
SAVE
LIVES!!!

4
1-800-377-4532
Monday-Friday
8:00am-4:00pm(PST)
Forquestionsorassistanceonassemblycontact
CurrieTechnologies®CustomerService

5
SerialNumberLocation
BikeShownUpsideDown
####
SerialNumber
9453OwensmouthAvenue|Chatsworth,CA91311
Phone(818)734-8123|Fax(818)734-8199
www.CurrieTech.com
CustomerService(800)377-4532
The following manual is only a guide to assist you and is not a complete or comprehensive manual of all aspects of
maintaining and repairing your bicycle. The bicycle you have purchased is a complex object. We recommend that you
consult a bicycle repair specialist if you have doubts or concerns as to your experience or ability to properly assemble,
repair,ormaintainyourbicycle.Youwillsavetimeandtheinconvenienceofhavingtogobacktothestoreifyouchooseto
writeorcallusconcerningmissingparts,servicequestions,operatingadvice,and/orassemblyquestions.
call toll Free 1-800-377-4532

6
_______________________________________________________________
_______________________________________________________________________
_______________________________________________________________________
_______________________________________________________________________
_______________________________________________________________________
_______________________________________________________________________
_______________________________________________________________________

7
directory
!
10-15
16-32
33-54
55-82
83-85
86-111
112-121
122
?

8
index
Care and information . . . . 38-39
Chargers. . . . . . . . . . . 41-44
Gauge . . . . . . . . . . . . . . 33
Terminal covers . . . . . . . . . 40
Explanation . . . . . . . . 112-113
Leversetup . . . . . . . . . . . 68
Partsexplosion(linear-pull) . . . 70
Setup(disc,AvidBB7). . . . 76-77
Setup(disc,Tektro) . . . . . 74-75
Setup(linear-pull) . . . . . . 71-73
. . . . 93
. . . . . . . . . . . . . 31-32
. . . . . . . . . . . 102-103
RTMB . . . . . . . . . . . . . . 10
Enlightened . . . . . . . . . . . 12
Folding. . . . . . . . . . . . . . 11
RMB . . . . . . . . . . . . . . . 13
Tricruiser. . . . . . . . . . . . . 14
. . . . . . . 61,99-101
Maintenance. . . . . . . . . . 104
Front . . . . . . . . . . . . . . . 78
Rear . . . . . . . . . . . . . . . 79
Front . . . . . . . . . . . . . . . 80
Rear . . . . . . . . . . . . . . . 81
Framesizing. . . . . . . . . . . 17
Ridingposition. . . . . . . . 18-19
Assembly . . . . . . . . . . . . 59
Suspension . . . . . . . . 117-118
. . . . . . . . . . . . . . 47
. . . . . . . See"Shifters",
"Wheels-Freewheel"
Assembly . . . . . . . . . . 56-57
Mountedcomponents . . . . . . .
See"Brakes","Throttles","Shifters",
"Powerswitches-Handlebar","Bat-
tery-Gauge","PAS","TMM"
. . . . . . . . . . . . . 94
. . 83-84
. . . . . See"CurrieDrive"
. . . . . . . . . . . . . . . 34
. . . . . . . . . . 61,97-98
Handlebar . . . . . . . . . . . . 46
Standard. . . . . . . . . . . . . 45
FrontWheel . . . . . . . . . 64-65
Seatpost . . . . . . . . . . . 62-63
. . . . . . . 23-24,106
. . . See"Seat&seatpost"
. . . . . . . . 20-21,25-27
Assembly . . . . . . . . . . 60-61
Detailedmaintenance . . . . 95-96
Quick release clamp. . See"Quick
release"
Assembly . . . . . . . . . . . . 58
Gears(howtooperate) . . . 28-30
Gripshifters . . . . . . . . . . . 92
Shifting(howto) . . . . . . 114-115
Assembly(quill) . . . . . . . . . 56
Assembly(threadless). . . . . . 57
Maintenance. . . . . . . . . 90-91
. . . . . . . . . . 9
. . . . . . . . . . . . 36
. . . . . See"Wheels-Tires"
tmm . . . . . . . . . . . . . . . 35
. . . 120-121
. . . . . 107-111
Front(bolt-on) . . . . . . . . . . 66
Front(quickrelease). . See"Quick
release-FrontWheel"
Freewheel . . . . . . . . . . . 105
Hub adjustament . . . . . . . . 89
Maintenance. . . . . . . . . 86-89
Rear(bolt-on) . . . . . . . . . . 67
Tires . . . . . . . . 87-89,116-117
RMB(2008) . . . . . . . . . . . 49
RMB(2009) . . . . . . . . . . . 50
RMB2010(withhubmotor) . . . 53
RTMB2009 . . . . . . . . . . . 52
RTMB2010(withhubmotor) . . 54
TMM . . . . . . . . . . . . . . . 51
ViaMezza . . . . . . . . . . . . 48
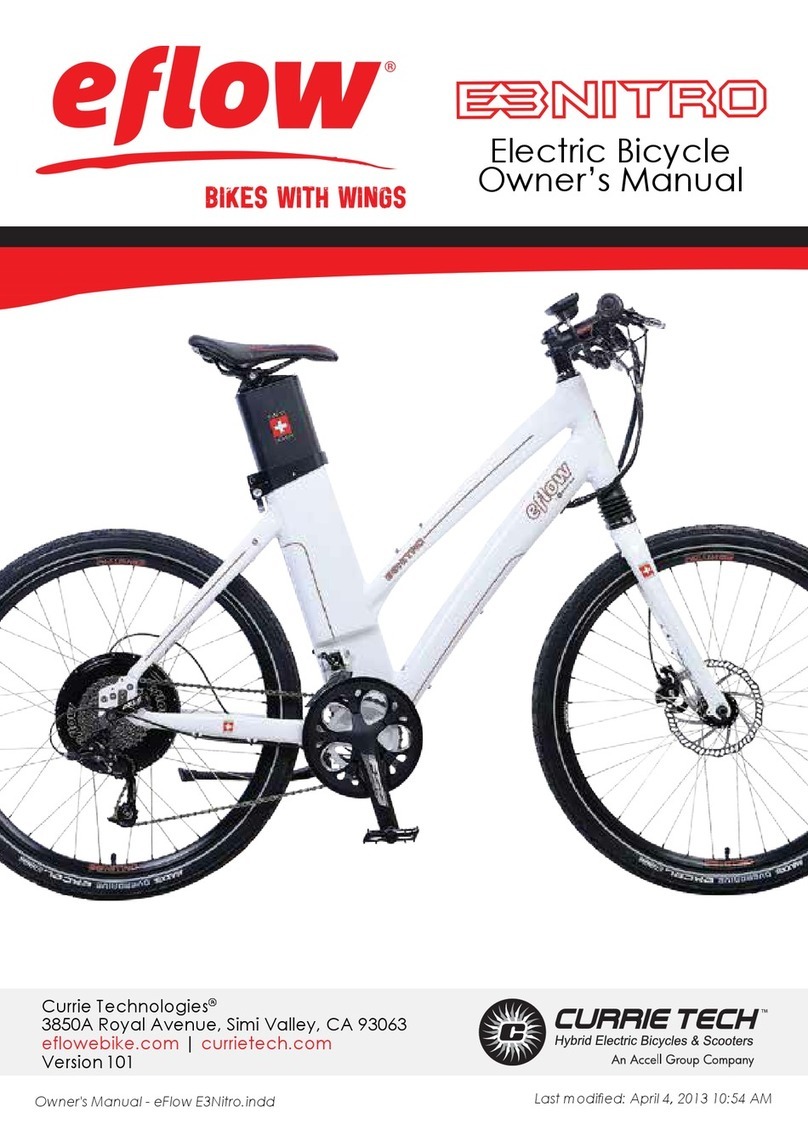
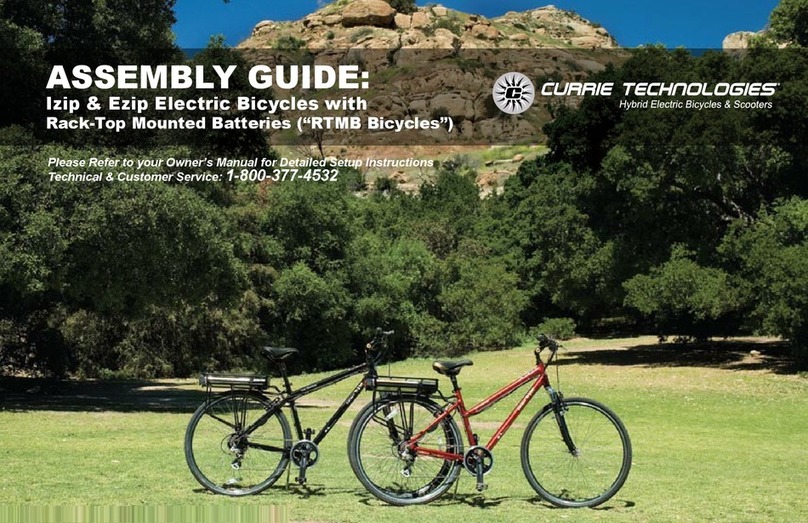
9
– Pedal Assist-Asensorringandpickupmountednearthebottombracketallowthebicycletosenseforwardpedalingand
apply power.
•ViaUrbano(PASonly)
tag – Twist and Go-Arider-controlledsystem,themotoractivatesonlywhenthehandlebarthrottleisturned.
•Sereno,Tricruiser,ViaMezza
– Pedal Assist or Twist and Go -Ahandlebar-mountedbuttonallowsselectionofPASorTAGmodes.
•Coastline,EcoRide,Trailz,ViaLento,ViaRapido
tmm – Torque Measurement Method-Asensormountedinthereardropoutmeasurespedalingforceandnaturallyaddsmotor
power in response to rider effort.
•TrekkingEnlightened,UrbanCruiserEnlightened
battery systems
rmb – Rack Mounted Battery with Sealed Lead Acid (SLA) cells-TwoSLAbatterypackssitverticallyintherack.
•Coastline,Trailz,ViaLento
rtmb – Rack Top Mounted Battery with Lithium Ion (Li Ion) cells-AsingleLi-Ionbatterypacklieshorizontallyinsidetherack.
•EcoRide,ViaRapido,Zuma
stb –Seat Tube Battery with Sealed Lead Acid (SLA) or Lithium Ion (Li Ion) cells-Asinglebatterypackismountedbehindthe
seat tube.
•Tricruiser,ViaMezza
– Enlightened series, Lithium Ion (Li Ion) cells -AsingleLiIonbatterypackishiddeninsidethe
frame's downtube
•TrekkingEnlightened,UrbanCruiserEnlightened,ViaUrbano
terminology

10
*To see detailed spare parts diagrams for each bicycle, please visit www.izipusa.com and click on the page corresponding to
your model.
&Standardbicyclecomponents
Electrical components in bold text
Via Rapido, Zuma Shifter
Handlebar
BrakeLever
Brake Control Cables
FrontReflector
FrontBrake
Fork
FrontHub
Spokes
Stem
HeadSet
Head Tube
DownTube
SeatTube
Bottom
Bracket (inside)
Rim
Tire
Chain
CrankArm
Pedal
ChainStay
Chain
TireValve
Top Tube
Seat
SeatPost
Seatpostclamp
RearBrake
SeatStay
Freewheel
RearReflector
RearDerailleur

11
Folding bicycles-Superportable,witheasyfoldingdesign.Perfectforcamping,fitsinRV's,boatsandcar
trunks.
*To see detailed spare parts diagrams for each bicycle, please visit www.izipusa.com and click
onthepagecorrespondingtoyourmodel.Seepage10forcommoncomponents.
HandlebarQuickRelease
Handlebar Hinge
FrontFender
RearFender
FrameHinge&QuickRelease
Controller
HubMotor
BatteryPack
SeatPost

12
enlightened series-Lightweight,hidden,Li-Ion(LithiumIon)batterypackinamoderndesignedframe.
PerfectforCommutingandCityRiding
TMMSensor
(TMMmodelsonly)
Controller (inside)
HubMotor
BatteryPack
(inside)
Control Box
ChargerPort
*To see detailed spare parts diagrams for each bicycle, please visit www.izipusa.com and click
onthepagecorrespondingtoyourmodel.Seepage10forcommoncomponents.

13
RMBrack
SealedLeadAcidBattery
CurrieDriveMotor
PAS/TAGThrottle
PASSensor(behindchainring)
*To see detailed spare parts diagrams for each bicycle, please visit www.izipusa.com and click
onthepagecorrespondingtoyourmodel.Seepage10forcommoncomponents.

14
tricruiser
Battery
Charger port
Fender
(front)
Fender
(rear)
Throttle
Controller
(inside)

15
Yournewbicyclewaspartiallyassembledinthefactoryandthenpartiallydisassembledforshipping.You
mayhavepurchasedthebicyclealreadyfullyassembledandreadytorideORintheshippingcartoninthe
partially disassembled form. The following instructions will enable you to prepare your bicycle for years of
enjoyablecycling.Formoredetailsoninspection,lubrication,maintenanceandadjustmentofanyareaplease
refertotherelevantsectionsinthismanual.Ifyouhavequestionsaboutyourabilitytoproperlyassemblethis
unit,pleaseconsultaqualifiedbicycleservicespecialistbeforeriding.Ifyouneedreplacementpartsorhave
questions pertaining to assembly of your bicycle, call the service line direct at:
1 800 377 4532
•Phillipsheadscrewdriver
•2.5mm,3mm,4mm,5mm6mm&8mmAllenkeys
•Adjustablewrenchora8mm,9mm,10mm,13mm,14mm,
15mm&17mmopen/boxendwrenches
•Apairofplierswithcablecuttingability
!

16
beFore you ride
about this manual
Itisimportantforyoutounderstandyournewbicycle.Byreadingthismanualbefore you go out on your first ride, you’ll know
how to get better performance, comfort, and enjoyment from your new bicycle.
Itisalsoimportantthatyourfirstrideonyournewbicycleistakeninacontrolledenvironment,awayfromcars,obstacles,and
other cyclists.
Bicyclingcanbeahazardousactivityevenunderthebestofcircumstances.Propermaintenanceofyourbicycleisyour
responsibility as it helps reduce the risk of injury. This manual contains many “Warnings” and “Cautions” concerning the
consequencesoffailuretomaintainorinspectyourbicycle.Manyofthewarningsandcautionssay“youmaylosecontroland
fall.” Because any fall can result in serious injury or even death, we do not repeat the warning of possible injury or death where
ever the risk of falling is mentioned.
Itisatragicfactthatmostbicycleaccidentsinvolvechildren.Asaparentorguardian,youbeartheresponsibilityforthe
activitiesandsafetyofyourminorchild.Amongtheseresponsibilitiesaretomakesurethatthebicyclewhichyourchildis
riding is properly fitted to the child; that it is in good repair and safe operating condition; that you and your child have learned,
understand and obey not only the applicable local motor vehicle, bicycle, and traffic laws, but also the common sense rules of
safeandresponsiblebicycling.Asaparent,youshouldreadthismanualbeforelettingyourchildridethebicycle.Pleasemake
surethatyourchildalwayswearsanANSI,ASTM,SNELLapprovedbicyclehelmetwhenriding.

17
correct Frame size
Whenselectinganewbicycle,thecorrectchoiceofframesizeisaveryimportantsafetyconsideration.Mostfullsized
bicycles come in a range of frame sizes. These sizes usually refer to the distance between the center of the bottom bracket
and the top of the frame seat tube.
Pleasenotethatregardlessofframesize,allIzipbicycles(excludingtheTricruiser)haveaweightlimitof240lbs
The ideal clearance will vary between types of bicycles and rider preference. This makes straddling the frame when
off the seat easier and safer in situations such as sudden traffic stops. Women can use a men’s style bicycle to determine the
correct size women’s model.
Thefollowingchartanddiagramwillhelpyoumakethecorrectchoice.Riderleglengthreferstoapproximatepantinseam.
-
-
1-2in.
!

18
Inordertoobtainthemostcomfortableridingpositionandofferthe
best possible pedaling efficiency, the seat height should be set
correctly in relation to the rider’s leg length. The correct saddle height
should not allow leg strain from over-extension, and the hips should
not rock from side to side when pedaling. While sitting on the bicycle
with one pedal at its lowest point, place the ball of your foot on that
pedal. The correct saddle height will allow the knee to be slightly bent
inthisposition.Iftheriderthenplacestheheelofthatfootonthe
pedal, the leg should be almost straight.
To obtain maximum comfort, the rider should not overextend his or her
reach when riding.
To adjust this distance, the position of the seat can be altered in
relationtotheseatpost.(Refertopage62onhowtoadjusttheseat
clamp.)
MaximumHeight/
MinimumInsertionMark
(Shouldnotbevisible)
Armsnotover-
extended
Handlebar stem
height about the
same as
seat height
Pedalat
bottom position
!

19
Maximumcomfortisusuallyobtainedwhenthehandlebarheightis
equaltoorslightlyhigherthantheheightoftheseat.Youmaywishto
try different heights to find the most comfortable position.
StemWedgeBolt
MaximumHeight/
MinimumInsertion
Mark
Handlebar Binder Bolt
Exceeds21/2”
(64mm)
!

20
Before every ride, it is important to carry out the following safety checks:
• Ensurefrontandrearbrakesworkproperly.
• Ensurebrakeshoepadsarenotoverwornandarecorrectlypositionedinrelationtotherims.
• Ensurebrakecontrolcablesarelubricated,correctlyadjustedanddisplaynoobviouswear.
• Ensurebrakecontrolleversarelubricatedandtightlysecuredtothehandlebar.
• Ensuretiresareinflatedtowithintherecommendedlimitasdisplayedonthetiresidewall.
• Ensuretireshavetreadandhavenobulgesorexcessivewear.
• Ensurerimsruntrueandhavenoobviouswobblesorkinks.
• Ensureallwheelspokesaretightandnotbroken.
• Checkthataxlenutsaretight.Ifyourbicycleisfittedwithquickreleaseaxles,makesurelockingleversare
correctly tensioned and in the closed position.
• Ensurehandlebarandstemarecorrectlyadjustedandtightened,andallowpropersteering.
• Ensurethatthehandlebarsaresetcorrectlyinrelationtotheforksandthedirectionoftravel.
• Checkthattheheadsetlockingmechanismisproperlyadjustedandtightened.
• Ifthebicycleisfittedwithhandlebarendextensions,ensuretheyareproperlypositionedandtightened.
• Ensurechainisoiled,cleanandrunssmoothly.
• Extracareisrequiredinwetordustyconditions.
Other manuals for IZIP
2
This manual suits for next models
1
Table of contents
Other Currie tech Bicycle manuals

Currie tech
Currie tech IZIP E3Metro Parts list manual

Currie tech
Currie tech E3 Path+ User manual

Currie tech
Currie tech eFlow E3Nitro User manual

Currie tech
Currie tech IZIP VIA URBANO User manual

Currie tech
Currie tech IZIP User manual

Currie tech
Currie tech IZIP User manual

Currie tech
Currie tech eZip TRICRUISER User manual

Currie tech
Currie tech IZIP EXPRESS User manual

Currie tech
Currie tech E-FolderCTI-B-30 User manual

Currie tech
Currie tech eZip Trailz User manual