manuals.online logo
Brands
  1. Home
  2. •
  3. Brands
  4. •
  5. curt
  6. •
  7. Automobile Accessories
  8. •
  9. curt 16028 User manual

curt 16028 User manual

CURTMFG.COM •PRODUCT SUPPORT: 877.287.8634 •16028-INS-RA •02/15/2021 •ECN8044 •PAGE 1
Product Registration and Warranty
CURT stands behind our products with
industry-leading warranties. To get copies
of the product warranties, register your
purchase or provide feedback, visit:
warranty.curtgroup.com/surveys
Weight Carrying Capacity
Gross trailer weight (GTW) 30,000 lbs.
Vertical load 7,000 lbs.
INSTALLATION MANUAL 16028
Tools Required
Torque wrench Socket set
Level of Difficulty
Easy
Installation difficulty levels are based on time
and effort involved and may vary depending on
the installer level of expertise, condition of the
vehicle and proper tools and equipment.
NOTICE
Visit www.curtmfg.com for a full-color
copy of this instruction manual, as well as
helpful videos, guides and much more!
Before you begin installation,
read all instructions thoroughly.
Proper tools will improve the quality of
installation and reduce the time required.
Periodic inspection of your product should
be performed to ensure all hardware and /
or components remain secure.
To help prevent damage to the product
or vehicle, refer to the specified torque
specifications when securing hardware
during the installation process.
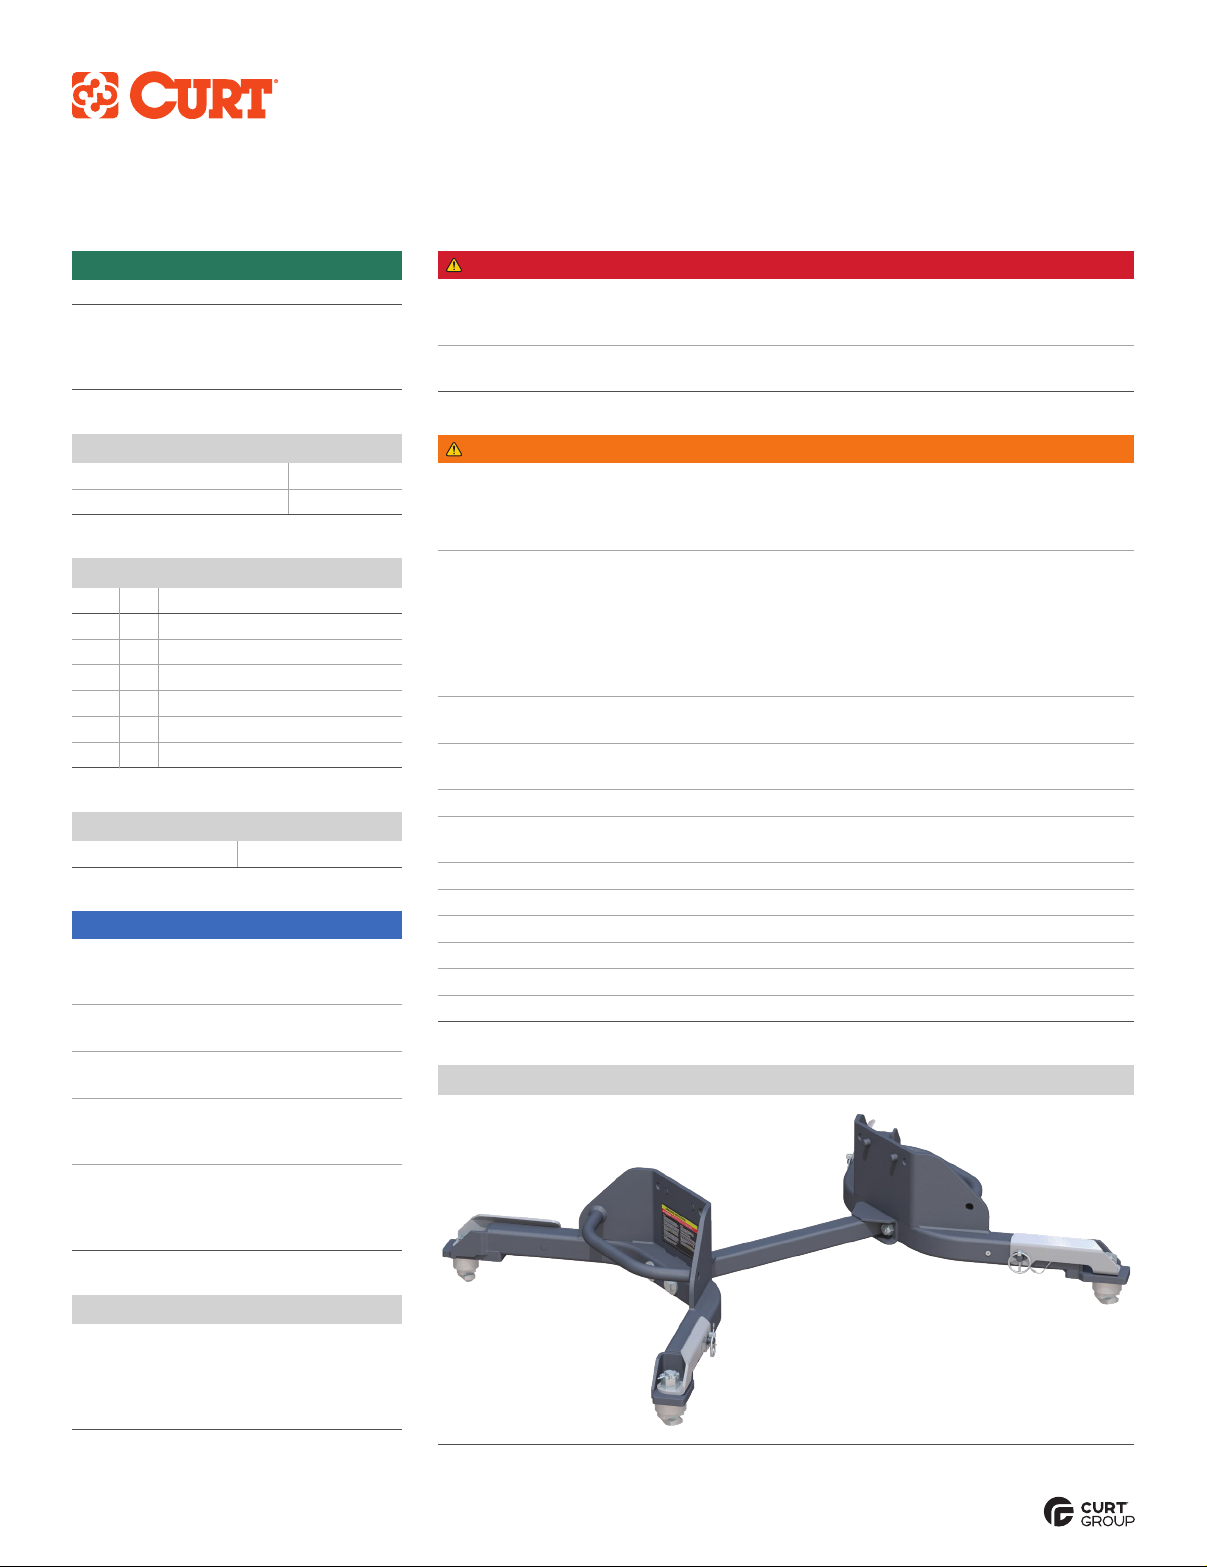
Product Photo
DANGER ZONE PRECAUTIONS
Block all trailer tires in front and behind with appropriate wheel chocks. Do not
substitute objects such as, but not limited to: stones, wood blocks, etc. Front
trailer lifting jacks must be supporting the trailer and resting on a firm and level surface.
Towing vehicle must be stationary with automatic transmission
in park (manual in neutral), emergency brake applied and engine off.
WARNING
Fully instruct and demonstrate the operation of this 5th wheel hitch to the end user. Include the
importance of observing all warnings contained herein, including warning labels on 5th wheel
hitch main body. Provide this manual in its entirety to the end user. Serious injury or death may
result if the warnings above are not observed.
Do not expose hands, body parts or clothing between the truck and
trailer or the truck's bed sides and trailer. If you must place any part
of your body under trailer or between truck and trailer, you must:
1. Block all trailer tires with wheel chocks.
2. Make sure trailer landing gear / jacks are resting on a firm, level surface.
3. Towing vehicle must be stationary with auto transmission in park
(manual in neutral), emergency brake applied and engine off.
Never exceed the towing capacity (trailer and contents combined)
of any towing system component or your vehicle.
Improperly coupled trailers can separate or drop without notice,
causing serious injury or death. To reduce the chance of serious injury or death:
Never attempt to couple trailer without reading and following all instructions thoroughly.
Always follow operating instructions to secure trailer to tow vehicle.
Make sure the hitch is secure before towing.
Prior to towing, ensure all components and hardware are structurally sound and secure.
Always chock the trailer to prevent movement while coupling the hitch.
Always ensure lynch pins are installed through handle and center pivot pin before towing.
Always keep hands clear of the 5th wheel jaws when operating the handle.
Always perform a pull test prior to towing. See 'pull test' later in this instruction manual.
Never position anyone under the trailer's kingpin area during coupling and uncoupling.
Parts List
Item Qty Description
1 1 Leg assembly, passenger side
2 1 Leg assembly, driver side
3 1 Cross support weldment
4 4 Hex bolt, M14 x 75, CL 8.8
5 4 Flat washer, M14
6 4 Nylock nut, M14
CURTMFG.COM •PRODUCT SUPPORT: 877.287.8634 •16028-INS-RA •02/15/2021 •ECN8044 •PAGE 2
ASSEMBLY
6
5
4
3
2
1
Step 1
Prepare the 5th wheel head unit for installation by locating the hardware package containing four M14 hex bolts and flat washers.
The 5th wheel legs are compatible with 30K 5th wheel heads.
Step 2
Select a set of mounting holes that will allow sufficient clearance between the 5th wheel trailer and the sides of the tow vehicle.
Begin assembling the legs to the 5th wheel hitch head using the M14 bolts and M14 washers (provided with the 5th wheel head unit)
through the selected mounting holes and loosely secure them with the nylock nuts (provided in the 5th wheel head unit).
Note: Position the leg assembly with the operating instruction label on the driver side of the tow vehicle.
The large locking feet on the Ram 5th wheel legs will match the large rear mounts in the truck bed.
Parts List
Item Qty Description
1 1 Leg assembly, passenger side
2 1 Leg assembly, driver side
3 1 Cross support weldment
4 4 Hex bolt, M14 x 75, CL 8.8
5 4 Flat washer, M14
6 4 Nylock nut, M14
TOWING BASICS & SAFETY INFORMATION
For information on safely towing your trailer, visit curtmfg.com/understanding-towing.
CURTMFG.COM •PRODUCT SUPPORT: 877.287.8634 •16028-INS-RA •02/15/2021 •ECN8044 •PAGE 3
Step 3
With the legs in position, locate the cross
support weldment (#3). Loosely attach the
cross support between the two leg assemblies
(#1, #2) with the provided M14 hex bolts (#4),
and flat washers (#5).
Note: For easier install the pin and head can be
removed while installing into bed of truck.
Step 4
Remove the four lynch pins securing the
locking handles to the legs. Swing all four
handles completely open and lower the legs
into position in the bed of the truck.
Ensure all four locking bolts and spacers
drop into the mounting holes before
attempting to close the handles.
Step 5
With the 5th wheel legs in position, torque all eight
M14 bolts to 100 ft-lbs. Re-install the 5th wheel
head if it was removed to ease installation.
Step 7
Confirm all four locking bolts are engaged in the truck bed mounts
and the castle nuts are secured with the cotter pins. Double check to
ensure all four handles are securely locked with the lynch pins. The
5th wheel legs are now installed and ready for use.
Step 6
With the legs secured and positioned in truck bed mounts, rotate
the handles back to the closed position. Secure the handles by re-
inserting all four lynch pins. Note: Slight resistance should be felt
as the handles are rotated closed. If the handle will not close with
moderate pressure, adjustments must be made to the locking T-bolt;
see 'T-bolt Adjustment'.
WARNING
Forcing the handle closed may damage the locking bolt
and handle, possibly resulting in trailer detachment.
T-Bolt Adjustment
The locking T-bolts are pre-installed to ease installation. Due
to possible variation in the truck's mounting locations, some
adjustments may be required. If one or more of the locking handles
will not close, begin adjustment by removing the cotter pin securing
the castle nut above the handle. See figure below.
Next, loosen the castle nut 1/4-turn while pressing down on the
T-bolt. Reattempt to close the locking handle. If the handle closes,
re-secure the castle nut with the removed cotter pin. If the handle
does not close, loosen the castle nut 1/4-turn while pressing down
on the T-bolt and reattempt to close the locking handle.
5
4
2
1

Other curt Automobile Accessories manuals

curt 25470 User manual

curt

curt 25470 User manual

curt TruTrack 17601 User manual

curt

curt TruTrack 17601 User manual

curt 70141 User manual

curt

curt 70141 User manual

curt 13490 User manual

curt

curt 13490 User manual

curt SWAY CONTROL User manual

curt

curt SWAY CONTROL User manual

curt 55513 User manual

curt

curt 55513 User manual

curt 58902 User manual

curt

curt 58902 User manual

curt CM-58967 User manual

curt

curt CM-58967 User manual

curt R16 5TH User manual

curt

curt R16 5TH User manual

curt 45952 User manual

curt

curt 45952 User manual

curt 11354 User manual

curt

curt 11354 User manual

curt 16993 User manual

curt

curt 16993 User manual

curt 13454 User manual

curt

curt 13454 User manual

curt 11232 User manual

curt

curt 11232 User manual

curt 58909 User manual

curt

curt 58909 User manual

curt 16055 User manual

curt

curt 16055 User manual

curt 18112 User manual

curt

curt 18112 User manual

curt 13532 User manual

curt

curt 13532 User manual

curt 11454 User manual

curt

curt 11454 User manual

curt 16315 User manual

curt

curt 16315 User manual

curt 45832 User manual

curt

curt 45832 User manual

curt Spectrum 51170 User manual

curt

curt Spectrum 51170 User manual

curt 16994 User manual

curt

curt 16994 User manual

curt CM 18031 User manual

curt

curt CM 18031 User manual

Popular Automobile Accessories manuals by other brands

Rigid Hitch RE-60067 installation instructions

Rigid Hitch

Rigid Hitch RE-60067 installation instructions

Witter KA35U FITTING INSTRUCTION

Witter

Witter KA35U FITTING INSTRUCTION

DiscountRamps TBSR-92 instruction sheet

DiscountRamps

DiscountRamps TBSR-92 instruction sheet

Kargo Master 30070 installation guide

Kargo Master

Kargo Master 30070 installation guide

Brink 6012 Fitting instructions

Brink

Brink 6012 Fitting instructions

Thule Rapid Fixpoint XT 3005 Fitting instructions

Thule

Thule Rapid Fixpoint XT 3005 Fitting instructions

ARB Airlocker RD210 installation guide

ARB

ARB Airlocker RD210 installation guide

Aim GT 320-350 user guide

Aim

Aim GT 320-350 user guide

Scosche TerraClamp MAGICMOUNT Pro Handlebar PSM11011 manual

Scosche

Scosche TerraClamp MAGICMOUNT Pro Handlebar PSM11011 manual

Motoalliance VIPER MA11941 manual

Motoalliance

Motoalliance VIPER MA11941 manual

Toyota VSS 1 Settings guide

Toyota

Toyota VSS 1 Settings guide

Sony DCC-E34CP - Car Battery Cord operating instructions

Sony

Sony DCC-E34CP - Car Battery Cord operating instructions

AMP Research PowerStep 77126-01A installation guide

AMP Research

AMP Research PowerStep 77126-01A installation guide

Turtle Tirol Assembly and service instructions

Turtle

Turtle Tirol Assembly and service instructions

AUTOTECH 10.715.009K installation instructions

AUTOTECH

AUTOTECH 10.715.009K installation instructions

Kolpin 21515 quick start guide

Kolpin

Kolpin 21515 quick start guide

DVB CMBR-01 installation manual

DVB

DVB CMBR-01 installation manual

SungJin Techwin Co SJ401A user manual

SungJin Techwin Co

SungJin Techwin Co SJ401A user manual

manuals.online logo
manuals.online logoBrands
  • About & Mission
  • Contact us
  • Privacy Policy
  • Terms and Conditions

Copyright 2025 Manuals.Online. All Rights Reserved.