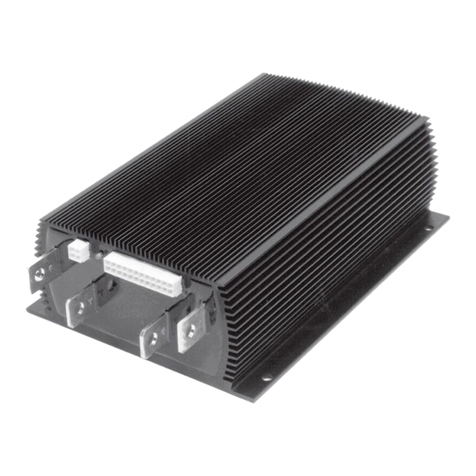
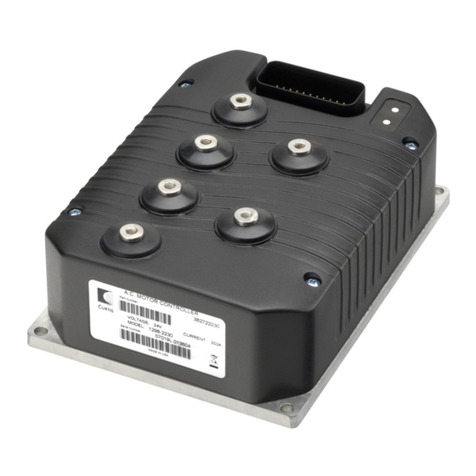
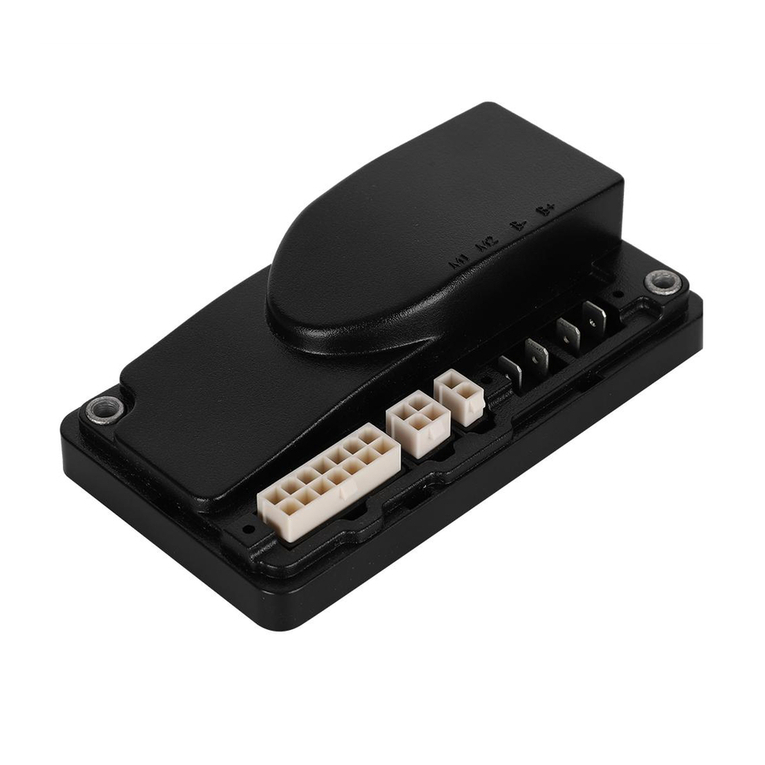
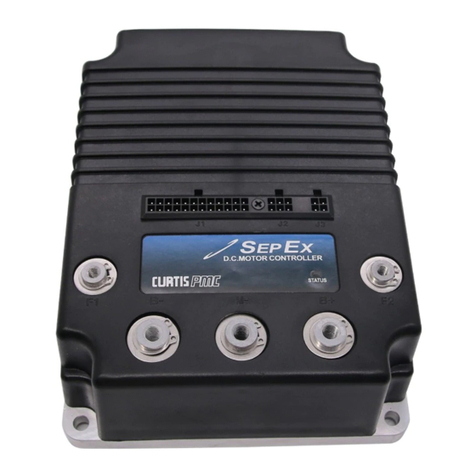
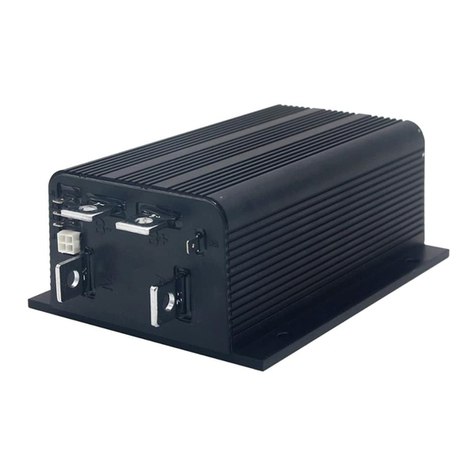
Curtis 1268 User manual

Manual
Model 1268
Electronic Motor Controller
Read Instructions Carefully!
Specifications are subject to change without notice.
© 2012 Curtis Instruments, Inc. ® Curtis is a registered trademark of Curtis Instruments, Inc.
© The design and appearance of the products depicted herein are the copyright of Curtis Instruments, Inc. 37873 Rev D 3/12
Curtis Instruments, Inc.
200 Kisco Avenue
Mt. Kisco, NY 10549
www.curtisinstruments.com


Curtis 1268 Manual, Rev. D iii
CONTENTS
1. OVERVIEW ..............................................................................1
2. INSTALLATION AND WIRING .............................................4
Mounting the Controller .....................................................4
Connections: Low Current ..................................................6
Connections: High Current ................................................7
Wiring: Controller ..............................................................8
Wiring: Throttle ................................................................10
Wiring: Drivers .................................................................12
Wiring: External LED Output ..........................................13
Wiring: Pedal Interlock Switch ..........................................13
Contactor, Switches, and Other Hardware .........................14
3. PROGRAMMABLE PARAMETERS ......................................15
Acceleration/Deceleration Parameters .................................17
Acceleration Rate: M1, M2, Reverse
Deceleration Rate: M1, M2, Reverse
Field Brake
Field Brake Speed
Field Brake Max
Field Brake Rate
Speed Parameters ...............................................................19
Max Forward Speed: M1, M2
Max Reverse Speed
RPM To Speed
Tacho Poles
Throttle Parameters ............................................................20
Throttle 0%
Throttle 100%
Throttle Map
Throttle Fault Low
Throttle Fault High
Current Limit Parameters ...................................................21
Main Current Limit: M1, M2
Regen Current Limit
Plug Braking Current Limit
WalkAway™ Current Limit
Brake Mapping Parameters ................................................22
Brake Minimum: M1, M2, Reverse
Brake Maximum: M1, M2, Reverse
Brake Start: M1, M2, Reverse
Brake End: M1, M2, Reverse
Brake Map: M1, M2, Reverse
Field Mapping Parameters ..................................................24
Forward Field Minimum: M1, M2
Reverse Field Minimum
CONTENTS

iv Curtis 1268 Manual, Rev. D
Field Max
Negative Field Maximum
Field Map Start / Negative Field Map Start
Field Map End / Negative Field Map End
Field Ramp / Negative Field Ramp
Field Direction Swap
Fault Parameters .................................................................26
KSI SRO Enable
Mode After KSI
Overvoltage
Low Voltage
Warning Option
Output Driver Parameters ..................................................28
Auxiliary Driver Mode
Auxiliary Pull-In Voltage
Auxiliary Holding Voltage
Electromagnetic Brake Delay
Electromagnetic Brake Speed Check
Electromagnetic Brake at Speed Value
Driver Overcurrent Detection
4. INSTALLATION CHECKOUT .............................................31
5. TUNING GUIDE ..................................................................33
Major Tuning .....................................................................33
1 Tuning the active throttle range ..............................33
2 Calibrating the controller speed measurement ........35
3 Tuning the controller to the motor ........................35
4 Equalizing loaded and unloaded vehicle speed .......38
5 Confirming loaded vehicle speed on downhill ........39
Fine Tuning ........................................................................40
6 Response to increased throttle ................................40
7 Response to full throttle release ..............................41
8 Transitioning from flat ground to downhill ............43
9 Hill climbing ..........................................................43
bk WalkAway™ braking ...............................................44
bl Low-speed field braking .........................................44
bm EM brake operation ...............................................45
6. DIAGNOSTICS AND TROUBLESHOOTING ....................47
7. MAINTENANCE ...................................................................50
APPENDIX A Vehicle Design Considerations
APPENDIX B Programming Devices & Menus
APPENDIX C Programmable Parameter Index
APPENDIX D Specifications, 1268 Controller
CONTENTS

Curtis 1268 Manual, Rev. D v
FIGURES
fig. 1: Curtis 1268 electronic motor controller ..............................1
fig. 2: Mounting dimensions, Curtis 1268 controller ...................4
fig. 3a: Standard wiring configuration —
with aux driver used for an EM brake .................................8
fig. 3b: Standard wiring configuration —
with aux driver used for a WalkAway™ relay ....................... 9
fig. 4: Wiring for 3-wire potentiometer throttle .........................10
fig. 5: Wiring for 0–5V throttle .................................................10
fig. 6: Wiring for ITS throttle ....................................................11
fig. 7: Throttle map structure .................................................... 20
fig. 8: Brake map structure ......................................................... 23
fig. 9: Field map structure .......................................................... 25
FIGURES


Curtis 1268 Manual, Rev. D 1
OVERVIEW
Curtis 1268 controllers are separately excited motor speed controllers designed for
use in a variety of transport vehicles. These programmable controllers are simple
to install, efficient, and cost effective. Typical applications include heavy-duty
golf carts, personnel transports, burden carriers, and other utility vehicles.
The 1268 controller offers smooth, silent, cost effective control of motor
speed and torque. The speed sensor input allows superior closed-loop control
for regulating vehicle speed. Unique braking parameters allow simple, intuitive
deceleration tuning. A full-bridge field winding control stage is combined with
a half-bridge armature power stage to provide solid state motor reversing and
regenerative braking power without additional relays or contactors.
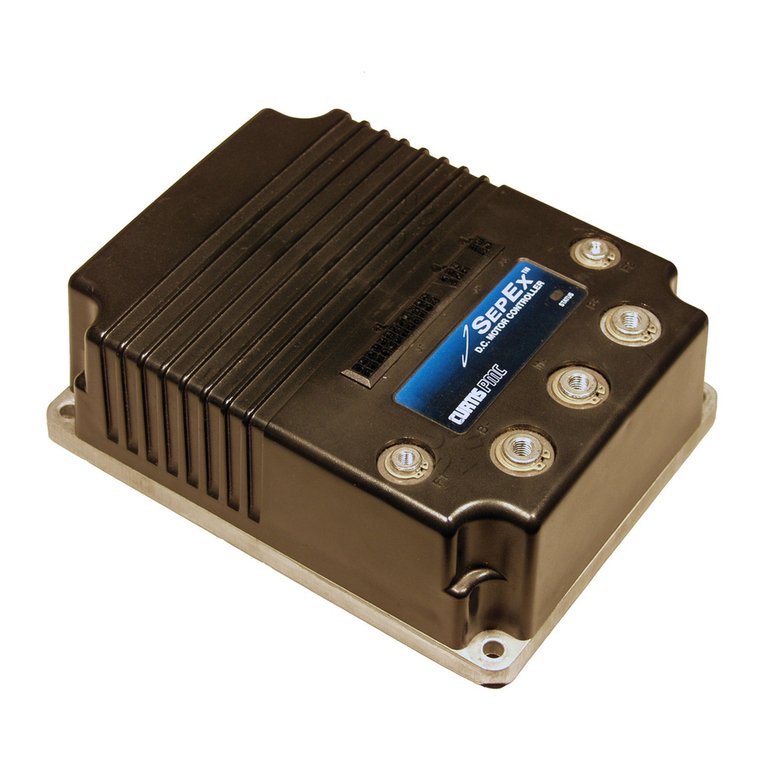
Fig. 1 Curtis 1268
electronic motor controller.
These controllers are fully programmable by means of the optional hand-
held programmer or PC programming station. Use of a programmer provides
diagnostic and test capability as well as configuration flexibility and the ability
to easily transfer settings from one controller to another.
1 — OVERVIEW
1

2Curtis 1268 Manual, Rev. D
Like all Curtis motor controllers, the 1268 offers superior operator control of
the vehicle’s motor drive speed. Features include:
✓ Regenerative braking, providing longer operation on a single
battery charge and reducing motor brush wear and motor
heating
✓ Adjustable brake rates, for smooth pedal-release braking
✓ Two user-selectable vehicle operating personalities, with
vehicle top speed controlled and limited in each mode
✓ Motor parameters are programmable to match the
characteristics of the specific motor being used
✓ Vehicle speed control is enhanced through feedback from a
Hall effect speed sensor
✓ Anti-rollback function, providing improved control when
throttle is released on hills
✓ Anti-stall function helps prevent motor commutator damage
✓ High pedal disable (HPD) and static return to off (SRO)
interlocks prevent vehicle runaway at startup
✓ WalkAway™ braking feature limits any stopped or key-off
rolling to a very low speed
✓ Auxiliary driver can be programmed for either an
electromagnetic (EM) brake or a WalkAway™ relay
✓ Coil driver provides adjustable pull-in and holding voltages
to WalkAway™ relay or EM brake
✓ Driver for brake lamp relay can be used to power external
lights during braking
✓ Reverse signal driver provides a low signal any time the
vehicle is traveling in reverse
1 — OVERVIEW

Curtis 1268 Manual, Rev. D 3
✓ Driver outputs are short circuit protected and provide built-in
coil spike protection
✓ Warning buzzer sounds steady in reverse, intermittent during
WalkAway™ braking
✓ Complete diagnostics through any of the optional
programmers and through the built-in Status LED
✓ Driver for remote Status LED enables status information to
be available at a dashboard
✓ Sealed package is rated at IP64 and IP67
✓ Meets or exceeds EEC fault detect requirements.
Familiarity with your Curtis controller will help you install and operate it
properly. We encourage you to read this manual carefully. If you have ques-
tions, please contact the Curtis office nearest you.
1 — OVERVIEW

4Curtis 1268 Manual, Rev. D
INSTALLATION AND WIRING
MOUNTING THE CONTROLLER
The outline and mounting hole dimensions for the 1268 controller are shown
in Figure 2.
The controller can be oriented in any position, and meets the IP64/IP67
ratings for environmental protection against dust and water. However, the lo-
cation should be carefully chosen to keep the controller as clean and dry
as possible. When selecting the mounting position, be sure to also take into
consideration (1) that access is needed at the top of the controller to plug the
programmer into its connector, and (2) that the built-in Status LED is visible
only through the view port in the label on top of the controller.
Fig. 2 Mounting
dimensions, Curtis
1268 controller.
Dimensions in millimeters (and inches)
2 — INSTALLATION & WIRING: Controller
2
9.5
(0.375)
12.7
(0.50)
STATUS
LED
M8 thread, 3 plcs
M6 thread, 2 plcs
7.1 (0.28) dia.,
4 plcs
159
(6.25)
178
(7.00)
81
(3.19)
210 (8.25)
229 (9.00)

Curtis 1268 Manual, Rev. D 5
To ensure full rated power, the controller should be fastened to a clean, flat
metal surface with four M6 (1/4") diameter screws, using the holes provided.
Although not required, a thermal joint compound can be used to improve heat
conduction from the controller heatsink to the mounting surface.
You will need to take steps during the design and development of your
end product to ensure that its EMC performance complies with applicable
regulations; suggestions are presented in Appendix A.
The 1268 controller contains ESD-sensitive components. Use appropri-
ate precautions in connecting, disconnecting, and handling the controller.
See installation suggestions in Appendix A for protecting the controller from
ESD damage.
Working on electric vehicles is potentially dangerous. You should
protect yourself against runaways, high current arcs, and outgassing from
lead acid batteries:
RUNAWAYS — Some conditions could cause the vehicle to run out of control.
Disconnect the motor or jack up the vehicle and get the drive wheels off
the ground before attempting any work on the motor control circuitry.
HIGH CURRENT ARCS — Electric vehicle batteries can supply very high power,
and arcs can occur if they are short circuited. Always open the battery
circuit before working on the motor control circuit. Wear safety glasses,
and use properly insulated tools to prevent shorts.
LEAD ACID BATTERIES — Charging or discharging generates hydrogen gas,
which can build up in and around the batteries. Follow the battery
manufacturer’s safety recommendations. Wear safety glasses.
2 — INSTALLATION & WIRING: Controller
☞
CAUTION

6Curtis 1268 Manual, Rev. D
CONNECTIONS
Low Current Connections
Three low current connectors are built into the 1268 controller. They are
located in a row on the top of the controller:
J1-1 Keyswitch Input (KSI) input and return for main contactor coil
J1-2 Logic Enable input from run/store switch
J1-3 Fuse Sense input from WalkAway™ fuse sense line
J1-4 Logic Power power to controller logic
J1-5 (not used) —
J1-6 (not used) —
J1-7 (not used) —
J1-8 Pedal Interlock Switch input from pedal switch, wired to throttle
J1-9 WalkAway™ Return coil return for WalkAway™ relay
J1-10 Forward input from forward switch
J1-11 Reverse input from reverse switch
J1-12 (not used) —
J1-13 Pot High +5V supply through 453
Ω
(or ITS input)
J1-14 Pot Low 453
Ω
to ground
J1-15 Pot Wiper throttle wiper input (or ITS input)
J1-16 LED Ground ground for external LED
J1-17 Main Contactor contactor coil driver low-side output
J1-18 Brake Light Driver relay driver low-side output
J1-19 Reverse Alarm alarm low-side driver output
J1-20 Mode Switch input from mode switch
J1-21 (not used) —
J1-22 External LED Driver LED driver high-side output
J1-23 Auxiliary Driver WalkAway™/EMB driver low-side output
J1-24 (not used) —
The 24-pin connector provides the logic control connections. The mat-
ing connector is a 24-pin Molex Mini-Fit Jr. connector p/n 39-01-2245 using
type 5556 terminals. The appropriate wire gauge is 18–24 AWG.
2 — INSTALLATION & WIRING: Controller
J1 J2 J3
J1 Logic connector
J2 Speed Sensor connector
J3 Programmer connector
24 23 22 21 20 19 18 17 16 15 14 13
12 11 10 9 8 7 6 5 4 3 2 1
J1

Curtis 1268 Manual, Rev. D 7
F1
B- B+M-
F2
STATUS
LED
CABLE-FREE ZONE
A 6-pin low power Molex connector is provided for the interface with the Hall
speed sensor. The mating connector is a Molex Mini-Fit Jr. p/n 39-01-2065
using type 5556 terminals.
J2-1,2,3 (not used)
J2-4 ground
J2-5 input
J2-6 +15V
Power cables must not be routed over the indicated area. Otherwise they
may interfere with the proper operation of sensitive electromagnetic compo-
nents located underneath.
The +15V supply should only be used with the speed sensor and not to power
any other external systems.
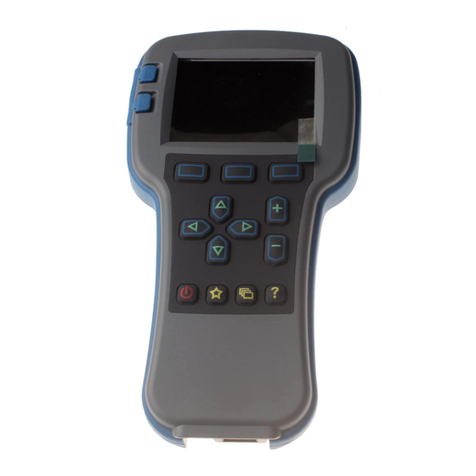
A 4-pin low power connector is provided for an optional programmer. A com-
plete handheld programmer kit, including the appropriate connecting cable
with mating connector, can be ordered from Curtis:
p/n 168961101 for the User Programmer (model 1311-1101)
p/n 168962101 for the OEM Programmer (model 1311-4401).
If a handheld programmer is already available (such as the now discontinued
1307) but has an incompatible cable, the appropriate connecting cable can be
ordered as a separate part: p/n 16185.
If a 1314 PC programming station is used, the 1309 interface box and cable
connect the computer to the controller:
p/n 117465704 1314-1101, 1314 PC Programming Station (User) CD-ROM
p/n 117465707 1314-4401, 1314 PC Programming Station (OEM) CD-ROM
p/n 16994001 1309 Interface Box
p/n 16185 Molex cable for 1309 Interface Box.
High Current Connections
Five tin-plated solid aluminum bus bars are provided for the high current con-
nections to the battery (B+ and B-), the motor armature (M-), and the motor
field (F1 and F2). These bus bars incorporate threaded mounting studs designed
to accept mounting bolts. This simplifies the assembly and reduces the mount-
ing hardware necessary for the power connections.
SIZE MAX DEPTH QTY MAX TORQUE
Field studs M6 × 1 5/8" 2 16.3 N·m (12 ft-lbs)
Power studs M8 × 1.25 3/4" 3 20.0 N·m (15 ft-lbs)
Exceeding these specifications could damage the bus
bars’ internal threads, resulting in loose connections.
We recommend maximum possible thread engagement:
always exceeding three threads.
2 — INSTALLATION & WIRING: Controller
456
123
34
12
J3
J2
J3-1 Rx Data
J3-2 B-
J3-3 Tx Data
J3-4 +15V
☞
CAUTION
note: The 1311 hand-
held programmer has
been superseded; if you
are using a more recent
model, please refer to its
documentation.

8Curtis 1268 Manual, Rev. D
WIRING: Standard Configuration
Figures 3a and 3b show typical wiring. The system can include an electromag-
netic brake or a WalkAway™ relay, but not both. Figure 3a shows a system with
an EM brake; Figure 3b shows a system with a WalkAway™ relay.
Standard Power Wiring
Motor armature winding is straightforward, with the armature’s A1 connection
going to the controller’s B+ bus bar and the armature’s A2 connection going
to the controller’s M- bus bar.
The motor’s field connections (F1 and F2) to the controller are less
obvious. The direction of vehicle travel with the forward direction selected
will depend on how the F1 and F2 connections are made to the controller’s
two field terminals and how the motor shaft is connected to the drive wheels
through the vehicle’s drive train.
Fig. 3a Standard wiring configuration for Curtis 1268 controller,
in an application with an EM brake.
2 — INSTALLATION & WIRING: Controller
1268 CONTROLLER
PEDAL INTERLOCK
BRAKE LIGHT RELAY
J1-20
MODE (M1, M2)
J1-18
REVERSE ALARM J1-19
EM BRAKE J1-23
POT HIGH J1-13
POT WIPER J1-15
POT LOW J1-14
THROTTLE POT
A
MAIN
REVERSE
FORWARD
J1-1 KSI
SPEED
SENSOR
J2-4
J2-5
J2-6
BATTERY
RUN/
STORE
SWITCH
(10 A)
B+
GROUND
+15V
M-
INPUT
B-
A1
A2
J3-1
J3-2
J3-3
PROGRAMMER
RX DATA
TX DATA
B-
J3-4
+15V
F1
F2
F1
F2
KEYSWITCH
J1-10
F
R
NJ1-11
J1-17 MAIN CONTACTOR
J1-16
J1-22
LED DRIVER
+ -
J1-2
J1-4
LOGIC ENABLE
LOGIC POWER
CHARGER INTERLOCK
SWITCH
(optional)
J1-8
GROUND

Curtis 1268 Manual, Rev. D 9
Standard Control Wiring
Wiring is shown in Figures 3a and 3b for the most commonly used components.
Wiring for alternative throttles is shown in the following pages.
The main contactor coil must be wired directly to the controller as shown
in Figures 3a and 3b. The controller uses the main contactor coil driver output
to remove power from the controller and motor in the event of various faults.
If the main contactor coil is not wired to Pin 17, the controller will not
be able to open the main contactor in serious fault conditions and the
system will therefore not meet EEC safety requirements.
2 — INSTALLATION & WIRING: Controller
Fig. 3b Standard wiring configuration for Curtis 1268 controller,
in an application with the WalkAway™ function.
1268 CONTROLLER
PEDAL INTERLOCK
BRAKE LIGHT RELAY
J1-20
MODE (M1, M2)
J1-18
REVERSE ALARM J1-19
POT HIGH J1-13
POT WIPER J1-15
POT LOW J1-14
THROTTLE POT
A
MAIN
REVERSE
FORWARD
J1-1 KSI
SPEED
SENSOR
J2-4
J2-5
J2-6
BATTERY
RUN/
STORE
SWITCH
(20 A)
B+
GROUND
+15V
M-
INPUT
B-
A1
A2
J3-1
J3-2
J3-3
PROGRAMMER
RX DATA
TX DATA
B-
J3-4
+15V
F1
F2
F1
F2
KEYSWITCH
J1-10
F
R
NJ1-11
J1-17 MAIN CONTACTOR
J1-16
J1-22
LED DRIVER
GROUND
+ -
J1-2
J1-4
LOGIC ENABLE
LOGIC POWER
CHARGER INTERLOCK
SWITCH (optional)
J1-8
J1-3
-
+
FUSE SENSE
J1-9
J1-23 WALKAWAY
FUSE
(20A)
WALKAWAY DRIVER
WALKAWAY RETURN

10 Curtis 1268 Manual, Rev. D
WIRING: Throttle
Various throttles can be used with the 1268 controller, including 5kΩ 3-wire
potentiometers and 0–5V throttles. Some 1268 controller models are specifi-
cally designed to be compatible with ITS throttles.
The controller looks for a voltage signal at the wiper input (Pin 15), with
vehicle speed increasing with increased throttle voltage. All throttle fault pro-
tection is accomplished by monitoring the wiper input. This provides throttle
fault protection that meets all EEC requirements. Thus, no additional fault
protection is required on any throttle type used with the 1268 controller.
If the throttle you are planning to use is not covered, contact the Curtis
office nearest you.
3-Wire Potentiometer (5k
Ω
–10k
Ω
) Throttle
The 3-wire potentiometer is used in its voltage divider mode, with the voltage
source and return being provided by the controller. Pot High (Pin 13) provides
a current limited 5V source to the pot, and Pot Low (Pin 14) provides the
return path. The pot wiper is then connected to the Wiper Input (Pin 15).
Potentiometers with total resistance values between 5kΩ and 10kΩ can be
used. Wiring is shown in Figure 4.
2 — INSTALLATION & WIRING: Throttle
Fig. 4 Wiring for 3-wire
potentiometer throttle.
This wiring is also shown in the standard wiring diagrams, Figs. 3a and 3b.
0–5V Throttle
The active range for the 0–5V throttle is set by the parameters Throttle 0% and
Throttle 100%, and is measured relative to B-. Wiring is shown in Figure 5.
Fig. 5 Wiring for 0–5V
throttle.
+
-

Curtis 1268 Manual, Rev. D 11
ITS Throttle
The ITS throttle is a 2-wire electronic throttle that connects between the Pot
High and Pot Wiper pins (Pins 13 and 15), as shown in Figure 6. The Hall
sensor circuit within the throttle creates an output current between 0.7mA and
1.6mA from min to max throttle. The two wires are interchangeable.
2 — INSTALLATION & WIRING: Throttle
Note: ITS throttles can only be used with 1268 models that are specifi-
cally designed for them.
Fig. 6 Wiring for ITS
throttle.
Pot High input (Pin 13)
Pot Low input (Pin 15)

12 Curtis 1268 Manual, Rev. D
2 — INSTALLATION & WIRING: Throttle
WIRING: Drivers
The 1268 controller provides four drivers (at Pins 17, 18, 19, 23) for the main
contactor, brake light relay, reverse alarm, and aux contactor/relay. These four
outputs are low-side drivers, designed to energize inductive coils or a piezo-
electric reverse alarm. The brake light relay, reverse alarm, and aux are optional
functions.
With the exception of the coil used at the aux driver (Pin 23), it is necessary
to specify the connected coil voltage at the nominal battery pack voltage. The
aux driver can be set to either 100%, 60%, or 35% of system voltage. These
fixed percentages are used for the Coil Pull-In Voltage and Holding Voltage.
See Section 3 for more information on programming these parameters.
A coil suppression diode is provided internally to protect two of the driv-
ers (J1-17, 23) from inductive spikes generated at turn-off. To take advantage
of the controller’s internal coil suppression diode, the coils must be wired such
that the return path to the drivers cannot be opened by any switches or contac-
tors, as shown in the standard wiring diagrams (pages 8, 9).
RATED INTERNAL
RATED LOAD DIODE
DRIVER PIN CURRENT VOLTAGE PROTECTION
Main Contactor J1-17 2.0 A B+ yes
Brake Light Relay J1-18 0.5 A B+ no
Reverse Alarm J1-19 0.02 A B+ no
Aux (EMB/WalkAway™) J1-23 2.0 A B+, 36V, 24V yes
The driver loads are not limited to contactor coils. Any load can be connected
to a Pin 18, 19, or 23 driver as long as it does not exceed the current rating.
For information on programming the various driver-related parameters,
see Section 3: Programmable Parameters.
Main Contactor Driver
The main contactor driver (Pin 17) pulls low when (a) the tow/store switch,
keyswitch input, and pedal interlock switch are enabled, (b) a direction is
selected, and (c) throttle is applied; it stays low until near zero speed at zero
throttle, or until a critical fault occurs. This wiring is shown in the standard
wiring diagrams (pages 8, 9).
Brake Light Relay Driver
The brake light relay driver (Pin 18) pulls low when the vehicle enters a braking
state. A relay can be used with this driver to pass current from an auxiliary battery
to the vehicle brake lights. This output is not to be connected directly to the
brake light. A flyback diode should be connected across the coil of the relay to
protect the driver, as shown in the standard wiring diagrams (pages 8, 9).

Curtis 1268 Manual, Rev. D 13
Reverse Alarm Driver
The reverse alarm driver (Pin 19) pulls low when the reverse direction switch
is applied. This driver is designed to drive a reverse signal beeper or piezo-
electric buzzer that operates when the vehicle is traveling in reverse or during
WalkAway™ operation. It can also be programmed to give a warning during
anti-rollback and/or to warn of an overvoltage condition (see Warning Option
parameter).
Auxiliary Driver
The condition for which the auxiliary driver (Pin 23) pulls low depends on how
it is being used. With an EM brake, the driver becomes active (low) when the
vehicle is commanded into motion so as to activate the brake coil and pull in
the brake. In a WalkAway™ system, the driver becomes active when the vehicle
is rolling while the main contactor is not engaged.
The aux driver’s output is pulse-width-modulated at the coil holding
voltage set by the Holding Voltage parameter. The pull-in voltage set by the
Pull-In Voltage parameter is used in place of the holding voltage for the first
100 milliseconds.
When the aux driver is used with an EM brake, the EMB Delay param-
eter allows for the adjustment of a time delay before the brake engages after
the vehicle is stopped or has slowed below the threshold set by the EMB Speed
Value parameter.
WIRING: External LED Output
The output driver at Pin 22 is designed for use with an external LED to dis-
play fault codes where they can be easily seen by the operator—typically on
the dashboard. This output driver sources 15V from a high-side driver and
resistor, rated at 10mA maximum current.
WIRING: Pedal Interlock Switch
Controller output is possible only when the pedal interlock input (Pin 8) is
pulled to B+. The pedal interlock switch is connected to the throttle mecha-
nism, thus guaranteeing zero controller output when the operator releases the
throttle. This adds a safety feature to protect against throttle failures that could
otherwise cause unintended controller output (vehicle motion).
2 — INSTALLATION & WIRING: Throttle

14 Curtis 1268 Manual, Rev. D
CONTACTOR, SWITCHES, and OTHER HARDWARE
Main Contactor
A main contactor is required for use with any 1268 controller. The main contac-
tor allows the controller and motor to be disconnected from the battery. This
provides a significant safety feature in that the battery power can be removed
from the drive system if a controller or wiring fault is detected. A single-pole,
single-throw (SPST) contactor with silver-alloy contacts is recommended for
use as the main contactor. The coils must be specified at the nominal battery
pack voltage, with a continuous rating.
Keyswitch and Run/Store Switch
The vehicle should have a keyswitch to enable/disable driving each time the
vehicle is used. The run/store switch, on the other hand, is typically located in
an out-of-the-way location and left on except when the vehicle will be stored
(during the winter, for example) or is being towed. The keyswitch and the run/
store switch provide current to drive the various coils as well as the controller’s
internal logic circuitry and must be rated to carry these currents.
Forward, Reverse, Mode Select, and Pedal Interlock Switches
These input switches can be any type of single-pole, single-throw (SPST) switch
capable of switching the battery voltage at 25 mA.
Circuitry Protection Devices
To protect the control circuitry from accidental shorts, a low current fuse (ap-
propriate for the maximum current draw) should be connected in series with
the battery feed to the run/store switch. Additionally, a high current fuse should
be wired in series with the main contactor to protect the motor, controller,
and batteries from accidental shorts in the power system. The appropriate
fuse for each application should be selected with the help of a reputable fuse
manufacturer or dealer. The standard wiring diagrams (see pages 8, 9) show
the recommended fuse locations.
Speed Sensor
A speed sensor is required for use with any 1268 controller. The speed sensor
must be of a pulse type, and must interface to the controller with an open col-
lector NPN transistor output. The most common sensor type will be a Hall
effect switch IC, such as the Allegro type UGN3132 or Micro Switch type
SS11; these work with an eight-pole (four pulses per revolution) ring magnet
attached to the motor shaft. Other pole configurations can be accommodated
by programming the Tacho Poles parameter to match the sensor magnet. Linear
output sensors such as PM tachogenerators and variable reluctance gear tooth
sensors (“magnetic pickups”) are unsuitable.
A Curtis Application Note is available with more detailed information
on the speed sensor requirements.
2 — INSTALLATION & WIRING: Switches, etc.
Other manuals for 1268
1
Table of contents
Other Curtis Controllers manuals

Curtis
Curtis PMC 1204 Series User manual

Curtis
Curtis 1239E User manual

Curtis
Curtis 1212S User manual

Curtis
Curtis 1204 User manual

Curtis
Curtis 1268-5411 User manual

Curtis
Curtis 1220 User manual

Curtis
Curtis MultiMode 1228 User manual

Curtis
Curtis 1232E User manual

Curtis
Curtis 1222 User manual

Curtis
Curtis 1355 User manual
Curtis
Curtis 1212 User manual

Curtis
Curtis 1232E User manual
Curtis
Curtis 1298 User manual

Curtis
Curtis 1253 User manual

Curtis
Curtis 1232E User manual

Curtis
Curtis 1226 User manual

Curtis
Curtis MultiMode 1207B User manual

Curtis
Curtis 1313 User manual

Curtis
Curtis 1232E User manual
Curtis
Curtis 1310 User manual