manuals.online logo
Brands
  1. Home
  2. •
  3. Brands
  4. •
  5. Dascom
  6. •
  7. Printer
  8. •
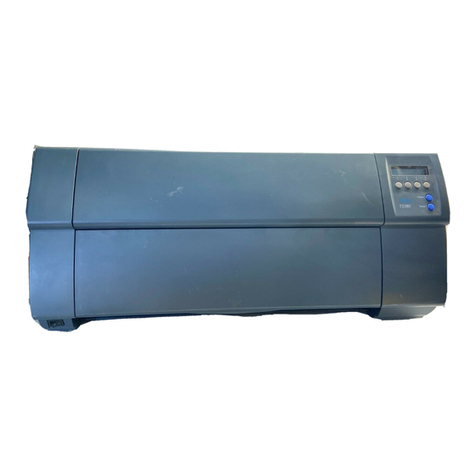
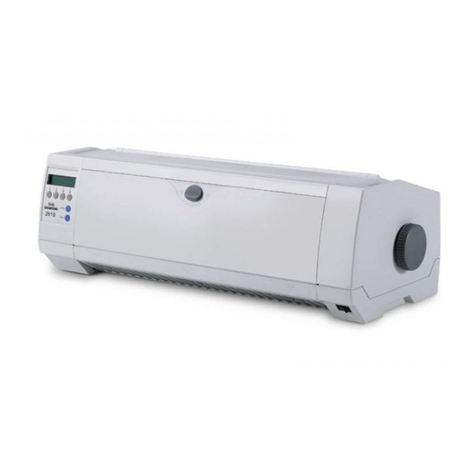
  9. Dascom Tally T2440 User manual

Dascom Tally T2440 User manual

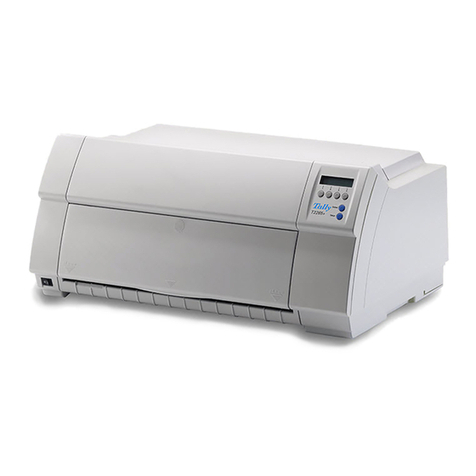
Quick Start Guide T2440 T2540 Matrix Printer
1.1 Unpacking
Make sure that the “Up” symbols point in the correct direc-
tion. Open the packaging, lift the printer out of the cardboard
box and remove the remaining packaging material.
Check the printer for any visible transport damage and missing
items. The following items should be included:
Printer, Ribbon cassette, Power cord, Quick Start Guide and
CD-ROM.
1.2 Tape
When the printer is first taken
out of the packaging box, the
cover of the printer is taped
as shown in the diagram.
Remove the tape.
1.3 Shipping lock
Open the cover of the printer
and remove the shipping
locks.
1.4 Install Ribbon 1.4.1
Remove the ribbon cassette
from its packaging.
Open the printer cover.
Adjust the printhead to the
center of the print platen.
1.4.2
Turn the tension knob Ain
the direction of the arrow in
order to take up slack of the
ribbon.
1.4.3
Insert the recess Bon the
bottom of the ribbon cassette
into the holding pin Cof the
mounting.
Push the cassette into its
mounting until it clicks into
right and left position.
Close the cover of the printer.
Important safety instructions
For detailed information, refer to the User Guide of the printer. The User Guide is provided as an Adobe Acrobat PDF file
on the CD-ROM shipped with your printer. Be sure to read the safety guidelines in the User Guide before using this prod-
uct. Keep this User Guide in a place which is easily accessible at all times.
`Never place the printer in the vicinity of inflammable gas
or explosive substances.
`Place the printer on a solid and even base so that it cannot
fall down to the ground.
`Do not expose the printer to high temperatures or direct
sunlight.
`Keep all liquids away from the printer.
`Protect the printer from shock, impact and vibration.
`Be sure to connect the printer to a socket with the correct
mains voltage.
`Always disconnect the system from the mains before
opening the device to perform maintenance work or rem-
edy errors.
`Do not perform any operation or action in any way other
than provided in this manual. When in doubt, contact
your dealer or service company.
1
Setting up your printer
Tape
A
C
B
396958b-EN
1.5 Connecting 1.5.1 Interface
Make sure that the printer
and the computer are
switched off.
Connect the data cable
between the printer and the
computer, in this example a
36-pin centronics parallel
cable.
1.5.2 Mains power Make sure that the power
switch which is located at the
right side of the printer is in
the Off position.
Connect the power cable to
the power inlet of the printer.
Connect the power cable plug
to a mains socket.
Switching on: Press the
power switch to the <I> posi-
tion.
2.1 Paper select lever Move the paper select lever A
backward for single sheets.
Move the paper select lever
forward for continuous
sheets.
2.2 Print gap lever The printer can handle paper
with different thicknesses,
including multipart forms
with up to five parts (original
plus four copies).
Moving the print gap lever A
to the rear reduces the print
gap (thin paper), moving to
the front widens the print gap
(thick paper).
2.3 Fanfold paper Move the paper select lever
forward to Continuous Paper
position.
Slightly press the single sheet
feeder to the right or to the
left, until the holding pin
comes free from its recess.
Remove the feeder.
Release the tractor locking
levers Aby pulling them up.
Once the right forms tractor
is positioned, lock it by push-
ing down its locking lever.
Raise the tractor doors and fit
the first two paper feed holes
onto the right tractor pins
(from your point of view).
Close the right tractor door.
Repeat the procedure for the
left tractor
Adjust the left forms tractor
to accommodate the width of
the form. Push the left lock-
ing lever down to secure the
tractor in place.
Reinstall the single sheet
feeder.
Press the FF/LOAD key.
2.4 Single sheets Move the paper select lever
backward to Single Sheet
position.
Raise the single sheet feeder
until it locks into its mount-
ing.
Align the left paper guide
with the mark on the left of
the single sheet feeder. Adjust
the right paper guide to the
width of the paper used.
Insert a sheet of paper. The
paper will automatically
advance to the top-of-form
position.
If not so press FF/LOAD.
2
Paper handling
A+
–A
A

This manual suits for next models

1

Other Dascom Printer manuals

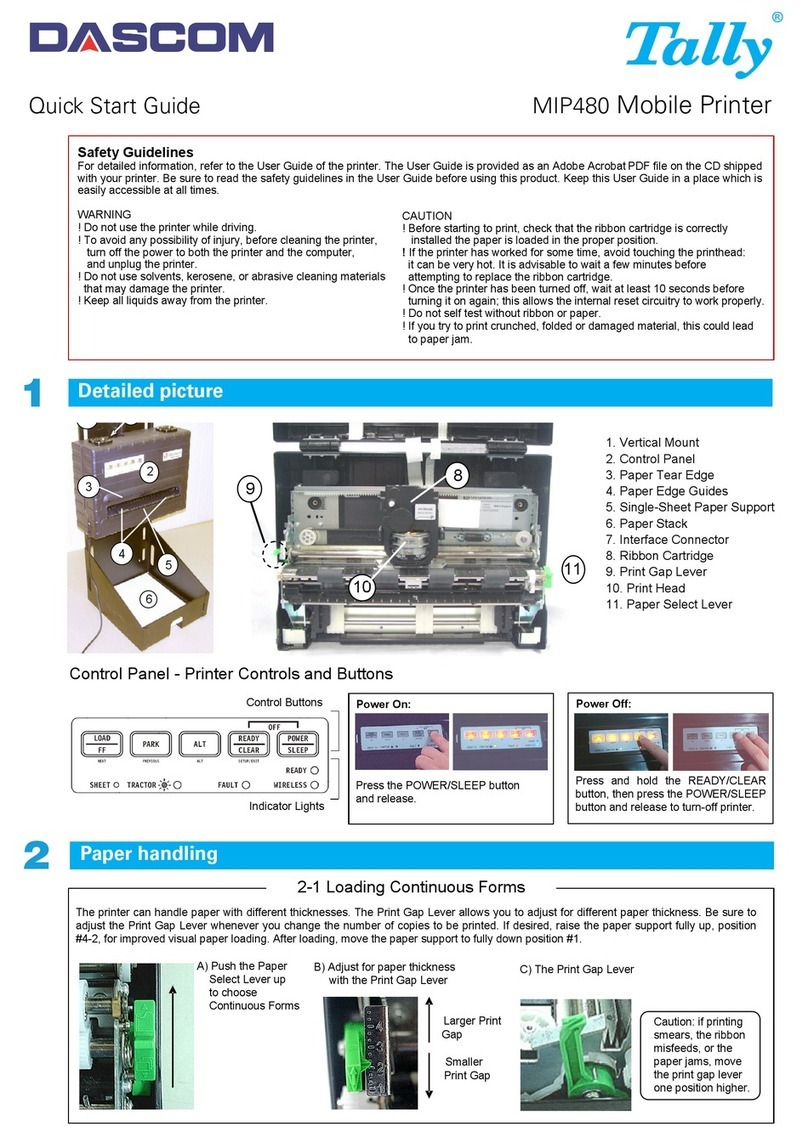
Dascom TALLY MIP480 User manual

Dascom

Dascom TALLY MIP480 User manual

Dascom DP-540 User manual

Dascom

Dascom DP-540 User manual

Dascom 1500 User manual

Dascom

Dascom 1500 User manual

Dascom 1330 User manual

Dascom

Dascom 1330 User manual

Dascom DP-510 User manual

Dascom

Dascom DP-510 User manual

Dascom DP-540 User manual

Dascom

Dascom DP-540 User manual

Dascom DP-510 Manual

Dascom

Dascom DP-510 Manual

Dascom LA650+ User manual

Dascom

Dascom LA650+ User manual

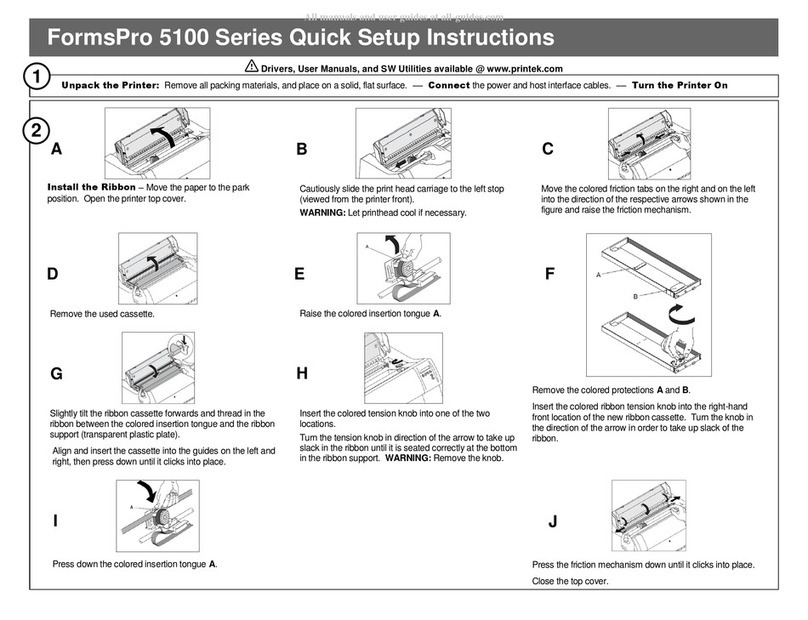
Dascom PRINTEC FormsPro 5100 Series Manual

Dascom

Dascom PRINTEC FormsPro 5100 Series Manual

Dascom PRINTEK PrintMaster 700 Series Manual

Dascom

Dascom PRINTEK PrintMaster 700 Series Manual

Dascom DP-530 User manual

Dascom

Dascom DP-530 User manual

Dascom DP-330L User manual

Dascom

Dascom DP-330L User manual

Dascom Tally DP-581 User manual

Dascom

Dascom Tally DP-581 User manual

Dascom Tally PrintekMobile DP-541 Series User manual

Dascom

Dascom Tally PrintekMobile DP-541 Series User manual

Dascom T2380 User manual

Dascom

Dascom T2380 User manual

Dascom PRINTEC FormsPro 5100 Series Manual

Dascom

Dascom PRINTEC FormsPro 5100 Series Manual

Dascom Printek PrintMaster 700 Series Manual

Dascom

Dascom Printek PrintMaster 700 Series Manual

Dascom DC-3300 User manual

Dascom

Dascom DC-3300 User manual

Dascom T2150 User manual

Dascom

Dascom T2150 User manual

Dascom Tally T2365 User manual

Dascom

Dascom Tally T2365 User manual

Dascom Tally PrintekMobile DP-541 Series User manual

Dascom

Dascom Tally PrintekMobile DP-541 Series User manual

Dascom DP-80 User manual

Dascom

Dascom DP-80 User manual

Dascom DP-520 User manual

Dascom

Dascom DP-520 User manual

Dascom DP-520 Manual

Dascom

Dascom DP-520 Manual

Popular Printer manuals by other brands

Lexmark Infoprint 1332 user manual

Lexmark

Lexmark Infoprint 1332 user manual

Printronix P8000 Series Maintenance manual

Printronix

Printronix P8000 Series Maintenance manual

CognitiveTPG A776 ColorPOS Specifications

CognitiveTPG

CognitiveTPG A776 ColorPOS Specifications

Printek Interceptor 800 Series Integrator's manual

Printek

Printek Interceptor 800 Series Integrator's manual

Canon i250 Series specification

Canon

Canon i250 Series specification

Posligne ODP-500 user manual

Posligne

Posligne ODP-500 user manual

Ricoh SP204SF user guide

Ricoh

Ricoh SP204SF user guide

Gainscha PT-380 manual

Gainscha

Gainscha PT-380 manual

Samsung CLP-315 - CLP 315 Color Laser Printer manual

Samsung

Samsung CLP-315 - CLP 315 Color Laser Printer manual

Tally Dascom DT-210 user guide

Tally Dascom

Tally Dascom DT-210 user guide

Ricoh SP C252DN Brochure & specs

Ricoh

Ricoh SP C252DN Brochure & specs

ZHUHAI HONOR TECHNOLOGY XPOS-I100 user guide

ZHUHAI HONOR TECHNOLOGY

ZHUHAI HONOR TECHNOLOGY XPOS-I100 user guide

FARGO electronics DTC510 user guide

FARGO electronics

FARGO electronics DTC510 user guide

Cashino KMP-II user manual

Cashino

Cashino KMP-II user manual

Kodak 9810 - PRINTING IMAGES FROM PHOTOSHOP 7 AND... user guide

Kodak

Kodak 9810 - PRINTING IMAGES FROM PHOTOSHOP 7 AND... user guide

Kyocera KM-4530 Operation guide

Kyocera

Kyocera KM-4530 Operation guide

Lexmark MS610 Series Specfications

Lexmark

Lexmark MS610 Series Specfications

Rimage Desktop 360i Replacement guide

Rimage

Rimage Desktop 360i Replacement guide

manuals.online logo
manuals.online logoBrands
  • About & Mission
  • Contact us
  • Privacy Policy
  • Terms and Conditions

Copyright 2025 Manuals.Online. All Rights Reserved.