manuals.online logo
Brands
  1. Home
  2. •
  3. Brands
  4. •
  5. Dascom
  6. •
  7. Printer
  8. •
  9. Dascom PRINTEC FormsPro 5100 Series Manual

Dascom PRINTEC FormsPro 5100 Series Manual

FormsPro 5100 Series Quick Setup Instructions
Drivers, User Manuals, and SW Utilities available @ www.printek.com
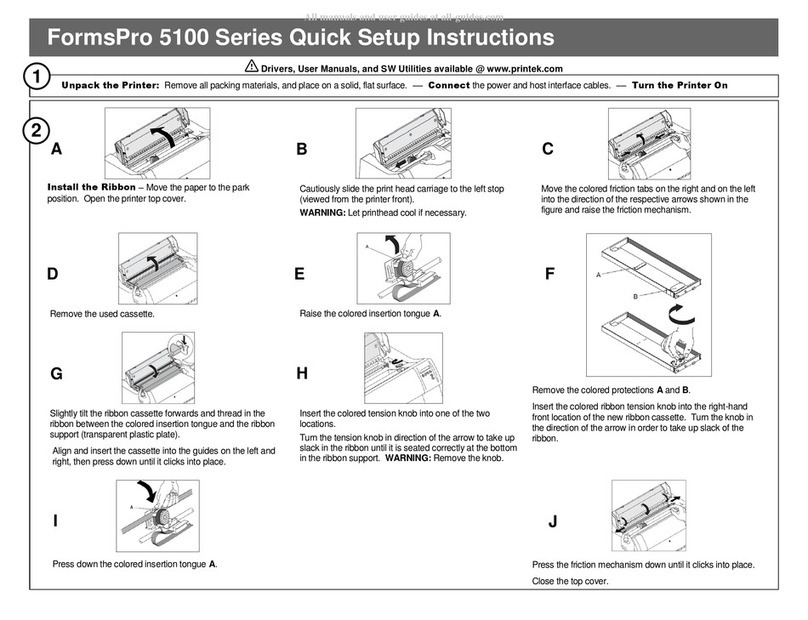
Unpack the Printer: Remove all packingmaterials, andplace on asolid, flatsurface. –– Connect the powerand hostinterface cables. –– Turn the Printer On
Install the Ribbon –Move the paperto thepark
position. Open the printer topcover.
Cautiouslyslide the print head carriagetothe leftstop
(viewed from the printerfront).
WARNING: Let printhead cool if necessary.
Move thecolored friction tabs on the right and on the left
into the directionofthe respective arrows shownin the
figure and raise the frictionmechanism.
Remove the used cassette.
Raise thecolored insertion tongue A.
Remove the colored protections Aand B.
Insert thecolored ribbon tension knob into the right-hand
front location of the new ribbon cassette. Turn theknob in
the direction of the arrow in orderto take upslack of the
ribbon.
Slightly tilt the ribbon cassetteforwards and thread in the
ribbon betweenthe coloredinsertion tongue and the ribbon
support (transparent plastic plate).
Align and insertthe cassette into the guides on theleft and
right, then press down untilit clicks into place.
Insert thecolored tensionknob into one of the two
locations.
Turn the tensionknobin direction of the arrow to take up
slack in the ribbon untilit is seatedcorrectlyat the bottom
inthe ribbonsupport. WARNING: Remove theknob.
Press down thecoloredinsertiontongue A.
Press the friction mechanism down untilit clicks into place.
Close the top cover.
1
2
A
B
C
D
E
F
G
H
I
J
Load Paper –Raise the front cover.
Remove the bottom cover A.
Open the right andleft tractor flaps.
Open thecolored latchleverand alignthe tractorso
thatthe first printingposition on thepaper matches
the Xmark on the printer housing.
Lock the colored lever again.
Place fanfold paper into the left-hand tractor.
Open thecolored latchleverof the right-hand tractor
and alignit to the paperwidth.
Insert thefanfold paperintothe right-handtractor.
Make sure thatit is inserted bythe same length as on
the left-hand tractor in or der toavoid any paper jam.
Close the tractor flapand lock the tractorbyturningthe
tractorlever to the rear.
CAUTION:Do not tensionthe paper excessivelyto
avoid tearing theperforationholes; donot allow
excessive slack since in this case the paper will bulge
and theremay be problems in thefeeding process.
Make sure to alignthe paperstackin parallel with the printer and that the paperflow is
unobstructed.
Lowerthe frontcover. Switch theprinter on. The active papersource (Tractor 1)
appears in the display. The display alternates between…
And…
The paper is automatically loaded when the printer is in online mode and
receives data from the computer.
Note: For FormsPro 5102 printers, see additional included instruction Part
Number 7621 for paper loading.
Review the configuration settings described on the next page. When complete, press the “Online” button to allow the printer to receive data and begin printing.
Part Number 7697 Rev. B
4
3
A
B
C
D
E
FormsPro 5100 Series Setup Menu Reference
LCD Control Panel Display Function View
Default Configuration Settings
Printer Path Flow: Sub Menu Chart
Form Adjust Paperway Char
Back –Print- Form –Next Head AGA Tractor Font
TOF CPI
Tear
Back –Reset - QuiteM –Next
Back –Font –CPI –Next
Back –LPI - Skip –Next
Back –Esc Char - Emulate –Next
Back –BiDir –I/O –Next
Back –Cg-Tab –Charset –Next
Back - Country –SI Zero –Next
Back –Auto-CR –Auto-LF –Next
Back –Frm Lock –Language –Next
Back –Paper –Auto Tear –Next
Back –Width –Color Option –Next
Back –Barcode - Barmode –Next
Back –BarTop –LCPTop –Next
Back –FF Mode –Paper Opt –Next
Back –Left Margin –Right Margin –Next
Back –FF at LC –Paphand –Next
The LC Display details all the important printer settings and which functions are currently
assigned to which keys. Example below:
The upper line indicates that the printer is either in Online or Offline mode.
The example below displays the printer’s status as in the Online mode.
The selected paper path is Trac 1
The function is Tear indicating that key function is currently active in manual
mode.
Once changes have been made and saved, press Online to return to the main
menu.
Select Setup to access Online MENU (Primary) and to change printer configurations.
NAME
Font
CPI
LPI
Skip
ESCChar
Emulate
Bidir
CG-Tab
CharSet
Country
SI.Zero
Auto-CR
Auto-LF
AutoTear
Width
LeftMrg
RightMrg
Paphand
Barcode
Barmode
Tractor1
Formlen
Head
FormAdj
Tractor2
Interf.
Buffer
CX-bid
Form
TearAdj Form1
AutoTRA
Quietm.
AGA
AGA offset
Pap.back
PMS
APW
AED
Sound
FFmode
Wrap
Rightzo
Leftzon
Head up
Pagewid
Physlm
Hvy Form
Sleepmod
BarTop
LCPtop
Ignore
FFaftLC
GrSpeed
Jobcntl
FL-Ctrl
FORM_0
Draft
10 CPI
6 LPI
0.0Inch
ESC
Epson LQ-2550
On
Graphic
Extended
E-US ASCII
Off
On
Off
Tear=1s
13.6Inch
0/10”
136/10”
On
Off
Unsecured
*
Letter 11”
18
12/72”
Shared
256 KB
On
1
0/72”
Off
Off
On
0
Normal
Low
Off
On
On
On
On
Off
Off
Off
136/10”
0/10”
Off
On
Off
Off
Off
On
High
Off
System
There are three levels to make Configuration changes through the FP5100 control panel:
Setup
Primary Menu
Sub-Menu
1. Press Setup to access any of the Primary Menus:
a) Form
b) Adjust
c) Paperway
d) Char
2. Example: Select Form to access Sub-Menus
3. Select Next until you see the Sub-Menu where you will make change settings.
4. Make your changes in the Sub-Menu.
5. Then save the changes by pressing Set. When you have made your changes, press
Setup.
Control Panel
Copyright © 2016 Printek, LLC
A Company
3515 Lakeshore Dr.
St. Joseph, MI49085
Phone: 800-368-4636
[email protected]om
www.printek.com

Other Dascom Printer manuals
Dascom DP-510 Manual
Dascom
Dascom DP-510 Manual

Dascom DC-3300 User manual

Dascom

Dascom DC-3300 User manual

Dascom DP-520 Manual

Dascom

Dascom DP-520 Manual

Dascom 2610 User manual

Dascom

Dascom 2610 User manual

Dascom Tally DP-230L User manual

Dascom

Dascom Tally DP-230L User manual

Dascom T5040 User manual

Dascom

Dascom T5040 User manual

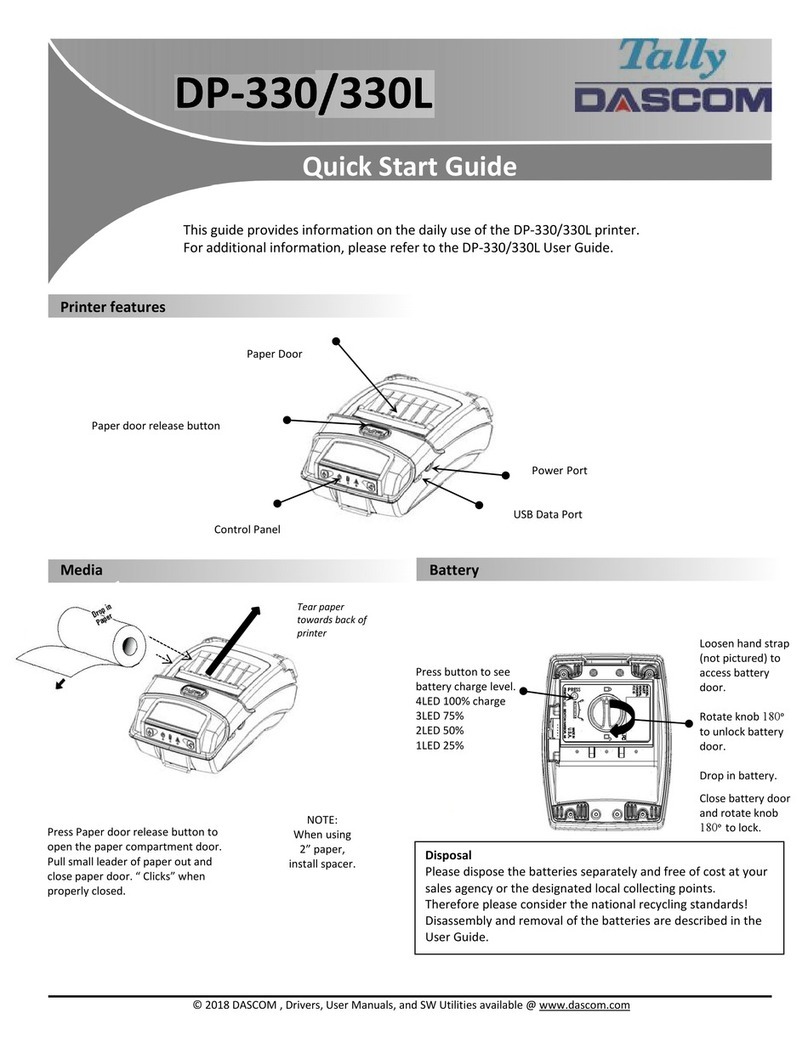
Dascom DP-330L User manual

Dascom

Dascom DP-330L User manual

Dascom DP-520 User manual

Dascom

Dascom DP-520 User manual

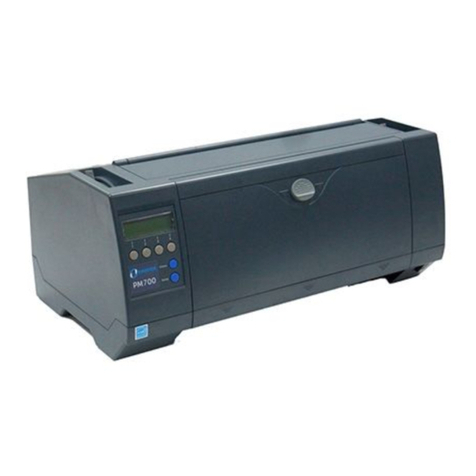
Dascom Printek PrintMaster 700 Series Manual

Dascom

Dascom Printek PrintMaster 700 Series Manual

Dascom DC-7600 User manual

Dascom

Dascom DC-7600 User manual

Dascom T2150 User manual

Dascom

Dascom T2150 User manual

Dascom DC-2300 User manual

Dascom

Dascom DC-2300 User manual

Dascom Tally T2440 User manual

Dascom

Dascom Tally T2440 User manual

Dascom 7010 Peeler User manual

Dascom

Dascom 7010 Peeler User manual

Dascom DC-7600 User manual

Dascom

Dascom DC-7600 User manual

Dascom DP-540 User manual

Dascom

Dascom DP-540 User manual

Dascom Tally PrintekMobile DP-541 Series User manual

Dascom

Dascom Tally PrintekMobile DP-541 Series User manual

Dascom DT-210 User manual

Dascom

Dascom DT-210 User manual

Dascom T2380 User manual

Dascom

Dascom T2380 User manual

Dascom Tally DP-581 User manual

Dascom

Dascom Tally DP-581 User manual

Dascom PRINTEC FormsPro 5100 Series Manual

Dascom

Dascom PRINTEC FormsPro 5100 Series Manual

Dascom T2150 User manual

Dascom

Dascom T2150 User manual

Dascom DP-330L User manual

Dascom

Dascom DP-330L User manual

Dascom PRINTEK PrintMaster 700 Series Manual

Dascom

Dascom PRINTEK PrintMaster 700 Series Manual

Popular Printer manuals by other brands

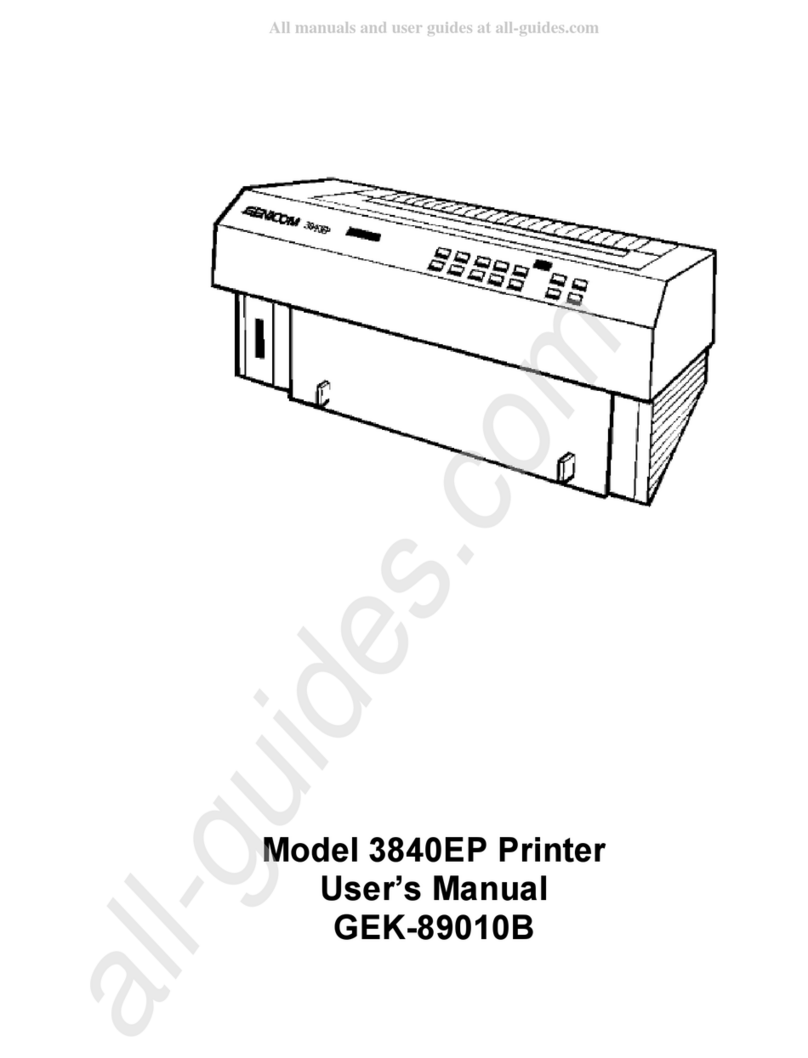
Gencom 3840EP user manual

Gencom

Gencom 3840EP user manual

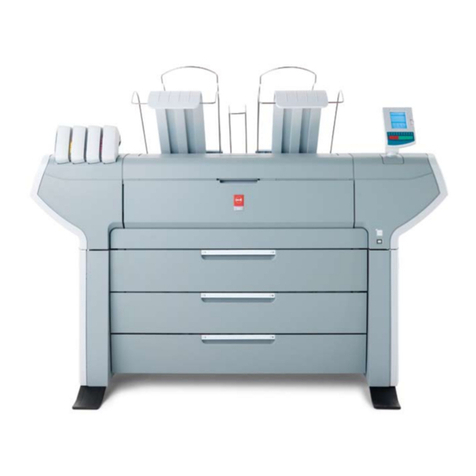
Oce ColorWave 600 user manual

Oce

Oce ColorWave 600 user manual

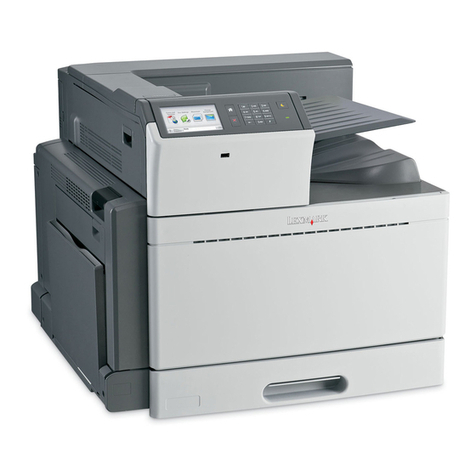
Lexmark C950 Series Service manual

Lexmark

Lexmark C950 Series Service manual

Toshiba TRST-A15 SERIES owner's manual

Toshiba

Toshiba TRST-A15 SERIES owner's manual

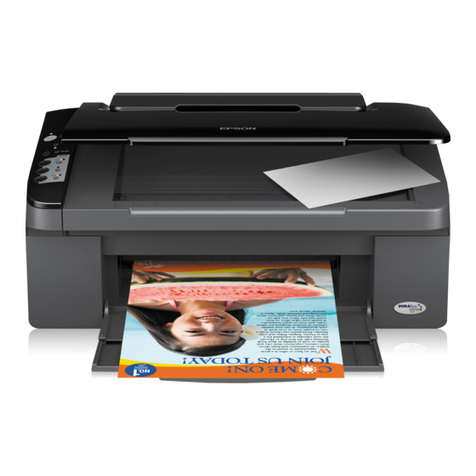
Epson Stylus Printer SX100 user guide

Epson

Epson Stylus Printer SX100 user guide

Ricoh SH-P1 M020 Field service manual

Ricoh

Ricoh SH-P1 M020 Field service manual

Brother HL-B2000D Quick setup guide

Brother

Brother HL-B2000D Quick setup guide

Canon iP6700D - PIXMA Color Inkjet Printer Specifications

Canon

Canon iP6700D - PIXMA Color Inkjet Printer Specifications

Canon advanced anywhere print user guide

Canon

Canon advanced anywhere print user guide

Roland SOLJET Pro III XC-540 Service notes

Roland

Roland SOLJET Pro III XC-540 Service notes

Star SP712 Series Hardware manual

Star

Star SP712 Series Hardware manual

Tektronix Phaser 780 Color supplementary guide

Tektronix

Tektronix Phaser 780 Color supplementary guide

Lexmark E350d Setup & installation

Lexmark

Lexmark E350d Setup & installation

DEK 265 horizon Engineering specification

DEK

DEK 265 horizon Engineering specification

SNBC BTP-M300 Programming manual

SNBC

SNBC BTP-M300 Programming manual

Epson SureColor F6470H user manual

Epson

Epson SureColor F6470H user manual

Provo Craft Yudu Tips & Techniques

Provo Craft

Provo Craft Yudu Tips & Techniques

MHM iQ-Oval 210V Wiring diagram

MHM

MHM iQ-Oval 210V Wiring diagram

manuals.online logo
manuals.online logoBrands
  • About & Mission
  • Contact us
  • Privacy Policy
  • Terms and Conditions

Copyright 2025 Manuals.Online. All Rights Reserved.