manuals.online logo
Brands
  1. Home
  2. •
  3. Brands
  4. •
  5. DeLonghi
  6. •
  7. Heater
  8. •
  9. DeLonghi HSX4324E User manual

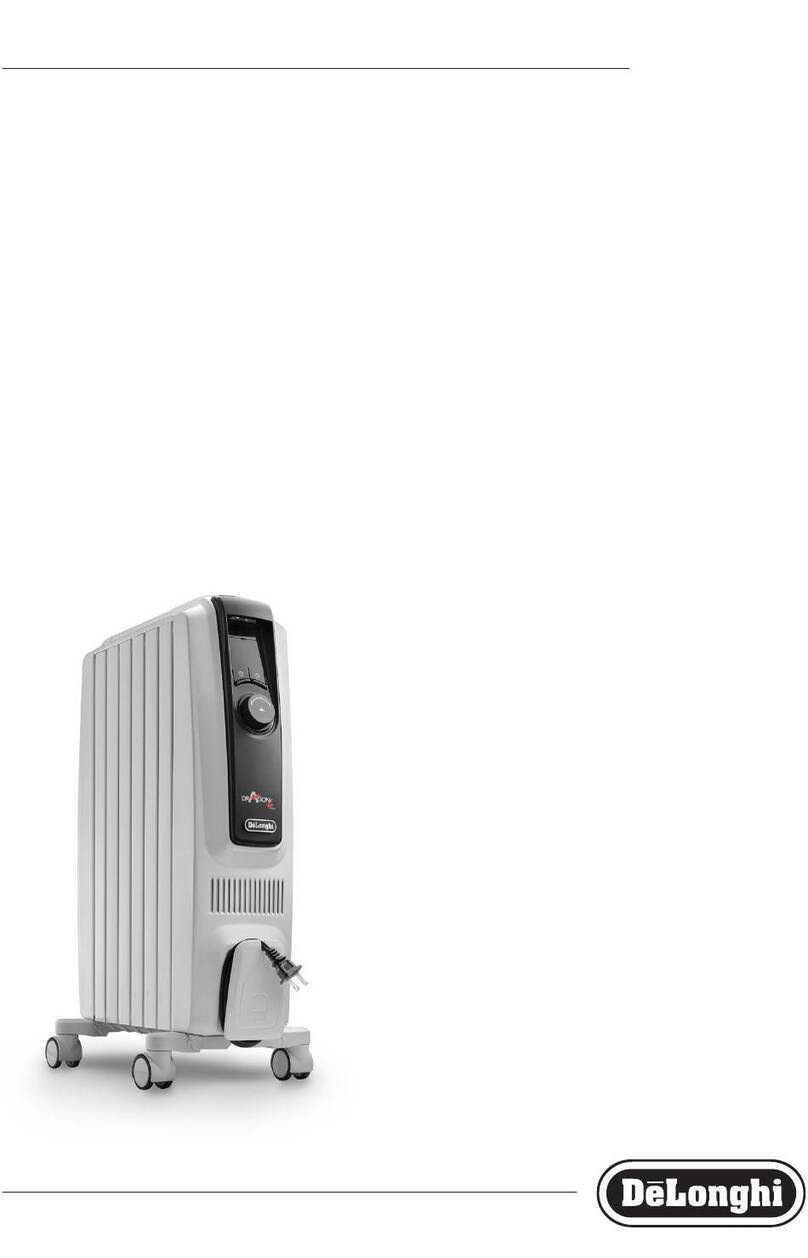
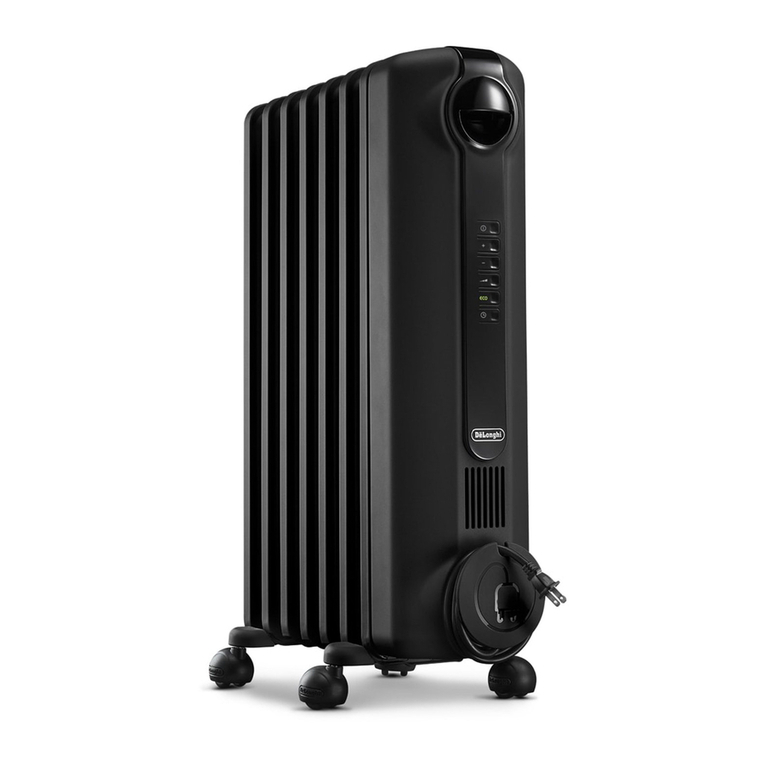
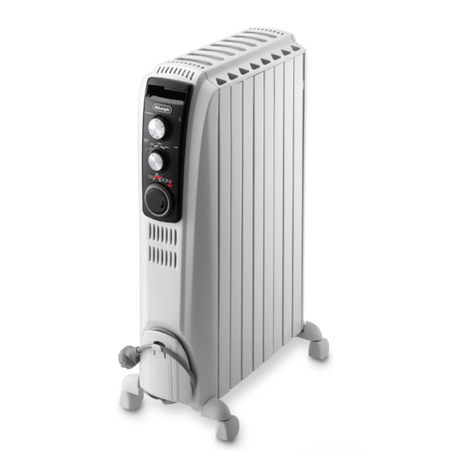
DeLonghi HSX4324E User manual

6
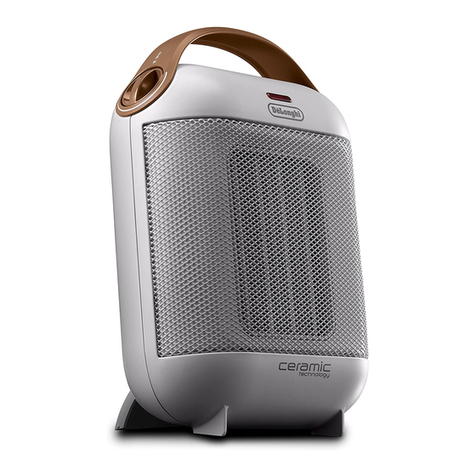
DESCRIPTION
A Power indicator light
B ON/STAND-BY button
C +/- adjustment buttons
D MODE button (selects the operating mode)
E “ECO plus”button
F Timer button
G handle
H air outlet grill
General instructions
Remove the heater from the packaging. Check that neither
the heater nor the power cable has been damaged during
transport. Do not operate the heater if damaged. Remove all
publicity material present on the appliance.
Electrical connection
- Before connecting the appliance to the current outlet,
check that the voltage indicated on the appliance rating
plate is the same as your electric plant and that it can
stand the power consumption (Watt) indicated by the
labelling.
- If more than one appliance is used at once, it is
important to ensure that the electric plant is able to
support the power required.
Mounting the feet
Required tool: Screwdriver PH 2 x 100 (Phillips type)
Turn the appliance upside down on a rug or soft surface in
order to prevent damaging the paint nish.
Fix the feet to the appliance with the nr. 2 screws
I
supplied
(see g. 1 and 2), 1 screws for each foot. See gure 3
for the minimum distances from the walls.
USE
Operation and use
- Plug into the mains socket.
- The appliance emits a beep. The power indicator light
(A) comes on and remains lit while the appliance is
powered.
- The appliance switches to stand-by.
- Press the ON/STAND-BY (B) to turn the appliance on.
It begins heating the room according to the current
settings.
- Press the MODE (D) button to select one of the following
operating modes:
- Freeze prevention
In this mode, the appliance keeps the room at a
temperature of 7°C to avoid freezing.
- Heating 1, 2, 3 and Heating 3 + Fan
In this mode, the desired temperature can be selected by
pressing the adjustment buttons + and –. By pushing
the + or - button once, the temperature (shown on the
display) will increase or decrease by 1°C.
Heating 1
The appliance operates at low power.
Heating 2
The appliance operates at medium power.
Heating 3
The appliance operates at high power.
Heating 3 + Fan
The appliance operates at the maximum power with
the fan. The setting temperature range available is from
16°C to 32°C.
“ECO plus” function
The “ECO plus” function is available in Heating 1, 2 3 and 3
+ fan modes only. To activate the function, press the “ECO
plus” (E) button. When this function is active the appliance
automatically sets the most appropriate power level
to guarantee optimum comfort while reducing energy
consumption.
While the “ECO plus” function is active, the appliance may
switch automatically to a lower heating power than the one
displayed.
Working indicator
The symbol indicates the heating status by means of its
colors.
RED: the unit is heating at the maximum power.
YELLOW: the unit is heating at the medium power.
GREEN: the unit is heating at the minimum power.
absent: the unit is not heating.
Brightness of the display
The appliance allows two dierent brightness settings for the
display. The highest is active when any key button is pressed.
After a few seconds of keyboard inactivity, the brightness will
decrease to the operating brightness level.
Key lock
In order to avoid accidental operation, you can lock the
keyboard using the keylock function. To activate this function
press buttons + and - (C) together for at least 3 seconds. The
display shows the symbol and a double acoustic signal
will be emitted. To deactivate the function proceed in the
same way.
7
Timer function
This function can be activated in two dierent ways.
Delayed start: With the appliance on-standby, press the
timer button (F) . The symbol is displayed ashing
together with the hours left before the appliance comes on.
Change the hours using the + and - (C) buttons, then wait
a few seconds for the program to be stored. The display will
return to o and the symbols remains on. When the
programmed time has elapsed, the appliance will come on
with the previous settings.
Delayed stop: with the appliance on, press the timer button
(F). The symbol is displayed ashing together with
the hours left before the appliance goes on-standby. Change
the hours using the + and - (C) buttons, then wait a few
seconds for the program to be stored. The current settings
and symbol are displayed. At the end of the set time the
appliance switches on-standby automatically. To go back to
operating without the timer, press the timer button twice.
The timer symbol disappears from the display.
Note: the time is settable from 0.5 to 24 hours.
Changing of the temperature scale
The display can show the temperature in both °F (Fahrenheit)
and °C (Celsius). To select the desired temperature scale,
when the unit is in standby position, press and hold the "+"
key for at least 10 seconds, then release.
The change of scale will be indicated by two short beeps.
MAINTENANCE
Before carrying out any maintenance, unplug the heater from
the mains and wait for it to cool o completely. This heater
requires no particular maintenance. It is sucient to remove
the dust with a soft, dry cloth. Never use abrasive powders or
solvents. If necessary remove concentrated areas of dirt with
a vacuum cleaner.
TECHNICAL CHARACTERISTICS
Supply voltage See rating label
Absorbed power “
TROUBLESHOOTING
PROBLEM CAUSE SOLUTION
The appliance doesn't work Be sure it is plugged in and that the
electrical outlet is working
The temperature may be set too low
The Key lock may be activated
Plug into the power outlet
Set the temperature to a higher position
See the section "Key lock"
The display shows a blinking
dot and you could hear a
"beep"
The appliance could be tipped over or is
positioned in an improper way
Make sure the appliance is standing upright
on a at surface. Position the appliance
correctly
The display shows "PF"The temperature sensor is malfunctioning Contact the De' Longhi costumer experience.
The display shows "Ht"
blinking
The internal temperature is too high. Remove the plug from the mains. Check the
appliance is not covered or obstructed. In
case remove the obstructions.
Check the appliance is correctly positioned
respecting the minimum distance from
the wall, or objects, as indicated on the
instruction manual, if not, position the
appliance correctly. Let the appliance cool
down and plug the appliance again. If it
doesn't work, please contact the De' Longhi
Costumer Experience.

This manual suits for next models

1

Other DeLonghi Heater manuals

DeLonghi DCH 4590 ER User manual

DeLonghi

DeLonghi DCH 4590 ER User manual

DeLonghi CERAMIC FAN HEATER User manual

DeLonghi

DeLonghi CERAMIC FAN HEATER User manual

DeLonghi TCH7915ER User manual

DeLonghi

DeLonghi TCH7915ER User manual

DeLonghi HCX Series User manual

DeLonghi

DeLonghi HCX Series User manual

DeLonghi RCH100 User manual

DeLonghi

DeLonghi RCH100 User manual

DeLonghi HX Series User manual

DeLonghi

DeLonghi HX Series User manual

DeLonghi TRR0715 User manual

DeLonghi

DeLonghi TRR0715 User manual

DeLonghi HSX Series User manual

DeLonghi

DeLonghi HSX Series User manual

DeLonghi TRDX40820E User manual

DeLonghi

DeLonghi TRDX40820E User manual

DeLonghi HVA1120 User manual

DeLonghi

DeLonghi HVA1120 User manual

DeLonghi TRN User manual

DeLonghi

DeLonghi TRN User manual

DeLonghi TRRS2715EBK User manual

DeLonghi

DeLonghi TRRS2715EBK User manual

DeLonghi DFH550R User manual

DeLonghi

DeLonghi DFH550R User manual

DeLonghi EW7507EB User manual

DeLonghi

DeLonghi EW7507EB User manual

DeLonghi DUH 1000 User manual

DeLonghi

DeLonghi DUH 1000 User manual

DeLonghi FAN HEATER User manual

DeLonghi

DeLonghi FAN HEATER User manual

DeLonghi FAN HEATER User manual

DeLonghi

DeLonghi FAN HEATER User manual

DeLonghi TRRS0715ECA User manual

DeLonghi

DeLonghi TRRS0715ECA User manual

DeLonghi HFX10 Series User manual

DeLonghi

DeLonghi HFX10 Series User manual

DeLonghi TRV Series User manual

DeLonghi

DeLonghi TRV Series User manual

DeLonghi DRAGON 4 User manual

DeLonghi

DeLonghi DRAGON 4 User manual

DeLonghi TCH8093ERCA User manual

DeLonghi

DeLonghi TCH8093ERCA User manual

DeLonghi FAN HEATER User manual

DeLonghi

DeLonghi FAN HEATER User manual

DeLonghi KENDRA User manual

DeLonghi

DeLonghi KENDRA User manual

Popular Heater manuals by other brands

wallas 2000t technical information

wallas

wallas 2000t technical information

Royal Sovereign HFN-03 owner's manual

Royal Sovereign

Royal Sovereign HFN-03 owner's manual

Desa RCLP35B owner's manual

Desa

Desa RCLP35B owner's manual

G21 Merapi manual

G21

G21 Merapi manual

EOS Goliath HD Installation and operation manual

EOS

EOS Goliath HD Installation and operation manual

Fenix HN4500 series installation manual

Fenix

Fenix HN4500 series installation manual

FRENGER systems EnergoInfra EIR500 Mounting and installation

FRENGER systems

FRENGER systems EnergoInfra EIR500 Mounting and installation

Pentair ETi 400 installation guide

Pentair

Pentair ETi 400 installation guide

Radiant CeramiCircuit 632c Operation manual

Radiant

Radiant CeramiCircuit 632c Operation manual

Sunhouse SPH050 Installation and operating instructions

Sunhouse

Sunhouse SPH050 Installation and operating instructions

Ecowell EHT330 manual

Ecowell

Ecowell EHT330 manual

Empire SR-10TBC-3 Installation instructions and owner's manual

Empire

Empire SR-10TBC-3 Installation instructions and owner's manual

Pinnacle MASTER MH-360A-TTC User's manual & operating instructions

Pinnacle

Pinnacle MASTER MH-360A-TTC User's manual & operating instructions

Sentiotec IR-WP-175 Instructions for assembly and use

Sentiotec

Sentiotec IR-WP-175 Instructions for assembly and use

IRSAP THE RADIATOR COMPANY ISEO TRC-IS-O30 Fitting instructions

IRSAP

IRSAP THE RADIATOR COMPANY ISEO TRC-IS-O30 Fitting instructions

Sun2Solar MLR-T91-SD01 instruction manual

Sun2Solar

Sun2Solar MLR-T91-SD01 instruction manual

Rointe Palaos 1000RAD Installation instruction guide

Rointe

Rointe Palaos 1000RAD Installation instruction guide

Purmo BH 300 Assembly instructions

Purmo

Purmo BH 300 Assembly instructions

manuals.online logo
manuals.online logoBrands
  • About & Mission
  • Contact us
  • Privacy Policy
  • Terms and Conditions

Copyright 2025 Manuals.Online. All Rights Reserved.