DEMA Trapper User manual

I-1246 Page 1 of 9
Rev. E-43816 3/23/18
Trapper
Drain Maintenance/Odor Control Chemical Dispensing
Overview
The DEMA® Trapper is a digital chemical dispenser that is designed to deliver chemicals for both drain and odor
control. The system will operate from wall or battery power.
Warnings
InstallationofDEMAproductsmustmeetallapplicableelectricalcodesandregulationsestablished
bynational,city,county,parish,provincialorotheragencies.Itispossiblethatelectricalcodesand
regulationsrequirethatacertifiedelectricalcontractororengineerperformtheelectrical
installation.Forquestions,contactacertifiedelectrician.
Allinstallationsmustconformtolocalplumbingcodesanduseapprovedbackflowprevention
devices.Apressureindicatingteeistobeinstalledwithexistingfaucetsaccordingtolocalplumbing
codesinthestateofWisconsinandanyotherstatethatrequirestheuseofapressureindicating
tee.
ALWAYSWEARPROTECTIVECLOTHINGANDEYEWEARWHENWORKINGWITHCHEMICALPRODUCTS.

I-1246 Page 2 of 9
Rev. E-43816 3/23/18
Trapper Models
Trapper can be ordered with the following configurations:
Drain or Odor Control
AC wall power (115/230VAC) or Battery Power
Three different squeeze tube choices
2507B.E
BaseSystem
2508A=TrapperOC‐w/115VAC(OdorControl)
2508B=TrapperOC‐BatteryOperated(OdorControl)
SqueezeTube
E=EPDMSqueezeTube
P=Supertube(PVCSqueezeTube)
V=VitonSqueezeTube
2507A=Trapper‐w/115VACWallTransformer
2507B=Trapper‐BatteryOperated
Packing Kit List
InstallationandAccessoryPartsforDrainApplications
NoPartNo.DescriptionTrapper(Drain)TrapperOC
125‐235‐1CompressionFitting(Drainsystem)1‐
225‐215SprayNozzle(Deodorizingsystem)‐ 1
325‐68‐201/4"LDPETubing20feet11
484‐183‐11/4x1/4QCUnionFittingKit(2unions)11
581‐312‐1TubeStiffener11
6
81‐177‐1SqueezeTubeEPDM1*1*
81‐177‐5SqueezeTubeViton1*1*
81‐177‐10SqueezeTubePVC1*1*
725‐236‐01ACAdapterU.S.A.120Volt1*1*
25‐236‐02ACAdapterInternational120‐240Volt1*1*
866‐123#8Screw&AnchorKit(4pack)1**1**
*SpecificsqueezetubeandACadapteraredeterminedbymodelordered.
**Batterymodelsaresuppliedwithtwoanchorscrewkits.

I-1246 Page 3 of 9
Rev. E-43816 3/23/18
Operational Requirements
FORINDOORUSEONLY
MainPower12VDC‐2.0Aminfrom8xD‐cellbatteries
or115VACor100‐240VACwalladapters
Motor/SolenoidRating12VDC‐1.25Amax.
PumpRate14oz/min(420ml/min)
EnclosureMaterialABS
ShippingWt.(AC)2.3kg5.0lbs.
ShippingWt.(Battery)2.8kg6.1lbs.
InstalledWt.(AC)1.3kg2.7lbs.
(w/batteries)*1.6kg3.4lbs.
*Batteriessuppliedbyuserorinstaller.
Overall Size

I-1246 Page 4 of 9
Rev. E-43816 3/23/18
Installation
WARNING: INSTALLATION OF DEMA PRODUCTS MUST MEET ALL APPLICABLE
ELECTRICAL CODES AND REGULATIONS ESTABLISHED BY NATIONAL, CITY,
COUNTY, PARISH, PROVINCIAL OR OTHER AGENCIES. IT IS POSSIBLE THAT
ELECTRICAL CODES AND REGULATIONS REQUIRE THAT A CERTIFIED
ELECTRICAL CONTRACTOR OR ENGINEER PERFORM THE ELECTRICAL
INSTALLATION. FOR QUESTIONS, CONTACT A CERTIFIED ELECTRICIAN.
1. Determine a suitable location to mount Trapper. The following should be considered:
a. tubing going to and from the pump
b. chemical location
c. drain pipe injection point
d. Electrical wall outlet when using the plug in AC version.
2. Attach the mounting bracket (included) for the Trapper using appropriate screws and wall anchors.
a. When using the battery operated version, mount the battery enclosure mounting bracket next to the
Trapper mounting bracket. The Trapper and battery mounting brackets can be meshed together to
create a single mounting bracket installation.
3. If using a battery version, install 8 “D” cell heavy duty batteries in the battery holder.
4. Mount the Trapper pump and battery enclosures on the mounting bracket.
5. Install injection fitting (drain application) or spray nozzle (deodorizing application).
a. Drain Application: Install the ¼” compression fitting to the desired drain pipe.
i. Note: Alternative saddle or pipe fittings can be used; Trapper is setup to use ¼” LDPE
tubing.
b. Deodorizing Application: Install the spray nozzle so that it will mist over the desired area to be
treated.
6. Install the ¼” LDPE tubing from the chemical to the pump and from the pump to the drain pipe fitting or spray
nozzle fitting.
a. Note: The Trapper pump is setup with ¼” push on fittings for easy connection.
7. Apply power to the Trapper by plugging the 115/230VAC wall power plug or the battery module to the round
electrical power connector on the bottom of the Trapper.
a. There is a plastic clip near the power connector to retain the power cable to secure the power line
from coming disconnected.
8. Program the Trapper (see programming section in this instruction manual).
9. Prime the pump.
a. Press any button 1 time to wake up the control.
b. With the display on, press and hold the right arrow for 2 seconds to start prime.
c. Press again to stop prime.

I-1246 Page 5 of 9
Rev. E-43816 3/23/18
Use U
p
and Down Button to move throu
g
h menu
Programming for Drain Application
MONDAY 11:23
POWER LEVEL 100%
CLOCK STYLE
24hr
CURRENT TIME
11:24
CURRENT DAY
MONDAY
SELECT MODE
DRAIN
SELECT SMTWTFS
DAYS ON *******
CHARGES PER DAY
02
CHARGE# START
01 01:30 AM
RUN TIME mm:ss
01:30
ENTER PASSCODE
0000
Idle screen – Day, Time and Power Level for Battery Life Option –
Press ENTER to access programming.
Enter the passcode to access programming and press ENTER –
default passcode out of the box is “0000”
AUDIBLE ALERT
NO
CHANGE PASSCODE
0000
EXIT PROGRAMMING
PRESS ENTER
Select 12 or 24hr clock format - Press ENTER, use LEFT and
RIGHT to select 12hr or 24hr clock format, Press ENTER to save.
What is the current time? Press ENTER. Use LEFT and RIGHT to
move to hours and minutes and UP and DOWN to change the hour
and minute. Press ENTER to save.
What is the current day of the week? Press ENTER. Use UP and
DOWN button to select the day. Press ENTER to save.
Is this a Drain or Deodorizer application? Press ENTER, use LEFT
and RIGHT button to select Drain or Deodorizer. Press ENTER to
save.
What days should the pump run? Press ENTER, use LEFT and
RIGHT to move through days. The asterisk (*) signifies that the
pump will run that day. Use UP to add asterisk and DOWN to
remove the asterisk. Press ENTER to save.
How many pump operations per day? Press ENTER, use UP and
DOWN to move through choices. Press ENTER to save up to 24
operations max.
When should the pump operations run? Press ENTER, use UP and
DOWN to select the Charge# and then use the LEFT and RIGHT to
move the time and UP and DOWN to change the charge the start
time. Press ENTER to save up to 24 operations max.
How long should the pump run? Press ENTER, use LEFT and
RIGHT to select minutes and seconds. Press ENTER to save. Run
Time applies to all charges, with maximum of 10 minutes.
Is an audible beep desired for alerting low battery or out of
chemical product (out of product sensor required)? Press ENTER,
use UP and DOWN to select Yes or No. Press ENTER to save.
Modify the passcode? Press ENTER, use LEFT and RIGHT to
select the digit, UP and DOWN to change the value of digit. Press
ENTER to save.
Press ENTER to exit programming.

I-1246 Page 6 of 9
Rev. E-43816 3/23/18
Use U
p
and Down Button to move throu
g
h menu
Programming for Deodorizing Application
MONDAY 11:23
POWER LEVEL 100%
CLOCK STYLE
24hr
CURRENT TIME
11:24
CURRENT DAY
MONDAY
SELECT MODE
DEODORIZE
SELECT SMTWTFS
DAYS ON *******
START STOP
06:00am 11:00PM
FREQUENCY
hh:mm 00:10
RUN TIME mm:ss
01:30
ENTER PASSCODE
0000
Idle screen – Day, Time and Power Level for Battery Life Option –
Press ENTER to access programming.
Enter the passcode to access programming and press ENTER –
default passcode out of the box is “0000”
AUDIBLE ALERT
NO
CHANGE PASSCODE
0000
EXIT PROGRAMMING
PRESS ENTER
Select 12 or 24hr clock format - Press ENTER, use LEFT and
RIGHT to select 12hr or 24hr clock format, Press ENTER to save.
What is the current time? Press ENTER. Use LEFT and RIGHT to
move to hours and minutes and UP and DOWN to change the hour
and minute. Press ENTER to save.
What is the current day of the week? Press ENTER. Use UP and
DOWN button to select the day. Press ENTER to save.
Is this a Drain or Deodorizer application? Press ENTER, use LEFT
and RIGHT button to select Drain or Deodorizer. Press ENTER to
save.
What days should the pump run? Press ENTER, use LEFT and
RIGHT to move through days. The asterisk (*) signifies that the
pump will run that day. Use UP to add asterisk and DOWN to
remove the asterisk. Press ENTER to save.
What window of time should the pump run its routine? Press
ENTER, use LEFT and RIGHT to move to different digits of the
start time and UP and DOWN to adjust hours, min and am/pm.
How often should the pump run? Press ENTER, use the LEFT and
RIGHT to move between hours and minutes, use the UP and
DOWN to adjust the hours and minutes. It can be 5 minutes to
2 hours max.
How long should the pump run? Press ENTER, use LEFT and
RIGHT to select minutes and seconds. Press ENTER to save. Run
Time applies to all charges. It can be 5 seconds to 10 minutes max.
Is an audible beep desired for alerting low battery or out of
chemical product (out of product sensor required)? Press ENTER,
use UP and DOWN to select Yes or No. Press ENTER to save.
Modify the passcode? Press ENTER, use LEFT and RIGHT to
select the digit, UP and DOWN to change the value of digit. Press
ENTER to save.
Press ENTER to exit programming.

I-1246 Page 7 of 9
Rev. E-43816 3/23/18
Replacement Parts and Reference Information
Pump/ControlModuleReplacementParts
ItemNo.DEMAP/NDescriptionQTY.
181‐20‐1#4x1/4"StainlessSteelScrew4
241‐40‐2#6‐32x1/2StainlessSteelScrew2
381‐47‐47/8"HolePlug1
444‐116‐1#8x1/2"StainlessSteelScrew5
581‐147‐15‐ButtonRubberKeypad1
625‐228‐1PumpHousing‐Rear1
725‐231‐1TrapperControlBoard1
825‐227‐1PumpMountingBracket1
925‐252‐1PowerInlet,DC1
1025‐253‐1PowerCable,Motor1
1125‐232‐1RetainerSpringClip‐Nylon1
12L1733‐1Label,Banner1
13L1710‐1RatingLabel1
14L1719‐1UpperLabel‐Control1
15SEETABLEPumpAssembly(withoutmotor)1
1625‐229‐1PumpHousing‐Front1
1781‐16‐1TieWrap(notshown)3
1880‐59‐102MK‐12VGearmotor1
1981‐159‐1Gasket1
2080.99Battery1

I-1246 Page 8 of 9
Rev. E-43816 3/23/18
BatteryEnclosureReplacementParts
ITEMNO.DEMANO.DESCRIPTIONQTY.
125‐222‐1BatteryBoxMountingBracket1
281‐183‐7CableStrainRelief1
325‐224BatteryHousing‐Front1
425‐223‐1BatteryHousing‐Rear1
581‐16‐1CableTie2
625‐251‐1BatteryHolderw/DCPlug‐8D‐cell1
25.221.1–BatteryHolderKit–includesallcomponentslistedabove
(batteriesnotincluded)

I-1246 Page 9 of 9
Rev. E-43816 3/23/18
PumpReplacementParts
ItemNo.DEMANo.DescriptionQTY.
180.59.102MK.12VGearmotor1
281.128.2PumpBase1
325.85.2#10‐32x1/2"StainlessSteelScrew1
4a81.177.1SqueezeTubeAssembly‐EPDM1
4b81.177.5SqueezeTubeAssembly‐Viton1
4c81.177.10SqueezeTubeAssembly‐Supertube1
581.174.1PumpCover2
681.172.32‐RollerBlockAssembly‐Fixed1
Warranty
Merchandise Returns
No Merchandise will be Returned for Credit Without DEMA’S Written Permission. Returned Merchandise
Authorization Number is Required in Advance of Return.
Product Warranty
DEMA products are warranted against defective material and workmanship under normal use and service for
one year from the date of manufacture. This limited warranty does not apply to any products that have a
normal life shorter than one year or failure and damage caused by chemicals, corrosion, physical abuse, or
misapplication. Rubber and synthetic rubber parts such as “O”-rings, diaphragms, PVC tubing, and gaskets are
considered expendable and are not covered under warranty. This warranty is extended only to the original
buyer of DEMA products. If products are altered or repaired without prior approval of DEMA, this warranty is
void.
Defective units or parts should be returned to the factory with transportation prepaid. If inspection shows them
to be defective, they will be repaired or replaced without charge, F.O.B. factory. DEMA assumes no liability
for damages. Return merchandise authorization number must be granted in advance of returned units for repair
or replacement (See “Merchandise Returns” above).
Table of contents
Other DEMA Dispenser manuals
DEMA
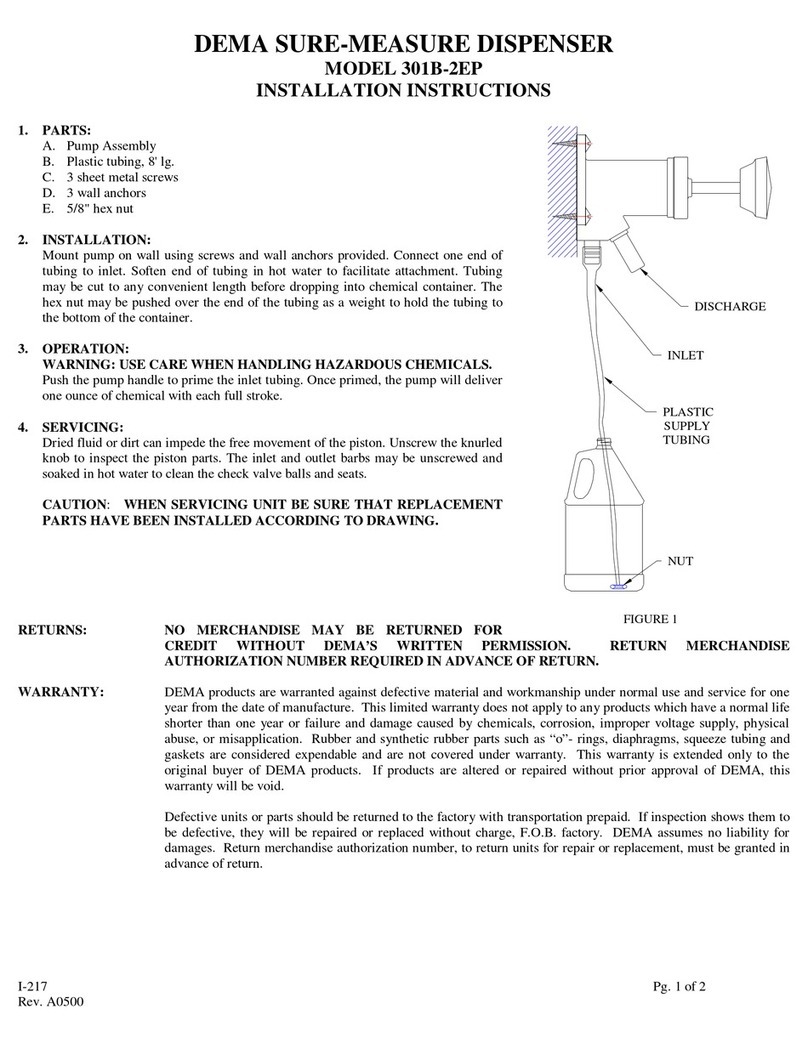
DEMA 301B-2EP User manual

DEMA
DEMA 652GAP User manual
DEMA
DEMA 607T-MC User manual

DEMA
DEMA Laundry Master 830 User manual
DEMA
DEMA 301B-SY User manual
DEMA
DEMA 302-2 User manual
DEMA
DEMA 5800V.BV User manual
DEMA
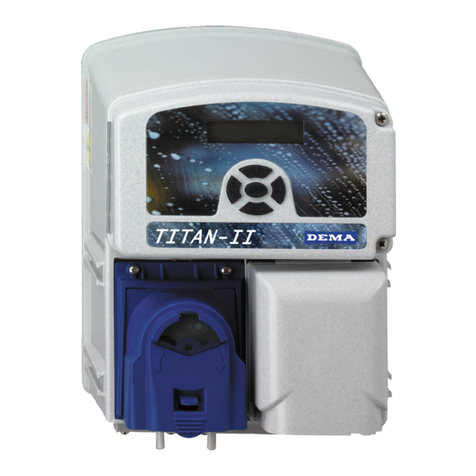
DEMA TITAN II Assembly instructions
DEMA
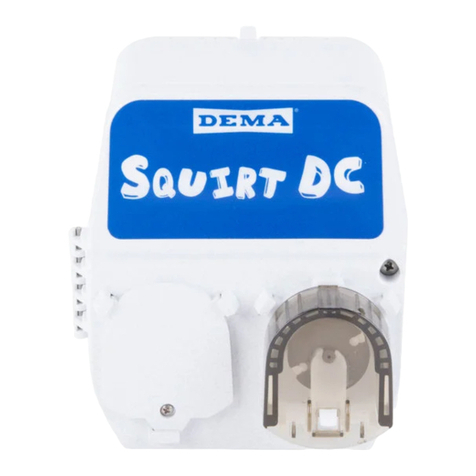
DEMA SQUIRT DC User manual

DEMA
DEMA Nitro User manual
Popular Dispenser manuals by other brands

STRATOS
STRATOS STRX637 Installation and operating instructions
Bobrick
Bobrick Designer B-840 troubleshooting guide
San Jamar
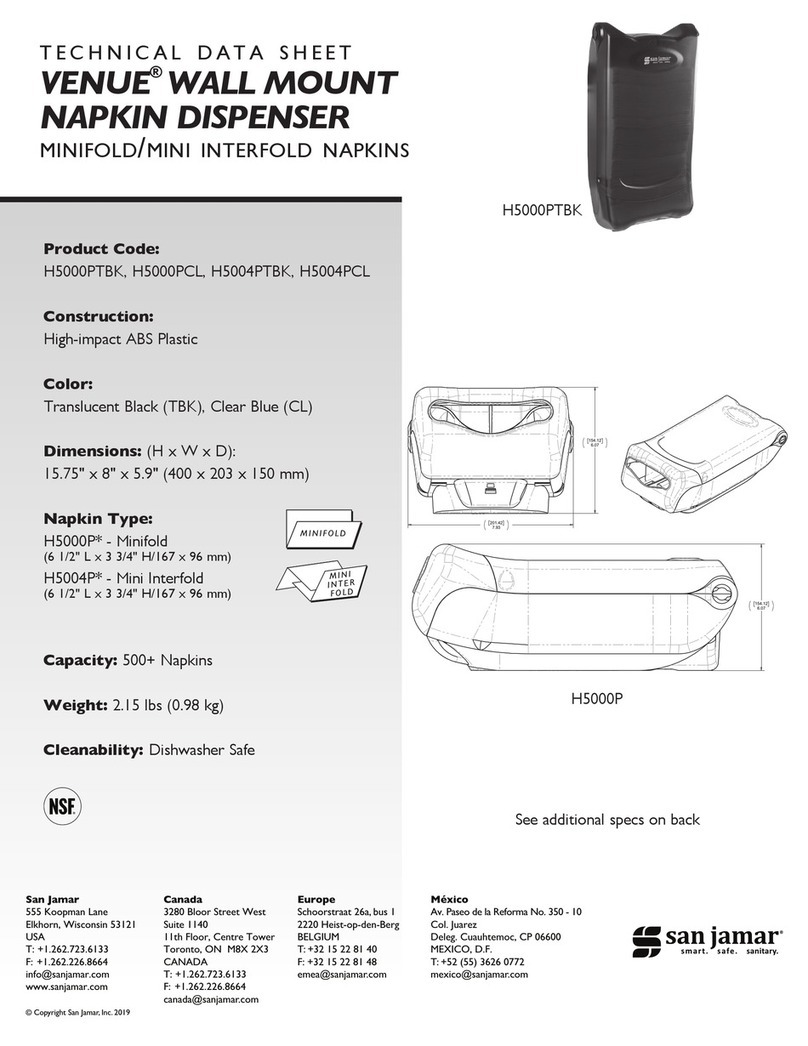
San Jamar VENUE H5000PTBK Technical data sheet
rosseto
rosseto EZ-SERV 1W quick start guide
Franke
Franke RODX600E Installation and operating instructions
BOWMAN
BOWMAN BD206-0012 Assembly instructions

