Co
n
t
e
n
t
s
I
ns
t
r
uct
i
ons
before
u
s
e
··························································································
03
P
r
e
f
a
c
e
·············································································································
03
Product
G
u
a
r
a
n
t
ee
··························································································
03
C
op
y
r
i
g
h
t
i
n
f
r
i
n
g
e
m
e
n
t
W
a
rn
i
n
g
·····································································
03
Check P
rodu
c
t
A
cc
e
ss
or
i
e
s
···············································································
04
Product
S
t
r
uct
ur
e
···································································································
05
F
ron
t
i
e
w
·······································································································
05
B
o
tt
o
m
i
e
w
····································································································
05
R
e
a
r
i
e
w
········································································································
06
Top
i
e
w
··········································································································
06
R
e
m
o
t
e
C
on
t
ro
ll
e
r
I
m
a
g
e
·················································································
07
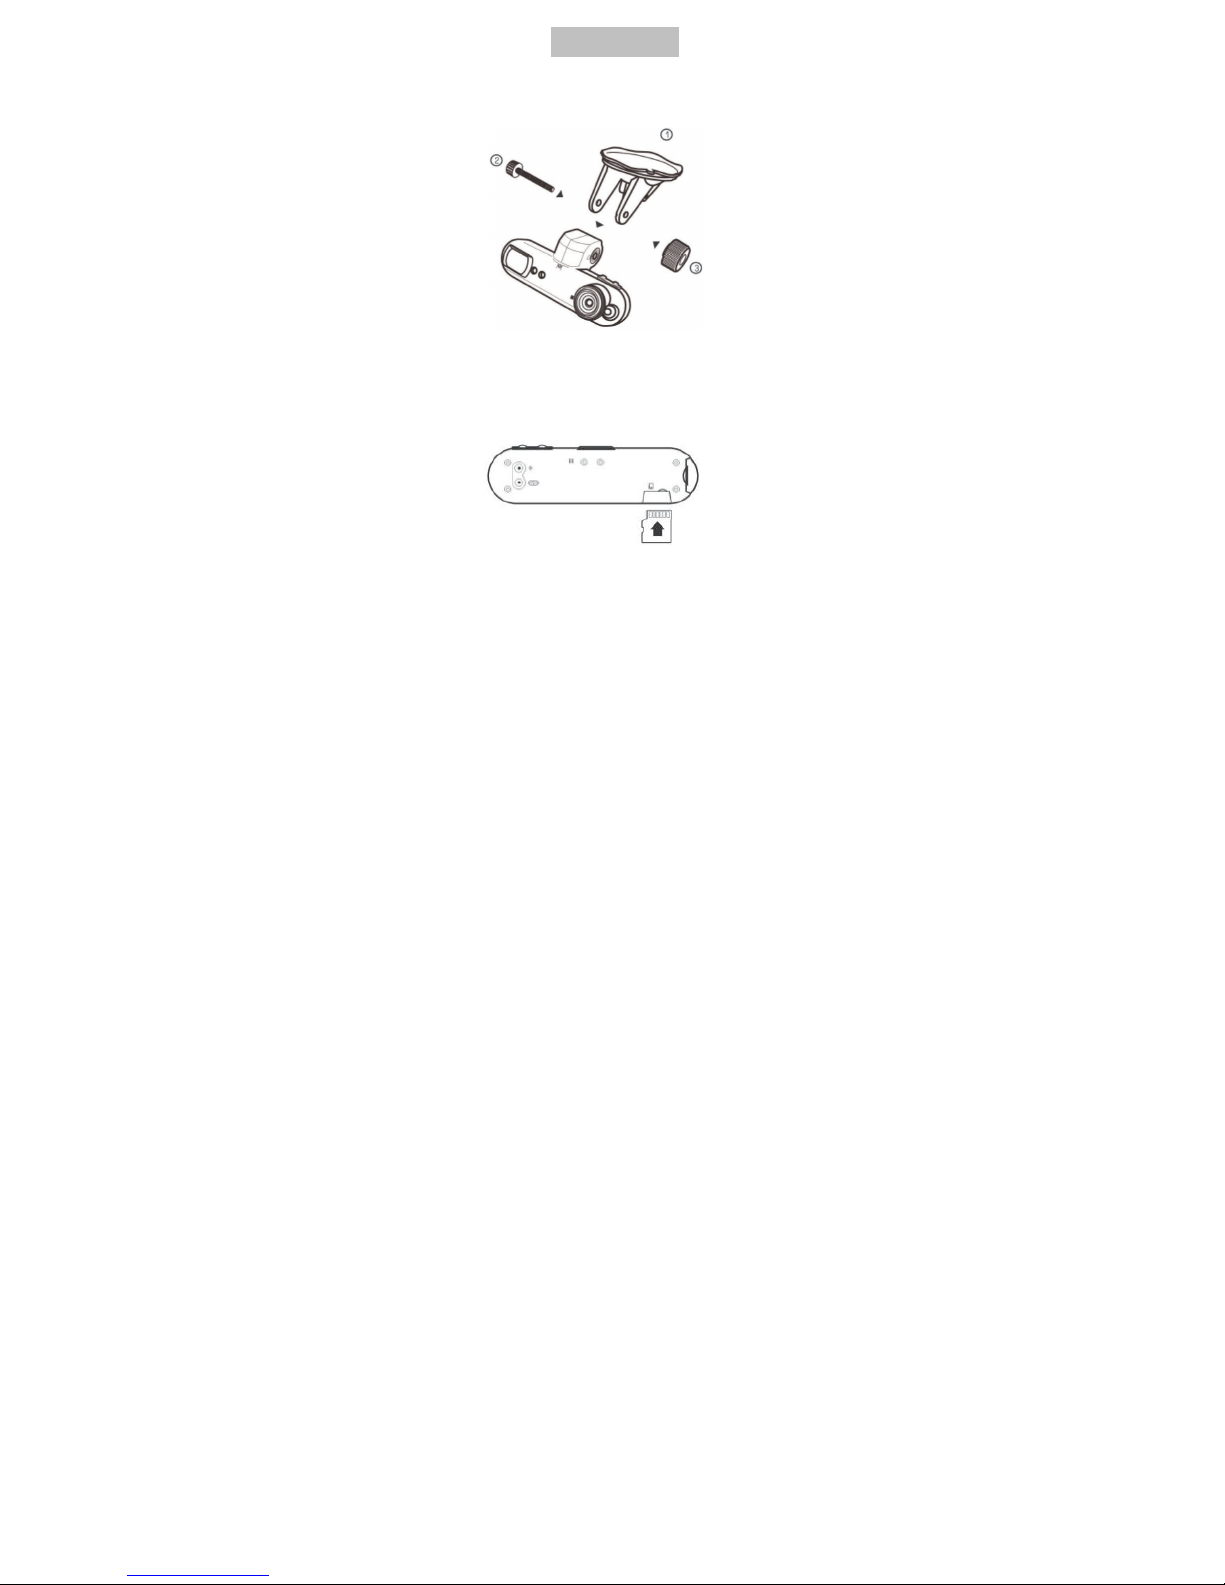
Insta ation
·············································································································
08
Holder
I
n
s
t
a
ll
a
t
i
on
···························································································
08
Memory
Card
I
n
s
t
a
ll
a
t
i
on
(Optional
P
ur
c
h
a
s
e
)
················································
08
I
n
s
t
a
ll
a
t
i
on
on
Y
our
e
h
i
c
l
e
s
············································································
09
T
r
a
n
sm
i
t
the
v
i
d
e
o
to the
vehicle
m
on
i
t
or
·······················································
11
T
r
a
n
sm
i
t
the
v
i
d
e
o
to
LCD T
···········································································
12
Component Descriptions
·······················································································
13
M
e
nu
O
pe
r
a
t
i
on
·····································································································
15
I
m
a
g
e
P
a
r
a
m
····································································································
15
S
y
s
t
e
m
S
e
t
up
···································································································
25
L
a
n
g
u
a
g
e
··········································································································
36
P
l
a
y
b
a
c
k
···········································································································
37
Connecting to
P
C
····································································································
42
Q&A
························································································································
43
R
e
a
t
e
d
P
a
r
am
e
t
e
r
s
································································································
46
L
i
g
h
t
i
nd
i
c
a
t
i
on
g
u
i
d
e
·······················································································
46
i
d
e
o
Recording
T
i
m
e
(For
R
e
f
e
r
e
n
c
e
)
····························································
47