manuals.online logo
Brands
  1. Home
  2. •
  3. Brands
  4. •
  5. Dometic
  6. •
  7. Accessories
  8. •
  9. Dometic A&E Systems 8500 User manual

Dometic A&E Systems 8500 User manual

:ontinued):
®
pull
strap
to
the
,
using
it
to
control
)W
the
awning
to
i.e
vehicle side.
N thestrap
to
wind
to
prevent
a bulge
ic.
~
arms
to
engage
y for travel.
;
ORT
AND
CONVE-
reat
and
keeps
d protect
your
accessories
and
mor
e
'!
HELPFUL
HINTS
FOR
AWNING
CARE
Whenever
the
aw
ning
is
we
t while rolled up, as so
on
as conditions allow, roll it
out
and
let
it
dry
before rolling it
up
again. This will help
prevent
mild
ew
and
rotting.
Mildew
do
es
not
form
on
the fabric itself,
but
on
the accumulated
dust,
dirt
and
grime.
Period
ically cl
ean
viny
l or
wove
n acryli
c.
Refer to cleaning instructions
below for fabric care.
Always
mak
e sure the
awning
is
extended
high eno
ugh
before opening the
entry
door.
Applys
ilicon
e
spray
lubricantas needed to keep the
awning's
moving
parts
oper-
ating s
moothl
y.
For ease of
operation
on
hardware,
rub
candle wax
on
all sliding
surfaces.
8500
and
SUNCHASER:
Abrasion,
weather
and
lo
ng
hours
in
the
sun are vinyl's
worst
enemies. To
avoid
these problems, you will
need
to keep
yo
ur
awnin
g clean. Use a mixture of
1/
4 cup
dish soa
p,
1/4
cup
ble
ach
and
fi
ve gallons of fresh water. Soap the
open
awning
w
ith
this mixture,
then
roll it
up
and
let
stand for five minutes. Rolling
up
of
the
awning
will
apply the
mixture
to
th
e
undersid
e of the fabric. Unroll the
awning
and
hose off
th
e
top
and
bottom
with
cl
ean
water.
Repeatif nece
ssary
and
allow to
com
pletely dry.
9000;
In
ad
dition
to its
beauty
and
soft
tran
slucence, w
oven
acrylic fabric offers
the
ad-
vantages
of
strength
and
breathable.
It
is
water
repellent;
but
because it is a
woven
cloth, it is n
ot
water
proof. To keep yo
ur
acrylic
awning
clean, simply hose
it
off
occasi
ona
lly and let it dry.
Do
No
t Scrub.
Avoid
tou
ching
the
und
ersi
de
of
th
e 9000 canopy
when
itiswet.
To
do
sowill break
the surface tension of the
water
and
enc
ourag
e seepage
thr
o
ugh
the fabric.
Because
woven
acrylic is of a
much
lighter
weight
than
viny
l, shifting
may
occur
if
the
awning
and
pull
strap
are
not
centra
ll
y aligned
with
the fabric roller
tube
while the
awning
is
being
rolled up.
If
necessary, roll
the
awn
ing
out
and
adjust
the a
lignm
ent.
'_{
.
WHEN
TO
GET
MORE HELP:
::?
If
malf
unctions
oc
cur
th
at
cannot
becorrected
by
reviewingthisuser's guide,contact
a qualified Dometic service technician.
Note: A slight"travelline"
may
appear
wher
e the doorroll
er
contacts
~e
aw
nin
g
fa
bri
~
..This is
considered
normal
and
does
not
affect the
integrity of
the
awning.
y
l
t
1!
'•
REVISION
Form No. 3108608.039 6/10
(Replaces 3108608.021)
(French 3109197.032)
©201
ODometic, LLC
LaGrange,
IN
46761
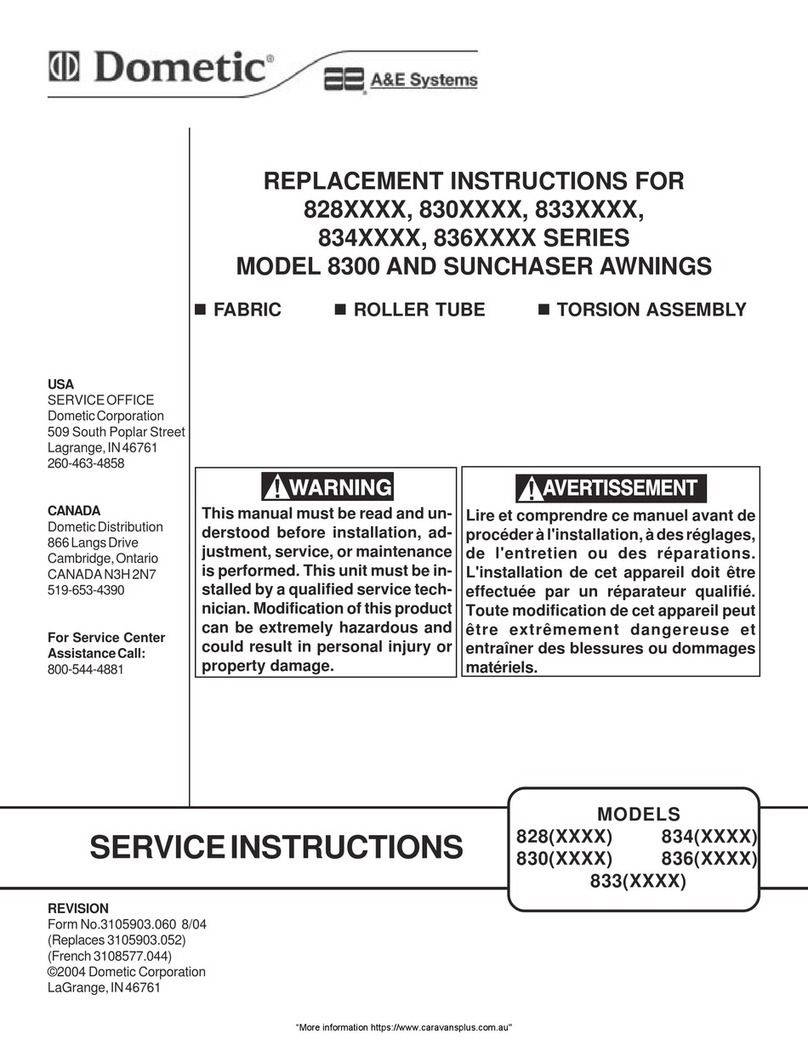
TO
OPEN
AWNING:
Loosen
Knob
Sunchaser:
Squeeze
ssoo
I
9000
I:
Flip
Pull
down.
Hook
the
rod
in
loop,
and
pull
all
the
way
out.
Slide
o~e
rafter
arm
up
untilitsnaps
into
p~ace.
Pull
down
and
out
on
the sliCling rafter to
remove
slack
from
the
fabric,
and
tighten
the
black
a~justment
knob. Repeatfor
other
side.
8
Slide the
pull
strap to
the
right
end
of
the
tube,
and
wrap
as
shown.
Pull
up
on
the
lift
handle
to
raise to
desired height.
Swing
handle
down
to lock
button
in
hdle. Repeat for
other
side.
CAUTION
Ensure
the
lock
lever
is
not
flipped
to
the
"roll-
'
up"
position
prior
to
swinging
the
main
arm
away
from
coach.
Failure
to
do
so
can
cause
damage
to
the
lock
mechanism.
CAUTION
During
l~ght
rain,
lower
end
opposite from
door to
shed
water
and
prevent
pooling.
Whenever
heavy
or
prolonged
rain
or
wind
is
anticipated,
or
you
will
leave
the
awning
unat-
tended,
it
is
best
to close
the
awning.
Damage
as
a result
of
weather
is
not
covered
by
warranty.
FOR CARPORT POSITION:
Lower
arm
to
shortest
position.
Press
the
release
lever
(see inset)
and
pull
the
arm
away
to a verticalposition.
Adjust height.
Drive
stakes
through
holes in
patio
foot into
the
ground.
Re-
peat
for
other
side.
TO CLOSE AWNING:
1
Pull
stakes
from
the
ground,
lower
arm
to
the
shortest position,
swing
arm
toward
the
vehicle,
and
snap
the
patio
foot
into
the
bracket. Repeat for
other
side
and
proceed
to
next
step.
2
CAUTION
Ensure
that
the
lock
is
in
the
"roll-down"
position
prior
to
swinging
arms
toward
vehicle.
Failure
to
do
so
can
cause
damage
to
the
lock
mechanism.
Raise the lift
handle
to
release the lock button.
Lower
main
arm
to
the
stop
plug.
Swing
the
handle
down
to
engage
~~
I
the
lock
button
in
a hole.
Repeat
for
other
side.
A: Loosen black
adjustment
knob.
B:
Lift slider catch. C: Slide
the
rafter
arm
down
to
the
bottom
of
the
main
arm. Leave black
adjustment
knob
loose. Repeat for
other
side.
TO
OPEN
AWNING:
Loosen
Knob Sunchaser:
Squeeze
ssoo
/
9000
I:
Flip
Pull
down.
Hook
the
rod
in
loop,
and
pull
all
the
way
out.
Slidednerafter
arm
up
until
it
snaps
'
into place.
Pull
down
and
out
on
the
sli~ing
rafter
to
remove
slack
from
~he
fabric,
and
tighten
the
black
Jp.
justment
knob.
Repeat
for
other
side.
8
Slide the
pull
strap to
the
right
end
of
the
tube,
and
wrap
as
shown.
Pull
up
on
the
lift
handle
to raise to
desired height.
Swing
handle
down
to
lock
button
in
hole. Repeat for
other
side.
CAUTION
Ensure
the
lock
lever
is
not
flipped
to
the
"roll-
tip"
position
prior
to
swinging
the
main
arm
away
from
coach.
Failure
to
do
so
can
cause
damage
to
the
lock
mechanism.
CAUTION
During
li
ght
rain,
lower
end
opposite
from
door
to
shed
water
and
prevent
pooling.
Whenever
heavy
or
prolonged
rain
or
wind
is
anticipated,
or
you
will
leave
the
awning
unat-
tended,
it
is
best
to
dose
the
awning.
Damage
as
a
result
of
weather
is
not
covered
by
warranty.
FOR CARPORT POSITION:
Lower
arm
to
shortest
position.
Press
the
release
lever
(see inset)
and
pull
the
arm
away
to
a vertical position.
Adjust
height.
Drive
stakes
through
holes
in
patio foot
into
the
ground.
Re-
peat
for other side.
TO CLOSE AWNING:
1
Pull stakes from
the
ground,
lower
arm
to the shortest position,
swing
arm
toward
the
vehicle,
and
snap
the
patio foot into
the
bracket. Repeat for
other
side
and
proceed
to next step.
2
CAUTION
Ensure
that
the
lockis
in
the
"roll-down"
position
prior
to
swinging
arms
toward
vehicle.
Failure
to
do
so
can
cause
damage
to
the
lock
mechanism.
Raise the
lift
handle
to
release
the
lock
button.
Lower
rhain
arm
to
the
stop
plug.
Swing
the
handle
down
to
engage
the lock
!hu
tton
in
a hole.
Repeat for other side.
A:
Loosen black
adjustment
knob.
B:
Lift slider catch.
C:
Slide
the
rafter
arm
down
to the
bottom
of the
main
arm.
Leave black
adjustment
knob
loose. Repeat for
other
side.
TO OPEN AWNING:
Loosen
Knob
Sunchaser:
Squeeze
Slide
Jne
rafterarm
up
untilit snaps
into place. Pull
down
and
out
on
the sliding rafter
to
remove
slack
from
the
fabric,
and
tighten
the
black aBjustment knob. Repeat for
other side.
8
8500I
9000
I:
Flip
Slide the
pull
strap to
the
right
end
of
the
tube,
and
wrap
as
shown.
~
Pull
Uf
desire(
Swing
in
hdle
•
Ensure
the
lock
lev1
up"
position
prior
to
from
coach. Failure
the
lock
mechanism
•
During
l~ght
rain,
lower
end
opposite
from
door
to
shed
water
and
prevent
pooling.
Whenever
heavy
01
anticipated,
or
you
tended,
it
is
best
to
4
a result
of
weather
i
TO
CLOSE
AWNING
(Continued):
•'
7'
-
;;;ma.>-
> 1 ®
Grasp
the
pull
strap,
pull
to-
ward
you,
and
flip
the
lock-
ing
lever
up
to
the
ROLL
UP
osition.
Do
not
release
the
awning
pull
strap
now.
It
is
under
tension
and
could
snap
back
against
the
vehicle
side.
@
Tighten
black
adjustment
knob.
Slide
the
pull
strap
to
the
center,
and
using
it
to
control
speed,
allow
the
awning
to
return
to
the
vehicle side.
Note:
Allow
the
strap
to
wind
diagonallyto
prevent
a
bulge
in
the fabric.
•
Sunchaser
Awnings:
Squeeze
rafter
into
arms
to
engage
latch.
• 8500 & 9000: Flip travel lock latch down.
Repeat
other
side. Your
awning
is
now
ready
for travel.
DOMETIC,
LLC ACCESSORIES
FOR
COMFORT
AND
CONVE-
NIENCE:
• Slide Topper™ protects
your
slideout
unit.
•
Patty
O'Mat™
under
your
awning
looks
great
and
keeps
dirt
from
being
tracked into
your
RV.
•
Window
Awnings
keep
your
RV cooler
and
protect
your
furnishings
from
sun
damage
.
Ask
your
RV dealer to
show
you
these quality accessories
and
more
from.

Other manuals for A&E Systems 8500

2

This manual suits for next models

1

Other Dometic Accessories manuals

Dometic 9100 User manual

Dometic

Dometic 9100 User manual

Dometic 9200 Series User manual

Dometic

Dometic 9200 Series User manual

Dometic Waeco TropiCool TC-14FL-AC User manual

Dometic

Dometic Waeco TropiCool TC-14FL-AC User manual

Dometic CFF45 User manual

Dometic

Dometic CFF45 User manual

Dometic PERFECTROOF PR2000 User manual

Dometic

Dometic PERFECTROOF PR2000 User manual

Dometic CF 11 User manual

Dometic

Dometic CF 11 User manual

Dometic WINTER AIR PVC 260 S User manual

Dometic

Dometic WINTER AIR PVC 260 S User manual

Dometic DA20DC User manual

Dometic

Dometic DA20DC User manual

Dometic Ace AIR User manual

Dometic

Dometic Ace AIR User manual

Dometic TROPICOOL TF14 User manual

Dometic

Dometic TROPICOOL TF14 User manual

Dometic TROPICOOL Series User manual

Dometic

Dometic TROPICOOL Series User manual

Dometic COOLPRO TC 14 User manual

Dometic

Dometic COOLPRO TC 14 User manual

Dometic CoolFreeze CF-18 User manual

Dometic

Dometic CoolFreeze CF-18 User manual

Dometic PerfectWall PW1500 User manual

Dometic

Dometic PerfectWall PW1500 User manual

Dometic LA-03 User manual

Dometic

Dometic LA-03 User manual

Dometic BORDBAR AS25 User manual

Dometic

Dometic BORDBAR AS25 User manual

Dometic Club/Ace Pro Side Wings User manual

Dometic

Dometic Club/Ace Pro Side Wings User manual

Dometic Horizon 920****.000 series Manual

Dometic

Dometic Horizon 920****.000 series Manual

Dometic PERFECTROOF PR2000 User manual

Dometic

Dometic PERFECTROOF PR2000 User manual

Dometic Waeco CoolMatic FC40 User manual

Dometic

Dometic Waeco CoolMatic FC40 User manual

Dometic Power Awning Pro 3316554 Series Manual

Dometic

Dometic Power Awning Pro 3316554 Series Manual

Dometic ELITE SLIDE TOPPER Series Manual

Dometic

Dometic ELITE SLIDE TOPPER Series Manual

Dometic Sunchaser II 8275000 Series User manual

Dometic

Dometic Sunchaser II 8275000 Series User manual

Dometic CFX3 Series User manual

Dometic

Dometic CFX3 Series User manual

Popular Accessories manuals by other brands

COMSOL PB0802BK user manual

COMSOL

COMSOL PB0802BK user manual

Bresser A-solar Pioneer manual

Bresser

Bresser A-solar Pioneer manual

Vega VEGACAL 63 operating instructions

Vega

Vega VEGACAL 63 operating instructions

Pepperl+Fuchs ML300-P-6m-RT/25 quick start guide

Pepperl+Fuchs

Pepperl+Fuchs ML300-P-6m-RT/25 quick start guide

KSR KUEBLER AF-ADF Mounting and operating instructions

KSR KUEBLER

KSR KUEBLER AF-ADF Mounting and operating instructions

Kayoba 779-014 User instructions

Kayoba

Kayoba 779-014 User instructions

Rockler Chrome Summit Pen Kit instructions

Rockler

Rockler Chrome Summit Pen Kit instructions

Meade 608007 user guide

Meade

Meade 608007 user guide

SMC Networks PFM5 Series Installation & maintenance manual

SMC Networks

SMC Networks PFM5 Series Installation & maintenance manual

SPL Crimson 1250 manual

SPL

SPL Crimson 1250 manual

Philips HP3616 user manual

Philips

Philips HP3616 user manual

Seifert SlimLine Pro KG 8520 instruction manual

Seifert

Seifert SlimLine Pro KG 8520 instruction manual

InFocus INA-AWB user guide

InFocus

InFocus INA-AWB user guide

Shure N78s user manual

Shure

Shure N78s user manual

Cassia Personal Safety Sensor user guide

Cassia

Cassia Personal Safety Sensor user guide

Balluff BFS 33M-GSI-F01-S75 Interface description

Balluff

Balluff BFS 33M-GSI-F01-S75 Interface description

Stanley S150 manual

Stanley

Stanley S150 manual

HP 8081A Operating and service manual

HP

HP 8081A Operating and service manual

manuals.online logo
manuals.online logoBrands
  • About & Mission
  • Contact us
  • Privacy Policy
  • Terms and Conditions

Copyright 2025 Manuals.Online. All Rights Reserved.