manuals.online logo
Brands
  1. Home
  2. •
  3. Brands
  4. •
  5. Dometic
  6. •
  7. Accessories
  8. •
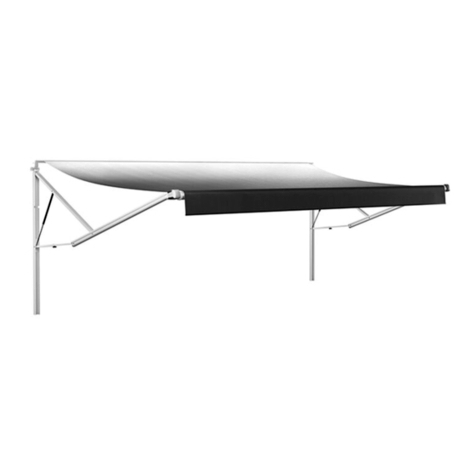
  9. Dometic A&E Two Step Series User manual

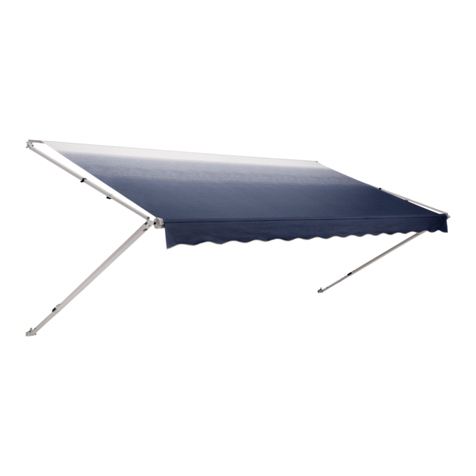
Dometic A&E Two Step Series User manual

Other Dometic Accessories manuals

Dometic CFX28 User manual

Dometic

Dometic CFX28 User manual

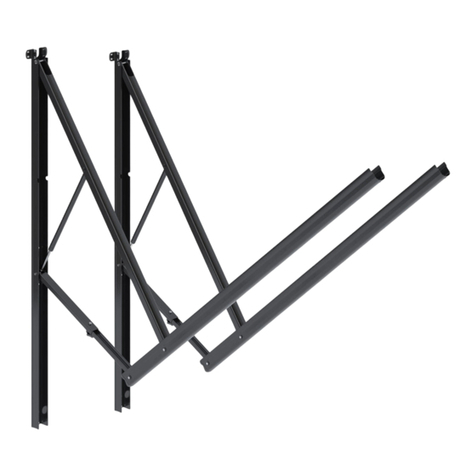
Dometic PR4500 User manual

Dometic

Dometic PR4500 User manual

Dometic MYFRIDGE MF1F User manual

Dometic

Dometic MYFRIDGE MF1F User manual

Dometic CoolFreeze CF-35 User manual

Dometic

Dometic CoolFreeze CF-35 User manual

Dometic CoolFreeze CF-18 User manual

Dometic

Dometic CoolFreeze CF-18 User manual

Dometic Cabana Lightweight RV Dome Awning User manual

Dometic

Dometic Cabana Lightweight RV Dome Awning User manual

Dometic WAECO BordBar TB08 User manual

Dometic

Dometic WAECO BordBar TB08 User manual

Dometic OASIS ELITE 975 Series Manual

Dometic

Dometic OASIS ELITE 975 Series Manual

Dometic SC Series User manual

Dometic

Dometic SC Series User manual

Dometic 878HU-WH User manual

Dometic

Dometic 878HU-WH User manual

Dometic CFX3 Series User manual

Dometic

Dometic CFX3 Series User manual

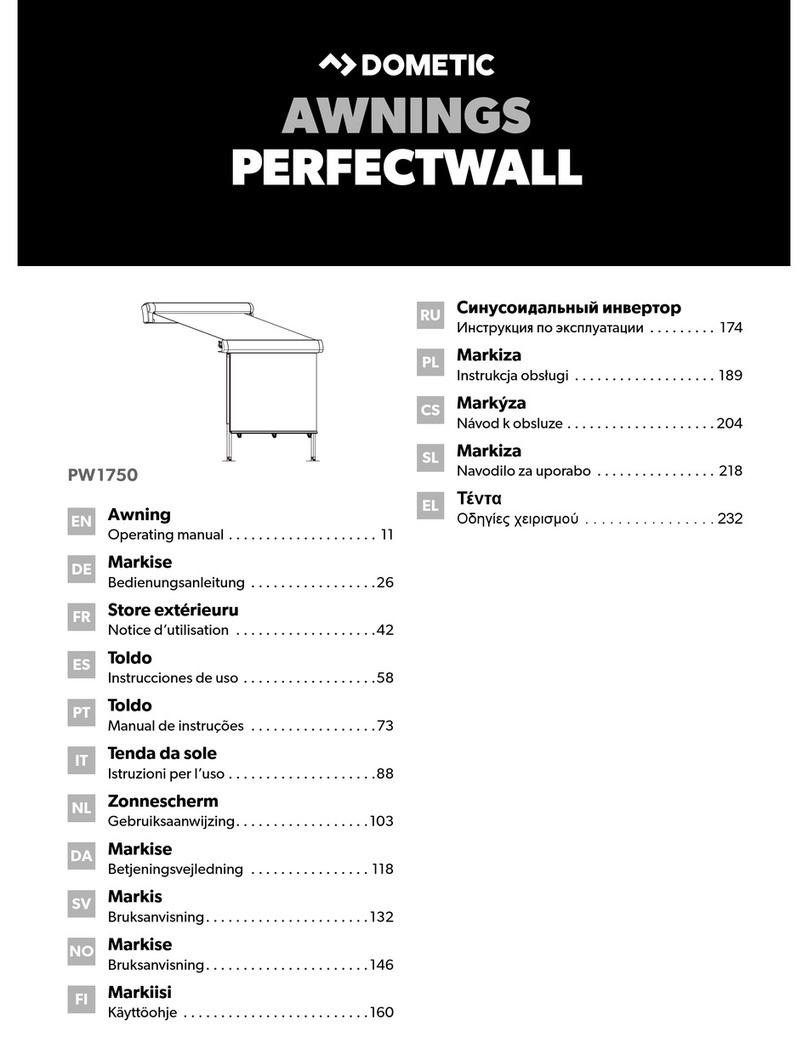
Dometic PerfectWall PW1000 User manual

Dometic

Dometic PerfectWall PW1000 User manual

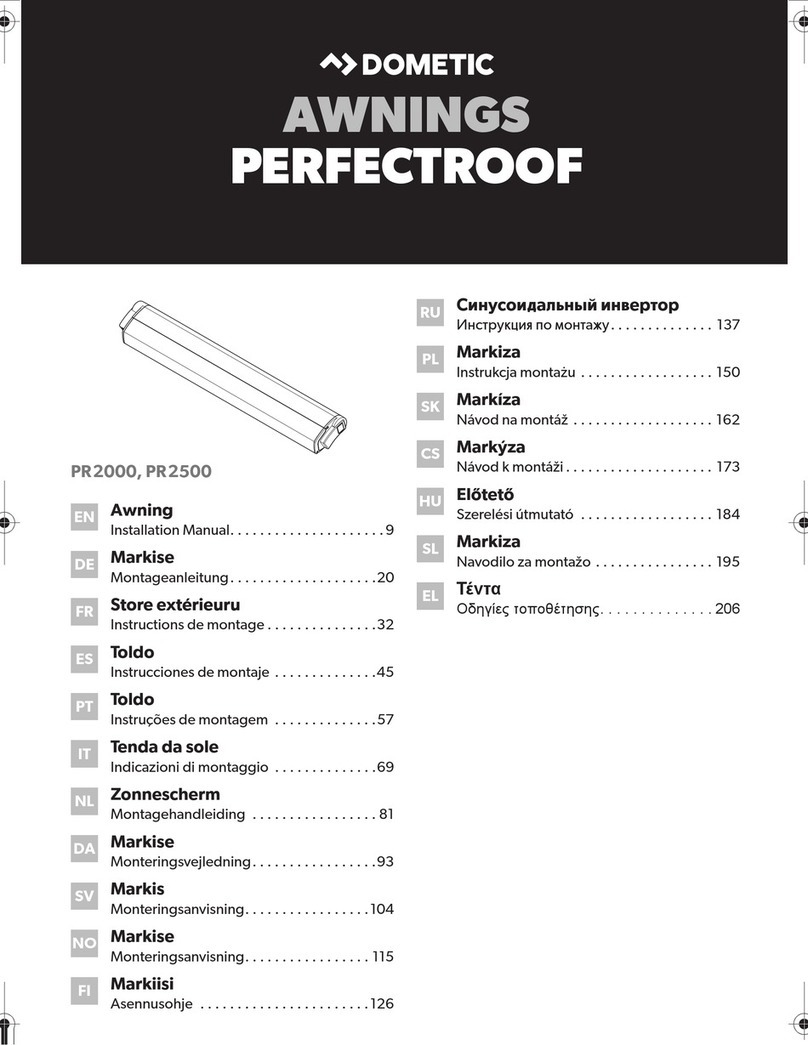
Dometic PERFECTROOF PR2000 User manual

Dometic

Dometic PERFECTROOF PR2000 User manual

Dometic Kampa RALLY AIR ALL-SEASON 330 D/A User manual

Dometic

Dometic Kampa RALLY AIR ALL-SEASON 330 D/A User manual

Dometic 8952 1.4 0 Series User manual

Dometic

Dometic 8952 1.4 0 Series User manual

Dometic PERFECTWALL PW3800 Instruction Manual

Dometic

Dometic PERFECTWALL PW3800 Instruction Manual

Dometic 103EAA User manual

Dometic

Dometic 103EAA User manual

Dometic CK40D Hybrid User manual

Dometic

Dometic CK40D Hybrid User manual

Dometic 9200 Series User manual

Dometic

Dometic 9200 Series User manual

Dometic TROPICOOL Series User manual

Dometic

Dometic TROPICOOL Series User manual

Dometic BordBar TF14 User manual

Dometic

Dometic BordBar TF14 User manual

Dometic CFF User manual

Dometic

Dometic CFF User manual

Dometic CFF SERIES User manual

Dometic

Dometic CFF SERIES User manual

Dometic CFX40 User manual

Dometic

Dometic CFX40 User manual

Popular Accessories manuals by other brands

Quincy lab 140AE-1 operating manual

Quincy lab

Quincy lab 140AE-1 operating manual

HomePro ZIR000 user manual

HomePro

HomePro ZIR000 user manual

DOL 20SCR Technical user guide

DOL

DOL 20SCR Technical user guide

RAB Smart Task installation manual

RAB

RAB Smart Task installation manual

Kemppi KMS 300 quick guide

Kemppi

Kemppi KMS 300 quick guide

Stearns 57,500 Series Installation and service instructions

Stearns

Stearns 57,500 Series Installation and service instructions

iGuzzini TWILIGHT COPENAGHEN manual

iGuzzini

iGuzzini TWILIGHT COPENAGHEN manual

Adelaide Annexe & Canvas Avan Deluxe installation guide

Adelaide Annexe & Canvas

Adelaide Annexe & Canvas Avan Deluxe installation guide

OHAUS 5000 instruction manual

OHAUS

OHAUS 5000 instruction manual

HOME8 WLS1300 quick start guide

HOME8

HOME8 WLS1300 quick start guide

MAXBOTIX MaxSonar quick start guide

MAXBOTIX

MAXBOTIX MaxSonar quick start guide

ioSmart iSmart56 Installation and user guide

ioSmart

ioSmart iSmart56 Installation and user guide

Focusrite Scarlett 18i8 user guide

Focusrite

Focusrite Scarlett 18i8 user guide

Velleman ED38105 user manual

Velleman

Velleman ED38105 user manual

JumpSport SkyBounce user manual

JumpSport

JumpSport SkyBounce user manual

Prima-Temp PRIYA Instructions for use

Prima-Temp

Prima-Temp PRIYA Instructions for use

Tefcold BC85I-BC85I W user manual

Tefcold

Tefcold BC85I-BC85I W user manual

Vaisala WMS302 user guide

Vaisala

Vaisala WMS302 user guide

manuals.online logo
manuals.online logoBrands
  • About & Mission
  • Contact us
  • Privacy Policy
  • Terms and Conditions

Copyright 2025 Manuals.Online. All Rights Reserved.

1
REVISION
FormNo.3309865.016 6/05
(Replaces3309865.008)
©2005DometicCorporation
LaGrange,IN 46761
USER'S GUIDE Patio
Awnings
USA
SERVICEOFFICE
DometicCorporation
2320IndustrialParkway
Elkhart,IN46516
574-294-2511
CANADA
DometicCorporation
46 Zatonski, Unit 3
Brantford,ONN3T5L8
CANADA
519-720-9578
For Service Center
AssistanceCall:
800-544-4881
This manual must be read and un-
derstood before installation, ad-
justment, service, or maintenance
is performed. This unit must be in-
stalled by a qualified service tech-
nician.Modificationofthisproduct
can be extremely hazardous and
could result in personal injury or
property damage.
Lire et comprendre ce manuel avant de
procéderàl'installation,àdesréglages,
de l'entretien ou des réparations.
L'installation de cet appareil doit être
effectuée par un réparateur qualifié.
Toute modification de cet appareil peut
être extrêmement dangereuse et
entraîner des blessures ou dommages
matériels.
Important:TheseInstructions
must stay with unit.
Owner read carefully.
ROLL
DOWN
ROLL
UP
Unlock
Lock
2
SAFETY INSTRUCTIONS
Thismanualhassafetyinformationandinstructions
to help users eliminate or reduce the risk of acci-
dentsandinjuries.
RECOGNIZE SAFETY INFORMATION
Thisisthesafety-alert symbol.Whenyousee this
symbolin thismanual, bealert tothe potentialfor
personalinjury.
Followrecommendedprecautionsand safeoper-
atinginstructions.
UNDERSTAND SIGNAL WORDS
Asignal word ,WARNING OR CAUTION is used
withthesafety-alertsymbol.They give thelevelof
riskforpotentialinjury.
indicates a potentially hazard-
oussituation which,if notavoided, could result in
deathorseriousinjury.
indicates a potentially hazard-
ous situation which, if not avoided may result in
minorormoderate injury.
used without the safety alert
symbol indicates, a potentially hazardous situa-
tion which, if not avoided may result in property
damage.
Readandfollowallsafetyinformationandinstruc-
tions.
!
WARNING
!
CAUTION
CAUTION
!
1. To Open Awning:
A. Unlock Awning
1. Unlockthetravellocklocatedmidwayupeach
arm assembly. Lift up on the travel lock as-
sembly to unlock. See Figure 1.
2. Usethepull rod provided torotatetheSafe-T-
Lock™ Lever up to the "ROLL DOWN" posi-
tion. See Figure 2.
Fig. 1
Fig. 2
Unlock
ROLL
DOWN
3
2. Extend Awning
®
®
A. Hookthe pull rod into theloop of the pull strapand
pull the awning out. See FIG. 3.
B. Slide the pull strap to the right end of the roller
tube. See Figure 4.
Fig. 3
Fig. 4
3. Optional Patio O’Shade 93001(X).(X)(XX)
A. You will find theA& E Patio O’Shade very helpful
when awning side of RV is facing west in the late
afternoon.Itwillprovidegreatenjoymentwhenthe
sun is setting.
B. PatioO’Shadeslidesintotheutilityslotintheroller
tubeon leftend. See FIG.5. Place in desired posi-
tion.
Fig. 5
4. RearArm
A. YourA& E awningis designed to shed water if left
out in the rain. The rear arm will automatically
decreasetheawningheightapproximately9inches
whenit is raining. Whenthereisno longer the need
to shed water it will return to the normal height.
See FIG. 3.
The A&E Two Step awning is extremely du-
rable and can be operated during moderate
rain and wind conditions. However, when pe-
riods of heavy rain and/or wind is expected
theawningshould be closed and in the locked
position. Damage caused by wind and rain is
not covered by warranty.
4
Pinch Point Hazard. When awning is closed,
bottom arm assemblies will fold down and
against back channel. To avoid personal in-
jury and/or property damage, keep pinch
points clear of objects and people.
2. Before the awning begins to roll up, insert end of
pull rod into the pull strap loop and let the awning
roll in, controlling the speed with the rod in hand.
See FIG. 8.
5. To Close Awning:
A. Return Awning to Travel Position
Fig. 6
B. Lock Awning For Travel
1. Secureeacharmassemblybylockingthetravel
lock. Push down on the travel lock assembly
tosecure. SeeFIG.9.The awning is now com-
pletelyclosed and ready fortravel.
Pinch
Point
Pinch
Point
1. Removesunscreenifinstalled.Inonehandgently
pull on the pull strap while using the pull rod to flip
theSafe-T-Lock™ Lever downintothe "ROLLUP"
position. See FIG. 7.
ROLL
UP
Have a firm grip on the pull strap before mov-
ing the Safe-T-Lock™ Lever to the "ROLLUP"
position. Do not allow the awning to close
uncontrolled. Damage to the awning and/or
RV may occur.
ROLL
UP
Fig. 8
Fig. 7
Lock
FIG. 9
A&E TWO STEP AWNING HELPFUL HINTS:
• Wheneverthe awning is wet whilerolledup,assoon as
conditions allow, roll it out and let it dry before rolling it up
again. This will help prevent the formation of mildew and
add greatly to the life of the awning.
• Mildew does not form on the fabric itself, but on the
accumulated dust, dirt and grime. Periodically clean vinyl
orwovenacrylic fabric using a mixture of 1/4 cup of dish
soap and 1/4 cup of bleach mixed with 5 gallons of warm
water. Liberally slosh the mixture on the top of the fabric
and roll the awning up for 5 minutes. This will apply the
mixture to the bottom as well. Roll it back out and hose off
with fresh water. Repeat if necessary. Allow to dry before
rollingup.
• Alwaysmake sure theawning is fully extended before
openingtheentrydoor.
WHEN TO GET MORE HELP:
This User’s Guide is intended to provide practical instruc-
tionfor the sequential operation of theA&ETwo StepPatio
Awning. If malfunctions occur that cannot be corrected by
reviewingthis Guide, contact a Dometic Service Centeror
aqualifiedservice technician.