manuals.online logo
Brands
  1. Home
  2. •
  3. Brands
  4. •
  5. Dunster House
  6. •
  7. Outdoor Furnishing
  8. •
  9. Dunster House P5-3030CORGAZ User manual

Dunster House P5-3030CORGAZ User manual

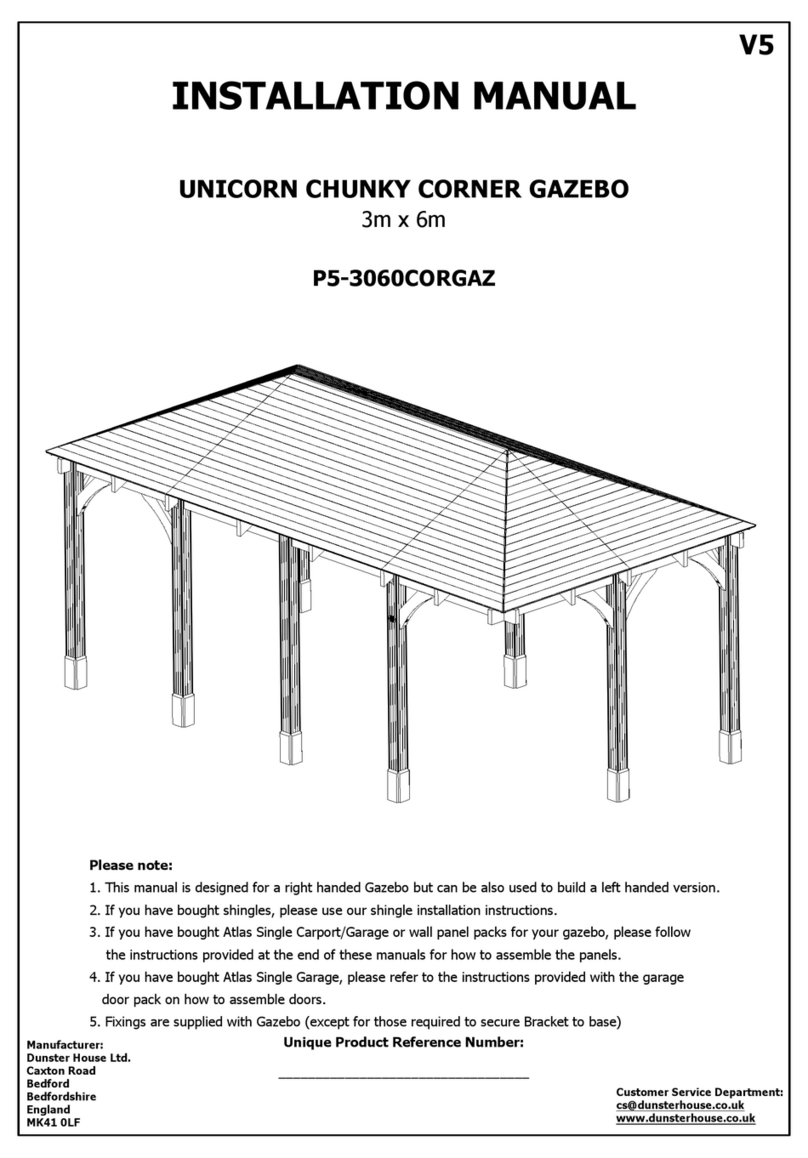
INSTALLATION MANUAL
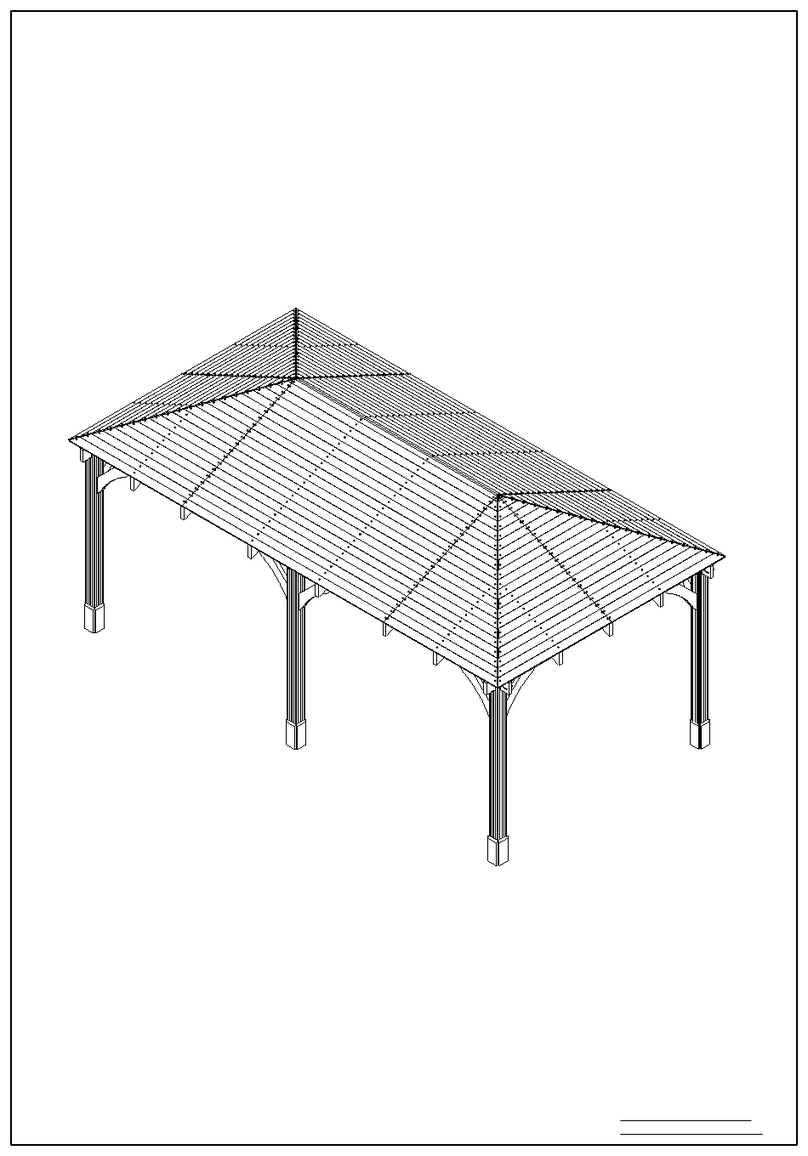
UNICORN CHUNKY CORNER GAZEBO
Please note:
1. This manual is designed for a right handed Gazebo but can be also used to build a left handed version.
2. If you have bought shingles, please use our shingle installation instructions.
3. If you have bought Atlas Single Carport/Garage or wall panel packs for your gazebo, please follow
the instructions provided at the end of these manuals for how to assemble the panels.
4. If you have bought Atlas Single Garage, please refer to the instructions provided with the garage
door pack on how to assemble doors.
5. Fixings are supplied with Gazebo (except for those required to secure Bracket to base)
Unique Product Reference Number:
__________________________________
Manufacturer:
Dunster House Ltd.
Caxton Road
Bedford
Bedfordshire
England
MK41 0LF
Customer Service Department:
cs@dunsterhouse.co.uk
www.dunsterhouse.co.uk
3m x 3m
P5-3030CORGAZ
V5
Queries Procedure
Important Information
You will need
Please retain all documentation relating to your purchase.
In the unlikely event that you need to contact us, please do so in writing to:
Email: cs@dunsterhouse.co.uk
Post: Dunster House Ltd, Caxton Road, Elms Farm Industrial Estate, Bedford, MK41 0LF, England.
Our Customer Service department is open 9 a.m. to 5 p.m. Monday to Friday. Please include your Sales Order (SO)
number or post code in any correspondence with Customer Service to enable them to locate your file.
The Nature of Wood
The wood provided for your garden building is softwood which has been kiln dried and is pressure treated for
protection against fungal decay and insect infestation. Wood is a natural product which may have knots, knot holes,
imperfections, cracks and warping.
Due to the inherent properties of wood we make no guarantees with regards to the above, nor will replace any
lengths of timber for any of the following reasons:
•Any timber that contains knots where they do not influence the structural stability of the product.
•Cosmetic appearances - colour variations e.g. caused by the structure or age of the product.
•Timber that has shakes, cracks or gaps that do not influence the structural strength of the product.
•Any timber that has been covered or buried underground.
•Twisted timber that can be installed.
•Queries arising from a neglectful manner of construction be in the foundation or erection of the product.
•Queries due to modifications by the owner causing timber to deform.
Any valid queries will be satisfied by the exchange or replacement of the defective parts only.
Your Gazebo has been designed with the self build in mind. However, it is important that the assembly
instructions are followed carefully.
Precautions:
•Always use working gloves.
•It is essential to have an assistant.
•All screw holes need to be pre-drilled using a 3mm drill bit (not provided) to avoid timber splitting.
The Gazebo is pressure treated so you will not need to treat it immediately or apply a preservative.
Pressure treatment does not mean that the timbers are waterproof, so you may wish to apply water repellent.
Water repellent can also be applied to timbers treated with a preservative.
Colour Transfer
This product has been pressure treated with wood preservative and a brown colour additive. Consideration should
be given to the propensity of the material to stain light colour adjacent surfaces, such as paving flags, render or
coated timber surfaces. We recommend contact between the timber and these surfaces is limited, and careful
consideration to storing the product prior to assembly should been taken in order to prevent such discolouration.
2 People Measuring Tape Spirit Level Drill/Driver
Gloves Ladder Hammer Utility Knife
Mallet Pozidriv bits 3mm Drill bit Saw
Socket Set Spanner 16mm Masonry Drill Bit (Wall panels only) Stapler
Page 3
Components required for Unicorn Chunky Corner Gazebo 3.2m x 3.2m
120x120x2260.A
5x Post (Pressure Treated)
45x140x3200.A
4x Beam (Pressure Treated)
45x140x630.A
10x Brace (Pressure Treated)
45x140x2282.A
4x Rafter (Pressure Treated)
45x140x1785.B
4x Rafter (Pressure Treated)
45x140x1035.A
4x Rafter (Pressure Treated)
45x140x1035.B
4x Rafter (Pressure Treated)
45x45x2120
x1 Support Post
2260 120
120
3200
140
45
2282
140
45
1785
140
45
1035
140
45
1035 45
140
630
140
45
2120 45
45
PART NUMBERQTY
F.1597.A8
F.1516.A8
F.1434.A8
F.1352.A8
F.1271.A8
F.1189.A8
F.1108.A8
F.1026.A8
F.944.A8
F.863.A8
F.782.A8
F.700.A8
PART NUMBERQTY
F.618.A8
F.537.A8
F.455.A8
F.374.A8
F.292.A8
F.211.A8
F.129.A8
F.46.A8
45x140x630.A10
M10 x 120mm
and M10 washer
20
20x120x300.A20
35mm Screw40
Page 4
Components required for Unicorn Chunky Corner Gazebo 3.2m x 3.2m
20x120x300.A
20x Post Trim (Pressure Treated)
Roof Boards
(Pressure Treated)
45x45x2830
1x SMB015 Support (Pressure Treated)
ACCESSORIES
Description - Fixings QTY
120mm Screws for Rafters 5
M6x45mm Hex. Head Bolts for SMB014 Brackets 32
M6 Washers for SMB015 Brackets 32
M6 Clave Nuts for SMB015 Brackets 32
M10x120mm Hex. Head Screws for Braces 20
M10x20mm Washers for Braces 20
SMB015 Bracket 1
H2.5 Bracket 12
ACCESSORIES
Description - Fixings QTY
Bracket LS30 8
70x70x55mm L Bracket 5
Dunster House Logo 1
Customer Instructions 1
100mm Screws for rafters 16
40mm Ring Shank Nails for Roof Boards 296
M10 Clave Nuts 20
35mm Screws 204
120
300
Dim 'A'
95
19
20
2830 45
45
Page 5
Assembly Steps for Unicorn Chunky Corner Gazebo 3.2m x 3.2m
** Avoid splitting timber parts by pre-drilling all screw holes **
- H2.5 Simpson Bracket
- Clave nut (M10, M6)
- M10x120mm Hex, Head Screw
- Bracket LS30
- Circular Washer
(M10, M6) - SMB015 Bracket
- 70x70x55 L Bracket
- M6x45mm Hex.Head Bolt
- 35mm, 100mm,
120mm, Screws
Page 6
Assembly Steps for Unicorn Chunky Corner Gazebo 3.2m x 3.2m
** Avoid splitting timber parts by pre-drilling all screw holes **
Step 1.
120x120x2260.A5x
45x140x3200.A2x
100mm Screws
8x
Step 2.
•Assemble (1x) 120x120x2260.A Posts and 45x140x3200.A Beam as shown in the diagram below.
•Fix by screwing through the Posts into the Beams using (2x) 100mm screws per Post.
•Assemble (1x) 120x120x2260.A Posts and 45x140x3200.A Beam as shown in the diagram below.
•Fix by screwing through the Posts into the Beams using (1x) 100mm screws per Post.
2x- 45x140x3200.A
2x - 120x120x2260.A
2725
Screw 100mm
Make sure the notches in
beam are in line with the
cut-outs in the posts.
45x140x3200.A
Screw 100mm 1303
Page 7
Assembly Steps for Unicorn Chunky Corner Gazebo 3.2m x 3.2m
** Avoid splitting timber parts by pre-drilling all screw holes **
Step 3.
45x140x3200.A1x
120x120x2260.A1x
100mm Screws
8x
Step 4.
1x 120mm Screw
1x 45x45x2120
•Connect assemblies created in step 1 and 2 using (1x) 45x140x3200.A Beam using (4x) 100mm screws per
•Post as shown in the diagram below.
•Important: If you want to build a left handed gazebo please rearrange posts to opposite of what
you see in the image below.
•Connect remaining 120x120x2260.A Post and (1x) 45x140x3200.A Beam using (4x) 100mm screws per
Post as shown in the diagram below.
•To help support the corner where there is no post, place 45x45x2120 underneath the two beams for extra
support until the roof has been assembled.
•Place (1x) 120mm screw where beams interlock to secure the front the the gazebo. Use the diagram below for
reference.
A = B
Step 1 assembly
Step 2 assembly
45x140x3200.A
100mm Screws
100mm Screws
100mm
Screws
Screw 100mm
A
B
Screw 100mm
Beams interlock using notches
Page 8
Assembly Steps for Unicorn Chunky Corner Gazebo 3.2m x 3.2m
** Avoid splitting timber parts by pre-drilling all screw holes **
Step 5.
45x140x630.A10x
M10x120mm Hex Head Screw
20x
M10x28mm Washer
20x
5x 70x70x55 Bracket
20x 35mm Screws
•Position and fix 10x 45x140x630.A Brace onto the posts.
•Use (2x) M10 x120mm Hex Head Screw and 2x Washer for each post as shown in the diagram below.
•Ensure the 45x140x630.A Braces are flush with the Beams on both sides.
•Use a spirit level to check that the posts are vertical and beans are horizontal.
•Secure posts to the ground using 1x 70x70x55mm Bracket per post (fixings not supplied), ensuring posts
are vertical, beams are horizontal and diagonals are equal.
M10 x 120mm Hex head screw
SCREW 35 mm
Page 9
Assembly Steps for Unicorn Chunky Corner Gazebo 3.2m x 3.2m
Step 6.
45x140x1785.B
4x
SMB015 Bracket
1x
H2.5 Bracket
4x
M6x45mm Hex Head Bolt and Washer
16x
35mm Screws32x
M6 Washer
16x
** Avoid splitting timber parts by pre-drilling all screw holes **
SMB015 Bracket
Chamfered edge
Non-chamfered edge
•Connect (4x) 45x140x1785.B Rafters by sliding onto the chamfered arms of SMB015 Bracket.
•Fasten using M6x45mm Hex Head Bolts, Washers and Clave nuts.
•Lift four (4) Rafters and SMB015 Bracket together and align notches on Beams and Rafters.
•Refer to diagram on next page for Rafter spacing dimensions.
•Use component 45x45x2830 to locate the spider bracket at the correct height.
•Position 45x45x2830 so that it sits directly underneath the spider bracket and rests on your concrete base.
•Leave this support in position until after the roof boards have been fixed.
•Fix (4x) H2.5 Bracket in positions show in the image bellow secure these with (8x) 35mm screws per bracket.
Note: The wall panels have been hidden from view for illustration purposes
16x M6 Clave Nut
1x 45x45x2830
Clave Nut
M6x45 Hex Head Bolt and Washer
Important
Non chamfered arms
must face towards
the posts.
45x45x2830
35mm Screw
H2.5 Bracket
Notch
4x - 45x140x1785.B
Page 10
Assembly Steps for Unicorn Chunky Corner Gazebo 3.2m x 3.2m
Step 7.
45x140x2282.A
4x
M6x45mm Hex Head Bolts
16x
120mm Screw
4x
M6 Washers
16x
M6 Clave Nuts
16x
** Avoid splitting timber parts by pre-drilling all screw holes **
•Once SMB015 Support is in place at correct height, fit 45x140x2282.A Rafters by slotting and bolting them into
place.
•Use 4x M6x45mm Hex Head Bolts, Washers and Clave nuts per rafter to fix to SMB015 bracket as shown in
previous step.
•The other end of Rafters should also be fixed onto Posts as shown using 4x 120mm Screws.
•Check length of diagonals for squareness.
Note: All dimensions are approximate and subject to limitations of the material used and the methods of manufacture
Plan View
SCREW 120 mm
45x140x2282.A
45x140x2282.A
Page 11
Assembly Steps for Unicorn Chunky Corner Gazebo 3.2m x 3.2m
Step 8.
45x140x1035.A
4x
H2.5 Bracket
8x
35mm Screws112x
45x140x1035.B
4x
Bracket LS30
8x
** Avoid splitting timber parts by pre-drilling all screw holes **
•Fix 4x 45x140x1035.A and 4x 45x140x1035.B rafters to 45x140x2282.A rafters.
•Use 8x LS30 Brackets and 6x 35mm screws per bracket.
•Use 8x H2.5 Brackets to fix other end of rafters to 45x140x3200.B beams using 8x 35mm screws.
•Space out brackets as per the diagram bellow.
Note: The wall panels have been hidden from view for illustration purposes
Dimension repeated
around gazebo.
Bracket LS30 H2.5 Bracket
35mm Screw
Equal
Equal
35mm Screw
QTYPART NUMBER
8F.1597.A
8F.1516.A
8F.1434.A
8F.1352.A
8F.1271.A
8F.1189.A
8F.1108.A
8F.1026.A
8F.944.A
8F.863.A
8F.782.A
8F.700.A
8F.618.A
8F.537.A
8F.455.A
8F.374.A
8F.292.A
8F.211.A
8F.129.A
8F.46.A
Page 12
Assembly Steps for Unicorn Chunky Corner Gazebo 3.2m x 3.2m
Step 9.
Roof Boards
160x
40mm Ring Shank Nail (per
roof section)
51x
** Avoid splitting timber parts by pre-drilling all screw holes **
•Start to fix the Roof Boards by positioning the longest board flush to the ends of Rafter and 22mm to the
centre. See diagram below.
•Use 1x Ring Shank Nail for every Rafter it touches.
•Repeat the above steps for every roof section.
Note: The wall panels have been hidden from view for illustration purposes
Leave a 2mm gap between each roof board
•Using the same principle from previous step continue to place roof boards rising up
to the gazebo apex (place roof boards in levels rather than sections in order to keep
roof boards square.)
•Leave a gap of approximately 2mm between each Roof Board using a 2mm spacer
(not provided).
•Work your way up to the apex of the roof.
F.1597.A
F.1597.A
F.1597.A
F.1597.A
F.1597.A
Diagram illustrates roof boards being placed.
Completed Roof
F.46.A
F.129.A
F.211.A
F.292.A
F.374.A
F.455.A
F.537.A
F.618.A F.700.A
F.782.A
F.863.A
F.944.A
F.1026.A
F.1108.A
F.1189.A
F.1271.A
F.1352.A
F.1434.A
F.1516.A
F.1597.A
F.1597.A
F.1597.A
F.1516.A
F.1434.A
Page 13
Assembly Steps for Unicorn Chunky Open Gazebo 3.2m x 3.2m
Step 12.
20x120x300.A16x
35mm Screw40x
** Avoid splitting timber parts by pre-drilling all screw holes **
•Fix (4x) 20x120x300.A Trim onto each of the Posts using 2x 35mm screws per Trim.
Congratulations on your new Gazebo !!
35mm Screw
20x - 20x120x300.A 35mm Screw 20x - 20x120x300.A
Page 14
Assembly Steps for Unicorn Chunky Corner Gazebo 3.2m x 3.2m
Plastic Waterproof Membrane:
•Fully cover the roof with the plastic waterproof membrane leaving a minimum of 30mm overhang.
•Use a staple gun or tacks to secure the membrane to the roof boards.
Felt:
•Starting at the lowest edge of the roof, lay the felt horizontally across the roof boards.
•Make sure that the lowest edge of the felt overhangs the eaves edge of the roof by approximately 40-50mm, and by
approximately 50mm on the front and back edges.
•Nail at approximately 200mm intervals.
•Overlap by 200mm if you need to connect two rows of felt.
•Continue laying the next layers of felt and nail into the roof boards at 200mm intervals horizontally and with 300mm
intervals vertically.
•Overlap the layers by 200mm and we recommend you seal any joints using the optional felt lap adhesive.
•Repeat this process on the opposite side of the roof.
IMPORTANT
•When the felt has reached the ridge, fold over a length of felt to cover both sides of the upper layers of felt by 200mm
or more, seal the joints and nail together.
•Make sure to nail the felt on both sides of the ridge.
•Diagrams used for visualisation purposes.
•Quantity of layers of the felt may vary.
(Felt)
Roof Membrane
Cut felt at
and angle Cut felt at
and angle
Roof Membrane
(not supplied)
Second layer Second layer 200mm overlap
200mm overlap
200mm Felt strips 200mm Felt strips
Cut out of felt
Cut out of felt
Use silicone for top
section and ridge parts
Use silicone for top
section and ridge parts
Overhang
Roof Felt
Roof Boards
Waterproof membrane
Minimum
20mm Clout nails
Page 15
Assembly Steps for Unicorn Chunky Corner Gazebo 3.2m x 3.2m
Important:
•If your shingles have a peelable plastic backing remove this before installing them to the roof.
•Felt lap Adhesive is an optional extra.
Step 1: Starting on the lowest edge of the roof, place a row of shingles over the top of the roof membrane, place slots
running upwards with the black edge of the shingle overhanging the roof by 15-20mm and nail along the bottom edge
of the tile using 4 nails provided. Carefully trim off any excess at the end of the row and keep any full 'tabs'.
Nails
15-20mm overhang
Shingles
Membrane
Lay a second layer of shingles on top of the first row. This time rotate the shingles 180 degrees so that the slots
are running downwards. Nail through the center band of the tile using 4 nails supplied.
Step 2:
Nails
Second layer of shingles with
the slots facing downwards.
Step 3: Lay the next row of shingles with the slots in the downwards position, offsetting the tiles by half a tab. Secure by
nailing through the center band.
Lay shingles from the center
outwards for more even placement.
20mm Clout nails
•Place membrane over top of roof leaving a 15-20mm overhang on each side. if membrane does not overlap
whole area of roof face overlap a second piece with at least a 20mm overlap. Secure membrane to roof
boards using staple gun.
Membrane:
Apply felt lap adhesive to the underside
of each shingle tab (no amount larger
than 10mm in diameter to each corner).
'1 Tab'
Page 16
Assembly Steps for Unicorn Chunky Corner Gazebo 3.2m x 3.2m
Step 4:
Step 5:
Step 6:
Diagrams below are to represent shingle tiles
building up across the roof boards.
Continue to lay the shingles in a row off-set and by overlapping each row until you have reached the ridge. (Use the
off cuts to fill in the spaces at the beginning and end of the rows).
Cut the shingles into three tabs and taper the adhesive edge. Rotate shingles to run parallel with the ridge, gently
bend over the ridge and secure in position with nails. Once all ridge shingles meet at the tip of the roof overlap
shingles and secure into place with nails.
Newly cut ridge shingles
Overlap as shingles build up the ridge. This diagram represents shingle ridges overlapping and
being nailed into place at the tip of the gazebo roof.
Place further shingles across the top ridge of the gazebo using shingles cut out from the previous step. Secure
these into place with nails provided.
Important: Adhesive layer (Bitumen) on the back of the shingles will adhese the shingles together in warm
sunlight.
Dunster House Shingles installation video - https://www.youtube.com/watch?v=IFMFYYSUEUI
Cutting line
Page 17
Assembly Steps for Unicorn Chunky Corner Gazebo 3.2m x 3.2m
Important:
•If your shingles have a peelable plastic backing remove this before installing them to the roof.
•Felt lap Adhesive is an optional extra.
Membrane:
Place membrane over top of roof leaving a 15-20mm overhang on each side. if membrane does not overlap
whole area of roof face overlap a second piece with at least a 20mm overlap. Secure membrane to roof boards
using staple gun.
Step 1: Starting on the lowest edge of the roof, place a row of shingles over the top of the roof membrane, place hexagon
shingles running upwards with the black edge of the shingle overhanging the roof by 15-20mm and nail along the
bottom edge of the tile using 4 nails provided. Carefully trim off any excess at the end of the row and keep any full
'tabs'.
15-20mm overhang
Shingles
Membrane
Lay a second layer of shingles on top of the first row. This time rotate the shingles 180 degrees so that the
hexagon shape is now running downwards. Nail through the center band of the tile using 4 nails supplied.
Step 2:
Step 3: Lay the next row of shingles with the Hexagon in the downwards position, offsetting the tiles by half a tab. Secure
by nailing through the center band.
Nails
Nails
Second layer of shingles with
Hexagons slots facing down.
Lay shingles from the center
outwards for more even placement.
20mm Clout nails
Apply felt lap adhesive to the underside
of each shingle tab (no amount larger
than 10mm in diameter to each corner).
'1 Tab'
Page 18
Assembly Steps for Unicorn Chunky Corner Gazebo 3.2m x 3.2m
Step 4:
Step 5:
Step 6:
Diagrams below are to represent shingle tiles
building up across the roof boards.
Continue to lay the shingles in a row off-set and by overlapping each row until you have reached the ridge. (Use the
off cuts to fill in the spaces at the beginning and end of the rows).
Cut the shingles into three tabs and taper the adhesive edge. Rotate shingles to run parallel with the ridge, gently
bend over the ridge and secure in position with nails. Once all ridge shingles meet at the tip of the roof overlap
shingles and secure into place with nails.
Cutting Lines
This diagram represents shingle ridges overlapping and
being nailed into place at the tip of the gazebo roof.
Place further shingles across the top ridge of the gazebo using shingles cut out from the previous step. Secure
these into place with nails provided.
Important: Adhesive layer (Bitumen) on the back of the shingles will adhese the shingles together in warm
sunlight.
Dunster House Shingles installation video - https://www.youtube.com/watch?v=IFMFYYSUEUI
Newly cut ridge shingles
Overlap as shingles build up the ridge.
INSTALLATION MANUAL
ADDITIONAL BALUSTRADE
Please note:
1. This manual is designed for a right handed Gazebo but can be also used to build a left handed version.
2. If you have bought shingles, please use our shingle installation instructions.
3. If you have bought Atlas Single Carport/Garage or wall panel packs for your gazebo, please follow
the instructions provided at the end of these manuals for how to assemble the panels.
4. If you have bought Atlas Single Garage, please refer to the instructions provided with the garage
door pack on how to assemble doors.
5. Fixings are supplied with Gazebo (except for those required to secure Bracket to base)
Unique Product Reference Number:
__________________________________
Manufacturer:
Dunster House Ltd.
Caxton Road
Bedford
Bedfordshire
England
MK41 0LF
Customer Service Department:
cs@dunsterhouse.co.uk
www.dunsterhouse.co.uk
CHUNKY CORNER GAZEBO
Page 20
Assembly Steps for Unicorn Chunky Open Gazebo 3.2m x 3.2m
Step 15.
35x70x1300
4x
35x35x80012x
90mm Screws8x
35mm Screws24x
** Avoid splitting timber parts by pre-drilling all screw holes **
133
165 165 165 165 165
133
35x35x800
35x70x1300.A
35x70x1300.A
35mm Screws
35mm Screws
•Assemble (2x) balustrades by fixing (2x) 35x70x1300.A Handrails and (6x) 35x35x800 Balustrade.
•Fix Balustrade to posts using (2x) 90mm Screws as shown below.
Note: The wall panels have been hidden from view for illustration purposes
Congratulations on your new Gazebo !!
Balustrade
Entrance
150

Other Dunster House Outdoor Furnishing manuals
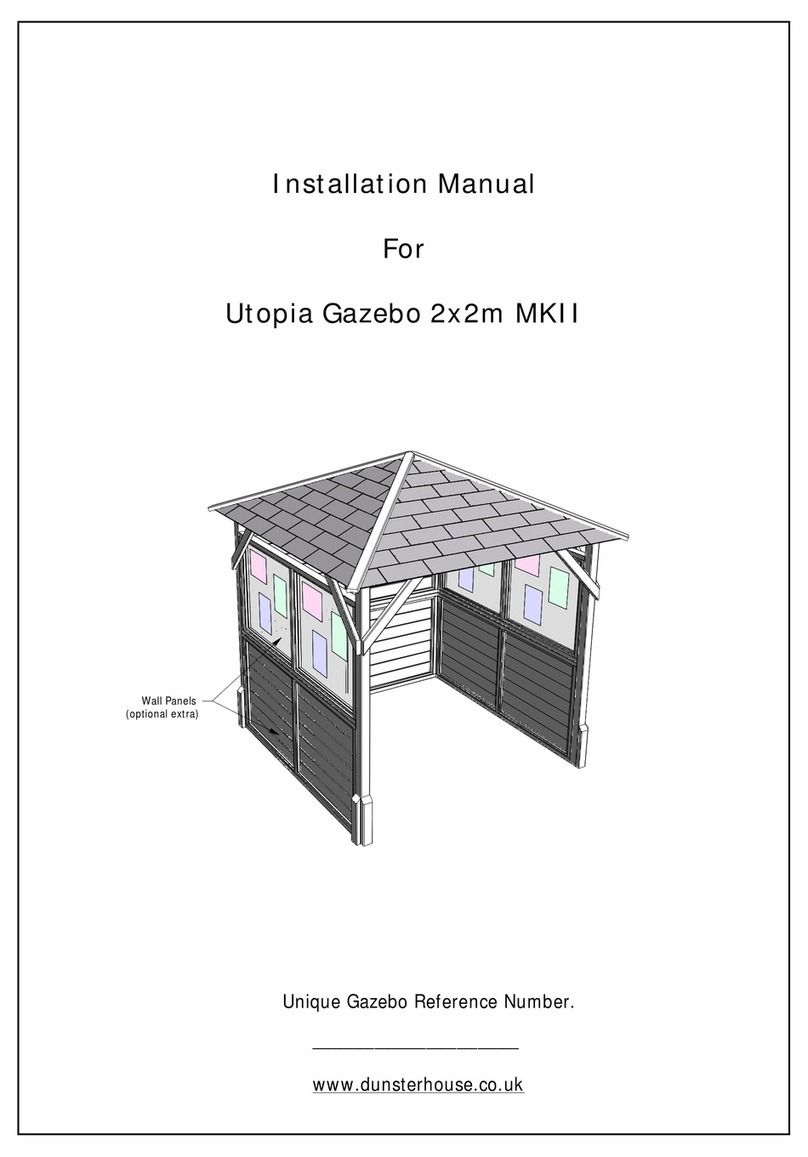
Dunster House Utopia User manual

Dunster House

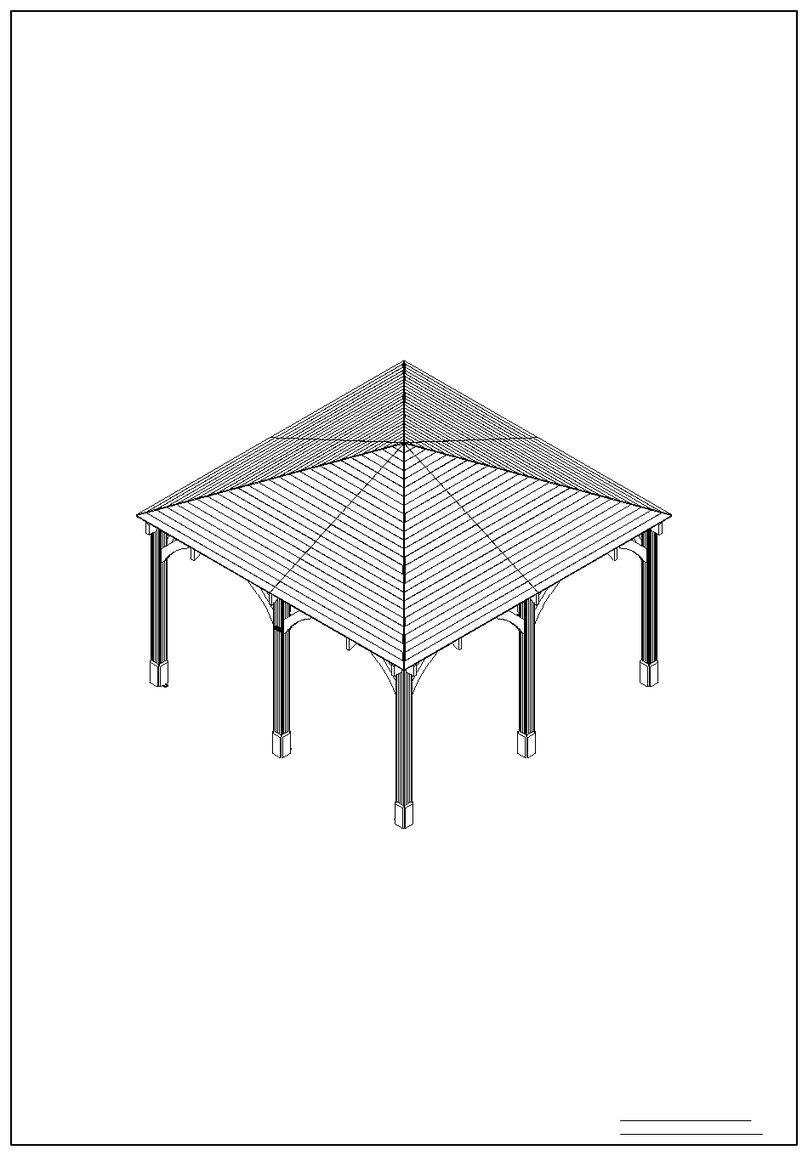
Dunster House Utopia User manual

Dunster House Utopia 200 H3-GS2X2MK2 User manual

Dunster House

Dunster House Utopia 200 H3-GS2X2MK2 User manual

Dunster House P5-6030GAZAT User manual

Dunster House

Dunster House P5-6030GAZAT User manual

Dunster House Utopia 300 User manual

Dunster House

Dunster House Utopia 300 User manual

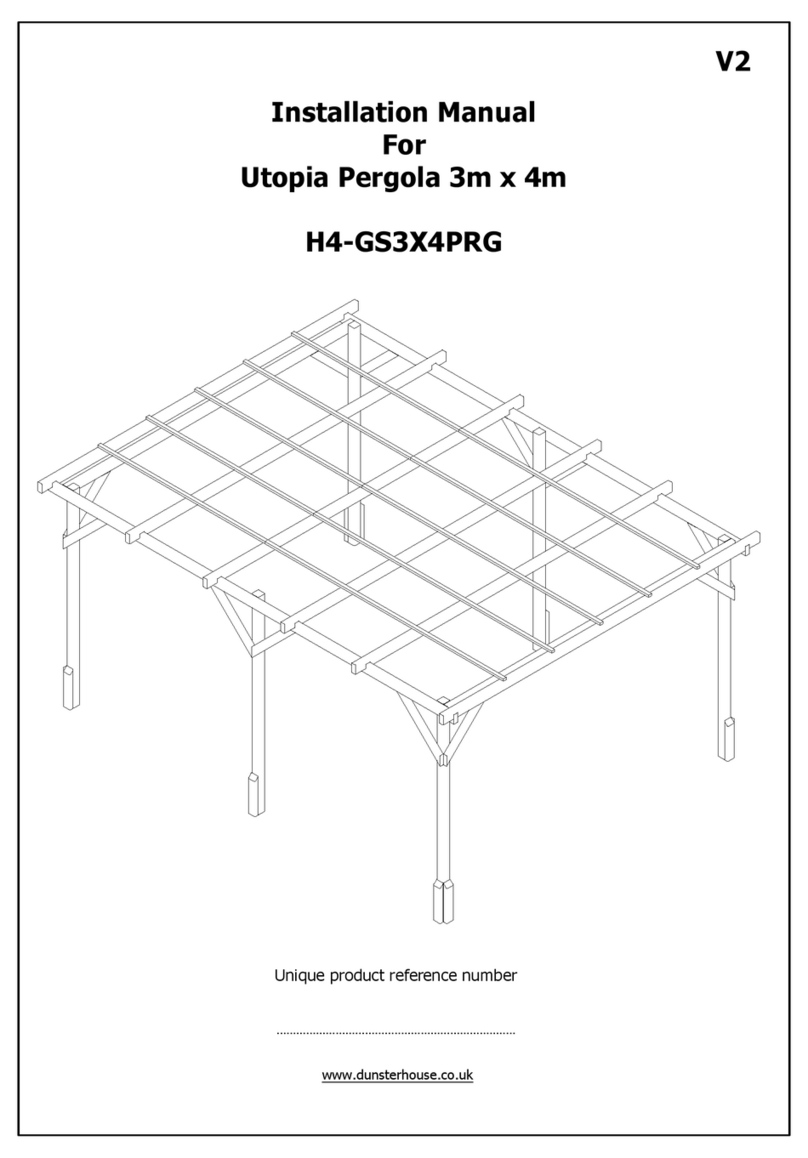
Dunster House H4-GS3X4PRG User manual

Dunster House

Dunster House H4-GS3X4PRG User manual

Dunster House Atlas User manual

Dunster House

Dunster House Atlas User manual

Dunster House H4-GS2X2MK2PRG User manual

Dunster House

Dunster House H4-GS2X2MK2PRG User manual

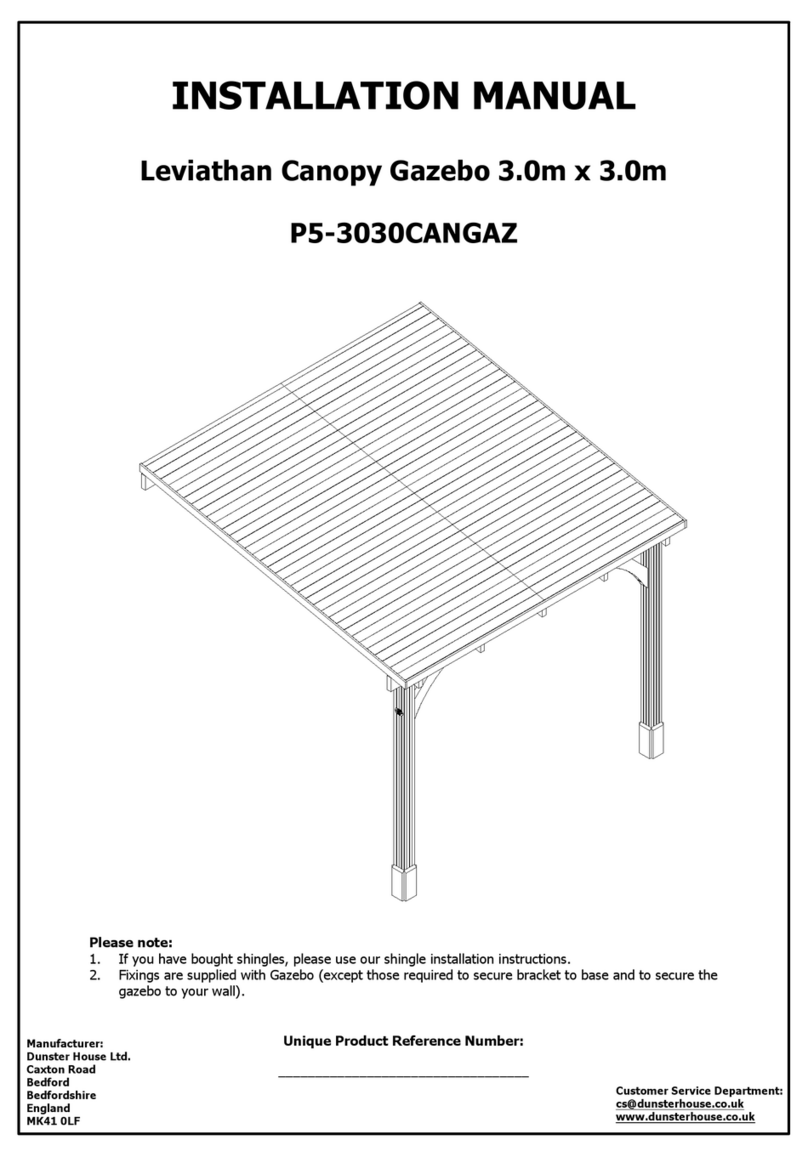
Dunster House P5-3030CANGAZ User manual

Dunster House

Dunster House P5-3030CANGAZ User manual

Dunster House ATLAS P5-3060PRG User manual

Dunster House

Dunster House ATLAS P5-3060PRG User manual

Dunster House H3-GS3X4 User manual

Dunster House

Dunster House H3-GS3X4 User manual

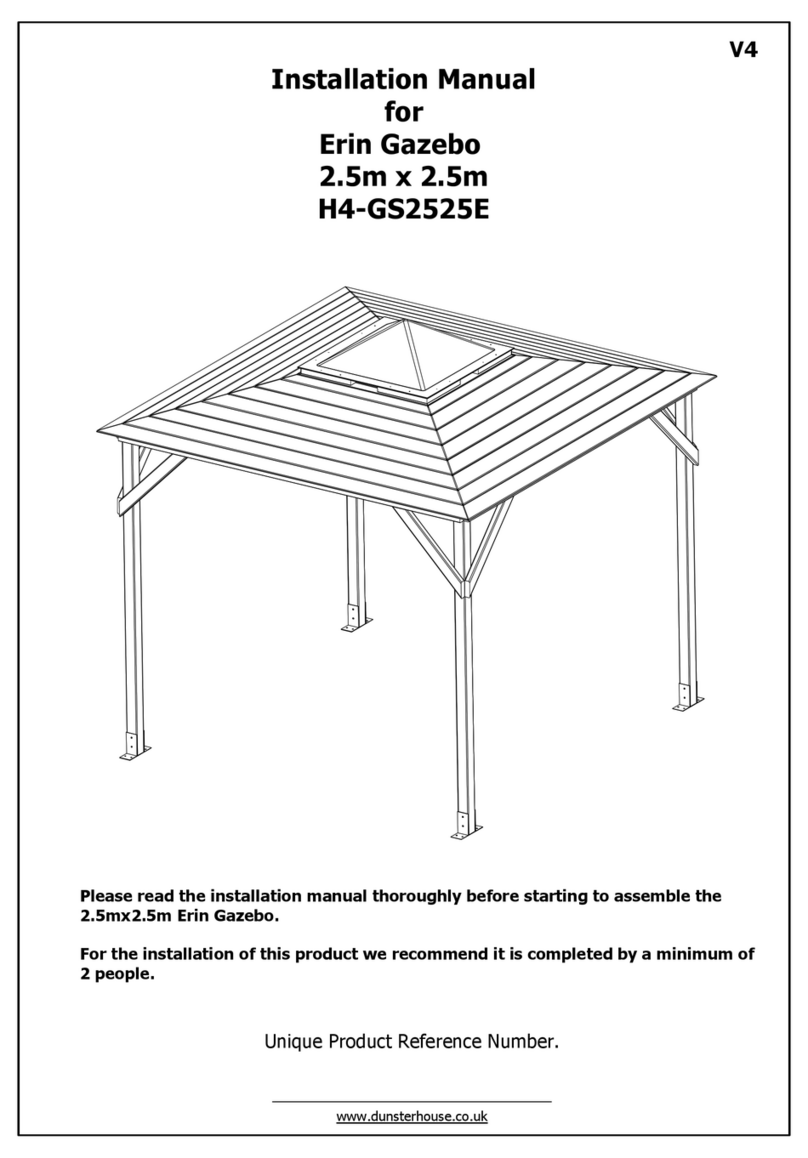
Dunster House Erin H4-GS2525E User manual

Dunster House

Dunster House Erin H4-GS2525E User manual

Dunster House P5-3050CANPRG User manual

Dunster House

Dunster House P5-3050CANPRG User manual

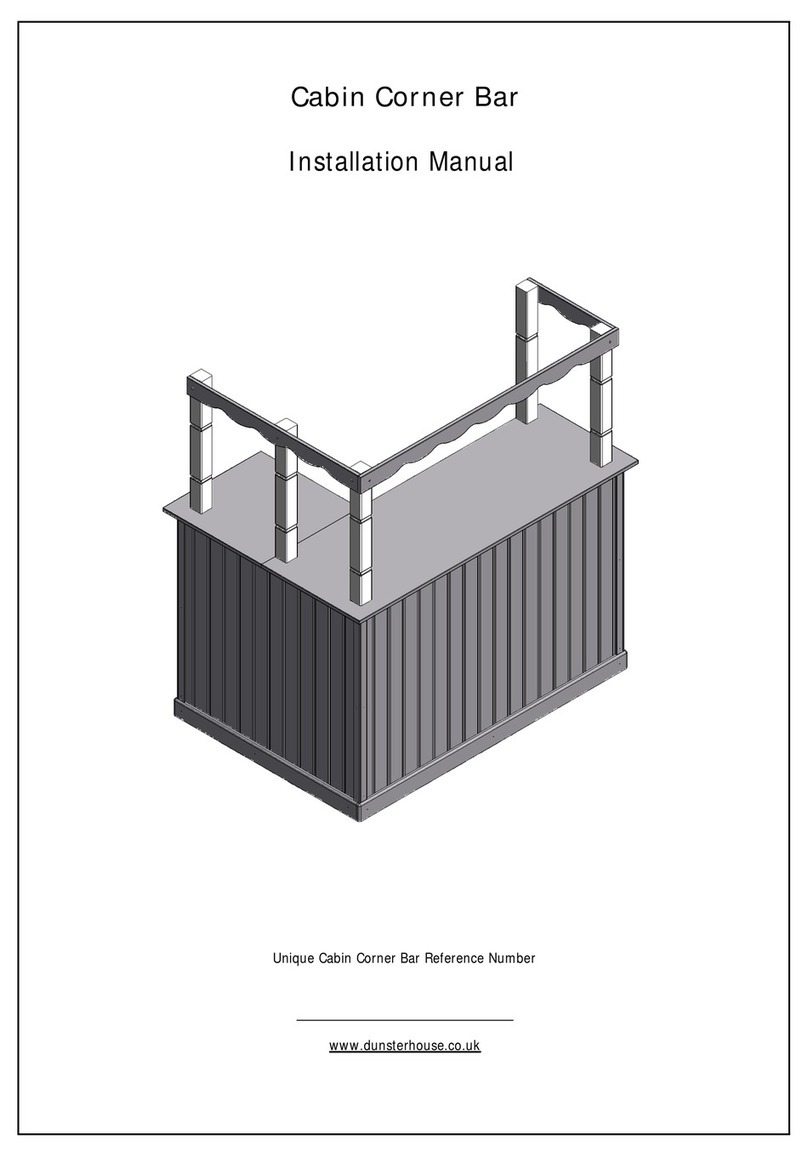
Dunster House Unique Cabin Corner Bar User manual

Dunster House

Dunster House Unique Cabin Corner Bar User manual

Dunster House ATLAS P5-4030GAZAT User manual

Dunster House

Dunster House ATLAS P5-4030GAZAT User manual

Dunster House Leviathan SideShed P5-1530SS User manual

Dunster House

Dunster House Leviathan SideShed P5-1530SS User manual

Dunster House P5-3030GAZAT User manual

Dunster House

Dunster House P5-3030GAZAT User manual

Dunster House Leviathan P5-4040GAZAT User manual

Dunster House

Dunster House Leviathan P5-4040GAZAT User manual

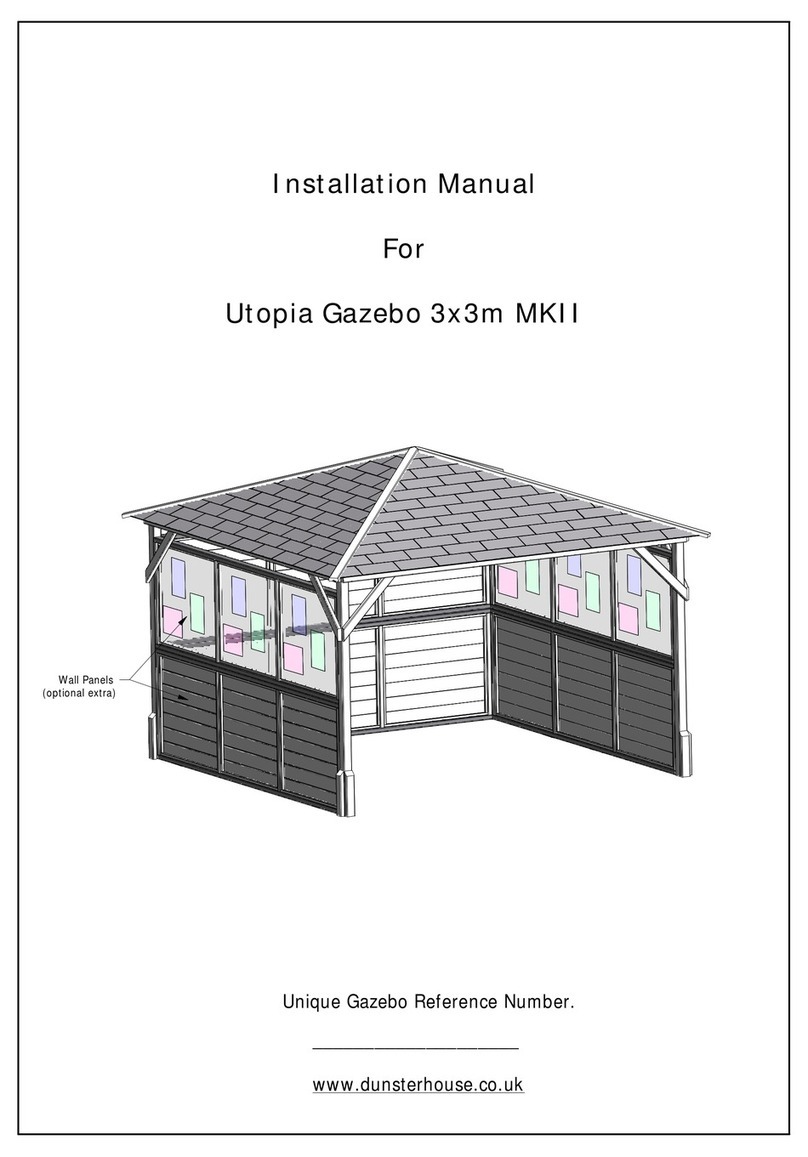
Dunster House Utopia 3x3m MKII User manual
Dunster House

Dunster House Utopia 3x3m MKII User manual

Dunster House P5-3060CORGAZ User manual
Dunster House

Dunster House P5-3060CORGAZ User manual

Popular Outdoor Furnishing manuals by other brands

MOB MO6503 user manual

MOB

MOB MO6503 user manual

Alpine MJK112A Assembling & Using Your Product

Alpine

Alpine MJK112A Assembling & Using Your Product

Better Homes and Gardens Granary BHW-10007 manual

Better Homes and Gardens

Better Homes and Gardens Granary BHW-10007 manual

Belleze 014-HG-20077 owner's manual

Belleze

Belleze 014-HG-20077 owner's manual

domi outdoor living LGMF1596 Assembly manual

domi outdoor living

domi outdoor living LGMF1596 Assembly manual

Erommy HWG-045WT instruction manual

Erommy

Erommy HWG-045WT instruction manual

OZCO 214 manual

OZCO

OZCO 214 manual

Sunjoy 810213850 instruction manual

Sunjoy

Sunjoy 810213850 instruction manual

Cobana FSC1404.3 Assembly instruction

Cobana

Cobana FSC1404.3 Assembly instruction

Sunjoy A102001703 Assembly instruction

Sunjoy

Sunjoy A102001703 Assembly instruction

Noble House Home Furnishings RECLINING ADIRONDACK Assembly instructions

Noble House Home Furnishings

Noble House Home Furnishings RECLINING ADIRONDACK Assembly instructions

Courtyard Creations RTS016G Assembly instructions

Courtyard Creations

Courtyard Creations RTS016G Assembly instructions

Costway OP70303 user manual

Costway

Costway OP70303 user manual

DTY Broadmoor OF-1001 Assembly instructions

DTY

DTY Broadmoor OF-1001 Assembly instructions

leco Elegance Assembly instructions

leco

leco Elegance Assembly instructions

VRIES TRENDY PURE TWIN Eco Beach Chair Care & assembly instructions

VRIES

VRIES TRENDY PURE TWIN Eco Beach Chair Care & assembly instructions

Sunjoy L-GG040PST-A manual

Sunjoy

Sunjoy L-GG040PST-A manual

siena GARDEN YOBAYA Assembly instruction

siena GARDEN

siena GARDEN YOBAYA Assembly instruction

manuals.online logo
manuals.online logoBrands
  • About & Mission
  • Contact us
  • Privacy Policy
  • Terms and Conditions

Copyright 2025 Manuals.Online. All Rights Reserved.