manuals.online logo
Brands
  1. Home
  2. •
  3. Brands
  4. •
  5. Dynamite
  6. •
  7. Batteries Charger
  8. •
  9. Dynamite PROPHET PRO User manual

Dynamite PROPHET PRO User manual

4
This charger is protected by a 7.5-amp spade fuse.If you need to replace a fuse, your local
hobby retailer should be able to supply one.You can also find replacement fuses at automotive
stores. Always replace your fuse with a new fuse of the same rating.
DYN4037 Spade Fuse, 7.5-amp
• Do not leave your battery and charger unattended during use.
• Always allow charger to cool between charges.
• Never connect the charger to an automobile 12V battery while the vehicle is running.
• Faceplate can become hot during charging. Keep the charger away from any material that
may be effected by heat.
• Carefully observe connector polarities at all times.
• Do not let children charge battery packs without adult supervision.
• If either charger or battery becomes hot to the touch during the charge process, end the
charge process immediately.
This charger is guaranteed against workmanship and manufacturing defects for a period of
5 years from the original date of purchase.This warranty is limited to the original purchaser and
is not transferable.Warranty repair will not cover units that have been modified, misused or
serviced by an unauthorized service center.To speak to a service technician, call 1-877-504-0233.
If your charger needs to be repaired, ship the charger in its original box (freight prepaid) to:
Horizon Service Center
Attn: Dynamite Service
4105 Fieldstone Rd.
Champaign, IL 61822
Include your complete name and address and information inside the carton and clearly write it
on the outer label/return address area. Include a brief summary of the difficulty. Date your
correspondence and be sure that your name and address appear on this enclosure.Also,
please include a phone number where you can be reached during the business day.
To receive warranty service, you must include your original sales receipt verifying the proof-of-
purchase date.Providing warranty conditions have been met, your charger will be repaired
free of charge.
Should your repair cost exceed 50% of the retail purchase cost, you will be provided with an
estimate advising you of your options. Any return freight for non-warranty repairs will be billed
to the consumer. For non-warranty repairs, please advise us of the credit card you prefer to
use.Horizon Service Center accepts Visa and MasterCard. Please include your card number
and expiration date. Horizon Service Center also accepts money orders.
Non-Warranty Repairs
© 2002 Horizon Hobby, Inc.
Dynamite®products are distributed exclusively by Horizon Hobby, Inc., Champaign, IL U.S.A.
www.horizonhobby.com
5043
®
PROPHET
PRO
™
DC Powered Peak Prediction Charger
for 4-7 cell Ni-Cd and Ni-MH Battery packs
Safety Precautions
Warranty and Repair Policy
Warranty Repairs
Fuses
Features
• 12V DC-powered
• Advanced peak prediction circuitry
• Adjustable charge rates from
100mA–5000mA (5 amps)
• Heavy-duty alligator clips
• Auto trickle charge (150mA)
• LED and beeper indicate when
charge is complete
Features
• Charges 4- to 7-cell Ni-Cd and
Ni-MH battery packs
• Includes receiver, Tamiya, and
BEC-style charge leads
• Fuse-protected
• Limited 5-year warranty
32
Thank for you purchasing the Prophet Pro™4–7 Cell DC Peak Prediction charger.This charger
uses a unique peak prediction circuitry that ensures an accurate charge every time and protects
your Ni-Cd and Ni-MH batteries from the dangers of over-charging.This charger continuously
monitors the battery’s charge curve and calculates (predicts) when the peak will occur (100%
charge) and then stops fast charging at exactly that point.This is essential in order to avoid
damaging Ni-Cd and especially Ni-MH cells, which are very sensitive to heat.This circuitry is
superior to conventional peak detection circuitry that continues to fast charge even after the
batteries are fully charged, which can damage Ni-Cd and Ni-MH cells.
After your battery pack has peaked, the charger automatically switches to trickle charge.This
feature will keep your batteries fully charged and in top performing condition until you are once
again ready to use them.
Connecting Input Power Source
This charger is powered by using the provided alligator clips to connect the charger to a 12V DC
power source, such as a 12V hobby battery (HAN102) or an automobile battery. Connect the
red (positive) end of the alligator clips to the red terminal of the DC power source and the black
(negative) end of the alligator clips to the black terminal of the DC power source.If you choose
to power your charger with an automobile battery, never do so with the automobile running!
Fail-Safe
If the power source has been interrupted or drops below a usable voltage level, the Prophet Pro
automatically goes into a Fail-Safe mode to let you know that the battery has not been fully
charged. In this mode, the charge status LED will flash “RED”and the beeper sounds, indicating
the loss of proper source power.To reset, disconnect the battery to be charged and reconnect a
fully charged power source of 12–14 volts DC.
Charging 6/7-Cell Ni-Cd or Ni-MH Sub-C Car Packs
1. When power is supplied to the charger, the charger will beep and the charge status LED
will flash red momentarily.
2. Connect the included Tamiya charge lead to the charger. Attach the red (positive) wire of
the charge lead to the red (positive) terminal of the charger. Next, attach the black (negative)
wire of the charge lead to the black (negative) terminal of the charger.
3. Connect the battery to the charge lead.Once this is done, the charger will beep and the
LED will flash green until you begin the fast charging process.
4. Adjust the current rate to match the battery type.Charge sport packs and older batteries
at lower rates (below 3 amps). Higher quality (matched) battery packs can be charged at
higher rates to shorten charge times.
5. Push the Start button to begin the charge process.Once you have begun to charge the
battery pack, the beeper will sound once.The charge status LED will go from flashing to
solid green.The number of LEDs that will illuminate red will show you the rate at which you
are charging. (If there are no LEDs illuminated red, the charge rate is less than 1 amp, two
illuminated will show the charge rate is 2 amps, five illuminated means charge rate is 5 amps).
Caution: Once you have begun the charging process, do not increase/decrease the
charge rate.This will cause the charge status LED to go from solid green to flashing red for
10 seconds and will delay the fast charging process.This could also result in a false peak.
6. Once your battery pack has peaked, the charger will repeatedly beep, the LED will flash
green and the charger will automatically transition to trickle charge.
Charging 4/5-Cell Ni-Cd or Ni-MH Receiver Packs
1. When power is supplied to the charger, the charger will beep and the charge status LED
will flash red momentarily.
2.Connect the receiver battery charge lead to the charger.For some batteries, you may need
to use the included red BEC charge lead. Attach the red (positive) of the charge lead to the
red (positive) terminal of the charger. Next, attach the black (negative) of the charge lead to
the black (negative) terminal of the charger.
3.Connect the receiver battery to the charge lead. Once this is done, the charger will beep
and the LED will flash green until you begin the fast charging process
4.Select a charge rate below 2 amps, depending on what receiver pack that you are going to
charge.We recommend that you charge 600mAh receiver packs at 1 amp or less, while
higher capacity packs, such as 1000mAh, can be charged at 2 amps.
5.Push the Start button to begin the charge process.Once you have begun to charge the
battery pack, the charge status LED will go from flashing to solid green.The number of
LEDs that will illuminate red will show you the rate at which you are charging.(None of the
LEDs illuminated will show the charge rate is less than 1 amp, two illuminated will show the
charge rate is 2 amps).
Caution: Once you have begun the charging process, do not increase/decrease the
charge rate.This will cause the charge status LED to go from solid green to flashing red for
10 seconds and will delay the fast charging process.This could also result in a false peak.
6.Once your battery pack has peaked, the charger will repeatedly beep, the LED will flash
green and the charger will automatically transition to trickle charge.
Once your batteries are fully charged, the charger will automatically enter into trickle charge.
This feature allows your batteries to stay fully charged until you are once again ready to use
them.Trickle charging also helps “equalize” the battery voltage of the individual cells within a
pack.This raises the total battery pack voltage (power) and increases capacity (runtime).You
will know that your charger has entered trickle charge when you hear the charger beep and
the LED continuously flashes.
Once the battery pack has peaked and is in trickle charge, you can re-peak your battery by
simply pushing the Start button without disconnecting the battery from the charger. Once the
battery has re-peaked, the charger will return to trickle charge.
To calculate the charge times of a fully discharged battery pack, use the formula below.
Battery Capacity is equal to the charge time multiplied by the charge current. Batteries with
unmatched, damaged or unconditioned cells will have much shorter charge times.
Example:
Battery Capacity (amp/hours) = Charge Time (hours) x Current Rate (Amperes)
(600mAh/1000) .6A/hr = (36 minutes/60) .6 hour x (1000mA/1000) 1 amp
Introduction
Re-Peak
Operating Guidelines
Trickle Charge
Charge Times
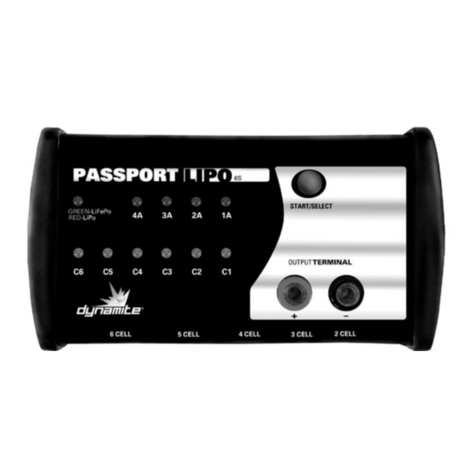
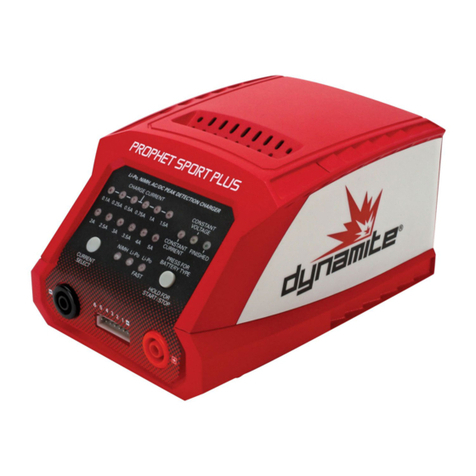
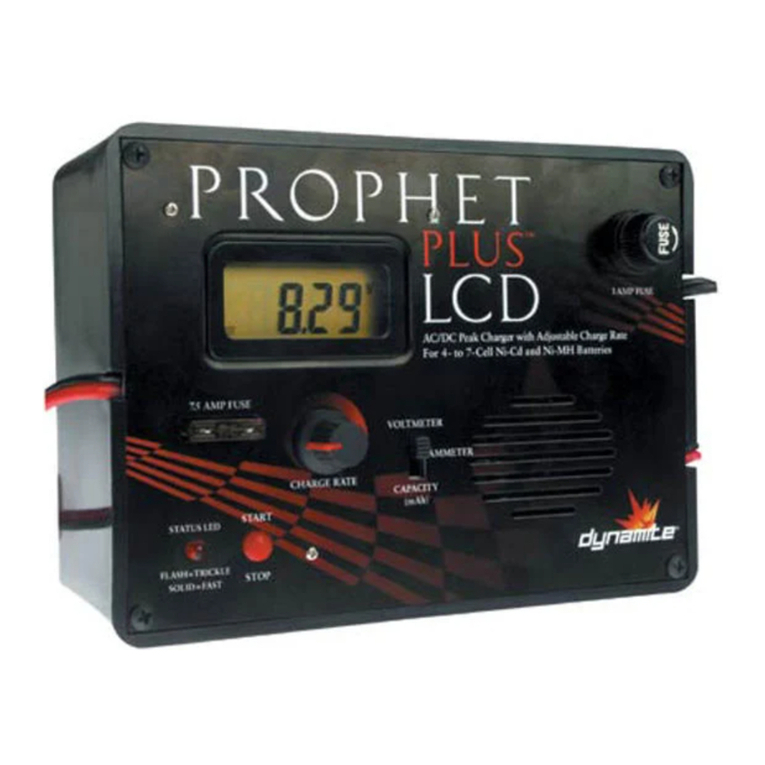
Other Dynamite Batteries Charger manuals

Dynamite Mega 2 User manual

Dynamite

Dynamite Mega 2 User manual

Dynamite DYN4060 User manual

Dynamite

Dynamite DYN4060 User manual

Dynamite Prophet P1 User manual

Dynamite

Dynamite Prophet P1 User manual

Dynamite PROPHET SPORT User manual

Dynamite

Dynamite PROPHET SPORT User manual

Dynamite Prophet Select User manual

Dynamite

Dynamite Prophet Select User manual

Dynamite PROPHET PLUS LCD User manual

Dynamite

Dynamite PROPHET PLUS LCD User manual

Dynamite Passport DYNC3000 User manual

Dynamite

Dynamite Passport DYNC3000 User manual

Dynamite ProPhet SPort II User manual

Dynamite

Dynamite ProPhet SPort II User manual

Dynamite Prophet Sport Duo User manual

Dynamite

Dynamite Prophet Sport Duo User manual

Dynamite Prophet Plus II User manual

Dynamite

Dynamite Prophet Plus II User manual

Dynamite Prophet DYN4110 User manual

Dynamite

Dynamite Prophet DYN4110 User manual

Dynamite 20W Ni-MH DYNC0500 User manual

Dynamite

Dynamite 20W Ni-MH DYNC0500 User manual

Dynamite Prophet Sport Mini User manual

Dynamite

Dynamite Prophet Sport Mini User manual

Dynamite PASSPORT Ultra Duo User manual

Dynamite

Dynamite PASSPORT Ultra Duo User manual

Dynamite Prophet Sport II DYN4077 User manual

Dynamite

Dynamite Prophet Sport II DYN4077 User manual

Dynamite Prophet Sport Duo DYNC2025 User manual

Dynamite

Dynamite Prophet Sport Duo DYNC2025 User manual

Dynamite Passport Ultra 100W User manual

Dynamite

Dynamite Passport Ultra 100W User manual

Dynamite Prophet Sport Lipo User manual

Dynamite

Dynamite Prophet Sport Lipo User manual

Dynamite DYN4057 User manual

Dynamite

Dynamite DYN4057 User manual

Dynamite Prophet DYNC2040 User manual

Dynamite

Dynamite Prophet DYNC2040 User manual

Dynamite PROPHET PLUS LCD User manual

Dynamite

Dynamite PROPHET PLUS LCD User manual

Dynamite Prophet Sport Plus User manual

Dynamite

Dynamite Prophet Sport Plus User manual

Dynamite Prophet Plus II User manual

Dynamite

Dynamite Prophet Plus II User manual

Dynamite DYN1922 User manual

Dynamite

Dynamite DYN1922 User manual

Popular Batteries Charger manuals by other brands

spacer SPAR-WCHG-01 user manual

spacer

spacer SPAR-WCHG-01 user manual

WeTech WTC676 user manual

WeTech

WeTech WTC676 user manual

Bosch Wireless Charging L-BOXX Bay Professional Original instructions

Bosch

Bosch Wireless Charging L-BOXX Bay Professional Original instructions

Airpress BC-30 instruction manual

Airpress

Airpress BC-30 instruction manual

Schumacher SC1301 owner's manual

Schumacher

Schumacher SC1301 owner's manual

GYS GYSFLASH 8.12 Translation of the original instructions

GYS

GYS GYSFLASH 8.12 Translation of the original instructions

Tronic TLG 500 B1 operating instructions

Tronic

Tronic TLG 500 B1 operating instructions

Schwaiger LSET300 513 user guide

Schwaiger

Schwaiger LSET300 513 user guide

Hulk HU6525 user manual

Hulk

Hulk HU6525 user manual

TBB power Trident manual

TBB power

TBB power Trident manual

Braun BWC02 instruction manual

Braun

Braun BWC02 instruction manual

VOLTGEAR PLUS+ 6500511 operating instructions

VOLTGEAR

VOLTGEAR PLUS+ 6500511 operating instructions

Parkside 380775-2110 Translation of the original instructions

Parkside

Parkside 380775-2110 Translation of the original instructions

Alpina BT 20 Li 2.0 S Operator's manual

Alpina

Alpina BT 20 Li 2.0 S Operator's manual

Festool MXC operating manual

Festool

Festool MXC operating manual

Victron energy BlueSolar MPPT 150/35 manual

Victron energy

Victron energy BlueSolar MPPT 150/35 manual

Infinite Peripherals Infinea X quick start guide

Infinite Peripherals

Infinite Peripherals Infinea X quick start guide

Merlin Flash Charger Wireless instruction manual

Merlin

Merlin Flash Charger Wireless instruction manual

manuals.online logo
manuals.online logoBrands
  • About & Mission
  • Contact us
  • Privacy Policy
  • Terms and Conditions

Copyright 2025 Manuals.Online. All Rights Reserved.