E-XTEQ BC1012 User manual

INTERACTIVE NAVIGATION
E-XTEQ provides International engineering / OEM’s worldwide connections / High capacity production.
HIGH-TECH INDUSTRIES: RESEARCH & DEVELOPMENT, ASSEMBLY LINES, WORKSHOPS
E-XTEQ USA T.: (877) 453 3265 lE-XTEQ EUROPE T.: +33 01 30 07 13 30 lE-XTEQ.COM
BC1012
USER MANUAL
MANUAL / Reference : MAN_BC1012_E-XTEQ_EN_V1.0

2/21
BC1012 User Manual / Ref. MAN_BC1012_E-XTEQ_EN_V2.0
Introduction ....................................................................................................... 3
Safety Guidelines............................................................................................... 4
Maintenance and Storage ................................................................................... 4
Before Use ........................................................................................................... 4
Usage Precautions............................................................................................... 5
Disassembly/Damage/Removal.......................................................................... 5
Cleaning the Product .......................................................................................... 5
Getting Started ................................................................................................. 6
Safety Reminders................................................................................................. 6
Appearance and Dimensions.............................................................................. 6
Accessories .......................................................................................................... 7
Setup ................................................................................................................... 8
Specications....................................................................................................... 8
Operations.......................................................................................................... 9
Normal Charge .................................................................................................... 9
Fast Charge........................................................................................................ 10
ECU Reash.........................................................................................................11
History.................................................................................................................12
Optimus .............................................................................................................14
Optimus Installation ...........................................................................................14
Using Optimus....................................................................................................17
Support Information...........................................................................................19
Warranty........................................................................................................... 20
Limited Warranty ............................................................................................... 20
How to Obtain Warranty ................................................................................... 20
Table of Contents
E-XTEQ BC1012 USER MANUAL
Table of Content
Introduction
Safety Guidelines
Maintenance and Storage
Before Use
Usage Precautions
Disassembly/Damage/Removal
Cleaning the Product
Getting Started
Safety Reminders
Appearance and Dimensions
Accessories
Setup
Specications
Operations
Normal Charge
Fast Charge
ECU Reash
History
Optimus
Optimus Installation
Using Optimus
Support Information
Warranty
Revision of the manual
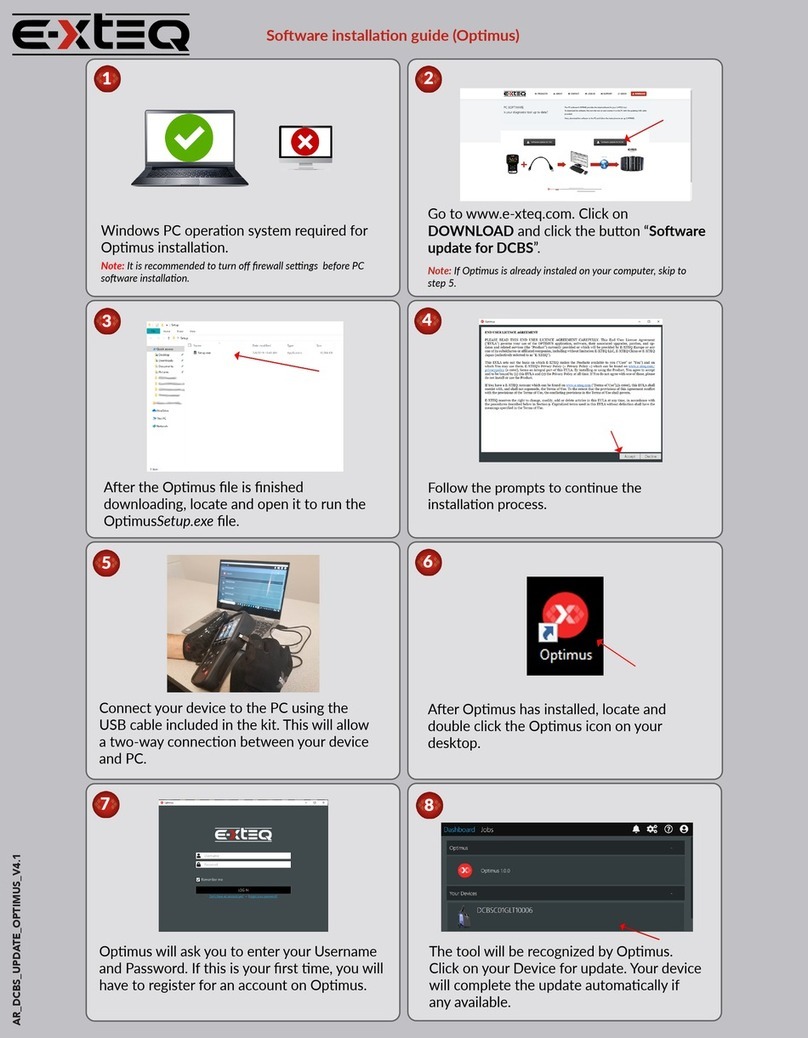
Due to software updates, your experience of the software interface (including but not limited to software features, user interfaces, and
interaction experiences) may differ from the interface presented in this manual. The software interface is subject to change.
EDITION / REVISION REFERENCE DATE UPDATES PARTS
First edition MAN_BC1012_EXTEQ_EN_V1.0 May 2023 -
3/21
BC1012 User Manual / Ref. MAN_BC1012_E-XTEQ_EN_V2.0
Introduction
ABOUT ////////
E-XTEQ designs, develops, manufactures, and distributes trailblazing 12V
and EV diagnostic battery equipment, handheld testers, chargers/dischargers,
maintainers, balancers and leak testers to OEM and aftermarket professionals worldwide.
With over 30 years of experience in the aviation industry, E-XTEQ engineers and
technicians have the technical knowledge and expertise to create the equipment solution
to match your specic project requirements.
Our team will be available to support you throughout all phases of the implementation
cycle; from design through production, as well as providing training and local service and
maintenance.
Headquartered in France, E-XTEQ has a physical presence in 27 countries, regional
subsidiaries in the U.S.A, Japan, Brazil, and China along with three manufacturing sites
located in China, Taiwan, and Mexico.
E-XTEQ, with 108 repair locations, provides Level-10 customer service globally, offering
our customers rapid turnaround time.
Our mission is to be a passionate global leader of innovative measurement solutions
by providing premium testing equipment and unsurpassed services to our valued
customers and partners.
BC1012 has a built-in 12V/100A charger/maintainer that provides in-depth features and
functions to stabilize battery voltage during ECU reash and is capable of charging
different battery chemistries.
Table of Content
Introduction
Safety Guidelines
Maintenance and Storage
Before Use
Usage Precautions
Disassembly/Damage/Removal
Cleaning the Product
Getting Started
Safety Reminders
Appearance and Dimensions
Accessories
Setup
Specications
Operations
Normal Charge
Fast Charge
ECU Reash
History
Optimus
Optimus Installation
Using Optimus
Support Information
Warranty

4/21
BC1012 User Manual / Ref. MAN_BC1012_E-XTEQ_EN_V2.0
Safety Guidelines 1/2
MAINTENANCE AND STORAGE ////////
BEFORE USE ////////
Please read the safety guidelines carefully.
This section indicates the areas that need to be protected in order to prevent harm to
people who use this equipment, damage to property and to enable proper use of this
product.
Keep this product dry. Do not expose the BC1012 to rain or snow.
Discontinue use and contact technical support if an overheat event has occurred, or if
corrosion or deterioration has been identied in the cables or other parts of the product.
Extreme caution: Keep liquids and conductive tools away from the BC1012 while
operating.
BC1012 must be used in a well-ventilated area.
When operating the equipment make sure the surface is dry and clean to minimize any
risks.
Keep the exterior clean and free of dust.
Do not disassemble or modify the main unit
as it may cause an electrical shortage or re.
To reduce the risk of electrical shortage, unplug the
AC power plug before cleaning and maintenance.
The battery contains chemicals that may generate
explosive gases. Before handling the battery,
remove all metal accessories such as rings, bracelets
and necklaces. Short circuit at battery terminals may
cause burns. Do not place batteries near ames or
other heat sources
The battery uid is highly corrosive. If the battery uid
gets on your skin or clothes, immediately wash it with
soap and water. If electrolyte gets in your eyes, immediately ush
with cold water for at least 10 minutes and seek
medical attention.
Table of Content
Introduction
Safety Guidelines
Maintenance and Storage
Before Use
Usage Precautions
Disassembly/Damage/Removal
Cleaning the Product
Getting Started
Safety Reminders
Appearance and Dimensions
Accessories
Setup
Specications
Operations
Normal Charge
Fast Charge
ECU Reash
History
Optimus
Optimus Installation
Using Optimus
Support Information
Warranty

5/21
BC1012 User Manual / Ref. MAN_BC1012_E-XTEQ_EN_V2.0
Safety Guidelines 2/2
SAFETY REMINDERS ////////
Do not touch the power connector during use.
Keep away and Do Not Touch restricted areas
of this equipment.
Do not use extension cords as there is a risk of re and electrical shortage.
If use is necessary, check that the extension cord has the following:
1. Identical plug, cable size and the same electrical wiring as the BC1012.
2. Make sure the equipment is securely connected before use.
When unplugging the cord from the outlet, hold the frame of the plug to avoid damaging
the plug or power cord. Pulling the cord may cause the cable plug
to break. Replace power cord immediately if damaged.
If the outlet shape does not t the plug, please contact the E-XTEQ service department.
Phone: 1.877.453.3265
E-mail: supportusa@e-xteq.com
Do not disassemble the product or damage or remove the stickers or labels on the
product. If the product’s case has been disassembled or damaged by the user, all
warranties will be void. Always contact a designated E-XTEQ Service Center for repairs.
Do not insert metallic objects into the unit to prevent electric shock, re, short circuit,
possible leaking of harmful substances and personal injuries. Do not store the product in
a wet or humid place. Always store the product in a dry place.
It is recommended that you clean the product by wiping it gently using a soft cloth.
Do not use water, chemical substances or detergents. They may cause discoloration or
corrosion to the product’s exterior and may cause a re or electric shock.
Table of Content
Introduction
Safety Guidelines
Maintenance and Storage
Before Use
Usage Precautions
Disassembly/Damage/Removal
Cleaning the Product
Getting Started
Safety Reminders
Appearance and Dimensions
Accessories
Setup
Specications
Operations
Normal Charge
Fast Charge
ECU Reash
History
Optimus
Optimus Installation
Using Optimus
Support Information
Warranty

6/21
BC1012 User Manual / Ref. MAN_BC1012_E-XTEQ_EN_V2.0
Getting Started 1/2
SAFETY REMINDERS ////////
APPEARANCE AND DIMENSIONS ////////
Please review the safety guidelines in this manual before using the BC1012 for safety
operations
When unplugging the BC1012, pull on the plug frame rather than the cord to reduce the
risk of damaging the power plug or cord.
The BC1012 is designed for indoor use. Use outside in dry weather only.
Dimension Details:
Metrics: 234.95 W x 342.9 L x 120.65 H (mm)
Imperial: 9.25 W x 13.5 L x 4.75 H (inch)
Weight:
Kilogram: 5.66 (kg)
Pounds: 12.5 (lbs.)
Width
9.25in / 23.495cm
with handle: 10.5in / 26.67cm
Depth
13.5in / 34.29cm
Height
4.75in / 12.065cm
Table of Content
Introduction
Safety Guidelines
Maintenance and Storage
Before Use
Usage Precautions
Disassembly/Damage/Removal
Cleaning the Product
Getting Started
Safety Reminders
Appearance and Dimensions
Accessories
Setup
Specications
Operations
Normal Charge
Fast Charge
ECU Reash
History
Optimus
Optimus Installation
Using Optimus
Support Information
Warranty

7/21
BC1012 User Manual / Ref. MAN_BC1012_E-XTEQ_EN_V2.0
Getting Started 2/2
ACCESSORIES ////////
Power Cord
16.4 ft/5m power cord is supplied with the Stellantis BC1012.
*The cord will be suitable based on the destination country standards*
Charge Cable with Clamp
The cable will be used to connect the battery to the BC1012 for charging.
Accessories Box
1. 3 Anti-scratching mounting magnets with rubber coating
Table of Content
Introduction
Safety Guidelines
Maintenance and Storage
Before Use
Usage Precautions
Disassembly/Damage/Removal
Cleaning the Product
Getting Started
Safety Reminders
Appearance and Dimensions
Accessories
Setup
Specications
Operations
Normal Charge
Fast Charge
ECU Reash
History
Optimus
Optimus Installation
Using Optimus
Support Information
Warranty

8/21
BC1012 User Manual / Ref. MAN_BC1012_E-XTEQ_EN_V2.0
Setup 1/1
SPECIFICATIONS ////////
Anti-scratch-
ing mounting
magnets with
rubber coating
Safety strap
Metal handle
Connectors for
accessories
Power socket
Charging
cable
connector
Intuitive 4.3”
touch screen
LED display
Polymer
protective
end covers
Anodized
aluminum
body
Table of Content
Introduction
Safety Guidelines
Maintenance and Storage
Before Use
Usage Precautions
Disassembly/Damage/Removal
Cleaning the Product
Getting Started
Safety Reminders
Appearance and Dimensions
Accessories
Setup
Specications
Operations
Normal Charge
Fast Charge
ECU Reash
History
Optimus
Optimus Installation
Using Optimus
Support Information
Warranty

9/21
BC1012 User Manual / Ref. MAN_BC1012_E-XTEQ_EN_V2.0
Press to start.
START WORK
10
9
WARNING
The Warning Screen will show a couple
warnings before proceeding.
8
CONNECT THE CLAMPS
Make sure the clamps are connected.
7
START WORK
Select to start work.
Connect The Clamps
6
Select location of the battery.
LOCATION
Select the type of connection. Through
the battery terminals or jump start post.
5
Enter CCA value
500
Use the arrows to select the battery CCA
Value. Press Y to confirm.
4
SELECT CHARGING CURRENT
Main Menu
12.30V
FLOODED
EFB
Select Battery Chemistry
3
SELECT CHARGING VOLTAGE
12.30V
ECU
To start a CHARGE, touch the normal
charge Icon.
2
SELECTING CHARGE MODE
Main Menu
The Main Menu has three icons. Charge, History
and Settings. Select the Charge Icon to Proceed
1
MAIN MENU
Table of Content
Introduction
Safety Guidelines
Maintenance and Storage
Before Use
Usage Precautions
Disassembly/Damage/Removal
Cleaning the Product
Getting Started
Safety Reminders
Appearance and Dimensions
Accessories
Setup
Specications
Operations
Normal Charge
Fast Charge
ECU Reash
History
Optimus
Optimus Installation
Using Optimus
Support Information
Warranty
BC1012 NORMAL CHARGE QUICKGUIDE
NORMAL CHARGE ////////
Operations 1/5
Select the type of connection. Through
the battery terminals or jump start post.
SELECT CONNECTION TYPE

10/21
BC1012 User Manual / Ref. MAN_BC1012_E-XTEQ_EN_V2.0
Main Menu
12.30V
FLOODED
EFB
The charge screen will provide the
results as seen below.
1
3
CHARGE RESULT
STOP WORK
Stop work.
2
1
1
While charging, the screen will show
these parameters.
POWER SUPPLY
1
Table of Content
Introduction
Safety Guidelines
Maintenance and Storage
Before Use
Usage Precautions
Disassembly/Damage/Removal
Cleaning the Product
Getting Started
Safety Reminders
Appearance and Dimensions
Accessories
Setup
Specications
Operations
Normal Charge
Fast Charge
ECU Reash
History
Optimus
Optimus Installation
Using Optimus
Support Information
Warranty
BC1012 NORMAL CHARGE QUICKGUIDE
NORMAL CHARGE ////////
Operations 1/5

11/21
BC1012 User Manual / Ref. MAN_BC1012_E-XTEQ_EN_V2.0
Press to start.
START WORK
10
9
WARNING
The Warning Screen will show a couple
warnings before proceeding.
8
CONNECT THE CLAMPS
Make sure the clamps are connected.
7
START WORK
Select to start work.
Connect The Clamps
6
Select location of the battery.
LOCATION
Select the type of connection. Through
the battery terminals or jump start post.
5
Enter CCA value
500
Use the arrows to select the battery CCA
Value. Press Y to confirm.
4
SELECT CHARGING CURRENT
Main Menu
12.30V
FLOODED
EFB
Select Battery Chemistry
3
SELECT CHARGING VOLTAGE
12.30V
ECU
To start a CHARGE, touch the normal
charge Icon.
2
SELECTING CHARGE MODE
Main Menu
The Main Menu has three icons. Charge, History
and Settings. Select the Charge Icon to Proceed
1
MAIN MENU
Table of Content
Introduction
Safety Guidelines
Maintenance and Storage
Before Use
Usage Precautions
Disassembly/Damage/Removal
Cleaning the Product
Getting Started
Safety Reminders
Appearance and Dimensions
Accessories
Setup
Specications
Operations
Normal Charge
Fast Charge
ECU Reash
History
Optimus
Optimus Installation
Using Optimus
Support Information
Warranty
BC1012 FAST CHARGE QUICKGUIDE
FAST CHARGE ////////
Operations 2/5
Select the type of connection. Through
the battery terminals or jump start post.
SELECT CONNECTION TYPE

12/21
BC1012 User Manual / Ref. MAN_BC1012_E-XTEQ_EN_V2.0
Main Menu
12.30V
FLOODED
EFB
CHARGE RESULT
The charge screen will provide the
results as seen below.
3
1
Stop work.
STOP WORK
2
1
1
While charging, the screen will show
these parameters.
POWER SUPPLY
1
Table of Content
Introduction
Safety Guidelines
Maintenance and Storage
Before Use
Usage Precautions
Disassembly/Damage/Removal
Cleaning the Product
Getting Started
Safety Reminders
Appearance and Dimensions
Accessories
Setup
Specications
Operations
Normal Charge
Fast Charge
ECU Reash
History
Optimus
Optimus Installation
Using Optimus
Support Information
Warranty
BC1012 FAST CHARGE QUICKGUIDE
FAST CHARGE ////////
Operations 2/5

13/21
BC1012 User Manual / Ref. MAN_BC1012_E-XTEQ_EN_V2.0
After stopping charge the screen will
go back to the main menu.
MAIN MENU
9
Press to start.
START WORK
8
While charging, the screen will show
these parameters.
POWER SUPPLY
7
Press to start.
START WORK
6
PRESS TO START
Select to start work.
5
WARNING
The Warning Screen will show a couple
warnings before proceeding.
4
CONNECT THE CLAMPS
Make sure the clamps are connected.
3
12.30V
ECU
2
Main Menu
The Main Menu has three icons. Charge, History
and Settings. Select the Charge Icon to Proceed
1
MAIN MENU
Table of Content
Introduction
Safety Guidelines
Maintenance and Storage
Before Use
Usage Precautions
Disassembly/Damage/Removal
Cleaning the Product
Getting Started
Safety Reminders
Appearance and Dimensions
Accessories
Setup
Specications
Operations
Normal Charge
Fast Charge
ECU Reash
History
Optimus
Optimus Installation
Using Optimus
Support Information
Warranty
BC1012 ECU REFLASH QUICKGUIDE
ECU REFLASH ////////
Operations 3/5
SELECTING ECU REFLASH
To start ECU REFLASH touch the
ECU icon.

14/21
BC1012 User Manual / Ref. MAN_BC1012_E-XTEQ_EN_V2.0
Connect The Clamps
6
The details will be displayed.
DETAILS
5
Select the job you are interested in and
press the “Detail” icon.
DETAILS SELECTED
Enter CCA value
500
4
JOB SELECTED
There is the option to view the full information, to
delete the record, or print the receipt again.
Main Menu
12.30V
FLOODED
EFB
3
Pressing the check button will show more
information regarding the partitest that was
done.
INFORMATION
12.30V
ECU
2
Select "History" icon again.
HISTORY ICON
Main Menu
1
MAIN MENU
Go to the “History” icon.
Table of Content
Introduction
Safety Guidelines
Maintenance and Storage
Before Use
Usage Precautions
Disassembly/Damage/Removal
Cleaning the Product
Getting Started
Safety Reminders
Appearance and Dimensions
Accessories
Setup
Specications
Operations
Normal Charge
Fast Charge
ECU Reash
History
Optimus
Optimus Installation
Using Optimus
Support Information
Warranty
BC1012 HISTORY QUICKGUIDE
HISTORY ////////
Operations 4/5
The History Icon in the Main Menu shows the records of previous tests
performed with the Trolley and with the Remote.

15/21
BC1012 User Manual / Ref. MAN_BC1012_E-XTEQ_EN_V2.0
Main Menu
12.30V
FLOODED
EFB
3
12.30V
ECU
Main Menu
Table of Content
Introduction
Safety Guidelines
Maintenance and Storage
Before Use
Usage Precautions
Disassembly/Damage/Removal
Cleaning the Product
Getting Started
Safety Reminders
Appearance and Dimensions
Accessories
Setup
Specications
Operations
Normal Charge
Fast Charge
ECU Reash
History
Optimus
Optimus Installation
Using Optimus
Support Information
Warranty
BC1012 HISTORY QUICKGUIDE
HISTORY ////////
Operations 5/5
All jobs can be automatically saved into OPTIMUS PC software via Wi-Fi
connection (remote to network).
Pressing the check button on the “ARGOS” icon will transfer automatically all job
on OPTIMUS PC Software.
If you are not connected to Wi-Fi
(Remote to Network), there will be a
message displayed. Please follow the
steps indicated in the section “Wi-Fi
Connection (Remote to Network) in
this manual.

16/21
BC1012 User Manual / Ref. MAN_BC1012_E-XTEQ_EN_V2.0
Optimus 1/5
OPTIMUS INSTALLATION ////////
All charging data (jobs) performed by BC1012 are stored and can also be
uploaded into a dedicated program: OPTIMUS.
When a new software update is released, OPTIMUS will automatically propose
to update the BC1012 upon connection of its Remote via its dedicated USB
cable.
If the Trolley needs to be updated, when connecting to it, Remote will display
the following message “Please update the trolley with Optimus”.
To download OPTIMUS, open a web page on the computer and go to the web
site: http://e-xteq.com.
Click on the DOWNLOAD OPTIMUS icon.
Table of Content
Introduction
Safety Guidelines
Maintenance and Storage
Before Use
Usage Precautions
Disassembly/Damage/Removal
Cleaning the Product
Getting Started
Safety Reminders
Appearance and Dimensions
Accessories
Setup
Specications
Operations
Normal Charge
Fast Charge
ECU Reash
History
Optimus
Optimus Installation
Using Optimus
Support Information
Warranty

17/21
BC1012 User Manual / Ref. MAN_BC1012_E-XTEQ_EN_V2.0
Optimus 2/5
OPTIMUS INSTALLATION ////////
Open the download is nished, you can save and open the executable le
“OptimusSetup.exe”.
The rst time you even open OPTIMUS, you have to create an account. Click on
“Don’t have an account yet?” link.
Table of Content
Introduction
Safety Guidelines
Maintenance and Storage
Before Use
Usage Precautions
Disassembly/Damage/Removal
Cleaning the Product
Getting Started
Safety Reminders
Appearance and Dimensions
Accessories
Setup
Specications
Operations
Normal Charge
Fast Charge
ECU Reash
History
Optimus
Optimus Installation
Using Optimus
Support Information
Warranty

18/21
BC1012 User Manual / Ref. MAN_BC1012_E-XTEQ_EN_V2.0
Optimus 3/5
OPTIMUS INSTALLATION ////////
Fill up all the empty elds, check the “I’m not a robot” box and then click
“Register”
An internet page will open with your settings. Meanwhile, you will receive an
email to conrm your email address.
It is very important to conrm your email address by clicking on the
link received. (If the link isn’t clickable from the mail body, display
the email in a web browser.)
Table of Content
Introduction
Safety Guidelines
Maintenance and Storage
Before Use
Usage Precautions
Disassembly/Damage/Removal
Cleaning the Product
Getting Started
Safety Reminders
Appearance and Dimensions
Accessories
Setup
Specications
Operations
Normal Charge
Fast Charge
ECU Reash
History
Optimus
Optimus Installation
Using Optimus
Support Information
Warranty

19/21
BC1012 User Manual / Ref. MAN_BC1012_E-XTEQ_EN_V2.0
Optimus 5/5
USING OPTIMUS ////////
Depending on the conguration of your computer installation, it
may be necessary to create an authorization to ARGOS IP Address:
35.204.186.65.
You can now use OPTIMUS, using your credentials.
You will then have access to your dashboard.
When connecting your tool, it will appear in “Connected Devices”. All the
recorded job les will be transferred automatically.
Clicking on the image of the product will give you access to the tools
Dashboard.
Table of Content
Introduction
Safety Guidelines
Maintenance and Storage
Before Use
Usage Precautions
Disassembly/Damage/Removal
Cleaning the Product
Getting Started
Safety Reminders
Appearance and Dimensions
Accessories
Setup
Specications
Operations
Normal Charge
Fast Charge
ECU Reash
History
Optimus
Optimus Installation
Using Optimus
Support Information
Warranty
1012C01E0010010
1012C01E0010010

20/21
BC1012 User Manual / Ref. MAN_BC1012_E-XTEQ_EN_V2.0
Optimus 5/5
USING OPTIMUS ////////
If a new software update is available, this update will be proposed. If the
latest version is already installed, “Your device is up to date” will be shown.
Jobs can be found under the “JOBS” tab. They can be ltered and also
exported into a CSV le.
“Apply Filter” will show a list of jobs. Click on the job to see the detail. It is
possible to generate and download a PDF le of the job.
When you want to leave OPTIMUS, please click the eject button to safely
eject the USB that is connected from the tool.
Table of Content
Introduction
Safety Guidelines
Maintenance and Storage
Before Use
Usage Precautions
Disassembly/Damage/Removal
Cleaning the Product
Getting Started
Safety Reminders
Appearance and Dimensions
Accessories
Setup
Specications
Operations
Normal Charge
Fast Charge
ECU Reash
History
Optimus
Optimus Installation
Using Optimus
Support Information
Warranty
1012C01E0010010
1012C01E0010010
1012C01E0010010
Table of contents
Other E-XTEQ Diagnostic Equipment manuals

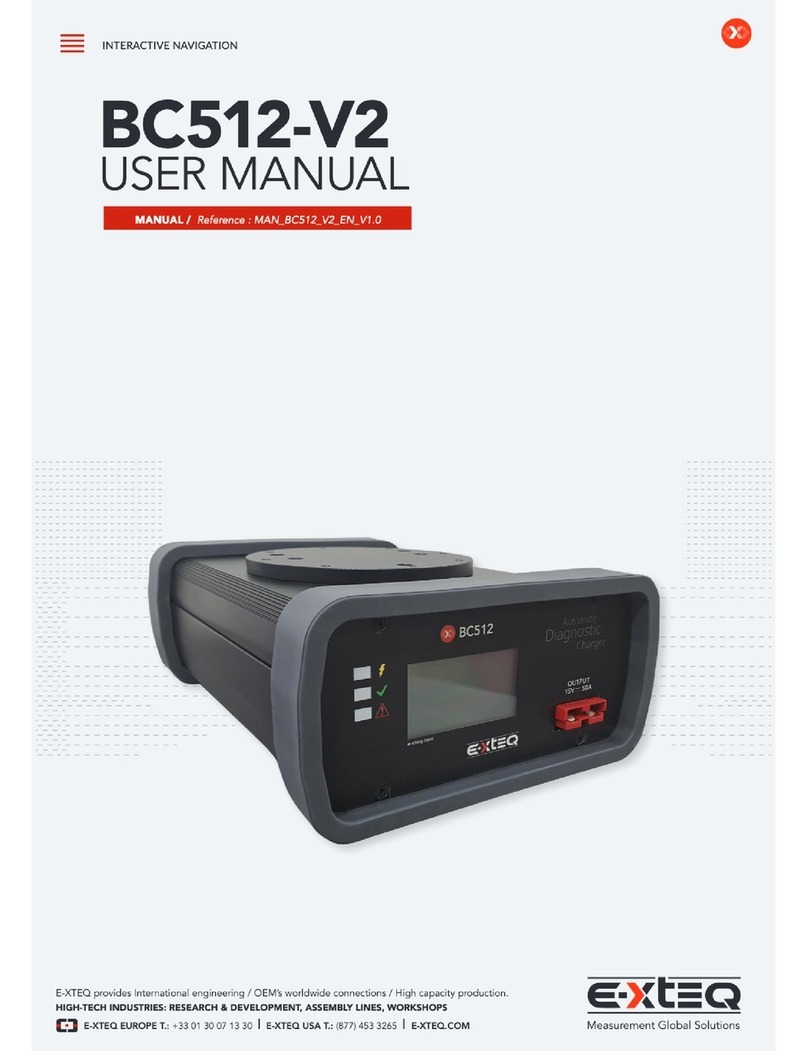
E-XTEQ
E-XTEQ BC512-V2 User manual

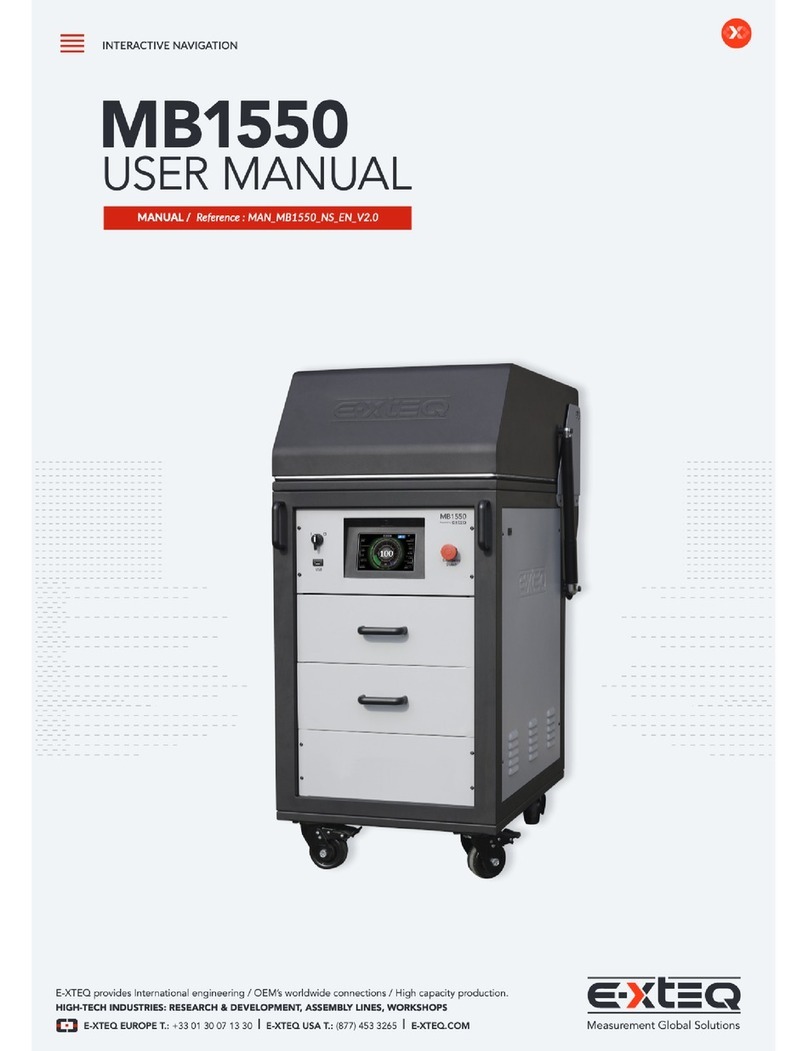
E-XTEQ
E-XTEQ MB1550 User manual

E-XTEQ
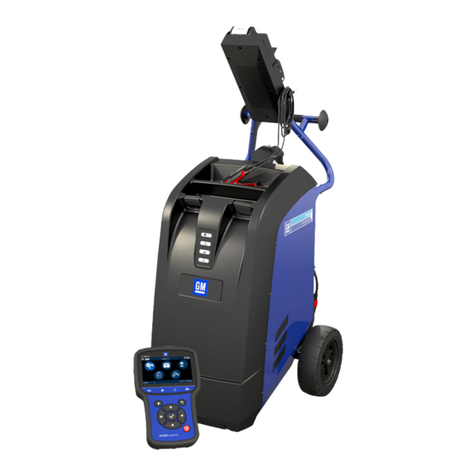
E-XTEQ GM DCBS User manual

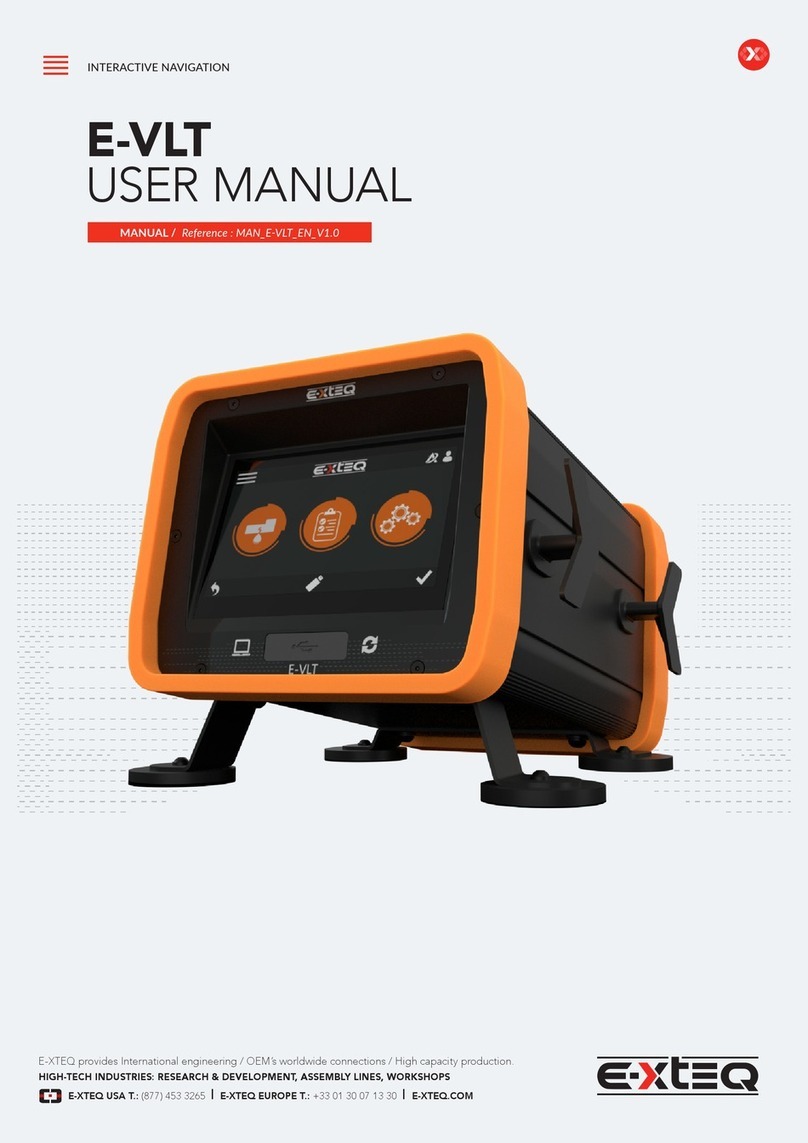
E-XTEQ
E-XTEQ E-VLT User manual

E-XTEQ
E-XTEQ DCBS User manual

E-XTEQ
E-XTEQ GM DCBS Firmware update

E-XTEQ
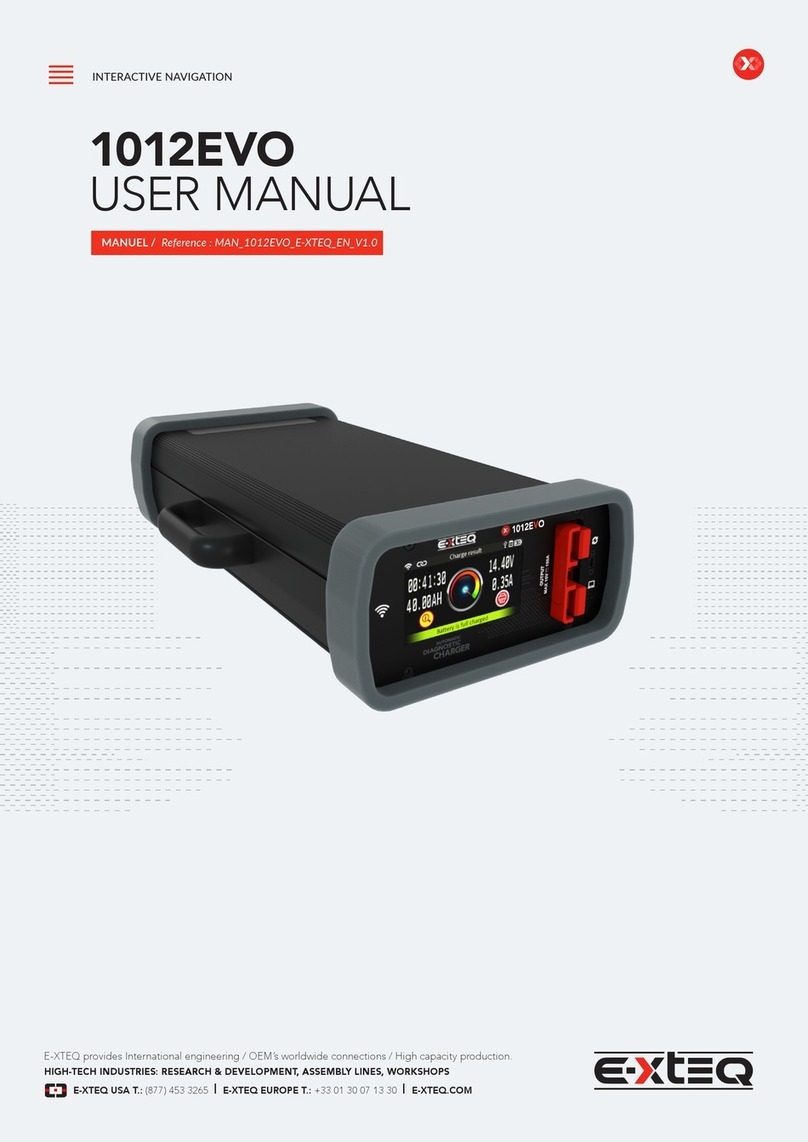
E-XTEQ 1012EVO User manual

E-XTEQ
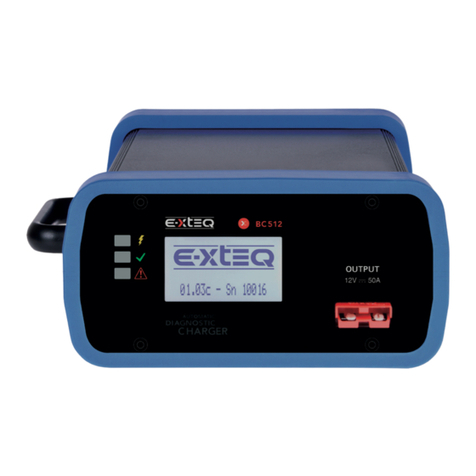
E-XTEQ BC512 User manual

E-XTEQ
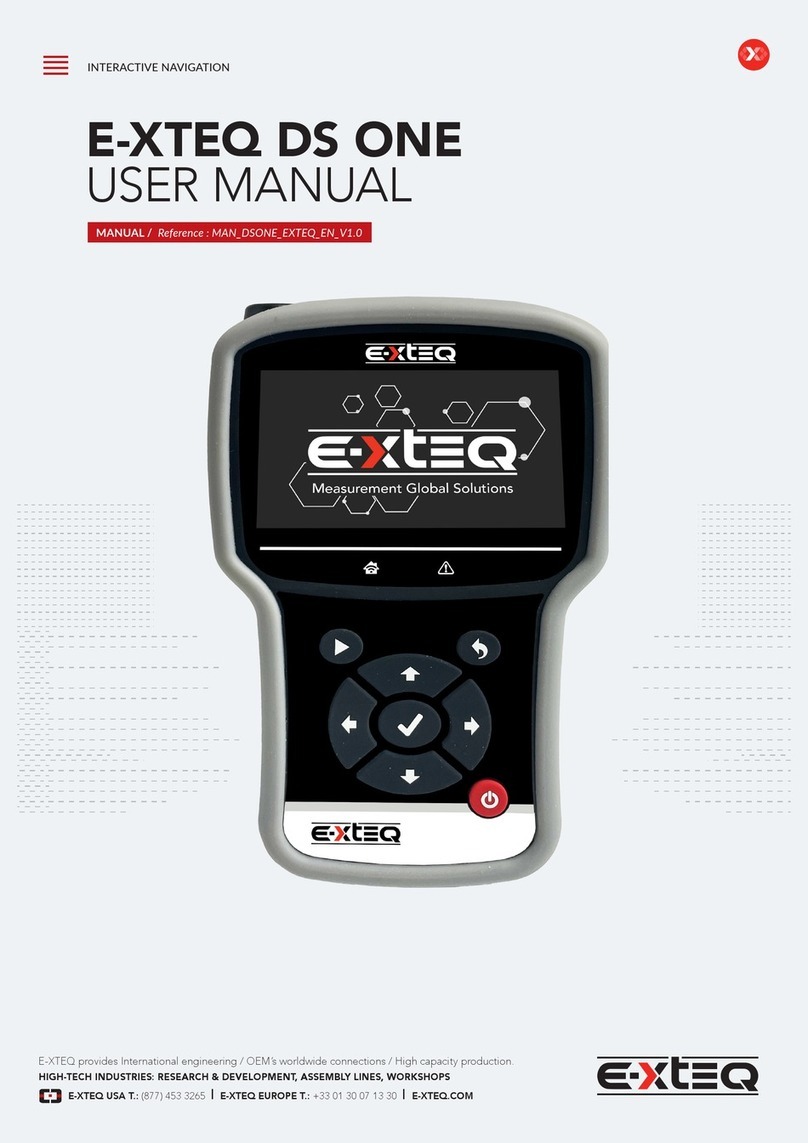
E-XTEQ DS One User manual

E-XTEQ
E-XTEQ DS One User manual