EASTMANEASTMAN
EASTMANEASTMAN
EASTMAN
2
Before operating machine, read these instructionsBefore operating machine, read these instructions
Before operating machine, read these instructionsBefore operating machine, read these instructions
Before operating machine, read these instructions
carefully. Familiarize yourself with all functionscarefully. Familiarize yourself with all functions
carefully. Familiarize yourself with all functionscarefully. Familiarize yourself with all functions
carefully. Familiarize yourself with all functions
and adjustments of this equipment.and adjustments of this equipment.
and adjustments of this equipment.and adjustments of this equipment.
and adjustments of this equipment.
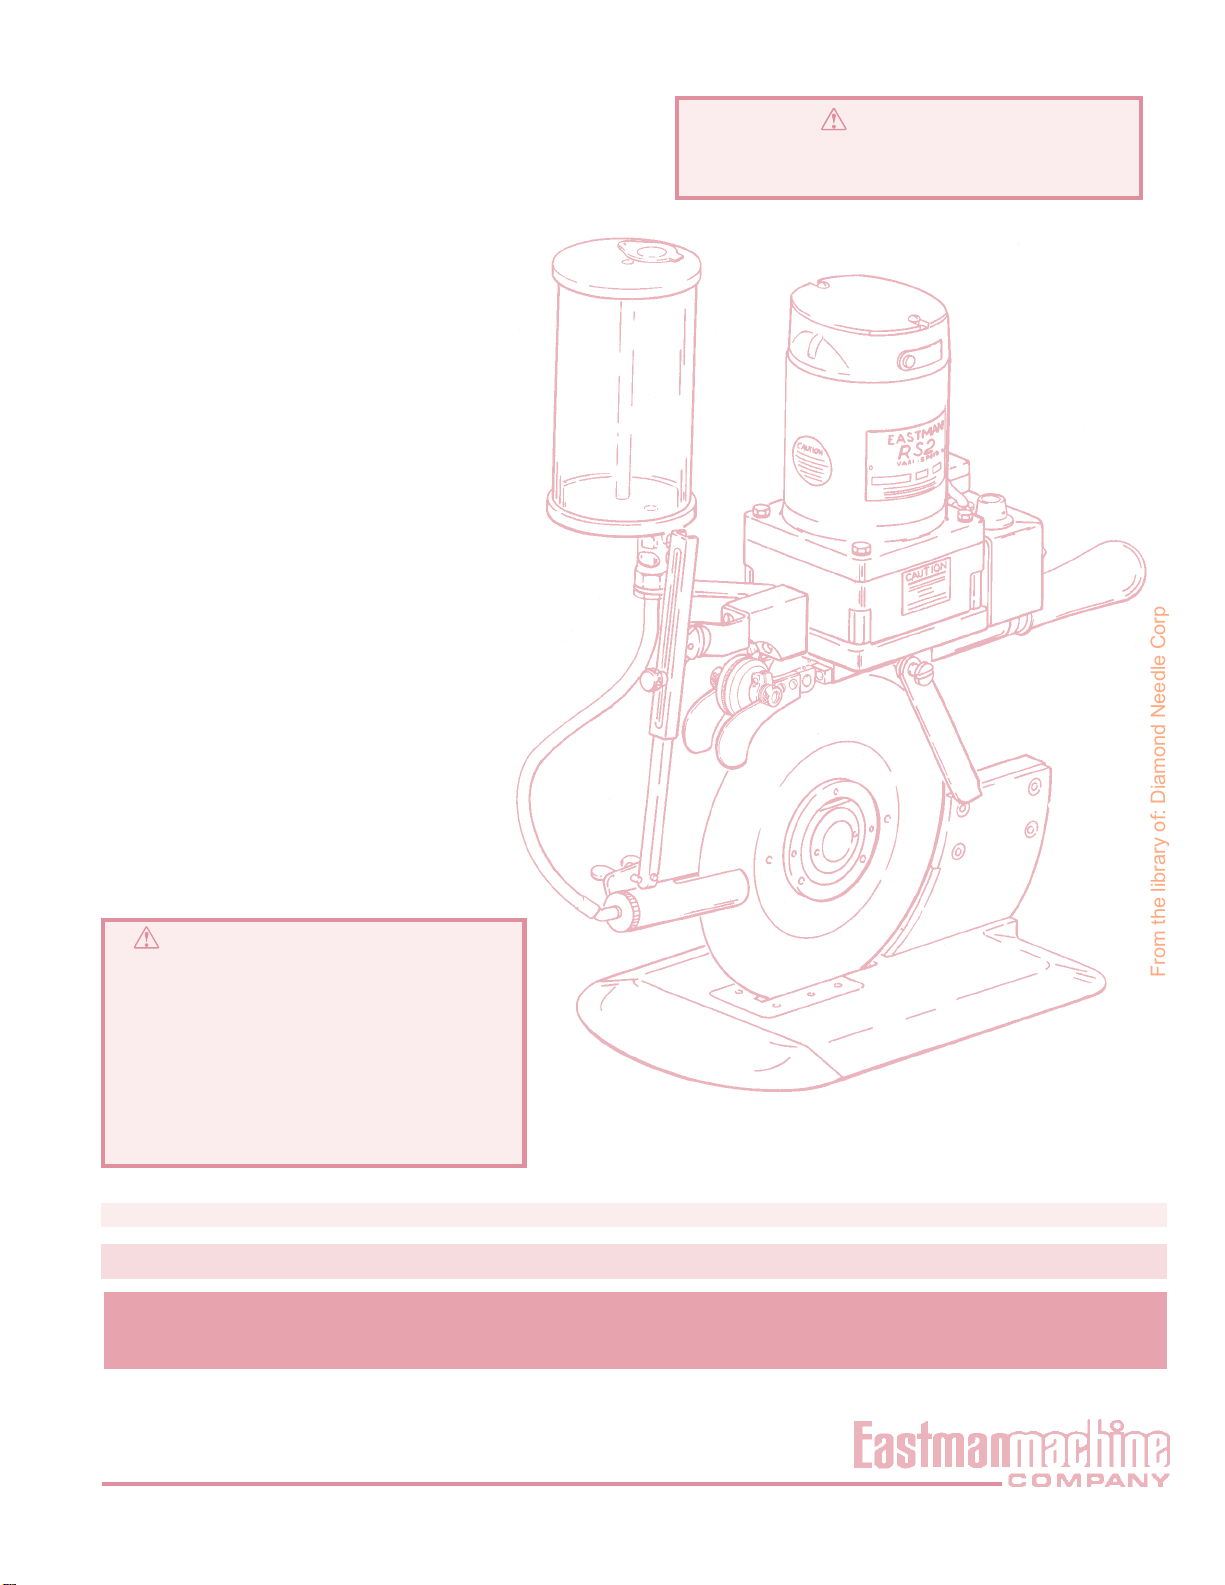
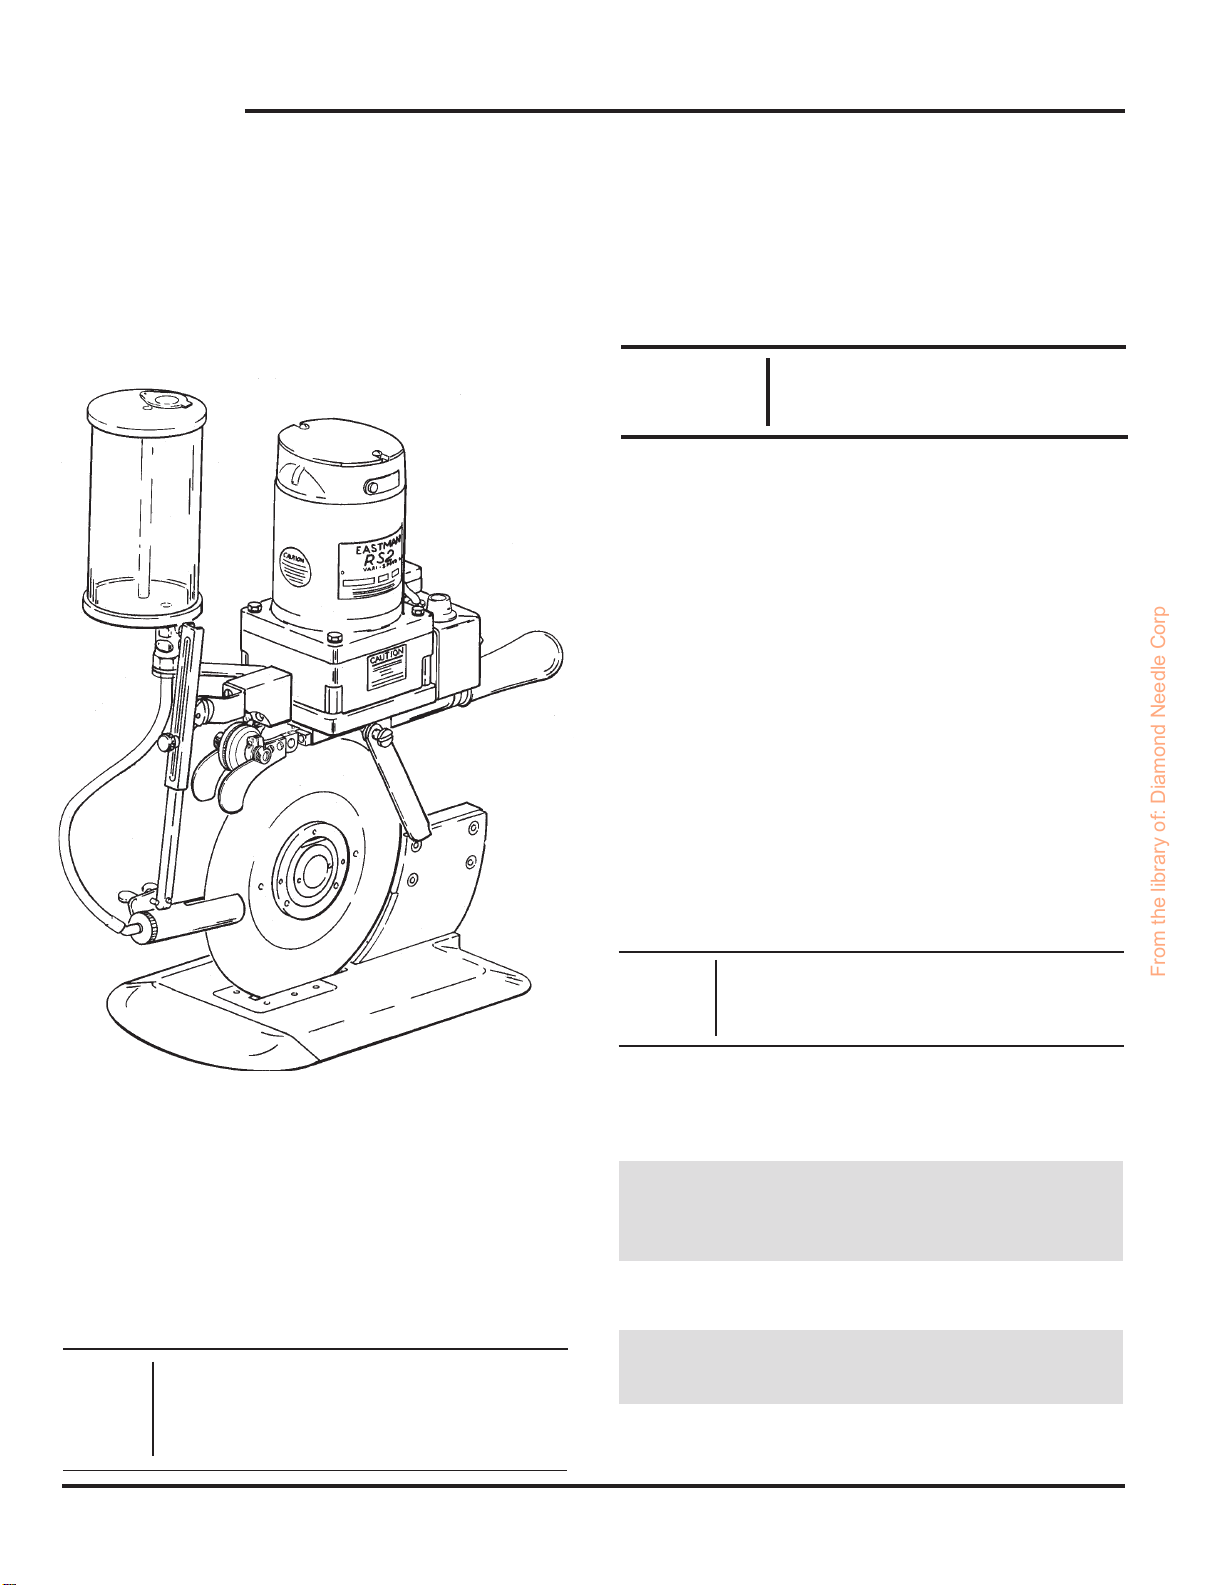
Operation,
Lubrication
And Care
Thepurchasermustinstructalloperatorsontheproperuse
of the equipment. All standard industrial safety measures
and equipment should be provided to protect the operator.
Operators must be cautioned that improper use of this
equipment can cause bodily injury. If you do not have
qualified operators to instruct new persons, contact your
EastmansalesrepresentativeorwritetoEastmanMachine
factory direct.
CAUTIONCAUTION
CAUTIONCAUTION
CAUTION
Read instructions carefully before starting motor. Be
sure that voltage and current are the same as stamped
on nameplate. This machine is equipped with sharp
blade and extreme caution should be used when this
machineisputintouse. Usecontrolleversandhandles
only when operating or handling machine. When mak-
ing a cut, the knife guard should be raised only enough
to clear the material being cut. When machine is not in
operation the front knife guard should be kept in the
lowered position and lubricator turned off. When this
equipmentisnotbeingutilized,thepowersupplyshould
be disconnected from the equipment.
OPERATING INSTRUCTIONSOPERATING INSTRUCTIONS
OPERATING INSTRUCTIONSOPERATING INSTRUCTIONS
OPERATING INSTRUCTIONS
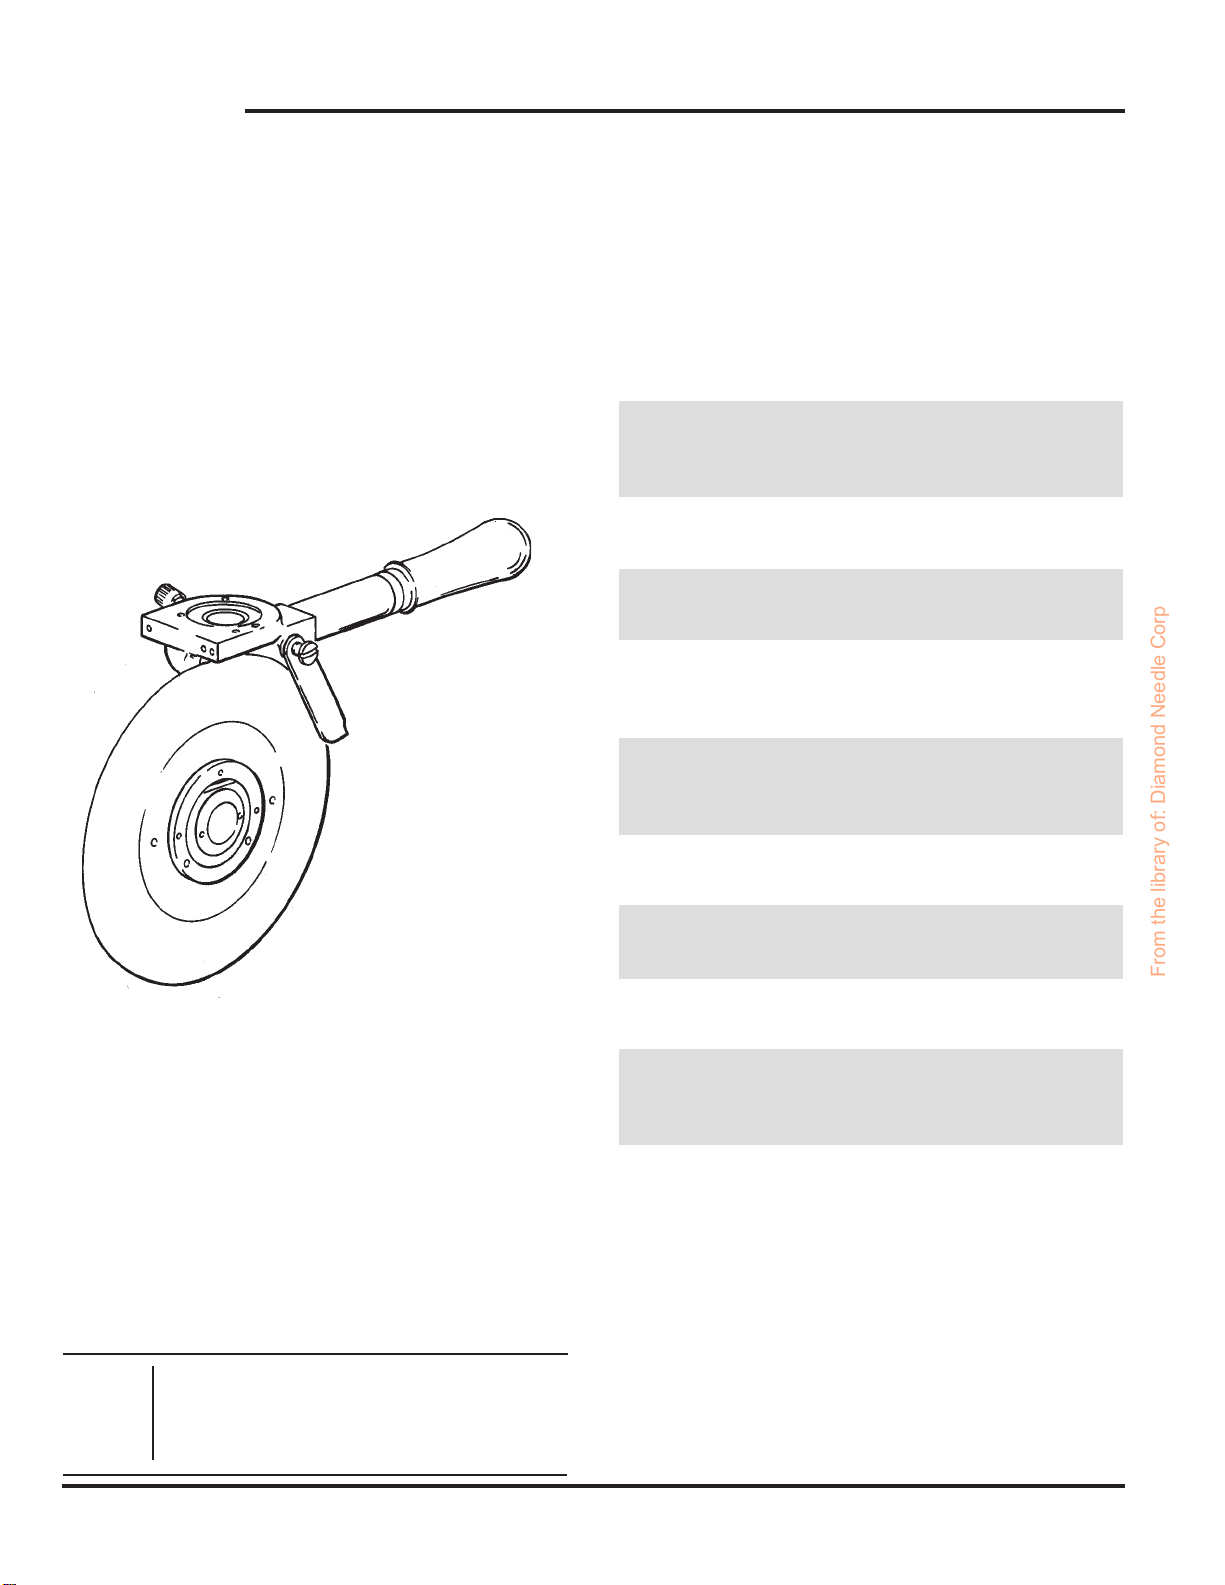
Loosen thumb screw for adjustment of knife guard and
spongeholder. Raiseguardenoughto clear materialtobe
cut. Turn sight tube valve counterclockwise for lubrication
of knife. Switch machine to ON position, if cutter does not
startimmediately,returnswitchtoOFFposition. Checkthe
line output and be sure the unit is plugged in properly and
is making full contact. Then repeat procedure. DO NOT
attempt to start this unit while in material to be cut. After
knife has gathered full speed, material can now be cut. To
keepfrictionandheatbuilduptoaminimuma combination
of low speed and flow of lubricant are used. The blade
speed setting, depending on operator preference, can be
decreasedbyturningthespeedcontrolknobcounterclock-
wisetoalowernumber(0=65RPM)orincreasebyturning
clockwise to a higher setting (10 = 150 RPM).
Limited Warranty. Eastman warrants to the buyer that the
RS2 Rubber Slitter
shall be free from defects in materials
or workmanship for a period of 90 days commencing on the date of invoice. Any goods or parts claimed by the buyer
to be defective must be returned to Eastman, freight charges prepaid, within the 90-day warranty period. If Eastman
determines that the goods or parts are defective in materials or workmanship, Eastman’s sole obligation under this
warranty shall be, at Eastman’s sole option, to repair or replace the defective goods or parts or to provide the buyer
a credit equal to the portion of the purchase price allocable to the defective goods or parts. This warranty shall not
apply if defects are caused by product misuse or neglect, if the machine has been altered or modified by the buyer,
or if other than genuine Eastman parts are used in the machine. THIS WARRANTY IS THE ONLY WARRANTY
APPLICABLE TO THIS PURCHASE. SELLER DISCLAIMS ALL OTHER WARRANTIES, EXPRESS OR IMPLIED,
INCLUDING, BUT NOT LIMITED TO, THE IMPLIED WARRANTIES OF MERCHANTABILITY AND FITNESS FOR
A PARTICULAR PURPOSE.
Limitation of Liability. Eastman’s liability to the buyer,and the buyer’s remediesfrom Eastman, whether incontract,
negligence, tort, under any warranty or otherwise, shall be limited to the remedies provided in the foregoing Limited
Warranty. In no event shall Eastman have any responsibility or liability to the buyer for (a) any special, indirect,
incidental, or consequential damages, including, but not limited to, loss of use, revenue, or profit, even if Eastman has
beenadvisedofthepossibility of suchdamages,or(b)anyclaimagainst the buyerbyanythirdparty. Thepricestated
for the product sold is a consideration for limiting Eastman’s liability.
From the library of: Diamond Needle Corp