Echogear ECHO-GM1FC User manual

#YourGearUpgraded
INSTRUCTION MANUAL
Model Echo-gm1Fc
Single Screen
Monitor Mount for Gaming
2
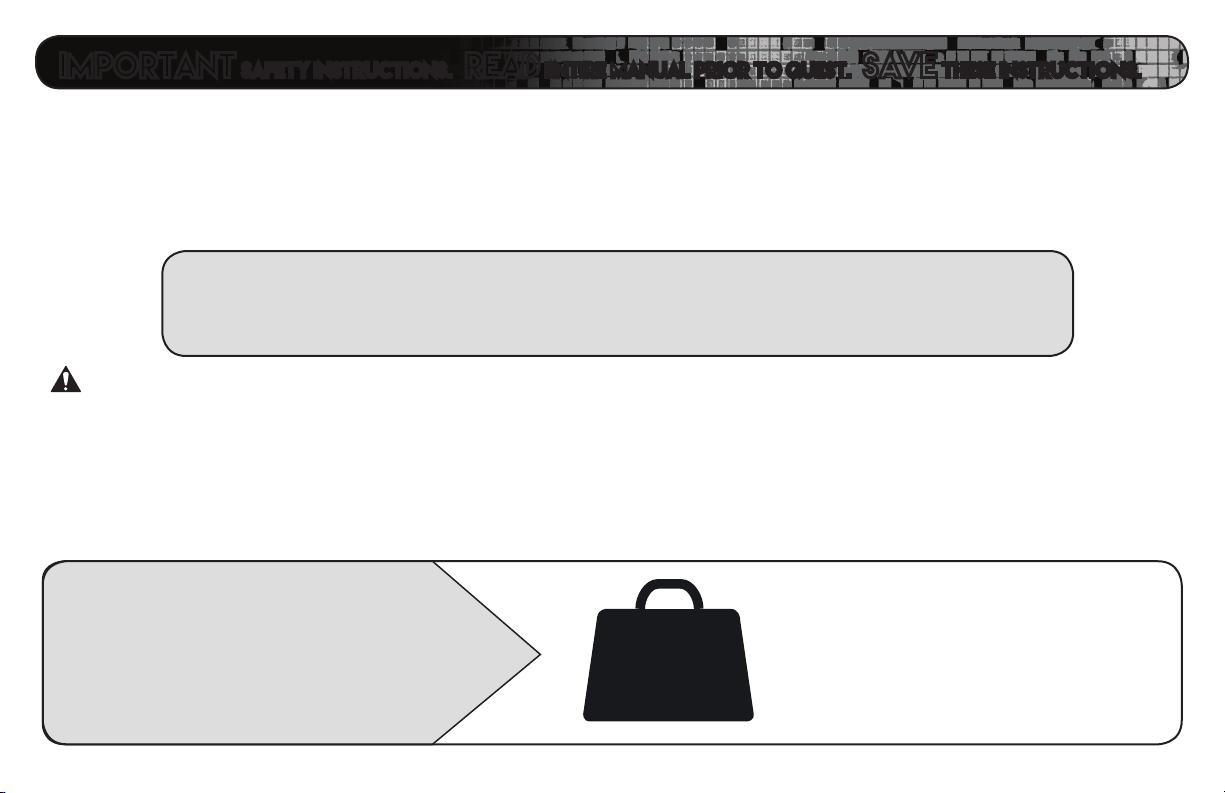
WEIGHT RESTRICTIONS
Each monitor (including accessories)
CANNOT EXCEED:
20 lbs.
(9.0 kg)
IMPORTANT SAFETY INSTRUCTIONS. READ ENTIRE MANUAL PRIOR TO quest. SAVE These INSTRUC
TIONS.
Before You EmBark on your Quest... just read it so you don’t get pwned!
Please read through these instructions completely and check your monitors' owner manual to see if there
are any special requirements for mounting your monitor.
CAUTION: Manufacturer is not responsible for damage or injury caused by incorrect
assembly or use. To avoid potential personal injuries, property damage and tipping:
►Your mounting surface must be stable and rugged enough to support the weight and motion of the
monitor and mount.
►Do not use this product for any purpose not explicitly specified by manufacturer.
“You even lift, Brah?....
Ok, even if you do... doooon’t do it.”
If you do not understand these instructions, are a noob or have doubts
about the safety of the installation, assembly or use of this product, contact:
The Echogear Pros @ 1-855-428-2490 or www.echogear.com.
"Hopefully you are unscathed after detonating
the mount from the packaging!..."

3
Contact The Echogear Pros:
1-855-428-2490
www.echogear.com
DESKTOP
THICKNESS
BFG
Yo Hands
Power up! Grab These Tools from Your arsenal
Size up Your Mounting Surface
Unsure?
?
UUUUHHH ?!?
Phillips
Screwdriver Apple
Required to Get the Job Done
Optional Based on Skill Level
"No
snapin
pics for
twitter
til your
done!"
Mini-Nuke
Pump
Refreshment Saw
"Phil is
the boss"
0.8 in. -2.6 in.
(20 mm - 66 mm)
Hex Keys
BOnus Loot!
3 FREE Inside Every Box
⁄
⁄
⁄
A
B
"A.K.A
Allen Wrench"
C

4
We’re driven to give DIYers an awesome install experience. We stand
behind everything we make because you deserve the best entertainment
experience without sacrificing quality and spending your whole paycheck.
Guess what? We’ll help you through the entire process, too.
Why? Because we like to help and it’s our passion to provide authentic
service. We won’t leave you hanging, no matter what.
Our U.S. based Echogear Pros answer the phone in all days ending in Y.
That means availability to try and stump our expert sta 7 days a week.
Call us if you…
1Have any questions before, during, or after install.
2Need dierent hardware to fit your monitor model.
3Just need someone to chat with. We’re here for you.
Echogear Satisfaction Guarantee:
ONE MORE THING ...

5
WARNINGS:
DON'T ALLOW CHILDREN TO FEED ON CONTENTS AND NEVER USE DAMAGED GOODS!
►This product contains small items that are a choking hazard if swallowed.
►Before you start assembly, verify all parts are included and undamaged. If any parts are missing
or damaged, do not return the damaged item to your dealer; contact Customer Service.
Here's your Loadout
GEAR FOR LEVEL 1
1
1 Full Motion
Desk Mount
5 Bumpers
4 Screws
M4 X 12mm
4 Screws
M4 X 30mm
4 Spacers
5mm
4 Spacers
22mm
3
5
4
6
Gear FOR Level 2
2

6
Gear FOR Level 3
1 Cable
Covers
2 Screws
8-32 x 3/8 in
78

7
2
1
STAGE 1: Plaster Soft Bumpers+5 on Desk Clamp
Level 1 Lock N' LOAD! Clamp Mount to Desk

8
STAGE 1: Loosen Screw on Mount to Lower Clamp
USE HEX KEY
A
TO LOWER CLAMP.
b
a
A
A
1

9
STAGE 2:
Tighten Screw To
Attach Clamp to Desk
b
a
USE HEX KEY
A
TO SECURELY
CLAMP IT DOWN.
A
A
1

10
Level 2 Make The DROP! Attach Monitor to Mount
Select
Spacers
(if needed)
Flat Monitor
NEEDED FOR
NOT NEEDED
or
Select
Screws
Bracket
Short Screw
3
Spacer
Long Screw
Bracket
5/6
4
or
STAGE 1: Determine Screw Length and Spacer Size
Round
Monitor
Inset
Holes Cables
Flat
Monitor
+

11
STAGE 2:
Partially Insert Top Screws into Monitor
4
5/6
3
OR

12
1
STAGE 3: Hang Monitor by Top Screws onto Bracket

13
STAGE 4:
Insert Bottom Screws and Tighten All Four Screws
4
5/6
3
OR
1
IMPORTANT: YOU SHOULD TEST THE TENSION OF THE
ROTATING BRACKET
R
TO ASSURE THE MONITOR MOVES
WITH EASE AND STAYS IN POSITION BEFORE TIGHTENING
ALL SCREWS. See page 17 to adjust brackets tension.
"Batten down the hatches"
R

14
Level 3 Control the Melee! Route and Disguise Cables
C
STAGE 1: Route All Cables Through Arm Bracket
1
d
abc
Righty
Tighty
Lefty
Loosey
NOTE:
FOR THICKER
CABLES USE HEX
KEY
C
TO LOOSEN
SCREWS
S
ON ARM
BRACKET AND SLIDE
BRACKET OUT.
SS

15
"U R A BOSS" STAGE 2: Secure Cables with Arm Cover+1
87
1
1
"Make the proper adjustments. Then
it's time to post some pics of your
battlestation. Don't forget to add:
#YourGearUpgraded"
IMPORTANT: LEAVE ENOUGH SLACK IN THE CABLES
TO ASSURE THE MONITOR AND ARMS MOVE WITH EASE.

16
Vertical Position - Adjust Monitor Up and Down
Bonus Level! Adjustments /Modifiers
TIP:
INITIALLY, NEARLY ALL MONITORS WILL REQUIRE POSITIVE ADJUSTMENT (UP TO 20 TIMES).
IF THE MONITOR IS NOT STAYING AT DESIRED HEIGHT OR NOT MOVING WITH EASE:
• ADJUST TENSION SCREW ON THE TOP OF THE MOUNT.
• START BY TURNING 5 OR 6 TURNS, = MORE TENSION OR = LESS TENSION.
• REPEAT TURNS UNTIL DESIRED TENSION IS ACHIEVED.
NOTE: YOU MAY NEED TO ADJUST HEIGHT OF ARM TO GAIN ACCESS TO SCREW.
“You spin me right round, baby,
right round like a record, baby,
right round round round...
spin me backwards like a dj baby...
round round round round,
lefty tighty righty loosy, its all crazy baby
round round round round!”
B
= LESS TENSION
= MORE TENSION

17
Tilt & Level - Tilt and Turn Monitor 3600
IF MONITOR DOES NOT MOVE WITH EASE OR WILL NOT LOCK INTO DESIRED POSTION:
Remove the monitor. Turn the screw
D
on the tension bracket either
counter-clockwise (loosen) or clockwise (tighten)
D
.Repeat as needed.
D
WARNING:
MONITOR MUST REMAIN OVER DESK SURFACE.
"Come on ...
level with me..."

18
Horizontal Position - Adjust Monitor Left or Right
WARNING:
MONITOR MUST REMAIN OVER DESK SURFACE.
Top View
Desk Desk

19
How to remove Mount from Monitor and Surface
A
C
1. Remove Cables 2. Remove Monitor
3. Remove Mount

Confuzzled? Contact the ECHOGEAR Pros:
Milestone Global Headquarters • 6436 City West Parkway • Eden Prairie, MN 55344 USA
“Wanna show o your skillzz?
Share a picture of your completed mount
with #YourGearUpgraded.
Who knows, it might not be as bad as you thought”
Milestone AV Technologies and its aliated corporations and subsidiaries (collectively, “Milestone”), intend to make this
manual accurate and complete. However, Milestone makes no claim that the information contained herein covers all details,
conditions, or variations. Nor does it provide for every possible contingency in connection with the installation or use of
this product. The information contained in this document is subject to change without notice or obligation of any kind.
Milestone makes no representation of warranty, expressed or implied, regarding the information contained herein. Milestone
assumes no responsibility for accuracy, completeness or suciency of the information contained in this document.
©2018 Milestone AV Technologies. All rights reserved. ECHOGEAR is a Milestone brand.
ECHOGEAR and the ECHOGEAR logo are trademarks of Milestone.
Made in China.
6901-602310 00
Other Echogear TV Mount manuals

Echogear
Echogear EGLT3 User manual

Echogear
Echogear EGSF1 User manual

Echogear
Echogear EGLF3 User manual

Echogear
Echogear EGCM2 User manual

Echogear
Echogear EGLT2 User manual

Echogear
Echogear EGXLF1-KIT User manual

Echogear
Echogear EGMF1 User manual

Echogear
Echogear EGLF324 User manual

Echogear
Echogear EGCM1 User manual

Echogear
Echogear EGMF1 User manual


