manuals.online logo
Brands
  1. Home
  2. •
  3. Brands
  4. •
  5. EefaCo.Store
  6. •
  7. Indoor Furnishing
  8. •
  9. EefaCo.Store Homestead 88 5527 19 User manual

EefaCo.Store Homestead 88 5527 19 User manual

Part List
Hardware List
Tools required for assembly : Phillips screwdriver
IMPORTANT NOTE
Carefully remove all the parts from the carton and put
them individually on a soft cloth to prevent scratches
or other damages occuring to the wood parts.
We have taken great care in the design of this
product and request that you carefully and strictly
follow our assembly instructions to ensure a
completed product as it was designed.
A.
Top
1 pc.
F.
Back Panel
1 pc.
G.
Back Panel
1 pc.
B.
Side Panel
1 pc.
C.
Side Panel
1 pc.
D.
Stretcher
2 pcs.
E.
Stretcher
1 pc.
H.
Middle Panel
1 pc.
I.
Base
1 pc.
J.
Leg
4 pcs.
(Knock-Down Construction, please refer to
the page No. 7/8 and 8/8 of these instructions for steps to assemble drawers)
(Knock-Down
Construction, please refer
to page No. 6/8 of these
instructions for steps to
assemble keyboard tray) R.
Drawer
1 pc.
P.
Pencil Tray
1 pc.
O.
Door
1 pc.
N.
Door
1 pc.
M.
Shelf
1 pc.
Q.
Drawer
1 pc.
Hex Wrench
1 pc.
Small
Hex Wrench
1 pc.
Base Unit
88 5527 19
Homestead
Computer Cabinet
K.
Keyboard Tray
1 pc.
L.
Printer Tray
1 pc.
Cam Lock
12 pcs.(+1 extra)
Cam Lock Screw
12 pcs.(+1 extra)
Adjustable Pin
4 pcs.(+1 extra)
Machine Screw
2 pcs.(+1 extra)
Wood Screw
for Magnet and
Key board tray
14 pcs.(+1 extra)
Magnet
2 pcs.
Flat Washer
4 pcs. (+1 extra )
Flat Washer
for Wood Screw
6 pcs. (+1 extra )
Spring Washer
4 pcs. (+1 extra )
Wood Screw
for Back Panel and
Drawer Base Part
20 pcs.(+1 extra)
Wood Screw
for Base
6 pcs.(+1 extra)
Head Cap Bolt
4 pcs. (+1 extra)
Pull Handle
2 pcs.
Wood Screw (long)
for Drawer Side Part
24 pcs. (+1 extra)
IMPORTANT
Do not tighten up all the screws until each part is properly assembled.
You should keep Hex Wrench in a safe place as you may need to tighten up the Head Cap Bolts in the future.
Assembly Instructions 2/8
STEP 1
A
Attach 2X Magnets
to pre-drilled holes of Top (A) with Wood Screws.
Insert Cam Lock Screws into the pre-drilled holes
of Top (A), (D).Side Panel (B) and (C), Stretchers
Magnet
Wood Screw
B
D
D
C
Cam Lock Screw
DD
STEP 3
Cam Lock Screw
Cam Lock
Figure 1 E
STEP 2
Attach Stretchers (D)
and (E) onto Side Panel (B)
with Cam Locks (see Figure 1).
B
C
G
F
Slide Back Panel (F) and (G)
into the unit.
Attach Side Panel (C) to the unit
with Cam Locks.
Assembly Instructions 3/8
STEP 4
I
H
J
J
J
J
Cam Lock
Wood Screw
Flat Washer
for Wood Screw
Flat Washer
Spring Washer
Head Cap Bolt
Attach Middle Panel (H) to the unit with Cam Locks.
Attach Base (I) to the unit with Wood Screws and Flat Washers.
Attach Legs (J) into the pre-drilled holes of Base (I) by using the Head Cap Bolts,
Spring Washers and Flat Washers.
Assembly Instructions 4/8
Figure 2
Figure 4
Figure 3
STEP 5
Slide Keyboard Tray (K), Printer Tray (L), Drawer (P) and (Q) into position.
Assemble Pull Handles to Doors (N) and (O) with Machine Screws. (See figure 4)
Place Top (A) onto the unit, using Cam Locks.
Insert Adjustable Pins into side panel and middle panel at the desired level (See figure 2), then
place Shelf (M) into position.
Attach Doors (N) and (O) by sliding the door lift hinges into the side panels lift hinges
(See figure 3).
STEP 6
Cam Lock
A
M
Q
P
K
L
N
O
Adjustable Pin
Insert 12X Wood Screws from the back of
the unit, tighten up all the Wood Screws.
Note: Please make sure unit is level
before tightening these screws.
Assembly Instructions 5/8
Assembly Instructions 6/8
K1
K3
K4
K2
Keyboard Tray (K)
Part List
K4.
Base Part
1 pc.
K3.
Back Part
1 pc.
K1.
Side Part
1 pc.
K2.
Side Part
1 pc.
Attack K1 and K2 to the unit,
using a and
wood screws (10X).
Phillips screw driver
short
Attack K3 to K4, using a
and
wood screws .
Phillips screw driver
(4X)long
STEP 2
STEP 1
Assembly Instructions 7/8
Figure 1
Figure 2
MAKE SURE ROLLER
IS ON THE BACK
Q2
Q2
Q3
Q3
Q3
Q4
Q4
P
Q4
Q5
Q5
Q1
Q1
Drawer (Q)
Part List
Q1.
Front Part
1 pc.
Q5.
Base Part
1 pc.
Q2.
Back Part
1 pc.
Q3.
Side Part
1 pc.
Figure 3
Attach Q1 to Q3 and Q4, using
a and
wood screws ,
tighten halfway.
Attach Q2 to Q3 and Q4 using
wood screws ,
tighten halfway. (see Figure 1)
Phillips screw driver
(4X)
(4X)
long
long
Insert wood screws (2X)
into the pre-drilled holes in Q5,
tighten screws. (see Figure 3)
short
Slide Q5 into the grooves in Q3 and Q4.
Be sure to push Q5 all the way forward
so it meets Q1. (see Figure 2)
STEP 2
STEP 3 STEP 4
Tighten all screws used in drawer assembly.
Q4.
Side Part
1 pc.
Q1
Figure 4
STEP 1
Q2
Place Pencil Tray (P)
into position.
(see Figure 4)
Assembly Instructions 8/8
Figure 1
Figure 2
MAKE SURE ROLLER
IS ON THE BACK
R2
R2
R3
R3
R3
R4
R4
R6
R4
R5
R5
R1
R1
Drawer (R)
Part List
R1.
Front Part
1 pc.
R5.
Base Part
1 pc.
R2.
Back Part
1 pc.
R3.
Side Part
1 pc.
Figure 3
Attach R1 to R3 and R4, using
a and
wood screws ,
tighten halfway.
Attach R2 to R3 and R4 using
wood screws ,
tighten halfway. (see Figure 1)
Phillips screw driver
(6X)
(6X)
long
long
Insert wood screws (6X)
into the pre-drilled holes in R5,
tighten screws. (see Figure 3)
short
Slide R5 into the grooves in R3
and R4. Be sure to push R5 all
the way forward so it meets R1.
(see Figure 2)
STEP 2
STEP 3
STEP 4
Tighten all screws used in drawer assembly.
R4.
Side Part
1 pc.
R1
Figure 4
R6.
Metal Strip
2 pcs.
STEP 1
R2
Remove the tape
holding the Metal
Strips R6 in place.
You can adjust
the Metal Strip
for letter size or
legal size
file as shown.

Other EefaCo.Store Indoor Furnishing manuals

EefaCo.Store HOME STAR MET806 User manual

EefaCo.Store

EefaCo.Store HOME STAR MET806 User manual

EefaCo.Store 88 5180 08 User manual

EefaCo.Store

EefaCo.Store 88 5180 08 User manual

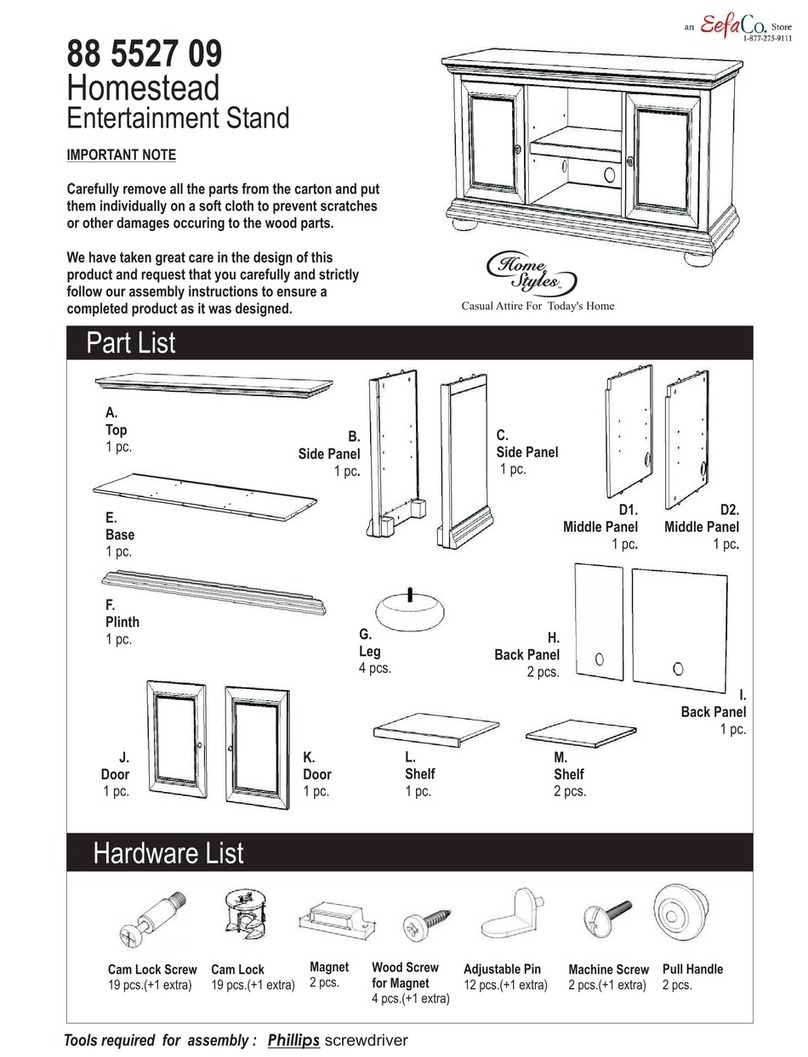
EefaCo.Store Home Styles 88 5527 09 User manual

EefaCo.Store

EefaCo.Store Home Styles 88 5527 09 User manual

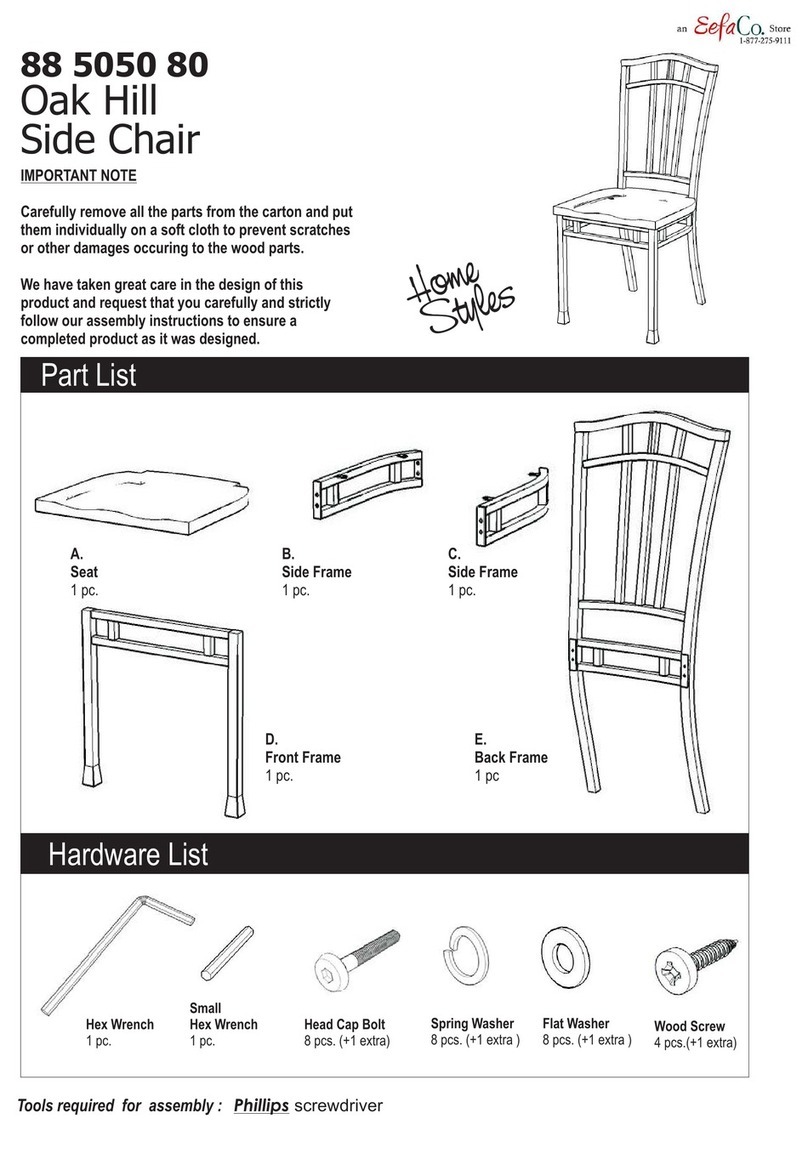
EefaCo.Store 88 5050 80 User manual

EefaCo.Store

EefaCo.Store 88 5050 80 User manual

EefaCo.Store Lafayette 88 5537 121 User manual

EefaCo.Store

EefaCo.Store Lafayette 88 5537 121 User manual

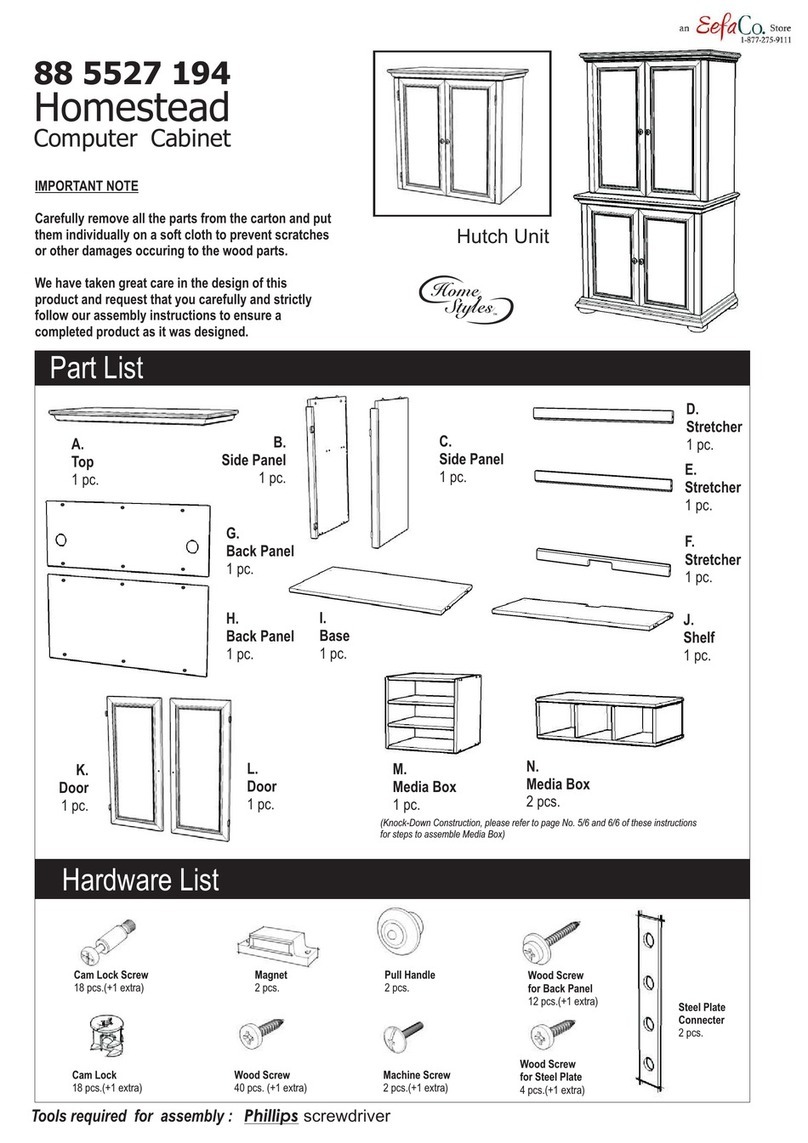
EefaCo.Store Home Styles Homestead 88 5527 194 User manual

EefaCo.Store

EefaCo.Store Home Styles Homestead 88 5527 194 User manual

EefaCo.Store 88 5537 131 User manual

EefaCo.Store

EefaCo.Store 88 5537 131 User manual

EefaCo.Store Carlisle MS986700TX User manual

EefaCo.Store

EefaCo.Store Carlisle MS986700TX User manual

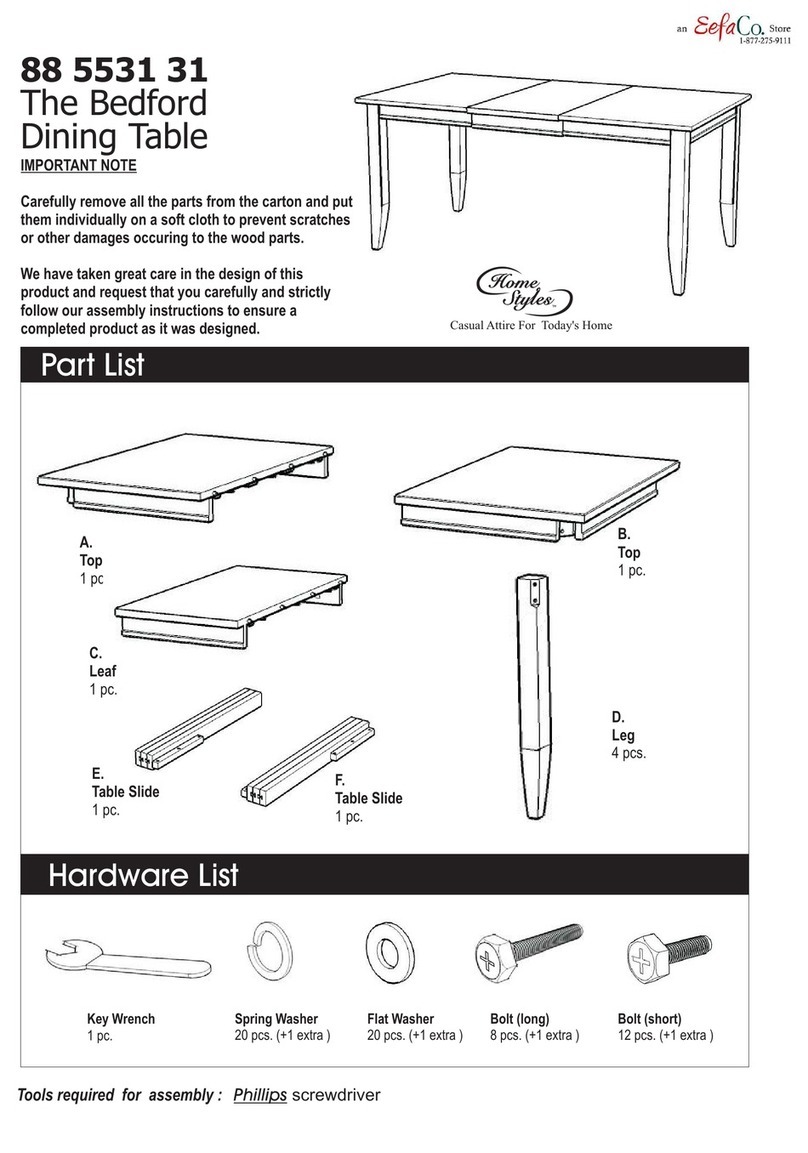
EefaCo.Store 88 5531 31 User manual

EefaCo.Store

EefaCo.Store 88 5531 31 User manual

EefaCo.Store 88 5536 951 User manual

EefaCo.Store

EefaCo.Store 88 5536 951 User manual

EefaCo.Store Art & Crafts Center Console 88 5180 12 User manual

EefaCo.Store

EefaCo.Store Art & Crafts Center Console 88 5180 12 User manual

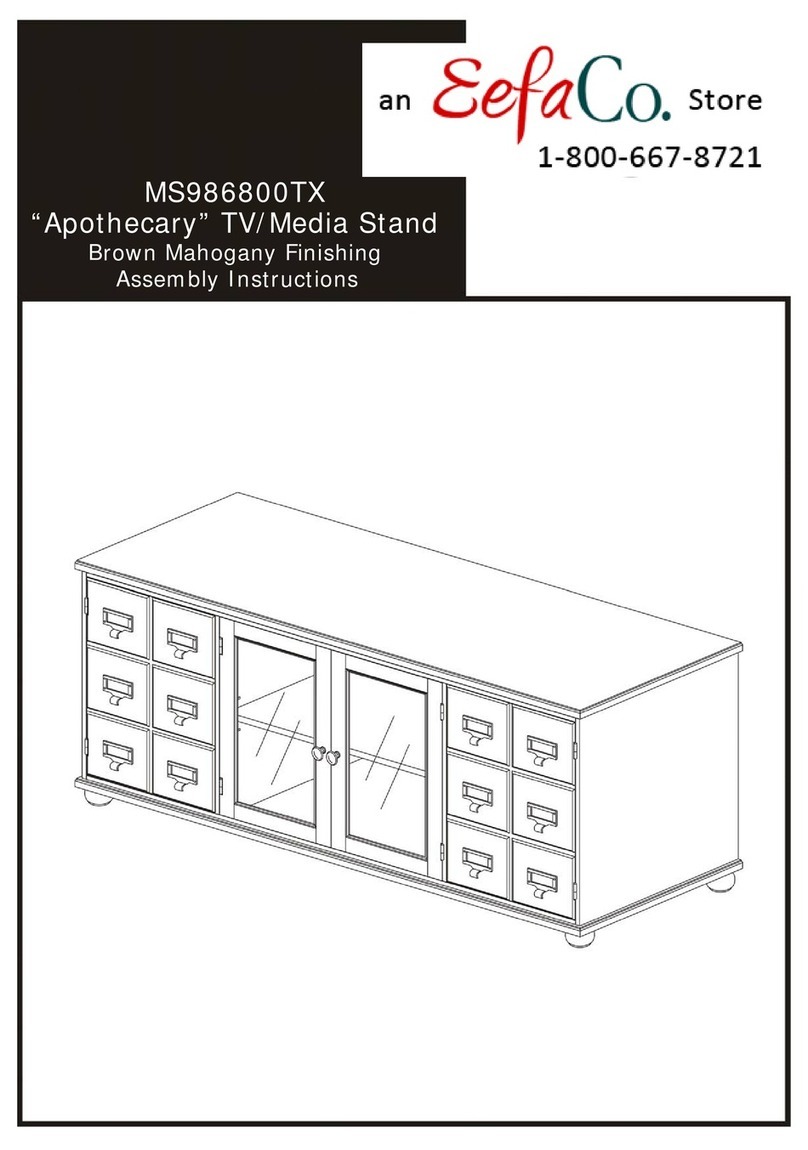
EefaCo.Store Apothecary MS986800TX User manual

EefaCo.Store

EefaCo.Store Apothecary MS986800TX User manual

EefaCo.Store 88 5130 381 User manual

EefaCo.Store

EefaCo.Store 88 5130 381 User manual

EefaCo.Store 88 5050 61 User manual

EefaCo.Store

EefaCo.Store 88 5050 61 User manual
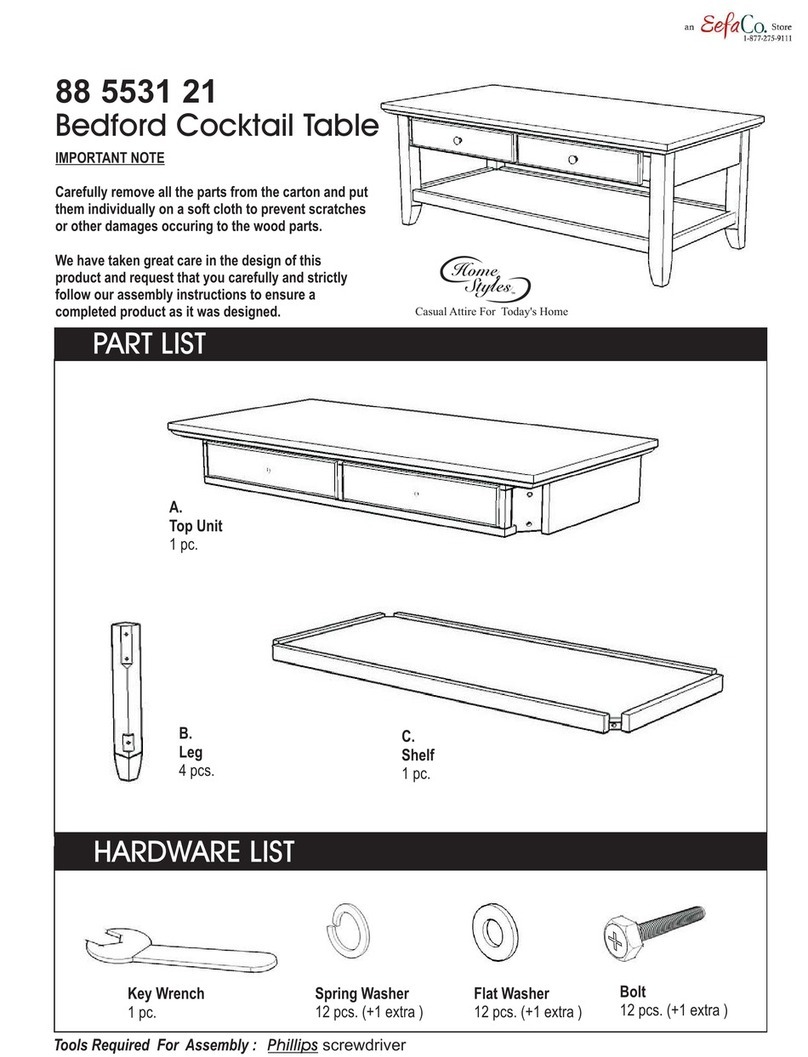
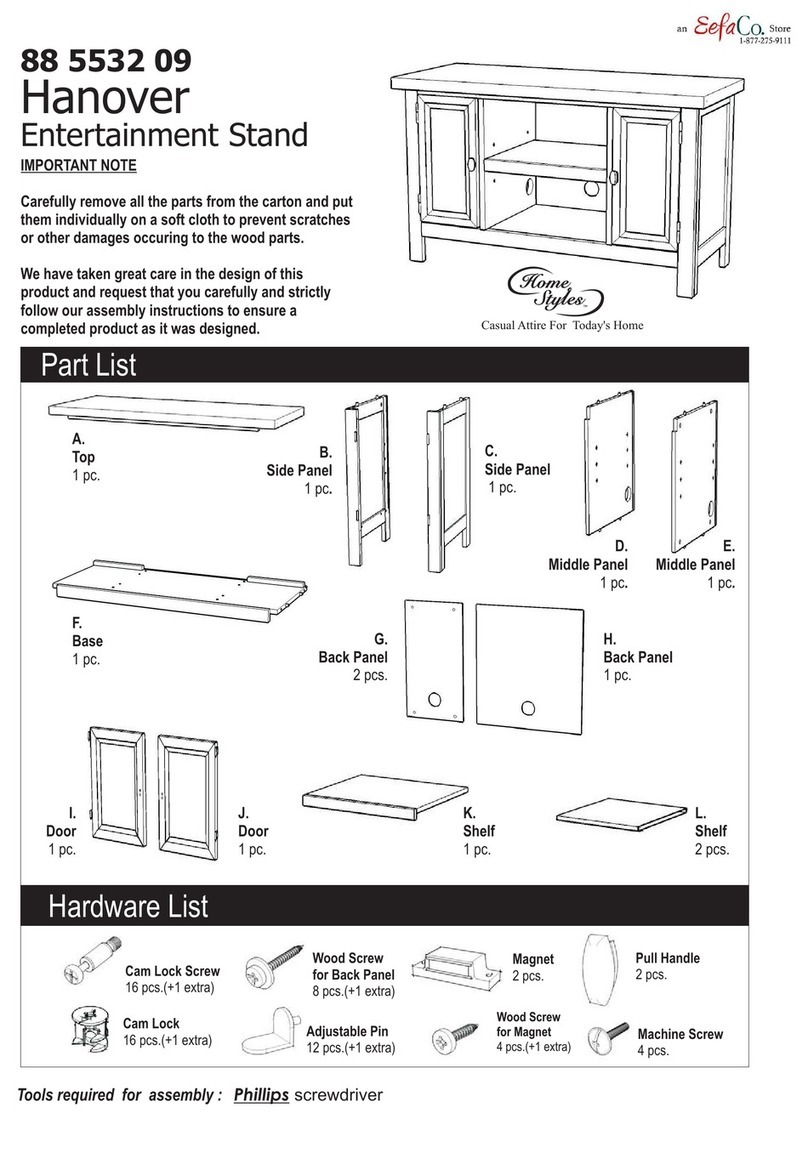
EefaCo.Store Home Styles Hanover 88 5532 09 User manual

EefaCo.Store

EefaCo.Store Home Styles Hanover 88 5532 09 User manual

EefaCo.Store 88 5531 21 User manual

EefaCo.Store

EefaCo.Store 88 5531 21 User manual
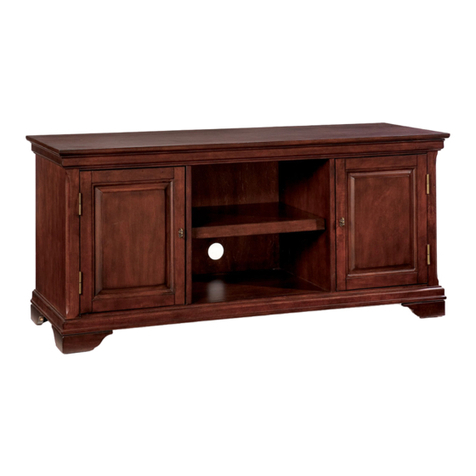
EefaCo.Store Bedford 88 5531 17 User manual

EefaCo.Store

EefaCo.Store Bedford 88 5531 17 User manual

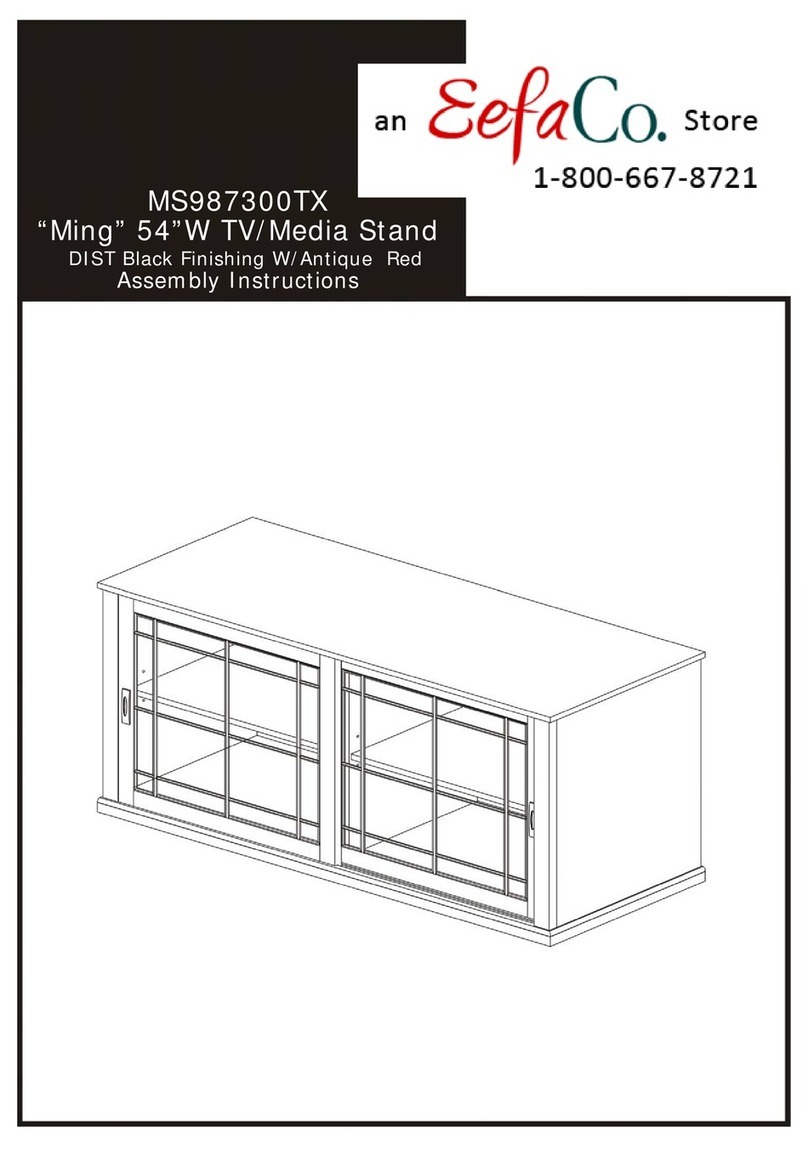
EefaCo.Store Ming MS987300TX User manual
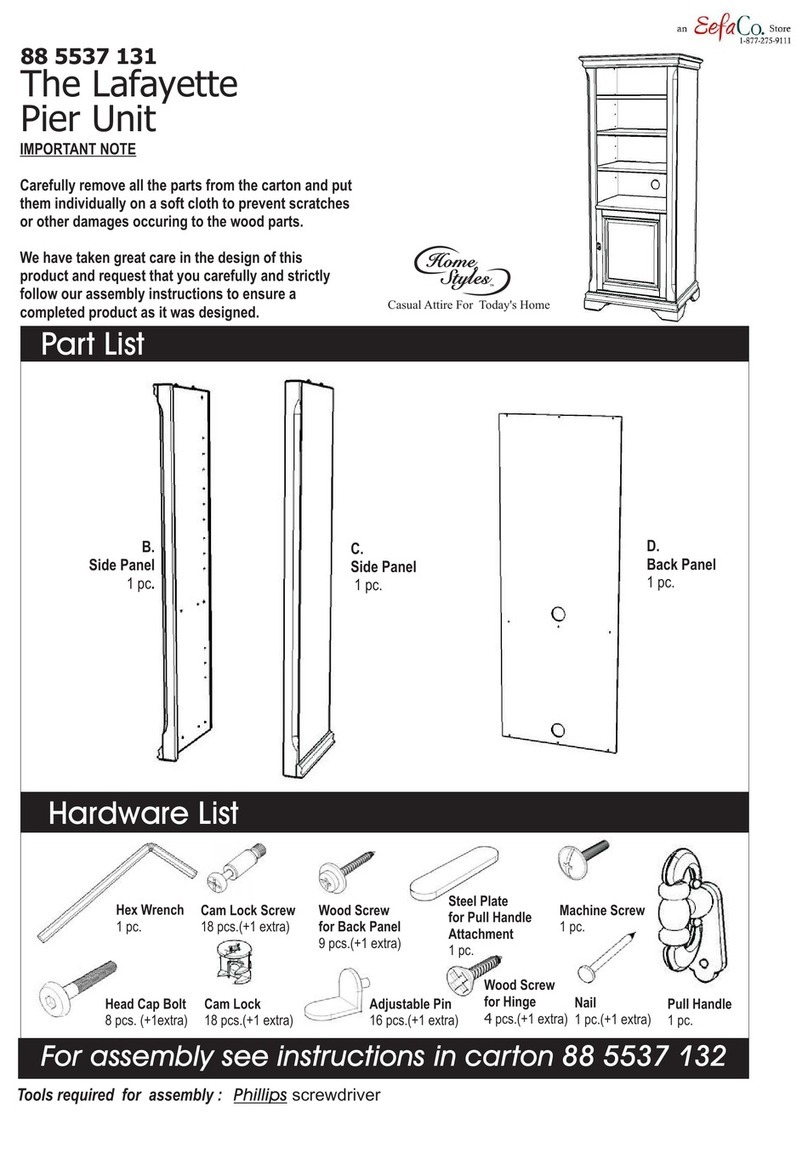
EefaCo.Store

EefaCo.Store Ming MS987300TX User manual

Popular Indoor Furnishing manuals by other brands

Dorel Home Products Futon 2000209W quick start guide

Dorel Home Products

Dorel Home Products Futon 2000209W quick start guide

ALDI Easy Home EHFMAU02WH instruction manual

ALDI

ALDI Easy Home EHFMAU02WH instruction manual

Instant Desks IDA-8211 Assembly instructions

Instant Desks

Instant Desks IDA-8211 Assembly instructions

LAZBOY Platinum Luxury-Lift Series operating instructions

LAZBOY

LAZBOY Platinum Luxury-Lift Series operating instructions

Montessori Furniture Dewdrop manual

Montessori Furniture

Montessori Furniture Dewdrop manual

Careleda Regency ULTIMATE Series Operating and care instruction manual

Careleda

Careleda Regency ULTIMATE Series Operating and care instruction manual

Coaster 508441 Assembly instructions

Coaster

Coaster 508441 Assembly instructions

LDI SAFCO Uber 3491 Assembly instructions

LDI

LDI SAFCO Uber 3491 Assembly instructions

Riverside Furniture Clinton Hill 47237 Assembly instructions

Riverside Furniture

Riverside Furniture Clinton Hill 47237 Assembly instructions

Argos Malvern 395/5152 Assembly instructions

Argos

Argos Malvern 395/5152 Assembly instructions

DITALIA CM-08 Assembling instructions

DITALIA

DITALIA CM-08 Assembling instructions

Cooper Lighting LINEA LV211 installation instructions

Cooper Lighting

Cooper Lighting LINEA LV211 installation instructions

Pressalit SELECT R4950 Operation and maintenance manual

Pressalit

Pressalit SELECT R4950 Operation and maintenance manual

Canvas MONACO 088-1787-4 Assembly instructions

Canvas

Canvas MONACO 088-1787-4 Assembly instructions

Intercon FR-TA-4278-PEW-C Assembly instruction

Intercon

Intercon FR-TA-4278-PEW-C Assembly instruction

Madison Park Kirtley Writing Desk Assembly instructions

Madison Park

Madison Park Kirtley Writing Desk Assembly instructions

Bestar 65802-1117 Assembly instructions

Bestar

Bestar 65802-1117 Assembly instructions

Sanus Systems CFV69 Assembly instructions

Sanus Systems

Sanus Systems CFV69 Assembly instructions

manuals.online logo
manuals.online logoBrands
  • About & Mission
  • Contact us
  • Privacy Policy
  • Terms and Conditions

Copyright 2025 Manuals.Online. All Rights Reserved.