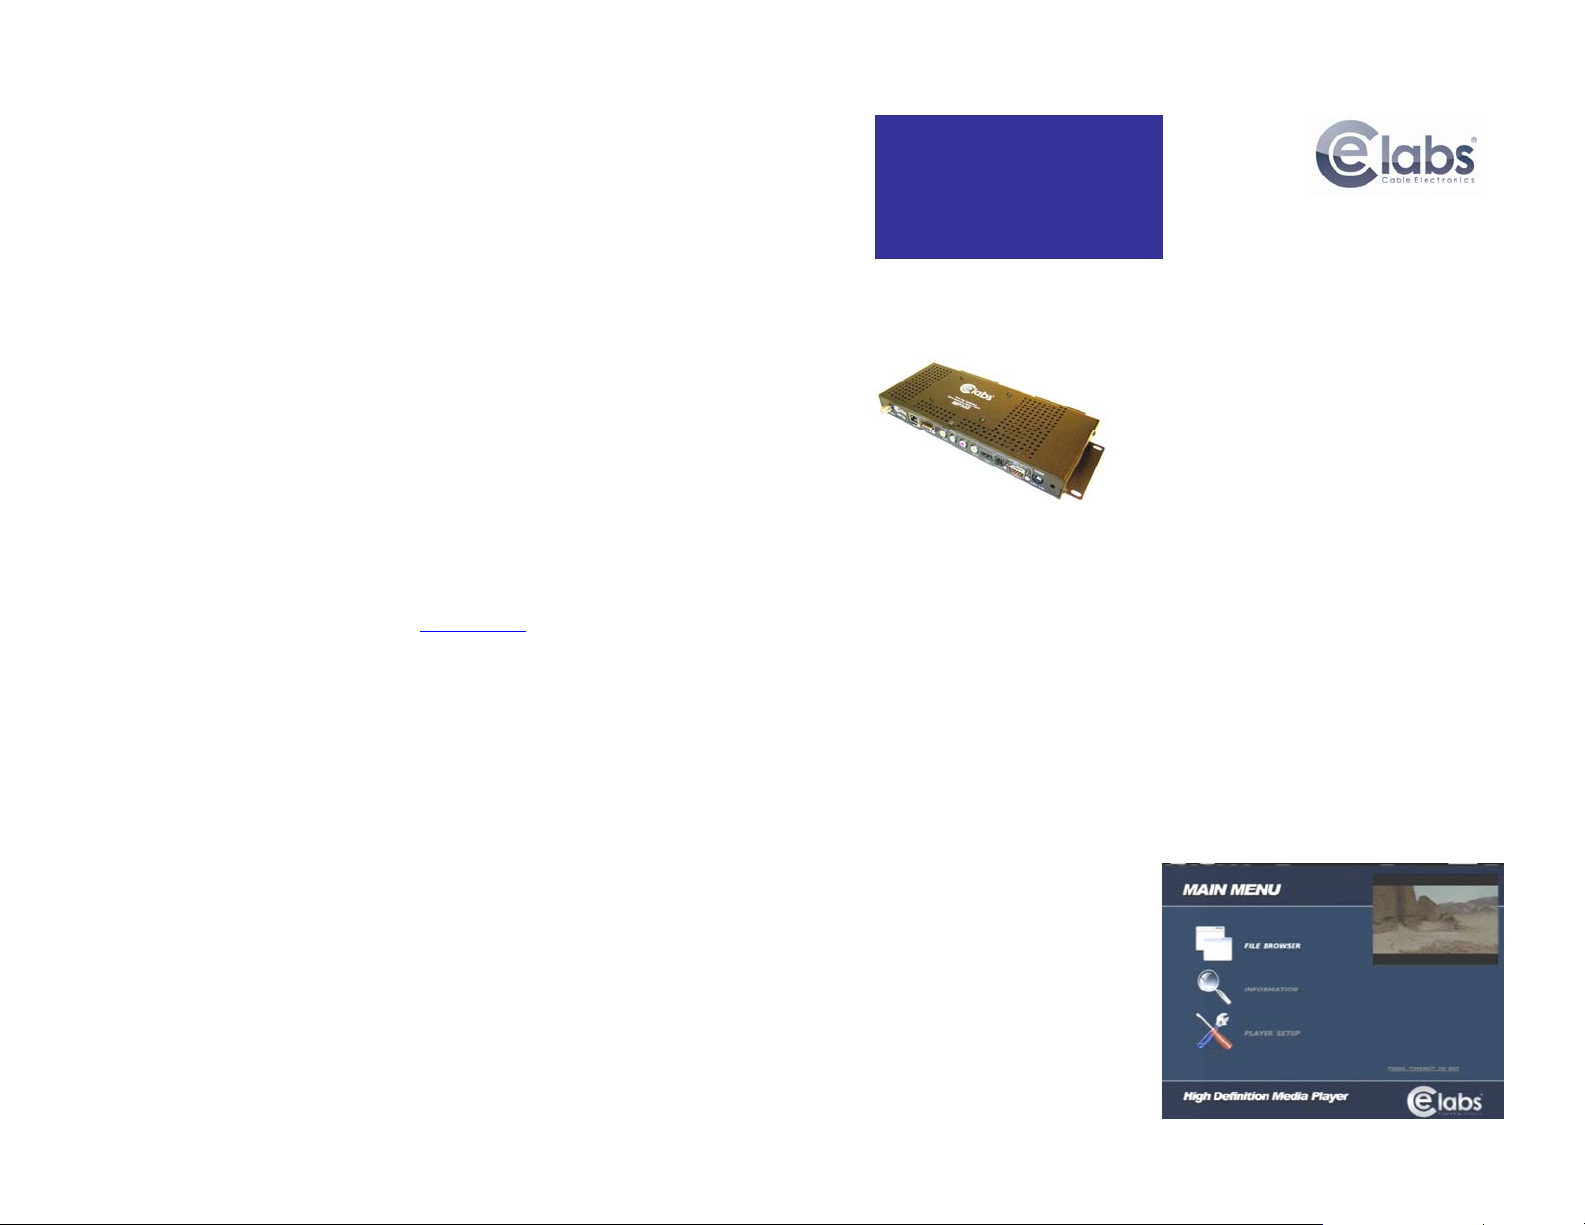
CE labs MP500 HD Media Player
Network Setup:
The unit will be shipped with DHCP enabled. A fixed IP address may be assigned via the unit menu. Press the menu
button on the remote control and follow the onscreen instructions to set up the network address.
QuickSign Software Installation and Operation:
Included with the player is our QuickSign software. This will allow you
to perform basic operations over a local network. More sophisticated
features such as Internet remote control, playlist scheduling, and data
logging are available in our QuickSign Pro or full CCM (CE labs
Content Manager). Please contact our sales department at
www.celabs.net for more details.
Install the CCM QuickSign application from the CD by following the on
screen instructions. Click on Tools and select Player Search and Start
Scan. When player(s) on local network are found, click on Add Players.
The Player Status screen will tell you
what file is currently playing and if there
is a playlist.
The Player Control tab controls several
functions: Load / Play, Stop, Create /
Edit Playlist, and File Manager
•File Manager allows you to directly
see the player content and launch a
file. This is also where you may
delete files from the player.
•Create / Edit Playlist is used to
select the desired files for playback.
This is also where you specify the
video scale in case there is a
template.
•After creating and saving a playlist,
select the desired playlist and click on the Load / Play button. This will launch the selected playlist. If the files in
the playlist are not already on the player, they will be downloaded into the player.
•Pressing Stop of course sends a stop command to the player. The player icon will change from green to red when
the player is not playing a file.
The Create/Playlist Editor allows you to make a list of a group
of media for playback. If the media player is equipped with a
browser layer, it is possible to scale the video screen and
display a HTML template around the perimeter of the screen.
Click on Specify Template and set the scale to fit the template
HTML page defined in the Template URL box. Save the playlist
and it will now appear in the playlist window under Player
Control. Click on Load/Play button to launch playlist.
CE labs MP500 HD Media Player
IMPORTANT SAFETY INSTRUCTIONS
1. Read these instructions.
2. Keep these instructions.
3. Heed all warnings.
4. Follow all instructions.
5. Do not use this apparatus near water.
6. Clean only with dry cloth.
7. Do not block any ventilation openings. Install in accordance with the manufacturer’s instructions.
8. Do not install near any heat sources such as radiators, heat registers, stoves, or other apparatus (including amplifiers)
that product heat.
9. Do not defeat the purpose of the polarized or grounding-type plug. A polarized plug has two blades with one wider that
the other. A grounding type plug has two blades and a third grounding prong. The wide blade or the third prong are
provided for your safety. If the provided plug does not fit into your outlet, consult an electrician for replacement of the
obsolete outlet.
10. Protect the power cord from being walked on or pinched particularly at plugs, convenience receptacles, and the point
where the exit from the apparatus.
11. Only use the attachments/accessories specified by the manufacturer.
12. Use only with the cart, stand, tripod, bracket, or table specified by the manufacturer, or sold with the apparatus.
When a cart is used, use caution when moving the cart/apparatus combination to avoid injury from tip-over.
13. Unplug this apparatus during lightning storms or when unused for long periods of time.
14. Refer all servicing to qualified service personnel. Servicing is required when the apparatus has been damaged in any
way such as power supply cord or plug is damaged, liquid has been spilled or objects have fallen into the apparatus,
the apparatus has been exposed to rain or moisture, does not operate normally, or has been dropped.
WARNING: To Reduce The Risk Of Fire Or Electric Shock, Do Not Expose This Apparatus To Rain Or
Moisture
CAUTION: To reduce the risk of electric shock, do not remove cover or back. No user serviceable parts
inside. Refer servicing to qualified personnel.
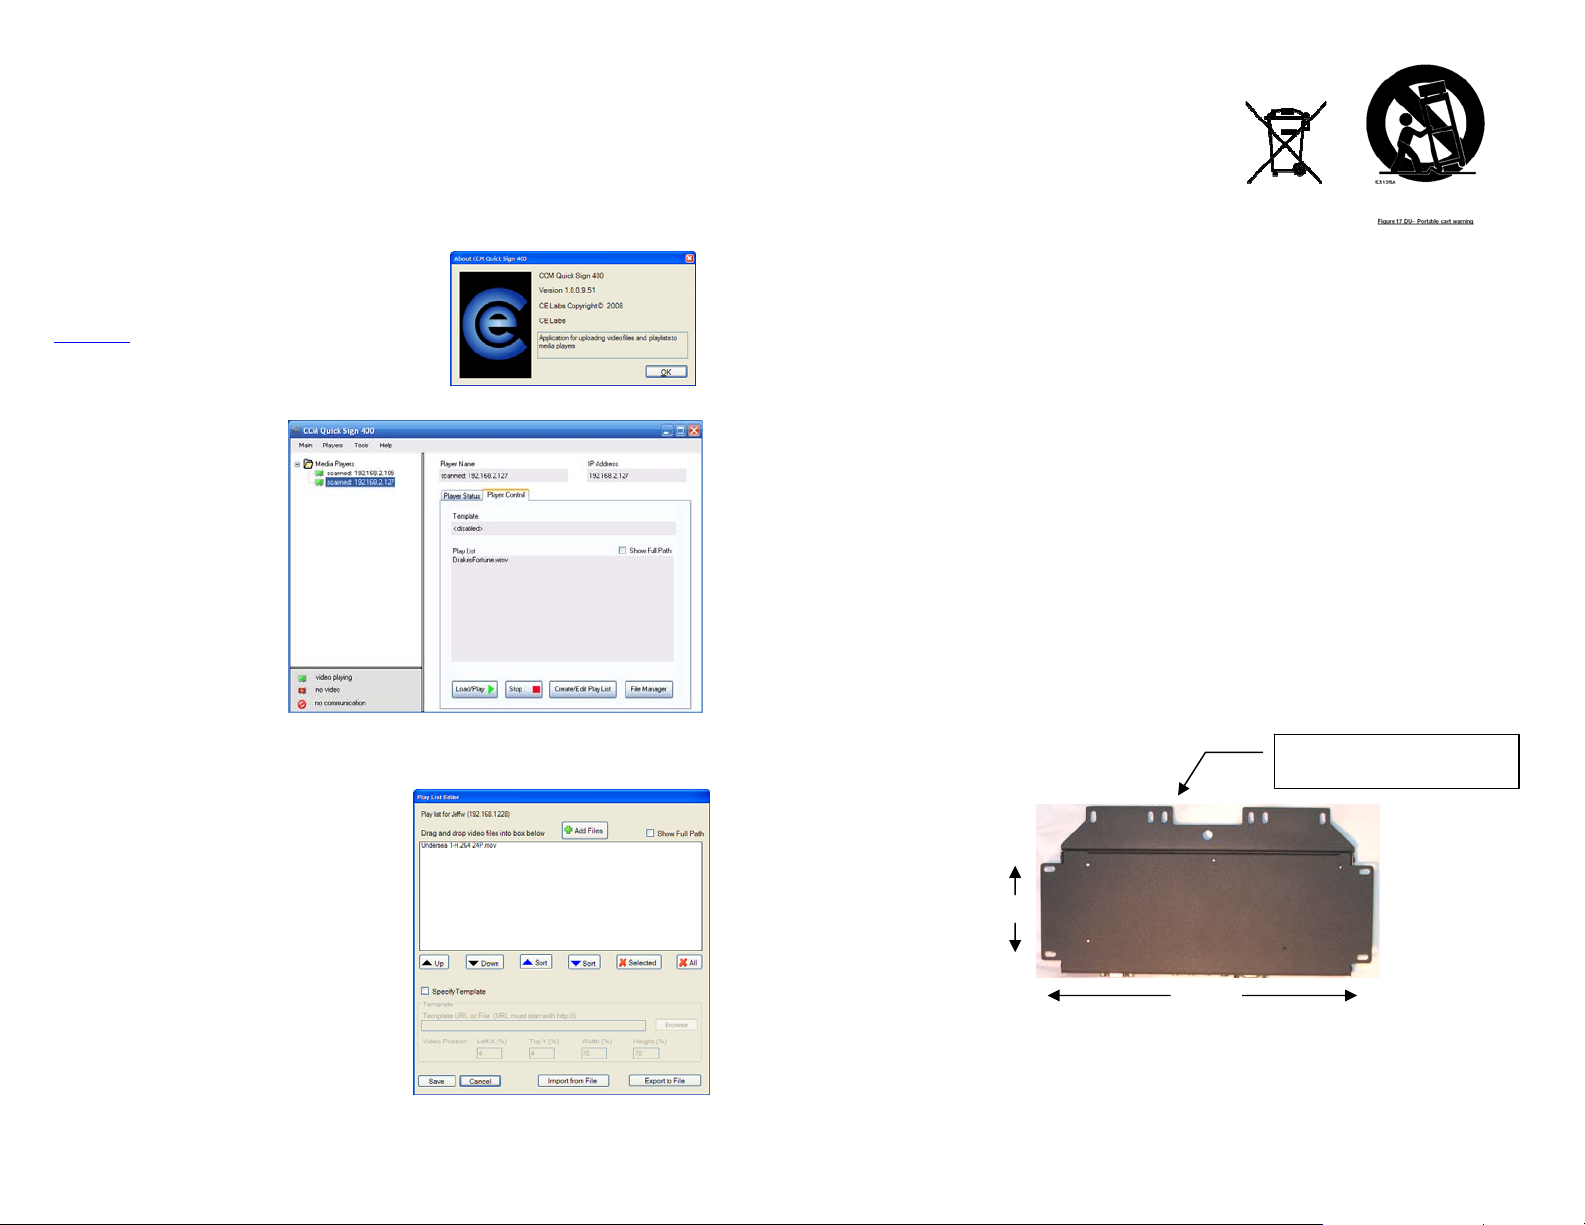
The media player should be located in a well ventilated air conditioned space for best operation. Several mounting options
are available to the installer. In addition to the two mounting ears integrated into the main chassis, an optional detachable
bracket is available that has hole spacing for standard VESA mounting patterns. There is also a larger 0.368” hole
centrally located in case the unit should need to be attached to a larger bolt. See photo for hole locations. The
dimensions given are measured from center to center of the holes.
The unit has ventilation holes along the sides and top. Theses should remain uncovered during operation. There are no
ventilation openings on the bottom of the chassis, so it may be bolted directly to a shelf or monitor.
This hole pattern on the optional bracket
will fit 75, 100, and 200mm spacing.
2.95”
10.9”