Elavon Nurit 8320 User manual
Retail Application
Quick Reference Guide
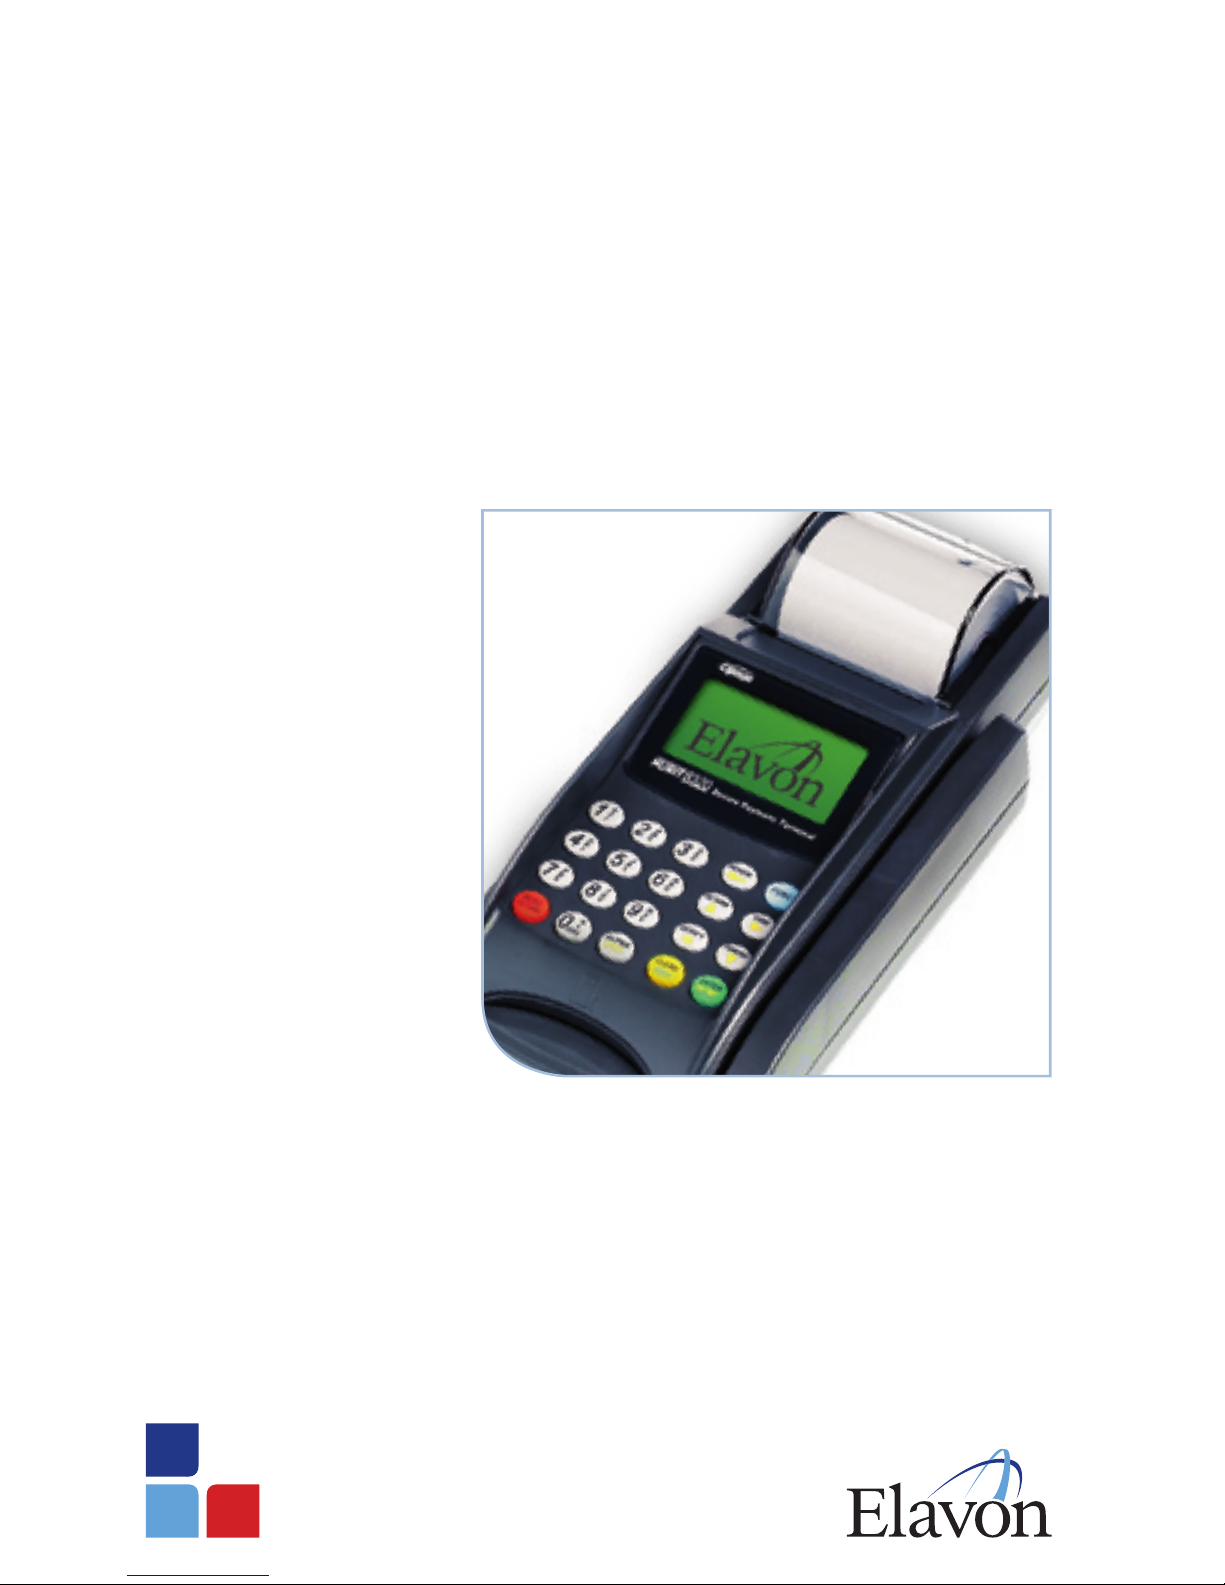
Nurit® 8320 & 8000

Sale: Credit Card (Swiped)
> Swipe credit card
> Press [MENU] to select Credit, if
prompted
> Input last 4-digits of the card # and press
[ENTER]
> Input amount of sale and press [ENTER]
> Input invoice # and press [ENTER], if
prompted
> Input 1-4 digit Clerk ID and press
[ENTER], if prompted
> Input tip amount and press [ENTER] or
press [ENTER] to bypass (Tips
CANNOT be added later)
> Input customer # and press [ENTER], if
purchasing card
> Input tax amount and press [ENTER], if
business card
> Press any key to print second receipt
Sale: Credit Card (Manual)
> Input card # and press [ENTER]
> Input expiration date (MMYY) and press
[ENTER]
> Input amount of sale and press [ENTER]
> Input invoice # and press [ENTER], if
prompted
> Input 1-4 digit Clerk ID and press
[ENTER], if prompted
> Input tip amount and press [ENTER] or
press [ENTER] to bypass
(Tips CANNOT be added later)
> Press [ENTER] if card is present or press
[MENU] if it is not
> Input 3-4 digit verification value from the
card and press [ENTER], if prompted
> Input street # from the address and press
[ENTER], if prompted
> Input zip code and press [ENTER]
> Input customer # and press [ENTER], if
purchasing card
> Input tax amount and press [ENTER], if
business card
> Press any key to print second receipt
Sale: Debit Card
> Press [ENTER] until the terminal displays
the DEBIT prompt
> Swipe card
> Input amount of the sale and press
[ENTER]
> Input invoice # and press [ENTER], if
prompted
> Input 1-4 digit Clerk ID and press
[ENTER], if prompted
> Input tip amount and press [ENTER] or
press [ENTER] to bypass (Tips CAN
NOT be added later)
> Input cash back amount and press
[ENTER] or press [ENTER] to bypass, if
prompted
> Have customer enter their PIN code and
press [ENTER]
> Press any key to print the second
receipt – paper type must be set to
custom for second debit receipt
Retail Application
Quick Reference Guide

Cash Sale
> Press [ENTER] until terminal displays
CASH prompt
> Input amount of the sale and press
[ENTER]
> Input invoice # and press [ENTER], if
prompted
> Input 1-4 digit Clerk ID and press
[ENTER], if prompted
> Input tip amount and press [ENTER] or
press [ENTER] to bypass tips, if
prompted
> Press any key to print the second
receipt – paper type must be set to
custom for second cash receipt
Void: Credit Card
> For 8320 press [VOID] until terminal
displays VOID/SALE, VOID/FRCD or
VOID/RTRN prompt
For 8000 press [
i
] until the terminal
displays the VOID/SALE, VOID/FRCD
or VOID/RTRN prompt
> Swipe card or manually enter credit
card # and press [ENTER]
> Input last 4-digits of the card # and press
[ENTER] (swipe only)
> Input card expiration date (MMYY) and
press [ENTER] (manual only)
> Input amount (including tip amount if
previously added) and press [ENTER]
> Input invoice # and press [ENTER], if
prompted
> Press any key to print the second receipt
NOTE: Debit transactions, or any
transactions that have batched cannot be
voided. The Return function can be used for
these instances where monies need to be
returned to the cardholder’s account.
Return: Credit Card
> For 8320 press [RETURN] until terminal
displays RETURN prompt
For 8000 press [
i
] until terminal dis
plays RETURN prompt
> Swipe card or manually enter credit card
# and press [ENTER]
> Input last 4-digits of the card # and press
[ENTER] (swipe only)
> Input card expiration date (MMYY) and
press [ENTER] (manual only)
> Input amount and press [ENTER]
> Input invoice # and press [ENTER], if
prompted
> Input 1-4 digit Clerk ID and press
[ENTER], if prompted
> Input customer # and press [ENTER], if
purchasing card
> Input tax amount and press [ENTER], if
business card
> Press any key to print the second receipt
Nurit® 8320 & 8000

Return: Debit Card
> Press [ENTER] until terminal displays
DEBIT prompt
> For 8320 press [RETURN] until terminal
displays RETURN prompt
For 8000 press [
i
] until terminal
displays RETURN prompt
> Swipe card
> Input amount and press [ENTER]
> Input invoice # and press [ENTER],
if prompted
> Input 1-4 digit Clerk ID and press
[ENTER], if prompted
> Input authorization # from the original
receipt and press [ENTER]
> Have customer enter their PIN code and
press [ENTER]
> Input time of the sale from the original
receipt (HH:MM) and press [ENTER]
> Input date of the sale from the original
receipt (MMDDYY) and press [ENTER]
> Press any key to print the second receipt
Verify
> For 8320 press [VERIFY] until terminal
displays VERIFY prompt
For 8000 press [
i
] until terminal
displays VERIFY prompt
> Swipe card or manually enter credit
card # and press [ENTER]
> Input last 4-digits of the card # and
press [ENTER] (swipe only)
> Input card expiration date (MMYY) and
press [ENTER] (manual only)
> Input amount and press [ENTER]
> Input invoice # and press [ENTER], if
prompted
> Input 1-4 digit Clerk ID and press
[ENTER], if prompted
> Input tip amount and press [ENTER] or
press [ENTER] to bypass
> Input customer # and press [ENTER], if
purchasing card
> Input tax amount and press [ENTER], if
business card
Retail Application
Quick Reference Guide

Forced
> For 8320 press [FORCED] until terminal
displays FORCED prompt
For 8000 press [
i
] until terminal
displays FORCED prompt
> Swipe card or manually enter credit
card # and press [ENTER]
> Input last 4-digits of the card # and press
[ENTER] (swipe only)
> Input card expiration date (MMYY) and
press [ENTER] (manual only)
> Input amount and press [ENTER]
> Input invoice # and press [ENTER], if
prompted
> Input 1-4 digit Clerk ID and press
[ENTER], if prompted
> Input tip amount and press [ENTER] or
press [ENTER] to bypass (Tips
CANNOT be added later)
> Enter authorization # received via voice
authorization or from the Verify receipt
and press [ENTER]
> Input customer # and press [ENTER], if
purchasing card
> Input tax amount and press [ENTER], if
business card
> Press any key to print the second receipt
Reprint
> Press the [ALPHA] key
> Input daily password and press [ENTER]
Select one of the options below:
> Press [3] to print the last merchant
receipt, if prompted
> Press [1] to print the last customer receipt
> Press [2] to print any receipt
• Press the # that corresponds with the
EDC type of original receipt
• Input transaction # from receipt and
press [ENTER]
• Press [1] for customer copy or [2] for
merchant copy

Print Current Batch Report
> For 8320 press the [FUNC] key to
access the Function menu
For 8000 press the [F] key to access the
Function menu
> Press [1] to print report
> Input daily password and press
[ENTER], if prompted
View Batch Information
> For 8320 press the [FUNC] key to
access the Function menu
For 8320 press the [F] key to access the
Function menu
> Scroll to select the REVIEW option
> Input daily password and press [ENTER]
> Scroll through the summary totals using
the [
h
] and [
i
] keys
> Press [ENTER] on the summary total of
choice to view details of the transactions
within that summary
> Use the [
f
] and [
g
] keys to view
details of that specific transaction
> Use the [
h
] and [
i
] keys to move to the
next or previous transaction
> Press [MENU] to exit
Add/Edit Clerk Name
> Press [MENU]
> Press [2] to select Merch. Params
> Press [8] to select Ind. Prompts
> Input daily password and press [ENTER]
> Press [1] for clerk mode
> Press [2] to enable (ON)
> Input 1-4 digit Clerk ID to add or edit
and press [ENTER]
• To edit, press [CLEAR] to delete
letters on screen prior to inputting
new letters
> Press the # that corresponds with the
letter you would like to input
> Press [ALPHA] until the letter of choice
appears
> Repeat the previous two steps until full
name is input and press [ENTER]

Close Current Batch
> For 8320 press the [FUNC] key to
access the Function menu
For 8000 press the [F] key to access the
Function menu
> Press [2] to start the batch process
> Press [1] to close all EDC types
> Press [2] to choose the EDC types to be
batched. If prompted, then press [1] to
close batch
> The terminal will settle the batch and
print settlement report
General Functions
For Nurit 8000
• POWER ON: Press and hold the
[ON/OFF] key for five seconds
• POWER OFF: Press the [F] and
[ON/OFF] keys at the same time
• HOT KEYS: Press the [F] key at the
same time as the # assigned to your
Hot Key function
• FEED PAPER: Hold down the [F] key
while tapping the [CLEAR] key
• ENTERING ALPHA CHARACTERS:
Press the # that corresponds with the
desired letter then press the [ALPHA]
key until the letter appears. Repeat these
steps until all letters are entered.
For Nurit 8320
• FEED PAPER: Hold down the [FUNC]
key while tapping the [ENTER] key
• ENTERING ALPHA CHARACTERS:
Press the # that corresponds with the
desired letter then press the [ALPHA]
key until the letter appears. Repeat these
steps until all letters are entered.
Nurit® 8320 & 8000

RTL-QRG-1086-US Rev0408 ©2008 Elavon Inc
MerchantConnect is your one-stop destination for online
customer service. It contains everything you need to manage
your electronic payment activity:
My Account
Manage your account online. View statements, view or
update your profile, request new products and track equipment
shipments.
My Reports
Provides you with timely and secure accounting information
such as deposit summaries, transaction activity, chargeback and
retrieval status and more.
Support
Find resource information about transaction processing, industry
mandates, product support and practical tips to help improve
your bottom line.
Getting Started Is:
Fast, Easy, Secure And Free!
Go to www.MerchantConnect.com
MerchantConnect
The Online Window To Your Payment
Processing Account
This manual suits for next models
1
Table of contents
Other Elavon Payment Terminal manuals

Elavon
Elavon Nurit 8000 User manual

Elavon
Elavon Ingenico User manual

Elavon
Elavon iCT250 User manual

Elavon
Elavon VeriFone Omni Vx Series User manual

Elavon
Elavon Hypercom T4200Series User manual

Elavon
Elavon Ingenico 7780 User manual

Elavon
Elavon Ingenico Telium User manual

Elavon
Elavon CFNA User manual

Elavon
Elavon Hypercom T4200 Series User manual

Elavon
Elavon VeriFone Tranz User manual


