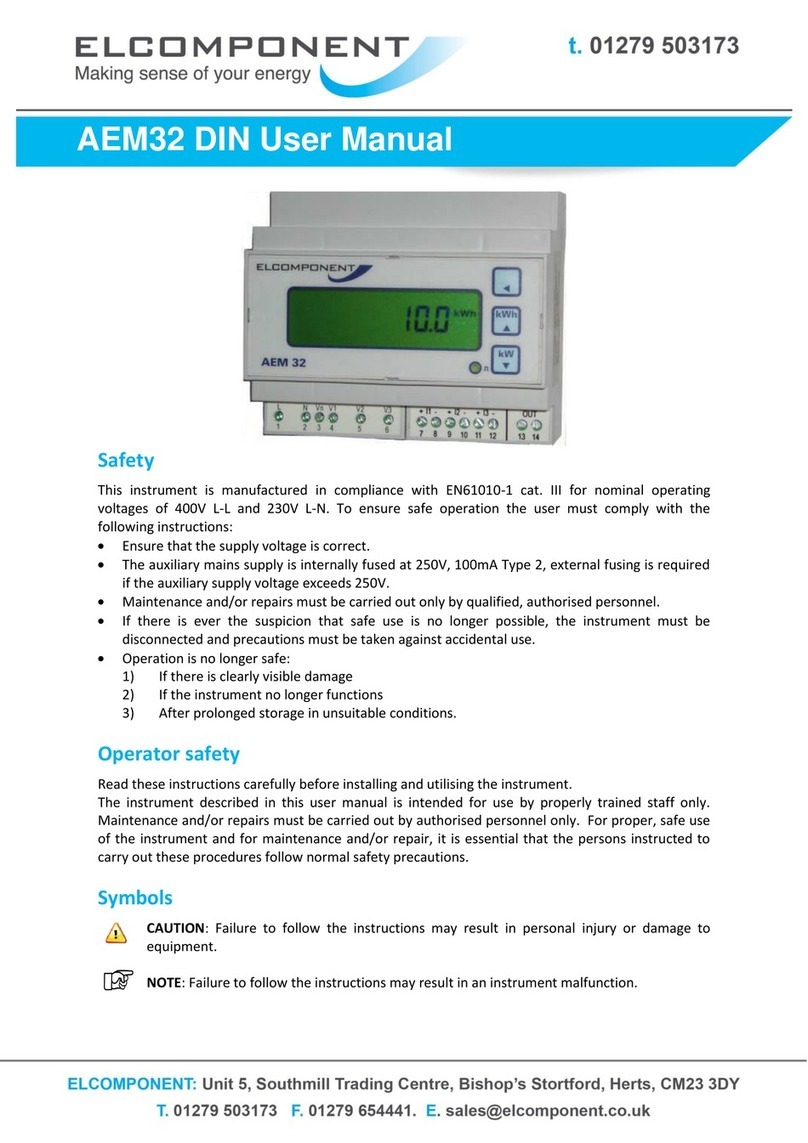
The AEM32 is suitable for use with current transformers
(CTs) with 5A secondary output. Metering quality CTs of
Class 1 accuracy with a minimum rating of 2.5VA are
recommended.
Connections should be made according to the diagrams
above.
CAUTION:
The pulse output contacts are rated at 100mA AC/DC,
100V max. Under no circumstances should this rating be
exceeded.
The output has a telltale l.e.d. on the front panel which
flashes ‘on’ to indicate a pulse being generated.
The pulse connections are as follows:
Terminals 13 & 14
The contacts are volt free and therefore an external power
supply must be provided.
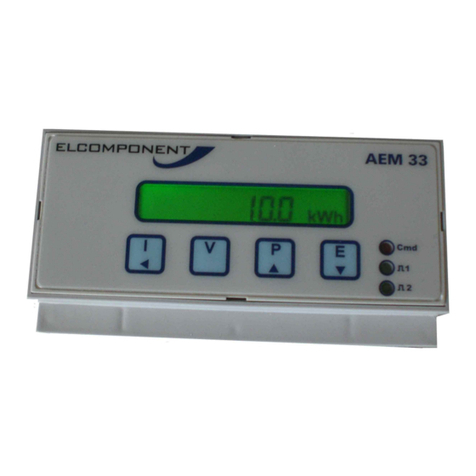
When the instrument is powered up, the display will initially
show the internal software version, then after a few
seconds will start displaying measured values. The three
buttons allow the user to scroll through the available
measurements.
ENERGY DISPLAYS
Press the button to select Total kWh or kWh Count
display pages. The kWh Count display remains visible for
1 minute before the unit reverts to Total kWh mode.
Press and together and hold for 5 seconds to
reset the kWh Count register to zero. Scaling of the
energy registers is set by the nominal input currents and
voltages and remains constant during operation of the
meter. Energy registers will accumulate from zero to
99,999,999 then restart from zero.
INSTANTANEOUS kW DISPLAY
3.1 CONNECTION OF THE CURRENT INPUT
Press to select the following display:
The instantaneous power display may show negative values
indicating export power or incorrectly wired inputs. REV CT
will also be show indicating that the most likely cause of the
negative reading is one or more current transformers fitted the
wrong way round on the primary conductor.
3.2 PULSE OUTPUT CONNECTIONS
5 PROGRAMMING
CT SET-UP
The instrument must be set up for the CTs to which it is
connected. This need only be done once, after which the
setting is maintained in memory for the life of the unit
regardless of whether it is powered up or not.
To enter programming mode press and
simultaneously for 5 seconds. The unit shows the CT primary
settings screen.
The CT primary value may then be set from the following
nominal values (secondary value must be 5A):
4 INSTRUMENT OPERATION
5, 10, 15, 20, 30, 40, 50, 60, 80, 100, 150, 200, 250, 300, 400,
500, 600, 800, 1000, 1200, 1250, 1500, 1600, 2000, 2400,
3000, 2500, 4000, 4500, 5000, 5500, 6000, 6500, 7000, 7500,
8000, 8500, 9000, 9500, 10000, 10500, 11000, 11500, 12000,
12500, 13000, 13500, 14000, 14500, 15000, 15500, 16000,
16500, 17000, 17500, 18000, 18500, 19000, 19500, 2000,
205000, 21000, 21500, 22500, 23000, 23500, 24000, 24500,
25000
Press the Sor Tkey until the desired current is displayed. If
the desired CT value is not present in the above list, the ratio
may be ‘fine adjusted’ as follows: Press and hold the Wand S
buttons simultaneously for 2 seconds to enter ‘Fine Adjust
Mode’. This is indicated by the display showing “CtF”, this
enables the CT primary value to be changed in 10A steps until
the desired ratio is displayed. Press the Wkey to store the
value and continue to the next parameter.
VT SET-UP
The default voltage setting is 400V and this value should not
be altered. Press the Wkey to continue to the next parameter.
