Elumen8 Liberty 1T36 Battery Uplighter User manual

Order codes:
ELUM117 - Black housing
ELUM117A - White housing
Liberty 1T36 Battery Uplighter
1 x 36W COB tri-colour LED (RGB)
User Manual
Optional
IR remote
Order ref:
LEDJ90B
Convection
cooled,
no fan!

www.elumen8.co.uk Liberty 1T36 Battery Uplighter User Manual
2
Safety advice
WARNING
FOR YOUR OWN SAFETY, PLEASE READ THIS USER MANUAL
CAREFULLY BEFORE YOUR INITIAL START-UP!
• Beforeyourinitialstart-up,pleasemakesurethatthereisnodamagecausedduringtransportation.
• Shouldtherebeanydamage,consultyourdealeranddonotusetheequipment.
• Tomaintaintheequipmentingoodworkingconditionandtoensuresafeoperation,itisnecessary
fortheusertofollowthesafetyinstructionsandwarningnoteswritteninthismanual.
• Pleasenotethatdamagescausedbyusermodicationstothisequipmentarenotsubjecttowarranty.
IMPORTANT:
The manufacturer will not accept liability for any resulting damages caused by the non-observance
of this manual or any unauthorised modication to the equipment.
OPERATING DETERMINATIONS
Ifthisequipmentisoperatedinanyotherway,thanthosedescribedinthismanual,theproductmaysufferdamageand
thewarrantybecomesvoid.Incorrectoperationmayleadtodangere.g:short-circuit,burnsandelectricshocksetc.
Donotendangeryourownsafetyandthesafetyofothers!
Incorrectinstallationorusecancauseseriousdamagetopeopleand/orproperty.
• Neverletthepowercablecomeintocontactwithother
cables.Handlethepowercableandallmainsvoltage
connectionswithparticularcaution!
• Neverremovewarningorinformativelabelsfromtheunit.
• Donotopentheequipmentanddonotmodifytheunit.
• Donotconnectthisequipmenttoadimmerpack.
• Donotswitchtheequipmentonandoffinshortintervals,
asthiswillreducethesystem’slife.
• Onlyusetheequipmentindoors.
• Donotexposetoammablesources,liquidsorgases.
• Alwaysdisconnectthepowerfromthemainswhen
equipmentisnotinuseorbeforecleaning!Onlyhandle
thepower-cablebytheplug.Neverpullouttheplugby
pullingthepower-cable.
• Makesurethattheavailablevoltageisbetween
100~240V,50/60Hz.
• Makesurethatthepowercableisnevercrimpedor
damaged.Checktheequipmentandthepowercable
periodically.
• Iftheequipmentisdroppedordamaged,disconnectthe
mainspowersupplyimmediatelyandhaveaqualied
engineerinspecttheequipmentbeforeoperatingagain.
• Iftheequipmenthasbeenexposedtodrastic
temperatureuctuation(e.g.aftertransportation),
donotconnectpowerorswitchitonimmediately.
Thearisingcondensationmightdamagetheequipment.
Leavetheequipmentswitchedoffuntilithasreached
roomtemperature.
• Ifyourproductfailstofunctioncorrectly,stopuse
immediately.Packtheunitsecurely(preferablyinthe
originalpackingmaterial),andreturnittoyourProLight
dealerforservice.
• Onlyusefusesofsametypeandrating.
• Repairs,servicingandpowerconnectionmustonlybe
carriedoutbyaqualiedtechnician.THISUNITCONTAINS
NOUSERSERVICEABLEPARTS.
• WARRANTY:Twoyearsfromdateofpurchase.
• NOTE:Batteriesareclassedasconsumableitemswhich
arecoveredfor90daysfromdateofpurchase.
CAUTION!
KEEP THIS EQUIPMENT
AWAY FROM RAIN,
MOISTURE AND LIQUIDS
CAUTION!
TAKE CARE USING
THIS EQUIPMENT!
HIGH VOLTAGE-RISK
OF ELECTRIC SHOCK!!
www.elumen8.co.uk Liberty 1T36 Battery Uplighter User Manual
3
Product overview & technical specications
Housinga1x36Wtri-colourLED,theLiberty1T36batteryuplightergivessmoothcolourmixingfromrich
saturatedhuestosubtlepastelshades.Theseunitshavearuggedhousingandfeaturea4pushbuttonLED
menuwhichallowsforeasyaccesstothefunctionsincludingDMX,master/slave,soundactiveandstandalone.
Anoptional20°lensisincludedtofurtherincreasethexturesapplications.
•2yearwarranty
•1x36Wtri-colourLED(RGB)
•Beamangle:110°
•Beamanglewithlens:20°(eldangle:28°)
•Refreshrate:3.6kHz
•DMXchannels:3or5selectable
•WirelessDMXcontrolfromWDMX
•Staticcolour,colourchange,colourfade,
auto,soundactiveandmaster/slavemodes
•0-100%dimmingandvariablestrobe
•Adjustableangle
•Carryhandle
•Safetybond/securitychainpoint
•4pushbuttonmenuwithLCDdisplay
•Rechargeablebatteryforwirelessapplications
•IECpowerinput/output
•3-PinXLRin/outsockets
•Convectioncooled
•OptionalIRremote(LEDJ90B)
Liberty 1T36 battery uplighter
Specications Liberty 1T36 battery uplighter
Powerconsumption 120W(whencharging)
Batterylife 6-8hours*(fullon)
11-13hours*(colourfade)
Batteryrechargetime 5hours
Powersupply 100~240V,50/60Hz
Dimensions 265x220x190mm
Weight 5.8kg
Ordercode ELUM117-Blackhousing
Ordercode ELUM117A-Whitehousing
0m 1m 2m 3m 4m 5m
20° - Lux
110° - Lux
4500
500
1688
130
686
60
397
36
110°
264
24
20°
220mm 190mm
265mm
*battery life subject to usage and the environment
where the xture is situated.

www.elumen8.co.uk Liberty 1T36 Battery Uplighter User Manual
4
Angle adjustment:
Usethetighteningknobsoneithersideofthexture
toadjusttheanglefrom0-90°.
DMX IN
MIC
ON
OFF
DMX OUT
MODE ENTER UP DOWN
FUSE:F2A~250V
POWER IN
AC 100~240V, 50/60Hz POWER OUT
AC 100~240V, 50/60Hz
LIBERTY 1T36
UPLIGHTER
www.elumen8.co.uk
Charge
Indicator
Wireless
DMX Signal
Indicator
Battery Indicator
Technical specications
Operating instructions
01-Microphone
02-Earthpoint
03-IECpowerinsocket
04-FuseF2A250V
05-DMXinsocket
06-DMXoutsocket
07-IECpoweroutsocket
08-Functionbuttons
09-On/offbuttons
10-LCDdisplay
11-WirelessDMX
antenna
12-Tighteningknobsforangle
adjustment
13-Batteryindicator
14-ChargeIndicator
15-WirelessDMXsignalindicator
Inthebox:1 x xture,
1 x IEC mains cable &
1 x user manual
01
08
09
14
15
1212
10
11
02
03 04 05 06 07 13
Please note:
Thisxtureisnotsuppliedinafullycharged
state,andmustbechargedforupto24hours
beforeoperation.

www.elumen8.co.uk Liberty 1T36 Battery Uplighter User Manual
5
DMX channel mode:
OperatinginDMXcontrolmodegivestheuserthegreatestexibilitywhenitcomestocustomisingor
creatingashow.Inthismodeyouwillbeabletocontroleachindividualtraitofthextureandeach
xtureindependently.
ToaccesstheDMXchannelmode,pressthe“MENU”buttonontherearoftheunittoshow“CHANNEL”
ontheLCDdisplay.Nowpressthe“ENTER”buttonandusethe“UP”and“DOWN”buttonstochoose
oneofthe3or5DMXchannelmodes.Pressthe“ENTER”buttontoconrmthesetting.
Toexitoutofanyoftheaboveoptions,pressthe“MODE”button.
DMX address examples:
TosettheDMXaddress,pressthe“MENU”buttonontherearoftheunittoshow“DMXMODE”
ontheLCDdisplay.Nowpressthe“ENTER”buttonandusethe“UP”and“DOWN”buttonstochoose
betweentheadresses000-512.Pressthe“ENTER”buttontoconrmthesetting.
Toexitoutofanyoftheaboveoptions,pressthe“MODE”button.
Colour mode:
Toaccessthestaticcolourmode,pressthe“MODE”buttonontherearoftheunittoshow“1.STATIC”
ontheLCDdisplay.Thenpressthe“ENTER” buttonandusethe“UP”and“DOWN”buttonstochange
betweenstaticcolour,colourchange(7colour),colourchange(3colour)andcolourfademodes.Press
the“ENTER”buttontoconrmthesetting.Nowusethe“UP”and“DOWN”buttonstoselecttheRGB
brightnessandF(ash)speed.Pressthe“ENTER”buttontoconrmthesetting.
Toexitoutofanyoftheaboveoptions,pressthe“MODE”button.
Channel Value Function
1000-255 Red
2000-255 Green
3000-255 Blue
3 channel mode:
Channel Value Function
1000-255 Red(0-100%)
2000-255 Green(0-100%)
3000-255 Blue(0-100%)
4000-255 Masterdimmer(0-100%)
5 000-000 ON
001-005 Soundcontrol(7colours)
006-010 Dimmer
011-255 Strobe
5 channel mode:

www.elumen8.co.uk Liberty 1T36 Battery Uplighter User Manual
6
Master/slave mode:
Tosetthemasterunit,pressthe“MODE”buttonontherearofthemasterunitthenselectyour
desiredprogram(soundactive,auto,staticcolour,colourfadeoroneofthebuilt-inprograms).
Tosettheotherunitsinslavemode,pressthe“MODE”buttonontherearoftheunittoshow“SLAVE
MODE”ontheLEDdisplayandpressthe“ENTER”buttontoconrmthesetting.Theunitwillnowrunin
sequencewiththemasterunit.
Toexitoutofanyoftheaboveoptions,pressthe“MODE”button.
PleaseensurethatallslaveunitsaresettothesameDMXchannelmodeasthemasterunit.
Sound active mode:
Toaccessthesoundactivemode,pressthe“MODE”buttonontherearoftheunittoshow“SOUND
SENS”ontheLCDdisplay.Nowpressthe“ENTER”buttonandusethe“UP”and“DOWN”buttonstoset
thesoundsensitivitylevelfrom00-31.Pressthe“ENTER”buttontoconrmthesetting.
Toexitoutofanyoftheaboveoptions,pressthe“MODE”button.
Dimmer response:
Toaccessdimmerresponse,pressthe“MODE”buttonontherearoftheunittoshow“DIMMER
RESPON”ontheLCDdisplay.Nowpressthe“ENTER”buttonandusethe“UP”and“DOWN”buttons
toselectbetween“DIMMERRESPON01”(LEDdimming),or“DIMMERRESPON02”(halogendimming).
Pressthe“ENTER”buttontoconrmthesetting.
Toexitoutofanyoftheaboveoptions,pressthe“MODE”button.
Power mode:(thisgivesyoutheoptiontohavetheunitilluminatedoroffwhilstcharging)
Toaccessthepowermode,pressthe“MODE”buttonontherearoftheunittoshow“POWER”onthe
LCDdisplay.Nowpressthe“ENTER”buttonandusethe“UP”and“DOWN”buttonssettoONorOFF.
ON-theunitwillbeilluminatedwhilstcharging
OFF-theunitwillbeoffwhilstcharging
Pressthe“ENTER”buttontoconrmthesetting.
Toexitoutofanyoftheaboveoptions,pressthe“MODE”button.

www.elumen8.co.uk Liberty 1T36 Battery Uplighter User Manual
7
Battery reference information:
WhenthebatterychargeindicatorLEDisilluminatedred,thextureisrecharging.
WhenthebatterychargeindicatorLEDisilluminatedgreen,thextureischarged.
WhenthebatterylifeindicatorLED(s)areilluminatedgreen,thefollowingrulesapply:
4 indicators-100%charged
3 indicators-75%charged
2 indicators-50%charged
1 indicator-25%charged
Therechargingtimeforthebatteryis5hours.
Thebatteryusagetimefromfullychargedisdependantonthemodeandbrightnessofthexture.
Formoreinformationpleaseseethespecicationstableonpage3.
Wireless DMX:
ToactivatethewirelessDMXreceiverpressthemodebuttonuntilthedisplayshows“WirelessOff”,
press“ENTER” toaccessthemenuandthen“UP/DOWN”toselect“WirelessOn”.
WhenthewirelessDMXsignalindicatorLEDisilluminatedred,thewirelessreceiverisnotactive.
WhenthewirelessDMXsignalindicatorLEDisashingredandgreen,thewirelessDMXreceiverison
andistryingtoconnecttothewirelessDMXtransmitter.
WhenthewirelessDMXsignalindicatorLEDisgreen,theconnectiontothewirelessDMXtransmitter
isgood.
WhenthewirelessDMXsignalindicatorLEDisgreen(on)andred(ashing)itmeanstheconnectionis
good,butthextureisnotreceivingtheDMXsignalfromthetransmitter.

www.elumen8.co.uk Liberty 1T36 Battery Uplighter User Manual
8
Optional IR remote functions:
Button functions:
DMX address examples:
Important notes:
• SettheDMXaddressoneachxturebeforepluggingintotheDMXcontroller
• TheIRremoteiscannotbeusedwhenthexture(s)arebeingcontrolledbyaDMXcontroller
• Themaximumtransmitterdistanceis10m-PleasemakesurethatyouhavetheIRremoteaimed
directlyatthefrontpanelofeachxturetobeprogrammed
• Ifyoudonotpressthe“DMXMODE”buttonafteryouhavechangedtheDMXaddress,
whenyoupowerdownthextureitwilllosetheaddressyouhaveset
01-Blackout
02-SettheLEDscolour,thenusethe‘+’and‘-’
buttonstochangethebrightness
03-Setinautorun
04-Runthebuilt-inprograms,thenusethe‘+’and‘-’
buttonstogothroughtheprograms
05-SettheLEDstoashonandoff,thenusethe‘+’
and‘-’buttonstochangetheashfrequency
06-Settherunspeed,thenusethe‘+’and‘-’buttons
tochangethedesiredspeed
(note:onlyavailableinthecolourchangeor
colourfademodes)
07-SettheLEDsintoDMXmode
08-SettheLEDintosoundactivemode
09-SettheLEDsintoslavemode
10-SettheDMXaddressfortheLEDs
1 2 3
4 5 6 0
+
_
7 8 9
AR
D
FL
SL
SP
S
S PR
SA
RG B
BLACKOUT DIMMING
FLASH
SLAVE
SPEED
SET ADDR
SELECT PROG
SOUND ACTIVE
AUTO RUN
DMX MODE
01 02
04 05
09
03
07
08
06
10
10
Optional
IR remote
Order code:
LEDJ90B
TosettheDMXaddress“245”;
• Pressthe“S”button,theredLEDswillcomeon,
youcannowstarttosettheDMXaddress
• Nowpressthe“2”button,thegreenLEDswill
comeon,thismeanstherstdigithasbeen
setat2
• Nowpressthe“4”button,theblueLEDswill
comeon,thismeanstheseconddigithasbeen
setat4
• Nowpressthe“5”button,andallofthe
R,G,BLEDswillcomeon,thethirddigit5
hasbeenset.ThefullDMXaddresssetting
hasbeenchanged
• Nowpressthe“DMXMODE”buttontosave
thenewaddressintothememory

www.elumen8.co.uk Liberty 1T36 Battery Uplighter User Manual
9
Setting the DMX address:
TheDMXmodeenablestheuseofauniversalDMXcontroller.Eachxturerequiresa“startaddress”
from1-511.Axturerequiringoneormorechannelsforcontrolbeginstoreadthedataonthechannel
indicatedbythestartaddress.Forexample,axturethatoccupiesoruses7channelsofDMXandwas
addressedtostartonDMXchannel100,wouldreaddatafromchannels:100,101,102,103,104,105
and106.Chooseastartaddresssothatthechannelsuseddonotoverlap.E.g.thenextunitinthe
chainstartsat107.
DMX 512:
DMX(DigitalMultiplex)isauniversalprotocolusedasaformofcommunicationbetweenintelligent
xturesandcontrollers.ADMXcontrollersendsDMXdatainstructionsformthecontrollertothexture.
DMXdataissentasserialdatathattravelsfromxturetoxtureviatheDATA“IN”andDATA“OUT”
XLRterminalslocatedonallDMXxtures(mostcontrollersonlyhaveadata“out”terminal).
DMX linking:
DMXisalanguageallowingallmakesandmodelsofdifferentmanufacturestobelinkedtogether
andoperatefromasinglecontroller,aslongasallxturesandthecontrollerareDMXcompliant.
ToensureproperDMXdatatransmission,whenusingseveralDMXxturestrytousetheshortest
cablepathpossible.TheorderinwhichxturesareconnectedinaDMXlinedoesnotinuencethe
DMXaddressing.Forexample;axtureassignedtoaDMXaddressof1maybeplacedanywherein
aDMXline,atthebeginning,attheend,oranywhereinthemiddle.Whenaxtureisassigneda
DMXaddressof1,theDMXcontrollerknowstosendDATAassignedtoaddress1tothatunit,
nomatterwhereitislocatedintheDMXchain.
DATA cable (DMX cable) requirements (for DMX operation):
ThisxturecanbecontrolledviaDMX-512protocol.TheDMXaddressissetonthebackoftheunit.
YourunitandyourDMXcontrollerrequireastandard3-pinXLRconnectorfordatainput/output,
seeimagebelow.
Note: DMX cable must be daisy chained and cannot be split.
DMX setup
FurtherDMXcablescanbe
purchasedfromallgoodsound
andlightingsuppliersor
ProLightConceptsdealers.
Pleasequote:
CABL10 – 2m
CABL11 – 5m
CABL12 – 10m

www.elumen8.co.uk Liberty 1T36 Battery Uplighter User Manual
10
Notice:
Besuretofollowthediagramsbelowwhenmakingyourowncables.Donotconnectthecables
shieldconductortothegroundlugorallowtheshieldconductortocomeincontactwiththeXLRs
outercasing.Groundingtheshieldcouldcauseashortcircuitanderraticbehaviour.
Special note:
Line termination:
Whenlongerrunsofcableareused,
youmayneedtouseaterminatoron
thelastunittoavoiderraticbehaviour.
Using a cable terminator will decrease
the possibilities of erratic behaviour.
(3-pin - Order code: CABL90, 5-pin - Order code: CABL89)
5-pin XLR DMX connectors:
Somemanufacturesuse5-pinXLRconnectorsfordatatransmissioninplaceof3-pin.5-pinXLRxtures
maybeimplementedina3-pinXLRDMXline.Wheninsertingstandard5-pinXLRconnectorsintoa
3-pinlineacableadaptormustbeused.Thediagrambelowdetailsthecorrectcableconversion.
Terminationreducessignaltransmission
problemsandinterference.Itisalways
advisabletoconnectaDMXterminal,
(resistance120Ohm1/4W)betweenpin2
(DMX-)andpin3(DMX+)ofthelastxture.
5-pin XLR (socket)
Pin 1: GND (screen)
Pin 2: Signal (-)
Pin 3: Signal (+)
Pin 4: N/C
Pin 5: N/C
3-pin XLR (socket)
Pin 1: GND (screen)
Pin 2: Signal (-)
Pin 3: Signal (+)
3-pin XLR (socket)
Pin 1: GND (screen)
Pin 2: Signal (-)
Pin 3: Signal (+)
5-pin XLR (socket)
Pin 1: GND (screen)
Pin 2: Signal (-)
Pin 3: Signal (+)
Pin 4: N/C
Pin 5: N/C
DMX setup

www.elumen8.co.uk Liberty 1T36 Battery Uplighter User Manual
11
Optional accessories
Pleasecontactyourlocalretailertopurchasetheseaccessories.
Optional IR remote
Order code: LEDJ90B
1 2 3
4 5 6 0
+
_
7 8 9
AR
D
FL
SL
SP
S
S PR
SA
RG B
BLACKOUT DIMMING
FLASH
SLAVE
SPEED
SET ADDR
SELECT PROG
SOUND ACTIVE
AUTO RUN
DMX MODE
Tokeepup-to-dateonthelatestaccessoriesandproduct
rangeadditionspleasevisitwww.prolight.co.uk

www.elumen8.co.uk Liberty 1T36 Battery Uplighter User Manual
12
Correct Disposal of this Product
(Waste Electrical & Electronic Equipment)
(Applicable in the European Union and other European countries
with separate collection systems)
Thismarkingshownontheproductoritsliterature,indicatesthatitshouldnotbedisposedof
withotherhouseholdwastesattheendofitsworkinglife.Topreventpossibleharmtothe
environmentorhumanhealthfromuncontrolledwastedisposal,pleaseseparatethisfromother
typesofwastesandrecycleitresponsiblytopromotethesustainablereuseofmaterialresources.
Householdusersshouldcontacteithertheretailerwheretheypurchasedthisproduct,ortheir
localgovernmentofce,fordetailsofwhereandhowtheycantakethisitemforenvironmentally
saferecycling.
Businessusersshouldcontacttheirsupplierandcheckthetermsandconditionsofthe
purchasecontract.Thisproductshouldnotbemixedwithothercommercialwastesfordisposal.
WEEE notice
Table of contents
Other Elumen8 Lighting Equipment manuals

Elumen8
Elumen8 Evora 1000 BSW User manual

Elumen8
Elumen8 COB Tri 4 Pixel Batten User manual

Elumen8
Elumen8 KUDOS CYCLONE User manual

Elumen8
Elumen8 CYC600 User manual

Elumen8
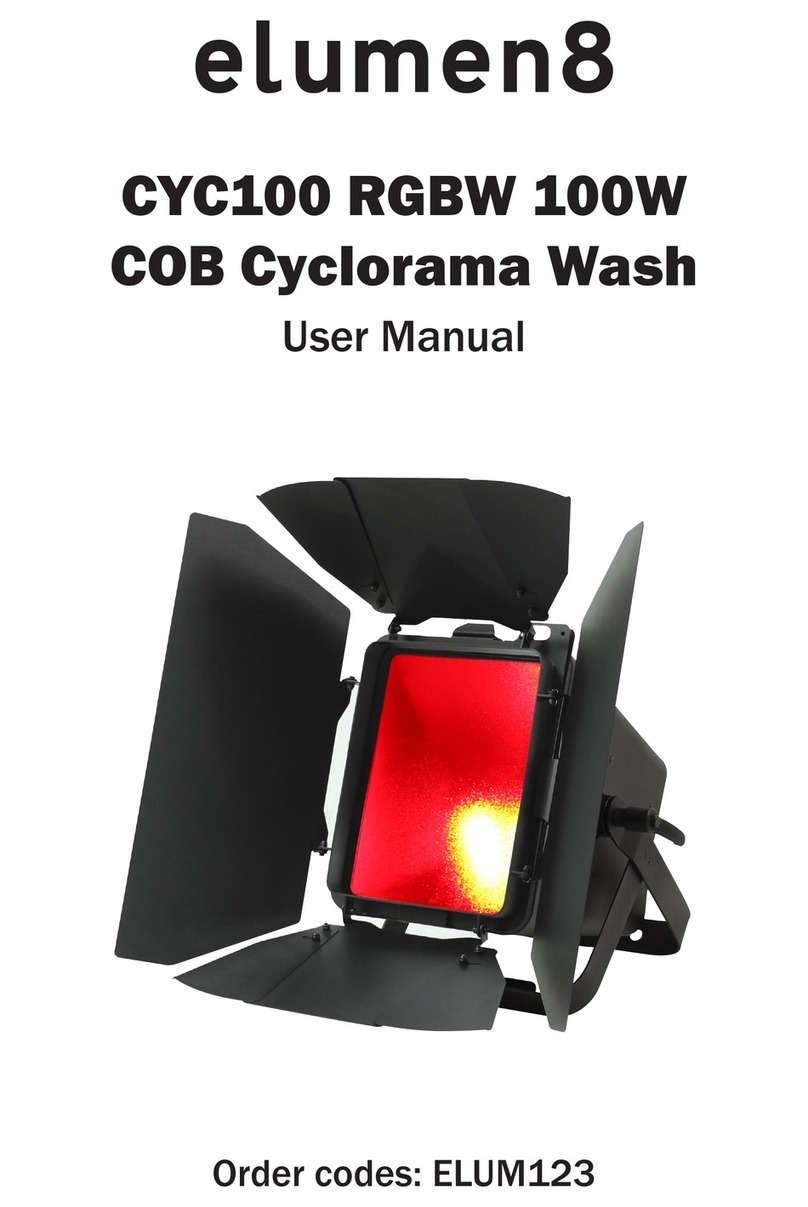
Elumen8 CYC100 User manual

Elumen8
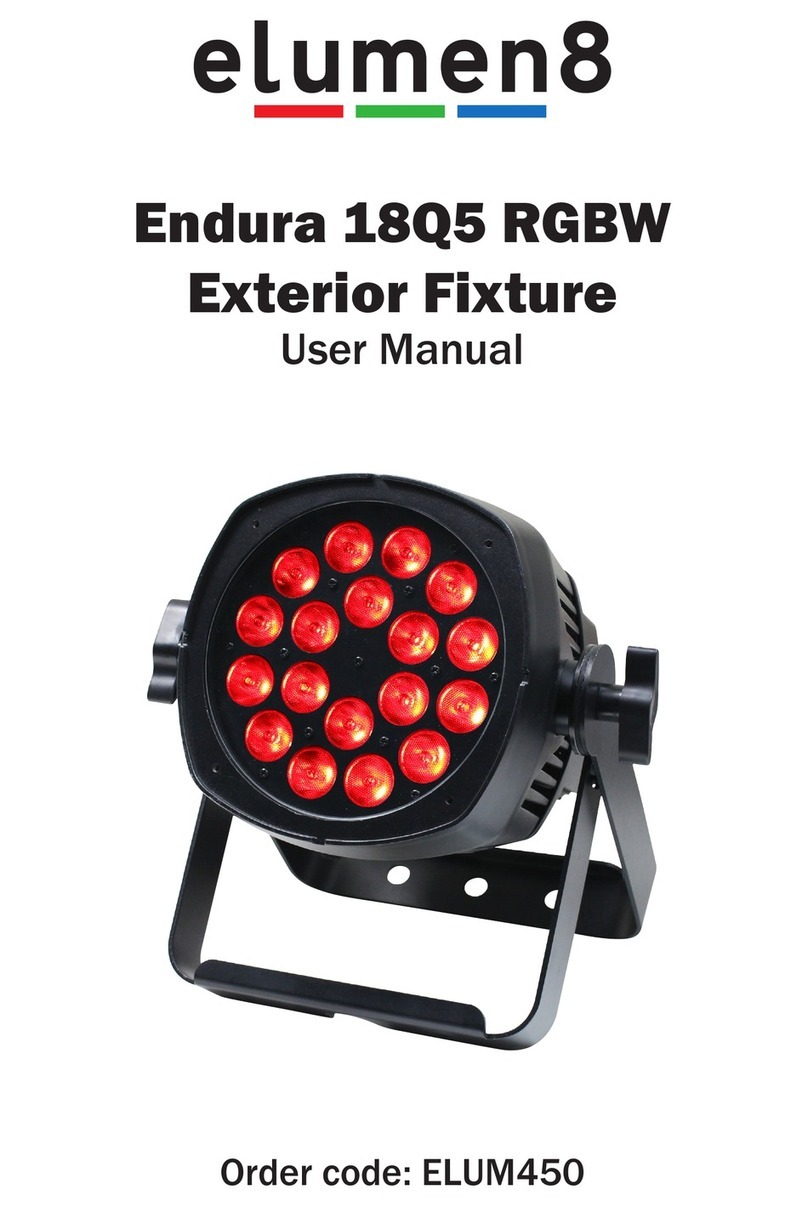
Elumen8 ELUM450 User manual

Elumen8
Elumen8 Kudos 250ZS User manual

Elumen8
Elumen8 Alu Quad Par 64 MKII User manual

Elumen8
Elumen8 TZ 250F User manual

Elumen8
Elumen8 Meteor 150 RGBW IP Pixel Batten User manual