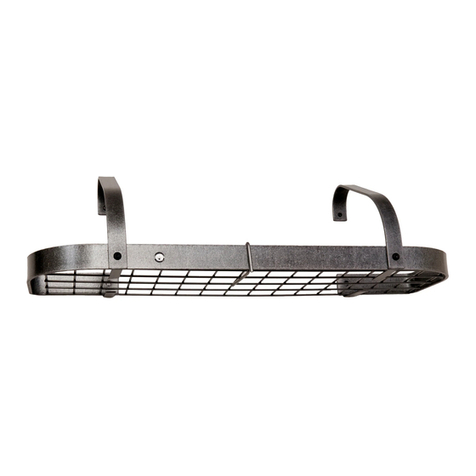
ASSEMBLY and INSTALLATION INSTRUCTIONS for YOUR PR38 Pot Rack
Enclosed you will find everything needed for the assembly
of your storage rack The parts and hardware included are:
Hardware included:
4 –5/16” x 3/8” Button Head Screws
2 –5/16” x 7/8” Button Head Screws
2 – 5/16” Nuts
1 – Two-point Toggler Mounting Set
1 – 3/16” Allen Wrench
Components included:
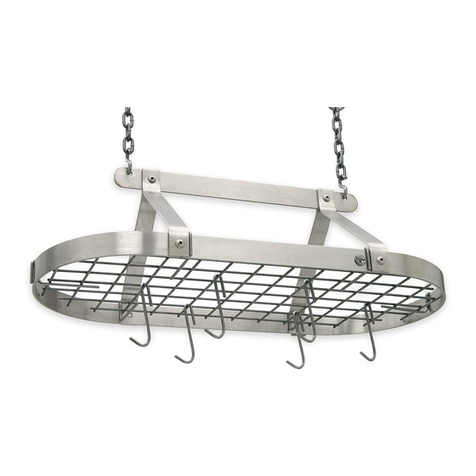
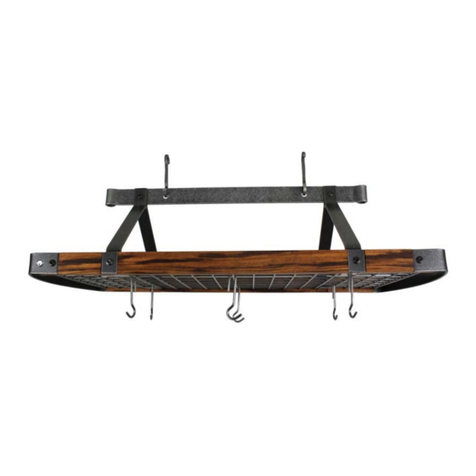
1 – Upper Bar (four holes)
1 – Utensil Bar (two holes each)
2 – Side Bars (two threaded holes each)
4 – Arms
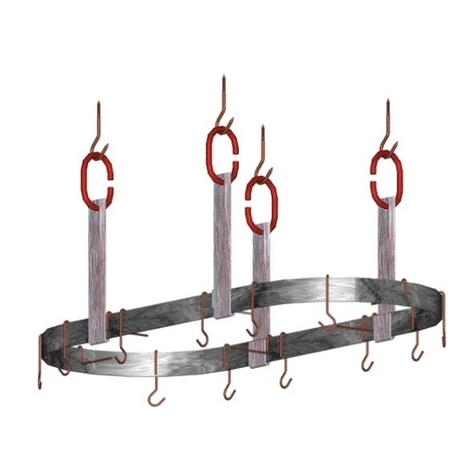
2 – 6” ceiling Hooks
2 – 15” Round utensil Hooks
2 – Ceiling Screw Hooks
12 – Straight Pot Hooks
6 -- Six Small Straight Hooks (DRPHS)
INSTRUCTIONS
. 1) Place the rack parts on a flat surface. Begin by attaching the four arms to the two lower rack bars (two threaded holes in each).
Using the Allen wrench insert the 5/16” x 3/8” button head screws (the shorter ones) through the holes in the arms and into the
threaded holes in the side bars. Repeat this process four times to connect all the arms to the side bars. Do not tighten screws
fully yet.
2) Next attach the upper bar to the four arms. Place the upper bar between the tops of one set of arms, line-up the holes at the top of
the set of arms with one of the outside holes in the upper bar. Insert one of the two 5/16”x 7/8” button head screws (the longer
ones) into an arm hole, through the upper bar and through the other arm in the pair. Thread a 5/16” nut on the protruding button
head screw and lightly tighten. Repeat this process to secure the other two arms to the upper bar.
3) Now place the rack on a flat surface to level and set to straight, then tighten all screws and nuts to final positions.
4) To mount the rack on a ceiling with wood joists above-- insert the two ceiling screw hooks into wood joists. These screw hooks
must be driven into the solid wood of the joists.
5) Mounting the rack onto a ceiling of dry wall or sheetrock -- Use the enclosed Toggler mounting set. Per the instructions, insert
the two togglers into the ceiling and secure. Then insert the machined screw hooks into the inserted togglers.
6) Finally hang the 6” Ceiling Hooks from the screw hooks and hang your rack from the inside holes in the upper
bar. Hang the 15” Utensil Hooks on the Lower outside holes on the upper and attaché the lower bar. Lastly hang the dozen pot
hooks around the two side bars, and the six utensil hooks on the lower utensil bar.
7) Your rack is now ready to use, and the Toggler system will safely hold the rack and several hundred pounds of cookware.
Our hammered steel racks are finished with an industrial wax designed to give years of protection. Cleaning is easily done with a
damp cloth. Dry thoroughly after cleaning. If a touch-up is ever needed we recommend a commercial wax product. .
It is important that your rack is assembled correctly. If the unit is assembled or used
incorrectly, it could become unstable and collapse, possibly causing injury.
WARNING
If you need help, please call 1-877-ENCLUME
Enclume Design Products, Inc.
24 Colwell Street, Port Hadlock, WA. 98339
Phone 360-385-6100 •Fax 360-385-6156
www.enclume.com

