manuals.online logo
Brands
  1. Home
  2. •
  3. Brands
  4. •
  5. Enclume
  6. •
  7. Indoor Furnishing
  8. •
  9. Enclume GI1 Instruction manual

Enclume GI1 Instruction manual

GI1-GourmetIsland
Enclosed you will find everything needed for the
assembly of your Gourmet Island. Two people
working together make assembly much easier.
Please unpack, identify and lay out all of the pieces
before starting assembly.
Components:
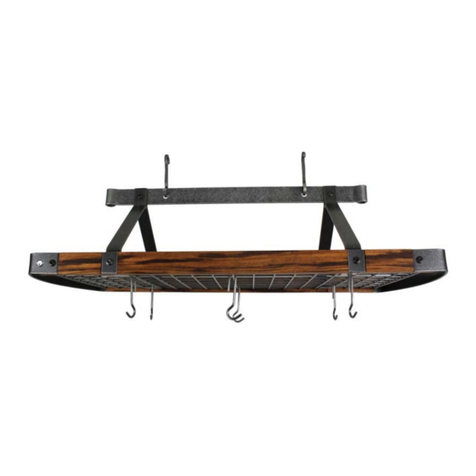
2 – Steel shelf rims
1 – Wood butcher-block work surface
1 – Steel oval trim band
2 – Steel grid shelves
Hardware:
1 – 7/32” Allen wrench
1 5/32” Allen wrench
4 – ¼” x 7/8” Button head screws
20 – 3/8” x ½” Button head screws
See reverse side for Assembly and Installation Instructions
Thank you for choosing Enclume!
Enclume racks are the ultimate quality,
design, strength and function.
WARNING: READ ALL OF THE
INSTRUCTIONS BEFORE
ASSEMBLING AND USING YOUR
RACK
If you need help, please call 1-877-ENCLUME
Enclume Design Products
24 Colwell Street, Port Hadlock, WA 98339
Phone 360-385-6100 Fax 360-385-6156
www.enclume.com
Assembly and Installation Instructions:
1) Please proceed carefully and slowly through the following instructions to insure this unit assembly properly for safe use and
without damage to its wood and steel finishes. Haste in assembly could result in needless scratching or marring.
2) Lay the rectangular uprights on the floor in correct relationship to each other – about 24” apart. The long side of the uprights
with the double holes punched should be placed against the floor.
3) Slide the shelf rims inside the rectangular uprights one at a time. Notice the rivet placement around the ovals. The rivets
will be closer to the bottom of the rim than the top. The positioning allows the steel grid shelves to set deeply inside the shelf
rims. Align holes from the shelves to holes in the rectangular uprights and attach from outside the uprights through the inside
of the shelves with four 3/8” x ½“ button head screws per shelf. Leave the screws loose.
4) Stand the unit upright and attach the shelves to the other side using eight of the 3/8” x ½” button head screws in the same
manner as done in Step 3. Leave the screws loose.
5) Attach the steel oval trim band to the outside of the rectangular upright. This uses the remaining four 3/8” x ½” button head
screws.
6) Square up the entire unit using a carpenter’s square and tighten down all screws.
7) Slide the two oval grid shelves into the lower and middle shelf rims with the long wire of the grid facing upward.
8) Place the wood butcher-block work surface on the top of the unit, rough surface facing down. The work surface should have
a 1” overhand around the oval trim band. Align the holes in the bottom of the work surface with the slotted holes on the tops
of the rectangular uprights. Attach the work surface with ¼” x 7/8” button head screws, inserting the screws upward through
the slots in the uprights through the holes in the bottom of the work surface and tightening them down with the smaller 5/32”
Allen wrench provided.
Care Instructions:
1) Your Gourmet Island is manufactured out of the finest materials, with finishes applied to enhance beauty, increase durability
and minimize maintenance. Nevertheless, some care must be taken to insure the highest performance of the unit.
Accordingly please take note of the following.
a. The steel sections of your Gourmet Island are coated with an industrial finish designed to give years of protection.
Cleaning can be done easily with a damp cloth. Dry thoroughly after cleaning.
b. The wood butcher-block surface has been penetrated with a food-grade mineral oil and its edges sealed. To
maintain the natural beauty of the wood and to avoid possible splitting with swings in humidity, we strongly
recommend oiling the entire wood surface every four to six weeks.
It is important that your rack is assembled correctly. If the unit is assembled or used
incorrectly, it could become unstable and collapse, possibly causing injury.
WARNING
Limited Warranty: This product is warranted to be free of material defects for a period of five years from the date of purchase. Customer's exclusive remedy shall
be the repair or replacement of the defective product and shall be subject to the following conditions: (1) notice of any defect is received by Enclume within the
warranty period and (2) customer returns the defective product to Enclume Design Products, 24 Colwell St. , Port Hadlock, WA 98339, postage prepaid within 20
days following a return authorization number (which may be obtained by telephoning the number at the top of this instruction) being provided to the customer by
Enclume. There are no other warranties, expressed or implied. THERE ARE NO WARRANTIES OF MERCHANTABILITY OR FITNESS FOR A
PARTICULAR PURPOSE. ENCLUME SPECIFICALLY DISCLAIMS ANY AND ALL INCIDENTAL OR CONSEQUENTIAL DAMAGES ARISING
OUT OF THE PURCHASE OR USE OF ENCLUME'S PRODUCTS.
Other Enclume Indoor Furnishing manuals

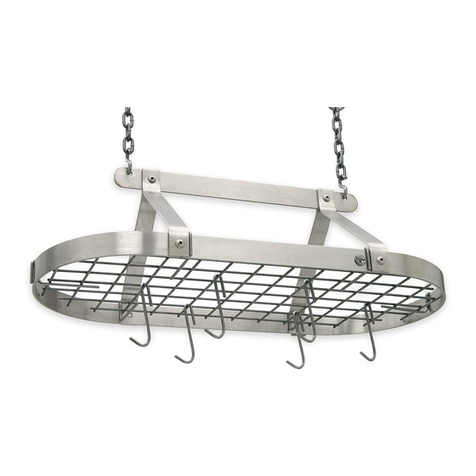
Enclume Signature Series Instruction manual

Enclume

Enclume Signature Series Instruction manual

Enclume PR36-Elite User manual

Enclume

Enclume PR36-Elite User manual

Enclume PR8AC User manual

Enclume

Enclume PR8AC User manual

Enclume RACK IT UP! MPB-06 User manual

Enclume

Enclume RACK IT UP! MPB-06 User manual

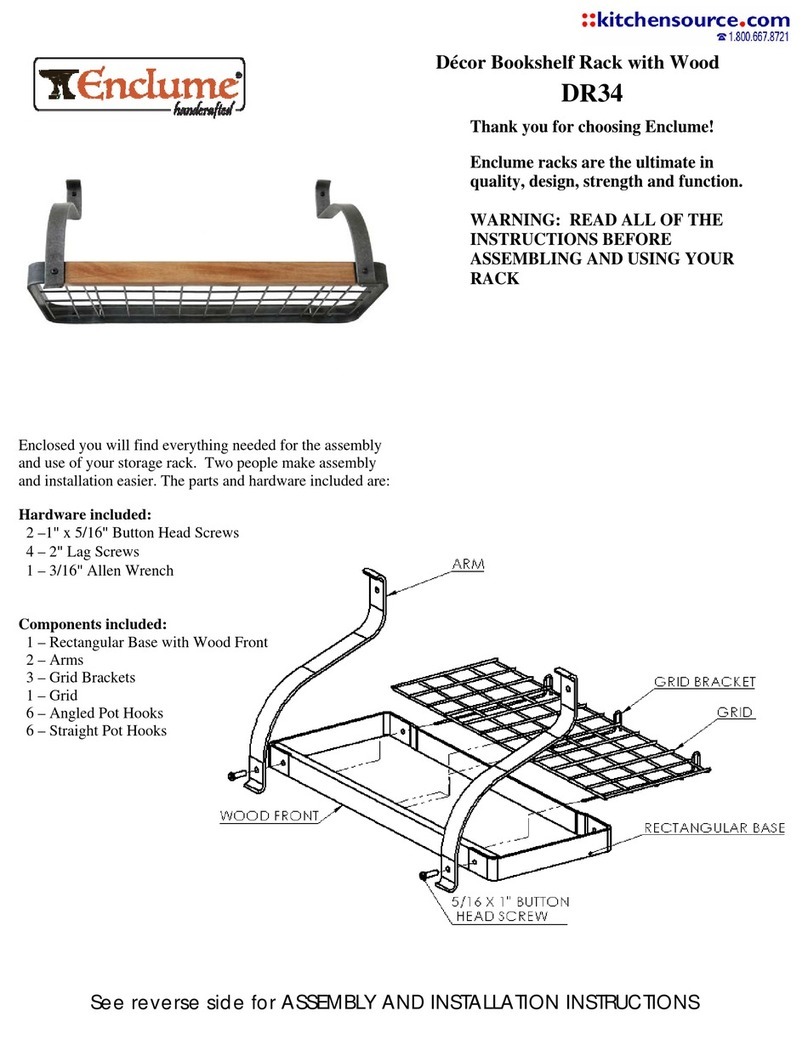
Enclume DR34 User manual

Enclume

Enclume DR34 User manual

Enclume AVIATOR PR43 User manual

Enclume

Enclume AVIATOR PR43 User manual

Enclume PR33 User manual

Enclume

Enclume PR33 User manual

Enclume PR38 User manual

Enclume

Enclume PR38 User manual

Enclume CWS8KD User manual

Enclume

Enclume CWS8KD User manual

Enclume DR32 User manual

Enclume

Enclume DR32 User manual

Enclume LR13 User manual

Enclume

Enclume LR13 User manual

Enclume Gourmet Island GI1 User manual

Enclume

Enclume Gourmet Island GI1 User manual

Enclume SPR1 Instruction manual

Enclume

Enclume SPR1 Instruction manual

Enclume PR14 User manual

Enclume

Enclume PR14 User manual

Enclume Carnival Rack PR34 User manual

Enclume

Enclume Carnival Rack PR34 User manual

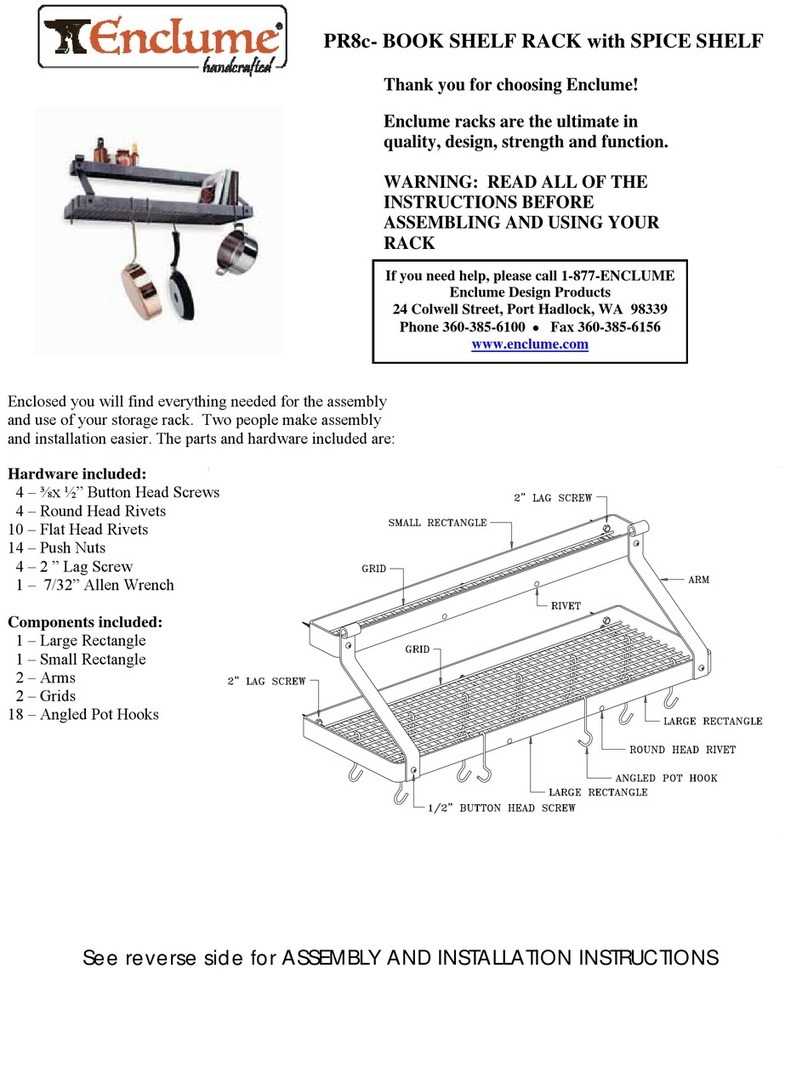
Enclume PR8c User manual

Enclume

Enclume PR8c User manual

Enclume PR11 User manual

Enclume

Enclume PR11 User manual

Enclume PR16a User manual

Enclume

Enclume PR16a User manual

Enclume PS4RKD User manual

Enclume

Enclume PS4RKD User manual

Enclume PR8c Instruction manual

Enclume

Enclume PR8c Instruction manual

Enclume DR34 Instruction manual

Enclume

Enclume DR34 Instruction manual

Enclume DR4 User manual

Enclume

Enclume DR4 User manual

Popular Indoor Furnishing manuals by other brands

L.L.Bean Rangeley Bed Assembly manual

L.L.Bean

L.L.Bean Rangeley Bed Assembly manual

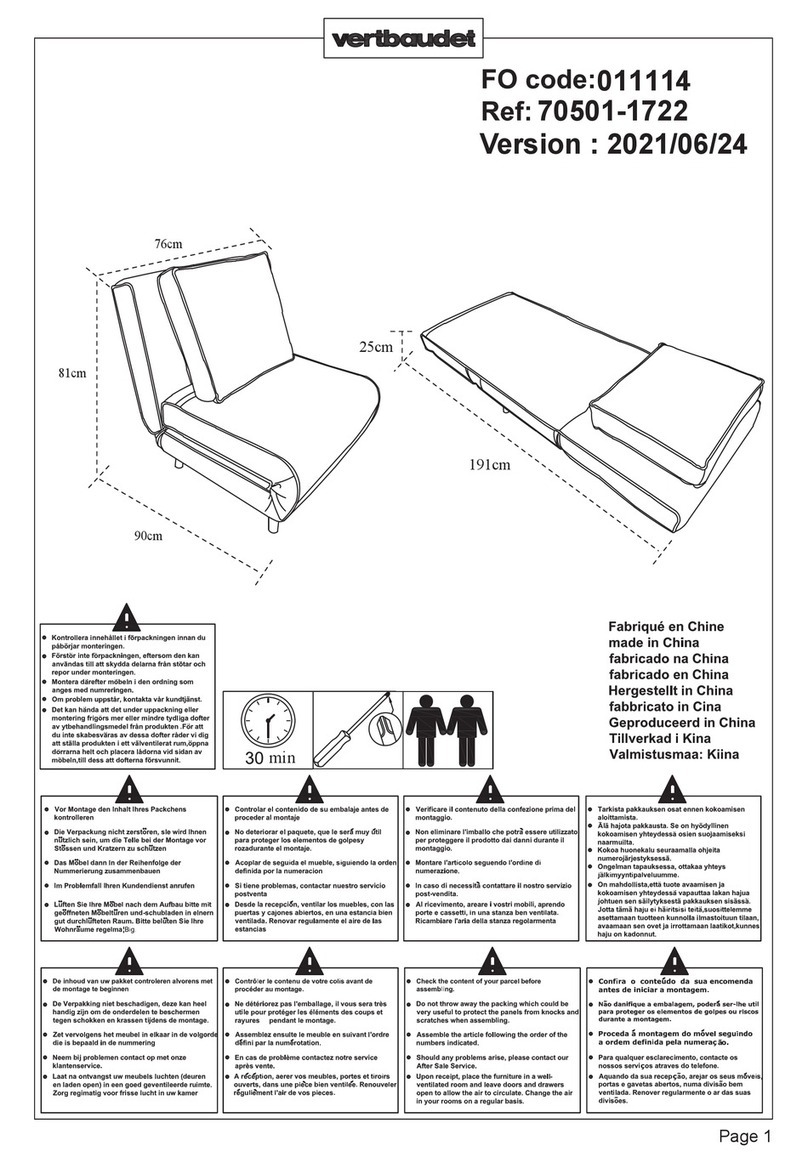
VERTBAUDET 70501-1722 Assembly instructions

VERTBAUDET

VERTBAUDET 70501-1722 Assembly instructions

Hay SOFT EDGE 82 BAR STOOL Product fact sheet

Hay

Hay SOFT EDGE 82 BAR STOOL Product fact sheet

Sandusky KDCL7236-3 Assembly instructions

Sandusky

Sandusky KDCL7236-3 Assembly instructions

Polini kids Fun 3290 manual

Polini kids

Polini kids Fun 3290 manual

Alice's Home LOFT ILFBK120 Assembly instructions

Alice's Home

Alice's Home LOFT ILFBK120 Assembly instructions

Teknik 5427134 manual

Teknik

Teknik 5427134 manual

KI Pirouette Assembly instructions

KI

KI Pirouette Assembly instructions

Argos Scandinavia 630/2001 Assembly instructions

Argos

Argos Scandinavia 630/2001 Assembly instructions

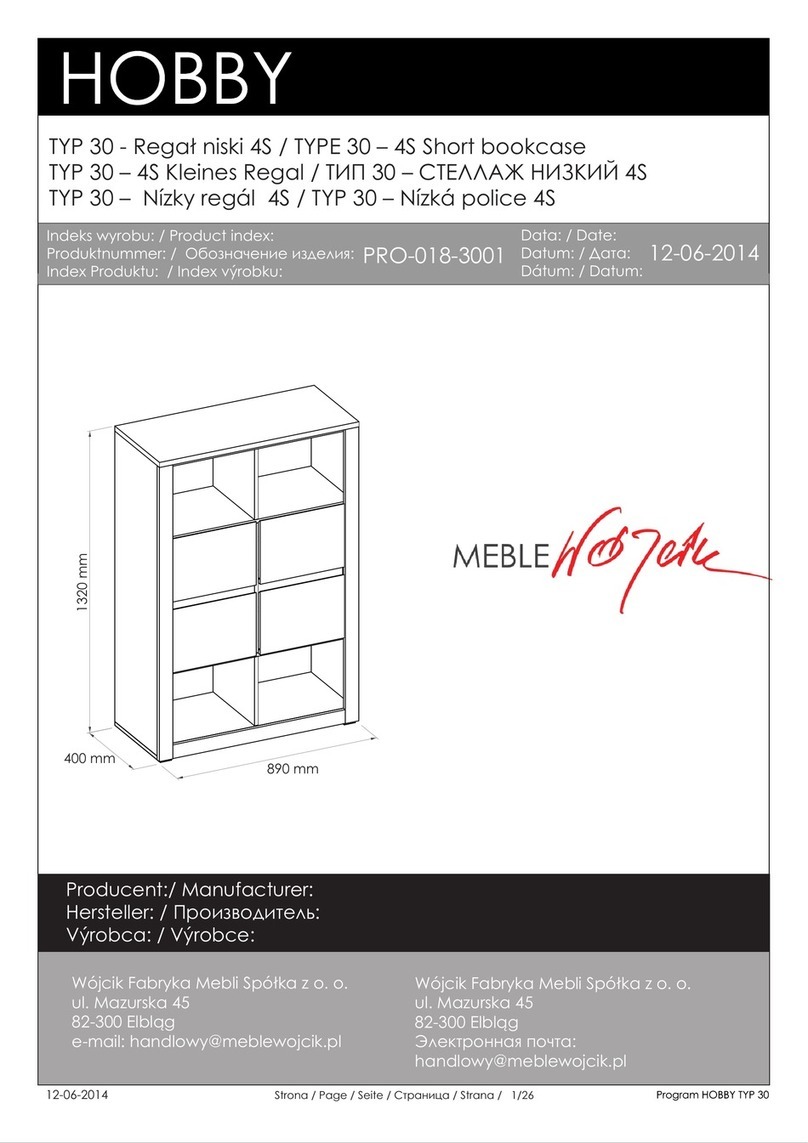
Hobby PRO-018-3001 manual

Hobby

Hobby PRO-018-3001 manual

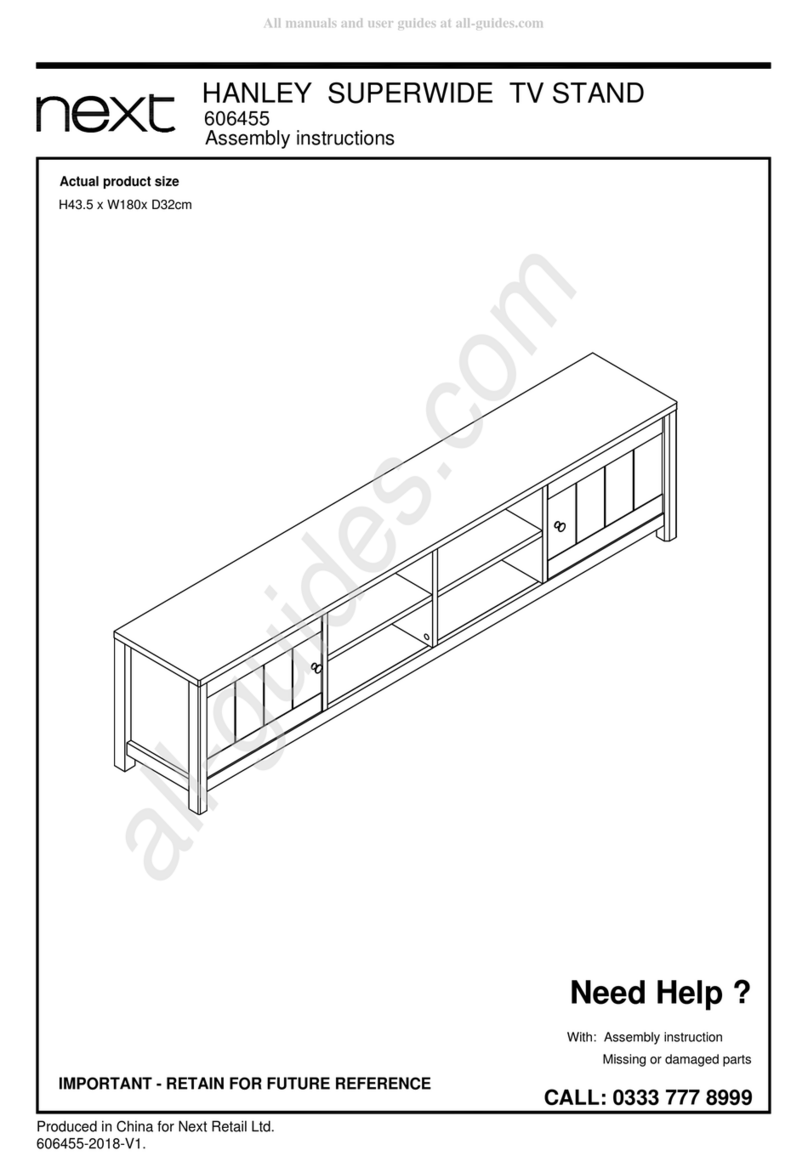
Next HANLEY SUPERWIDE 606455 Assembly instructions

Next

Next HANLEY SUPERWIDE 606455 Assembly instructions

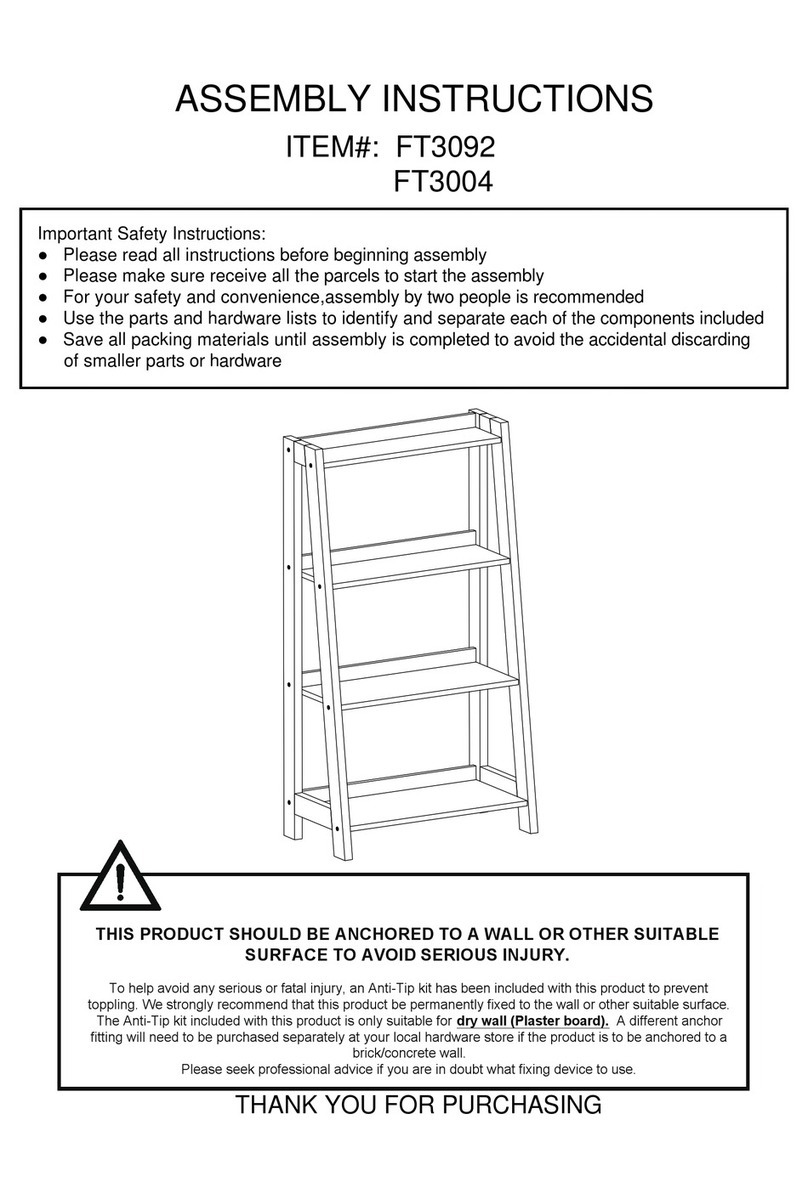
overstock FT3092 Assembly instructions

overstock

overstock FT3092 Assembly instructions

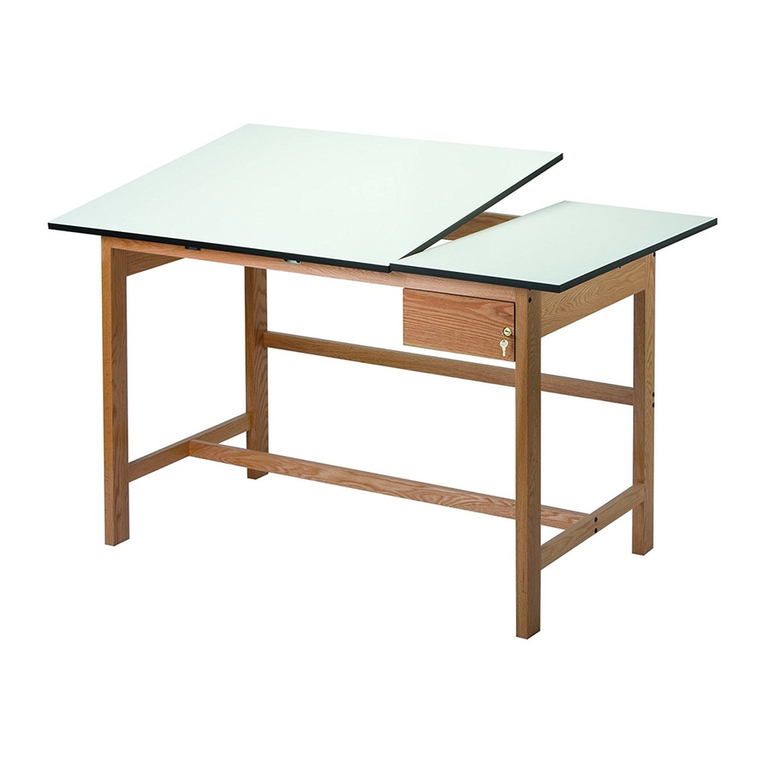
Alvin Split Top Drafting Tables Titan II Assembly instructions

Alvin

Alvin Split Top Drafting Tables Titan II Assembly instructions

VITRA Workbays Meet Assembly instructions

VITRA

VITRA Workbays Meet Assembly instructions

Cooper Lighting Metalux AB Arctic Bay Series specification

Cooper Lighting

Cooper Lighting Metalux AB Arctic Bay Series specification

IKEA BLAMES manual

IKEA

IKEA BLAMES manual

Home Decorators Collection CHENNAI CIWWVT6122D Use and care guide

Home Decorators Collection

Home Decorators Collection CHENNAI CIWWVT6122D Use and care guide

Royalcraft FARO-08 quick start guide

Royalcraft

Royalcraft FARO-08 quick start guide

manuals.online logo
manuals.online logoBrands
  • About & Mission
  • Contact us
  • Privacy Policy
  • Terms and Conditions

Copyright 2025 Manuals.Online. All Rights Reserved.