4
5.2 Removing Air From the System
When the wrench is first connected to the pump, air will be trapped
in the components. To ensure smooth operation, remove air by
cycling the wrench several times without load. Cycle until wrench
advances and retracts without hesitation.
5.3 Gauge and Overlay
Operating Procedure
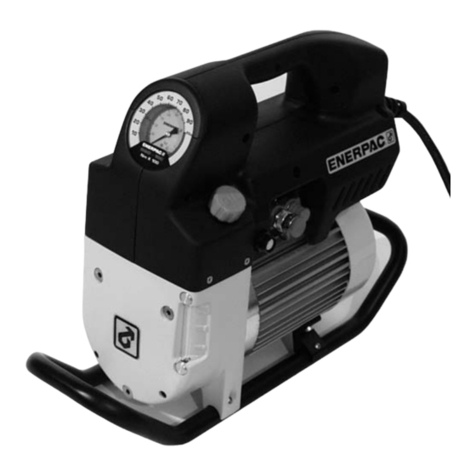
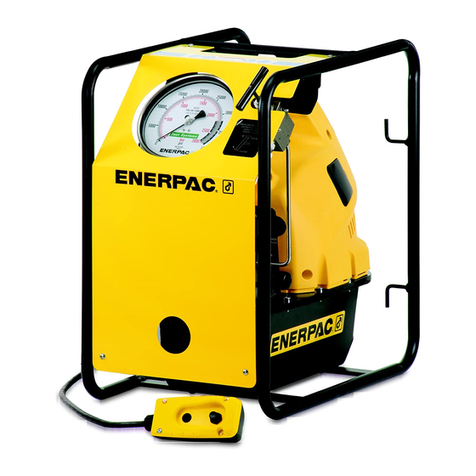
The pump is supplied with a
pressure gauge installed. A torque
overlay fits over the pressure
gauge dial face which easily
converts pressure readings to
torque readings (see Fig. 6).
The overlay has imperial units
(Ft.lbs) on one side and metric
units (Nm) on the other. To change
scales simply flip overlay over.
WARNING: Each overlay is sized for a specific Enerpac
torque wrench ONLY. Do not use with other
wrenches.
5.4 Changing the Overlay
1. Remove the three black wing
knobs which hold the front
gauge flange in place (see
Fig. 7).
2. Remove the front flange and
overlay (see Fig. 8).
3. Insert new overlay (remember
to verify correct overlay to the
Enerpac torque wrench being
used) onto the flange,
aligning the overlay with the
dimples on the back of the
flange (see Fig. 9).
4. While holding the overlay
behind the flange (see Fig. 8.)
insert the flange onto the knob
studs, repositioning the
overlay as needed, and
secure knobs finger tight (see
Fig. 7).
The flange will press the
overlay onto the gauge and
secure it in place. See torque
wrench instructions for
amount of pressure required
to produce desired torque.
Note that the maximum
pressure varies for different
wrenches and accessories.
5.5 Setting Pump to Torque Value
Pressure and torque are set by adjusting the relief valve. The
external relief valve is located on top of the pump. It is adjustable
from 11,600 psi (800 bar) down to 2000 psi (140 bar). Operating
pressure cannot be adjusted to above 11,600 psi (800 bar). To get
the most accurate relief valve setting, start at a lower pressure and
adjust up to the desired relief valve.
Warning: Make these adjustments BEFORE putting
torque wrench on nut or bolt head. The pump
pressure setting may be above the pressure needed
to provide the required torque for your application. Exceeding
required torque will cause equipment damage and may lead
to serious personal injury.
1. The pump is supplied with a pressure gauge installed. See the
torque wrench instructions for the amount of pressure needed
to produce the required torque. Note that the maximum
pressure varies for the different wrenches and accessories.
2. Loosen the locknut on the relief valve adjustment screw. Using
the knurled knob, turn the adjustment screw counter-
clockwise to decrease pressure setting (see Fig. 10).
3. Turn the pump on, and press and hold "ADV". Observe the
pressure gauge reading. Adjust the relief setting up to the
desired pressure.
4. Verify the setting by running the pump several times.
5. Tighten lock nut to secure setting on relief valve.
Figure 10
6.0 MAINTENANCE
6.1 Change Oil and Clean Reservoir
IMPORTANT: You will need a new reservoir gasket to reassemble
the pump after changing the oil.
1. Completely drain and clean the reservoir after every 100
hours of operation. Refill with new Enerpac hydraulic oil. If
pump is used infrequently, clean the reservoir once a year.
NOTE: This procedure requires that you remove the pump
from the reservoir. Work on a clean bench and use proper oil
disposal methods.
Fig. 6
Fig. 7
Fig. 8
Fig. 9
Relief Valve

