manuals.online logo
Brands
  1. Home
  2. •
  3. Brands
  4. •
  5. esotec
  6. •
  7. Lantern
  8. •
  9. esotec Float 25 User manual

esotec Float 25 User manual

This manual suits for next models

1

Other esotec Lantern manuals

esotec Smart Cube User manual

esotec

esotec Smart Cube User manual

esotec Salerno pro Duo Color User manual

esotec

esotec Salerno pro Duo Color User manual

esotec Float 15 User manual

esotec

esotec Float 15 User manual

esotec Cube User manual

esotec

esotec Cube User manual

esotec pro Line Series Manual

esotec

esotec pro Line Series Manual

esotec Duo Power 2000 User manual

esotec

esotec Duo Power 2000 User manual

esotec Power Globe 20 User manual

esotec

esotec Power Globe 20 User manual

esotec pro Line Series Manual

esotec

esotec pro Line Series Manual

esotec Trendy Manual

esotec

esotec Trendy Manual

esotec Sunnylight Parts list manual

esotec

esotec Sunnylight Parts list manual

esotec Twin Manual

esotec

esotec Twin Manual

esotec Talo Manual

esotec

esotec Talo Manual

esotec Float 15 User manual

esotec

esotec Float 15 User manual

esotec Trio Manual

esotec

esotec Trio Manual

esotec Stone 40 Manual

esotec

esotec Stone 40 Manual

esotec 106020 Manual

esotec

esotec 106020 Manual

esotec Freddy Manual

esotec

esotec Freddy Manual

esotec Asinara Manual

esotec

esotec Asinara Manual

esotec 102168 Manual

esotec

esotec 102168 Manual

esotec Pro RGB User manual

esotec

esotec Pro RGB User manual

esotec Lumina User manual

esotec

esotec Lumina User manual

esotec Power Trio Duo Color User manual

esotec

esotec Power Trio Duo Color User manual

esotec Disk Manual

esotec

esotec Disk Manual

esotec Modena Manual

esotec

esotec Modena Manual

Popular Lantern manuals by other brands

DS Produkte TRF18P0752-1 instructions

DS Produkte

DS Produkte TRF18P0752-1 instructions

Stahl ECOLUX 6610 Series operating instructions

Stahl

Stahl ECOLUX 6610 Series operating instructions

SNOWJOE SUNJOE 24V-LGT500-CT Operator's manual

SNOWJOE

SNOWJOE SUNJOE 24V-LGT500-CT Operator's manual

PRG VARI LITE VL5 Service manual

PRG

PRG VARI LITE VL5 Service manual

Raytec VARIO2 series installation guide

Raytec

Raytec VARIO2 series installation guide

ENSA LEDBT18WS2 installation instructions

ENSA

ENSA LEDBT18WS2 installation instructions

LUG OFFICE LB LED N/T Installation instruction

LUG

LUG OFFICE LB LED N/T Installation instruction

Draper RLEDL19/B instructions

Draper

Draper RLEDL19/B instructions

Green Lighting TRI-SENSOR GL4612LU Assembly & fitting instructions

Green Lighting

Green Lighting TRI-SENSOR GL4612LU Assembly & fitting instructions

Panasonic EY3741B57 operating instructions

Panasonic

Panasonic EY3741B57 operating instructions

Clas Ohlson LCC8T instruction manual

Clas Ohlson

Clas Ohlson LCC8T instruction manual

Coolon WDN-140 manual

Coolon

Coolon WDN-140 manual

shada 1000436 instruction manual

shada

shada 1000436 instruction manual

BEGA 84 036 Instructions for use

BEGA

BEGA 84 036 Instructions for use

BEGA 33 596 Instructions for use

BEGA

BEGA 33 596 Instructions for use

Dale Tiffany GT701162 Assembly instructions

Dale Tiffany

Dale Tiffany GT701162 Assembly instructions

Wagan Brite Nite Pop-Up USB Lantern user manual

Wagan

Wagan Brite Nite Pop-Up USB Lantern user manual

Eaton Crouse-Hinds Pauluhn DLLA M2 Series Installation & maintenance information

Eaton

Eaton Crouse-Hinds Pauluhn DLLA M2 Series Installation & maintenance information

manuals.online logo
manuals.online logoBrands
  • About & Mission
  • Contact us
  • Privacy Policy
  • Terms and Conditions

Copyright 2025 Manuals.Online. All Rights Reserved.

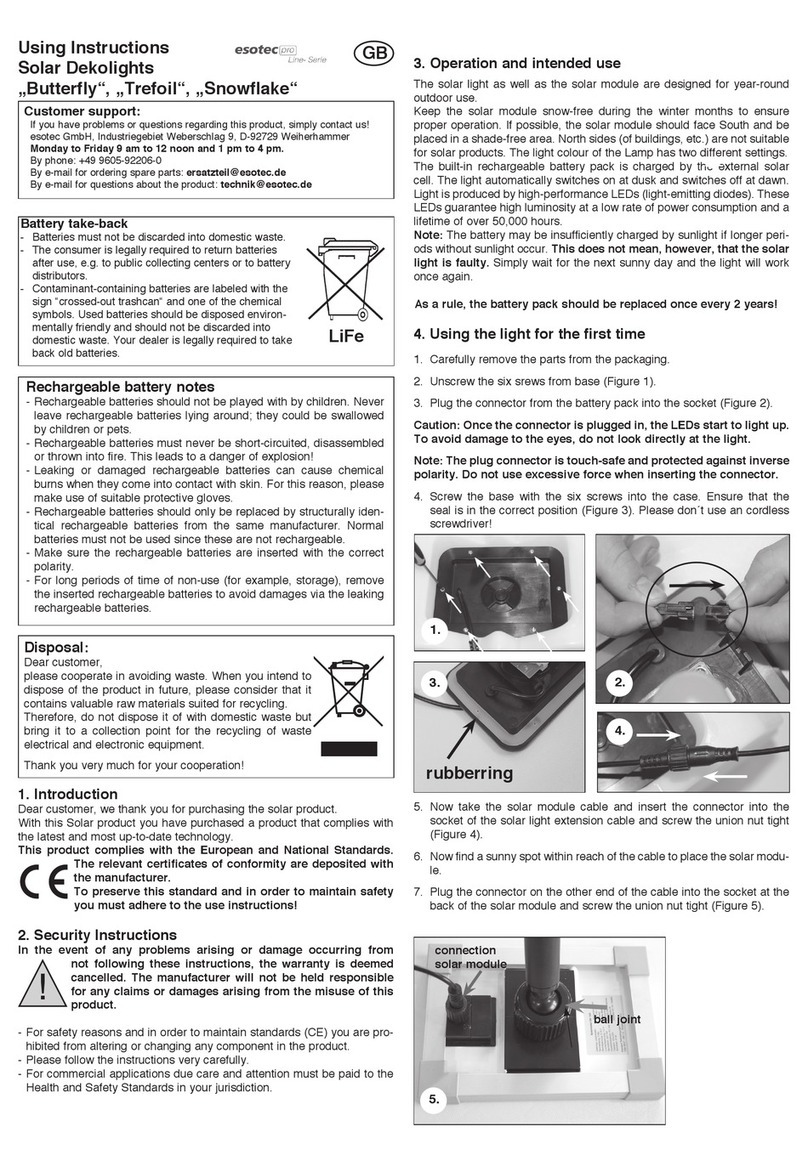
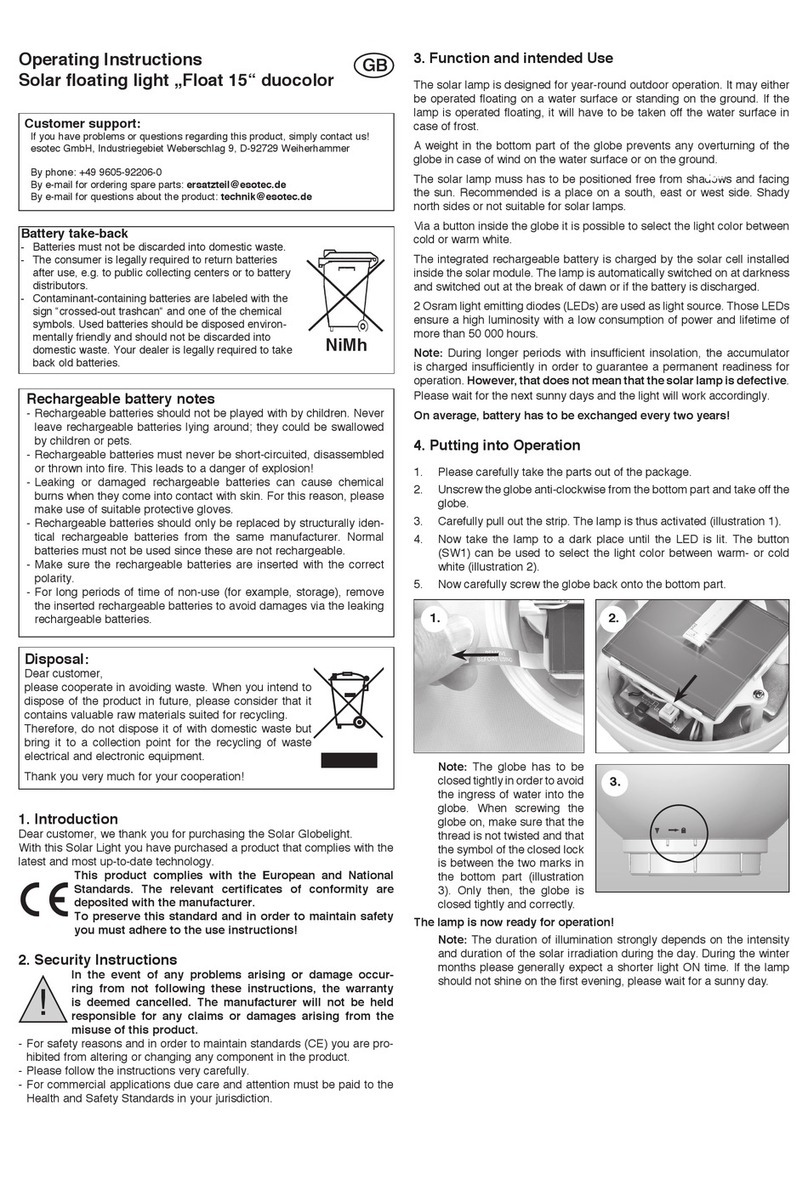
3. Function and Intended Use
The solar lamp is designed for all season outdoor use. It may either be
operated oating on a water surface or standing on the ground. If the lamp
is operated oating, it has to be taken from the water surface in case of
frost.
An aluminum bottom prevents the globe from tumbling in case of wind on
the water surface or on the ground. When the lamp is mounted on the
ground it is additionally possible to use the 2 enclosed ground spikes to
fasten it in the ground.
The solar lamp has to be set up free from shadows and facing the sun.
Recommended are south, east or west sides. Shadowy north sides are not
appropriate for solar lamps.
The light color is alternating or lockable. This can be set by the infrared
remote control included in the scope of delivery.
The integrated rechargeable battery is charged by the solar module
installed inside the lamp. The lamp is automatically switched on when it is
getting dark and switched off at dawn or if the battery is discharged.
Powerful light emitting diodes (LEDs) are used as light source. Those LEDs
guarantee a high luminosity with a low current consumption and a lifetime
of more than 50000 hours.
Note: During longer periods with insufcient insolation, the accumulator is
charged insufciently via the sunlight. However, that does not mean that
the solar lamp is defective. Please wait for the next sunny days and the
light will work accordingly.
The rechargeable battery has to be exchanged every 2 years on
average!
4. Putting into Operation
1. Please carefully take all parts out of the package.
2. In order to avoid any discharging of the battery during the storage period,
this battery has to be installed before putting the lamp into operation. A bag
with the parts required for the assembly is included in the scope of supply.
Proceed as follows when installing the battery:
3. Open the bag and put the parts onto a table.
4. Take the rechargeable battery and insert it in the battery
compartment with the correct polarity (illustration 1).
5. Firmly press in the main switch of the lamp „SM1“ on the circuit
board (illustration 2). (The switch SM2 is of no signicance for the
putting into operation. It only serves for the control of functions
during service operations).
6. Now precisely insert the gasket into the groove (illustration 3).
7. Attach the aluminum lid. Make sure that the black bracket is above
the battery (illustration 4). The bracket protects the battery from
falling out in case of convulsions.
8. Now take the 4 screws and slightly tighten them manually
(illustration 5). Now take the enclosed tool and slightly tighten the
screws clockwise one after the other.
9. In a 2. and 3. stage (illustration 6) tighten the screws rmly. The
tightening in several stages prevents an irregular seat of the cover.
Thus, the lid sits atly and tightly on the gasket.
Operating Instructions
Solar Floating light „Float 25“ multicolor
1. Introduction
Dear customer, we thank you for purchasing the Solar Globelight.
With this Solar Light you have purchased a product that complies with the
latest and most up-to-date technology.
This product complies with the European and National
Standards. The relevant certificates of conformity are
deposited with the manufacturer.
To preserve this standard and in order to maintain safety
you must adhere to the use instructions!
2. Security Instructions
In the event of any problems arising or damage occur-
ring from not following these instructions, the warranty
is deemed cancelled. The manufacturer will not be held
responsible for any claims or damages arising from the
misuse of this product.
- For safety reasons and in order to maintain standards (CE) you are pro-
hibited from altering or changing any component in the product.
- Please follow the instructions very carefully.
- For commercial applications due care and attention must be paid to the
Health and Safety Standards in your jurisdiction.
Battery take-back
- Batteries must not be discarded into domestic waste.
- The consumer is legally required to return batteries
after use, e.g. to public collecting centers or to battery
distributors.
- Contaminant-containing batteries are labeled with the
sign “crossed-out trashcan“ and one of the chemical
symbols. Used batteries should be disposed environ-
mentally friendly and should not be discarded into
domestic waste. Your dealer is legally required to take
back old batteries.
NiMh
GB
Customer support:
If you have problems or questions regarding this product, simply contact us!
esotec GmbH, Industriegebiet Weberschlag 9, D-92729 Weiherhammer
Monday to Friday 9 am to 12 noon and 1 pm to 4 pm.
By phone: +49 9605-92206-0
By e-mail for ordering spare parts: [email protected]
By e-mail for questions about the product: [email protected]
Rechargeable battery notes
- Rechargeable batteries should not be played with by children. Never
leave rechargeable batteries lying around; they could be swallowed
by children or pets.
- Rechargeable batteries must never be short-circuited, disassembled
or thrown into fire. This leads to a danger of explosion!
- Leaking or damaged rechargeable batteries can cause chemical
burns when they come into contact with skin. For this reason, please
make use of suitable protective gloves.
- Rechargeable batteries should only be replaced by structurally iden-
tical rechargeable batteries from the same manufacturer. Normal
batteries must not be used since these are not rechargeable.
- Make sure the rechargeable batteries are inserted with the correct
polarity.
- For long periods of time of non-use (for example, storage), remove
the inserted rechargeable batteries to avoid damages via the leaking
rechargeable batteries.
Disposal:
Dear customer,
please cooperate in avoiding waste. When you intend to
dispose of the product in future, please consider that it
contains valuable raw materials suited for recycling.
Therefore, do not dispose it of with domestic waste but
bring it to a collection point for the recycling of waste
electrical and electronic equipment.
Thank you very much for your cooperation!
!
1. 2.
3. 4.
5. 6.
2-3x
10. Now place the globe onto a water surface or place it on the ground.
When the lamp is mounted on the ground it is additionally possible
to use the 2 ground spikes to fasten it in the (illustration 7). When
the lamp is used on the water surface, it is possible to use a cord
(illustration 8) (not enclosed in the scope of supply) to limit the globe’s
range of motion. To fasten the cord, please use the 2 holes at the
bottom to thread the cord in.
Note: The duration of illumination strongly depends on the intensity
and duration of the solar radiation during the day. During the winter
months please generally expect a shorter light ON time. If the lamp
should not shine on the rst evening, please wait for a sunny day.
11. Take the remote control and pull
out the plastic strip to activate the
remote control (illustration 9).
12. The remote control allows the
comfortable control of the globe at
night.
Functions of the remote control:
„OFF“: The globe is switched
off. The globe is
switched off. The battery
is charged when the sun
is shining!
„Cycle“: The individual luminous
colors can be switched
through. Then, the
globe continues running
in the alternating color
mode.
„W“: Permanent light color white is activated.
„R,G,B ....“: The light color is rmly set by pressing the corresponding
color. Simply press the button “Cycle” again to return to the
alternating color mode.
6. Exchange of the rechargeable Battery
On average, the battery pack has to be exchanged by a new and identical
in construction battery every two years. Used here is a NiMh battery with
1.2 V/ 1300 mAh. A new battery pack is available from your retailer or the
manufacturer under www.esotec.de
Proceed as follows when exchanging the battery:
1. Loosen the 4 screws at the bottom of the globe one after the other (illustration
10) and take off the lid.
2. Now take out the used battery and replace it by a new, identical in
construction battery (illustration 11).
3. Now precisely insert the gasket into the groove (illustration 12).
4. Attach the aluminum lid. Make sure that the black bracket is above the
battery (illustration 13). The bracket protects the battery from falling out
in case of convulsions.
5. Now take the 4 screws and slightly tighten them manually (illustration
14). Now take the enclosed tool and slightly tighten the screws clockwise
one after the other.
6. In a 2. and 3. stage (illustration 15) tighten the screws rmly. The
tightening in several stages prevents an irregular tightening of the
screws and thus a potential leakage of the globe.
7. Malfunctions
1. The light color of the globe can not be controlled with the remote
control!
Remedy: Was the plastic strip on the bottom of the remote control
removed (only when the lamp is put into operation for the rst time)?
Remedy: Please note that the globe can only be remoted controlled at
night!
Remedy: Battery in the remote control too weak or used? Exchange
battery by an identical in construction type!
Remedy: No sunshine during the day. When the sky is cloudy and
there is no sunshine, the battery installed in the globe is not charged
sufciently! Wait for a sunny day!
2. The glove has no function!
Remedy: The battery in the light globe has reached the end of its
lifetime (exchange it every two years at the latest!)?
Remedy: No sunshine during the day. When the sky is cloudy and
there is no sunshine, the battery installed in the globe is not charged
sufciently! Wait for a sunny day!
Remedy: Is the globe switched on? See instructions item 4. part 5.
8. Technical data
• Solar module: 1 Wp crystalline
• Illuminants: 2 LEDs (1 x RGB; 1 x white)
• Light color white: 6500 K (cold-white)
• Luminosity: with light color white 14 lm
• Material lamp: PMMA
• Protection type light globe: IP 66
• Protection class: III
• Temperature range: -10°C up to +40°C (frost-free when used
oating!)
• Duration of illumination with
a fully charged battery: max. 8 h
• Battery: 1,2 V/ 1300 mAh (Mignon)
Spare part art.-no: 901022
All spare parts are available under www.esotec.de
Copyright, esotec GmbH
9.
10. 11.
12. 13.
14. 15.
2-3x
8.
7.