10
System Set Up
Before commencing system configuration ensure all GuardCam WF –T units to be included in the system
are powered and a clean formatted mini SD card is present in the chosen GuardCam WF receiver.
Please also ensure the chosen GuardCam RF receiver is powered using the supplied 5VDC plug in power
supply.
Important. Only use the plug in power supply provided with the unit. Use of other power supplies may
damage the unit and invalidate the warranty.
Note. It is not possible to enter the set up menu if a recording session is occurring. It is possible to
stop recording by pressing Rec/Del.
Main Menu
Press the MENU button to enter the MAIN
MENU. The system highlights EVENT LIST by
default.
Use to navigate through the menus;
press the MENU button to confirm selection
and enter sub-menu.
Camera Setup
Select CAMERA SETUP, press the MENU button
to enter sub-menu.
Use to select the camera to set up (camera
1-4).
Use to select the sub-menu
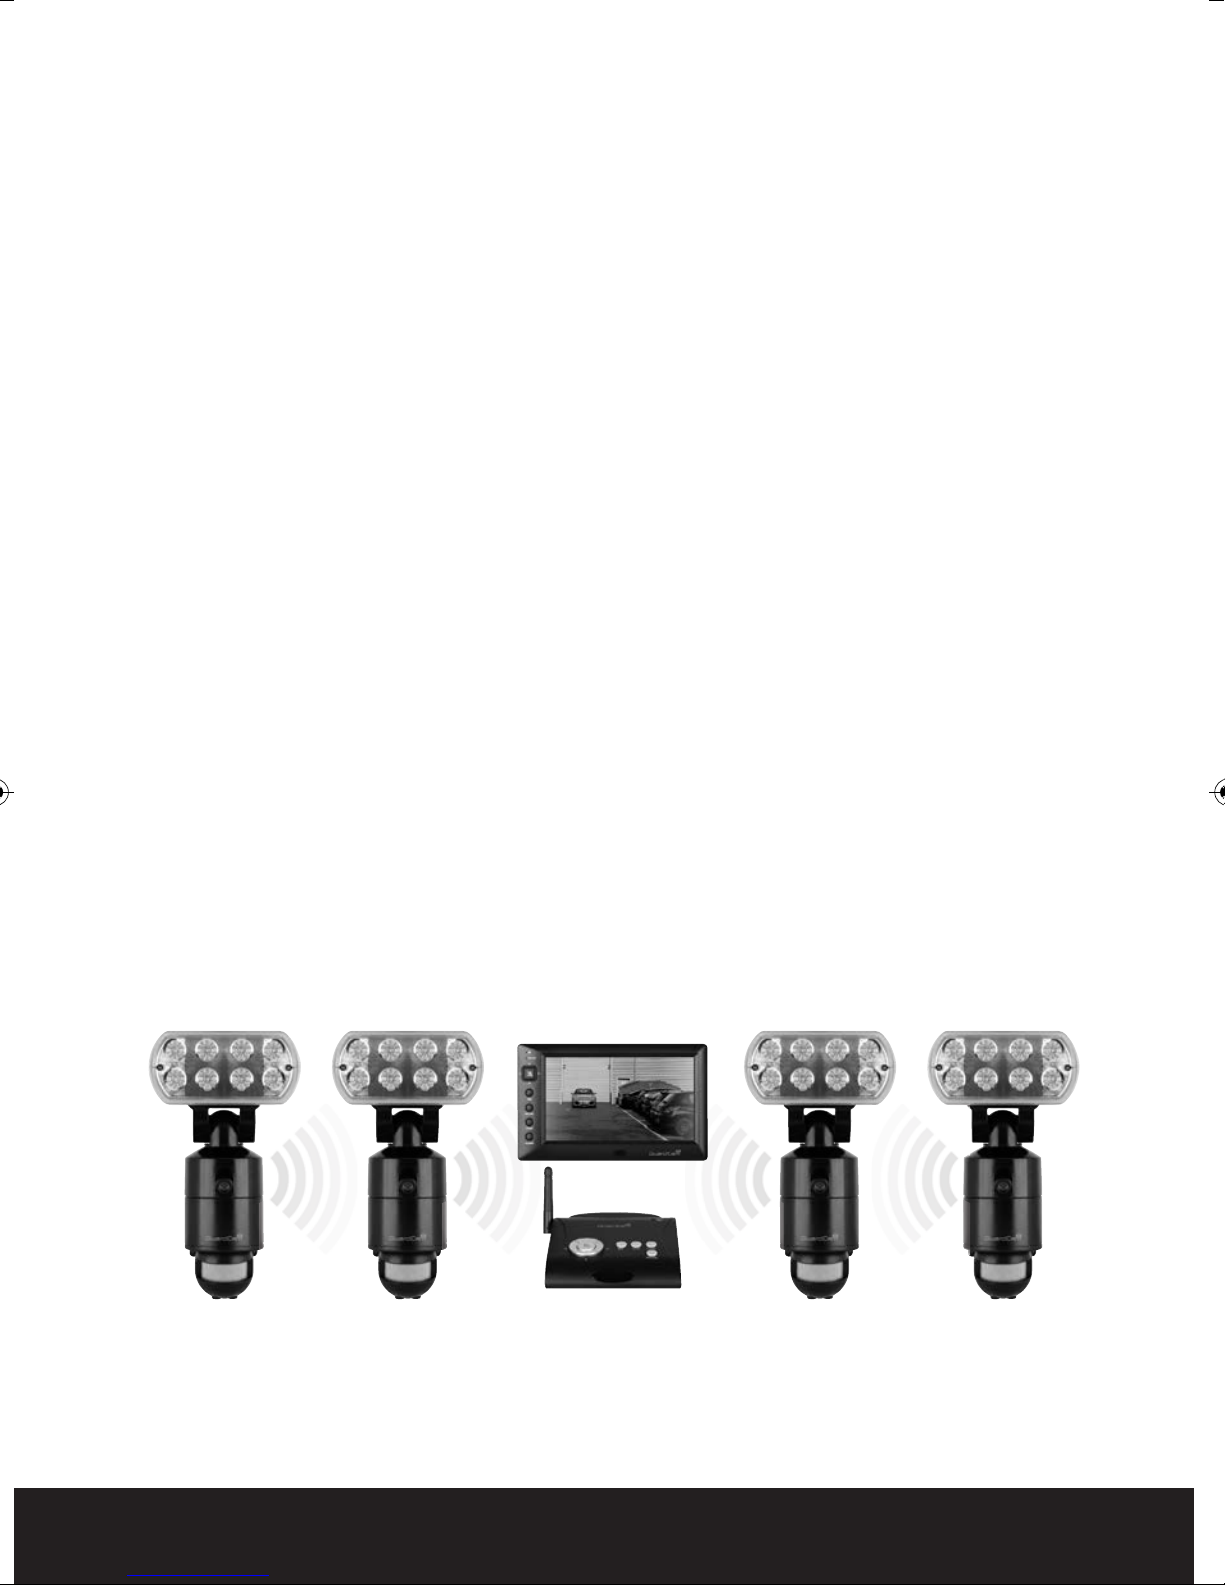
Pair a new device (GuardCam WF-T)
Pairing GuardCam WF-T to a Receiver
Pairing allows the GuardCam WF-T to communicate
with a chosen receiver (GuardCam WF-MR or
GuardCam WF-SAR).
Up to four GuardCam WF-T transmitters can be
paired with each receiver.
A GuardCam WF-T can only be paired to a single
receiver at any one time.
Pairing to a second receiver will delete the pairing
with the initial receiver.
The GuardCam WF-T pairing button is located to
the rear of the floodlight.
Pair each GuardCam WF-T individually to a separate
channel.
With the PAIRING option highlighted, press the
menu / select button once to begin camera pairing.
Press and release the pairing button on the
GuardCam WF-T twice. The System will confirm
pairing process to be successful by displaying
"PAIRED" on screen.
GuardCam WF Manual_Layout 2 28/11/2013 10:29 Page 10