manuals.online logo
Brands
  1. Home
  2. •
  3. Brands
  4. •
  5. Eterna
  6. •
  7. Heater
  8. •
  9. Eterna OH211 Setup guide

Eterna OH211 Setup guide

CLEANING:
• Always remove the plug from the electrical socket and allow the heater to cool down before cleaning
the heater.
• Wipe heater with a soft dry cloth.
• Wind the cable around the cable tidy and store the heater in a clean dry place.
• Do not try to repair the heater yourself, always consult a suitably qualified engineer.
WARNING:
Do not immerse the heater in water.
Do not use any cleaning chemicals such as detergents and abrasives.
Do not allow the interior to get wet.
EVENTUALLY, YOU MAY WANT TO REPLACE THIS HEATER:
New regulations require the recycling of Waste from Electrical and Electronic Equipment (European
“WEEE Directive” effective August 2005—UK WEEE Regulations effective 2nd January 2007).
Environment Agency Registered Producer: WEE/GA0248QZ.
When your heater comes to the end of its life or you choose to replace it, do not dispose of it with your
normal household waste. Please recycle where facilities exist. Check with your supplier or local authority
for suitable options.
IF YOU EXPERIENCE PROBLEMS:
If your heater is defective or develops a fault, please return it to the place where you bought it. You
can call our helpline for advice. The helpline will gladly give advice on any aspect of any Eterna heating
product.
SPECIFICATION:
VOLTAGE: 220 – 240V – 50Hz
POWER MAX: 2kW
SAFETY AND INSTALLATION INSTRUCTIONS
110418-BT
HELPLINE:
• T: 01933 673 144
• F: 01933 678 083
• E: [email protected]
Visit our website:
www.eterna-lighting.co.uk
Pack contents:
Oil filled heater c/w 13A. fused, Qty. 1
3 pin plug fitted
Heater wheel clamping plates Qty. 2
Castor wheels Qty. 4
Dome nuts Qty. 4
U clamping bolts Qty. 2
U clamp securing wing nuts Qty. 4
These instructions are provided as a guideline to assist you.
PLEASE READ THESE INSTRUCTIONS BEFORE USING YOUR HEATER
PLEASE RETAIN FOR FUTURE REFERENCE
Model:
OH211
2kW 11 Fin Oil Filled Heater
General Information and Safety Instructions: Installation:
READ THIS FIRST:
Check the pack and make sure you have all of
the parts listed on the front of this booklet. If
not, contact the supplier where you bought this
product.
IMPORTANT SAFEGUARDS:
When using an electrical appliance, basic safety
precautions should always be observed, including
the following:
• This appliance is not intended for use by
persons (including children) with reduced
physical, sensory or mental capabilities, or lack
of experience and knowledge, unless they have
been given supervision or instruction concerning
use of the appliance by a person responsible for
their safety.
• Extreme caution is necessary where children
or persons with reduced physical, sensory or
mental capabilities may come into contact with
the heater when in use.
• This heater is hot when in use. To avoid burns
and personal injury, do not let bare skin touch
hot surfaces. Never leave the heater unattended
whilst it is in use.
• The product is for household/office use only.
• In order to avoid overheating when in use, do
not cover the heater or position where it may
come in contact with flammable materials, such
as curtains, drapes etc. to avoid the risk of fire.
• This heater is filled with a precise quantity of
special oil. In case of leakage or repair which
requires opening of the oil container this should
only be carried out by the manufacturer or
qualified engineer.
• The heater must not be located adjacent to or
against an electrical socket.
• Do not run the cord under carpets/rugs.
• Arrange the cord away from high traffic areas
and where it will not present a trip hazard.
• Do not operate the heater with a damaged cord/
plug or if the heater malfunctions.
• If the supply cord is damaged, it must be
replaced by qualified engineer.
• Avoid the use of an extension cord as this may
overheat and cause a risk of fire.
• Use the heater in a well ventilated area.
• Do not use the heater in any areas where petrol,
paint or other flammable liquids are stored e.g.
garages or workshops.
• Do not use this heater in the immediate
surroundings of a bath, shower, swimming pool
or where water is present.
WARNING:
Only operate the heater in an upright position
with the feet attached, any other position could
cause malfunction.
FEATURES:
1. Carry handle
2. Thermostat knob
3. Power switch
4. Cord storage
5. Radiants fins
6. Castor (see opposite diagrams for assembly)
INSTRUCTIONS FOR USE:
NOTE: When the heater is turned on for the first
time or after having not been used for a long
period, it may smell for a short while.
1. Position the heater on a flat and stable surface.
2. Set all controls to OFF and insert the plug into
an electrical socket.
3. Rotate the thermostat knob clockwise to MAX
position and switch the heater on as follows:
I = Low heat (800W)
II = Medium heat (1.2kW)
I + II = High heat (2kW)
4. When your room reaches the desired
temperature, slowly rotate the thermostat knob
counter clockwise until the red indicator light
goes out. The thermostat can now be left at
this setting. As soon as the room temperature
has dropped below the set temperature, the
unit will switch itself on automatically until
the set temperature has been reached again.
In this way the room temperature remains
constant with the most economical use of
electricity.
5. To change the room temperature setting, rotate
the thermostat knob clockwise to raise the
temperature, or anti-clockwise to lower it.
6. This heater includes an overheat protection
system that shuts off the heater when parts of
the heater get excessively hot.
7. This unit is fitted with anti-tip cut-out
protection. Should the unit not be in the
correct vertical position, the heater will shut
off.
8. To completely shut the heater off, turn all the
controls to OFF, and remove plug from the
electrical socket.
ASSEMBLY INSTRUCTIONS:
YOU MUST ATTACH THE FEET BEFORE OPERATING THE HEATER.
1. Place the radiator upside-down on a scratch-free location, making sure it is stable and will not fall.
(fig. A).
2. To attach the castors to the mounting plate, unscrew domed nut and feed through the holes in
each end of the mounting plate. Screw domed nut back in place (fig. B) ensuring that they are fully
tightened.
3. Unscrew wing nut from the U-shaped bolt (fig. C). Hook U-shaped bolt onto the radiator between the
first two fins (see fig. D and G).
4. Feed castor mounting plate on to the U-shaped bolt. (fig. D and fig. E).
5. Screw wing nut on to ends of U-shaped bolt and fasten securely (fig. F). Over tightening may cause
damage to the radiator.
6. Now fasten second castor mounting plate between last two fins (fig. G) and by repeating the above
steps.
Fig 1
2
3
1
4
6
5
Fig A Fig D
Fig B Fig E
Fig C Fig F
Fig G

Other Eterna Heater manuals

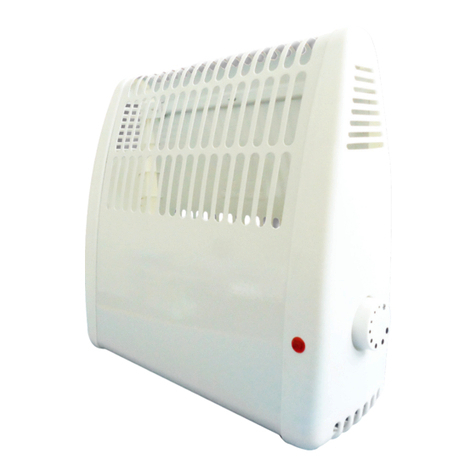
Eterna OILHT157 User manual

Eterna

Eterna OILHT157 User manual

Eterna SH3WH User manual

Eterna

Eterna SH3WH User manual

Eterna DFHT2KW User manual

Eterna

Eterna DFHT2KW User manual

Eterna TH1FT060 Setup guide

Eterna

Eterna TH1FT060 Setup guide

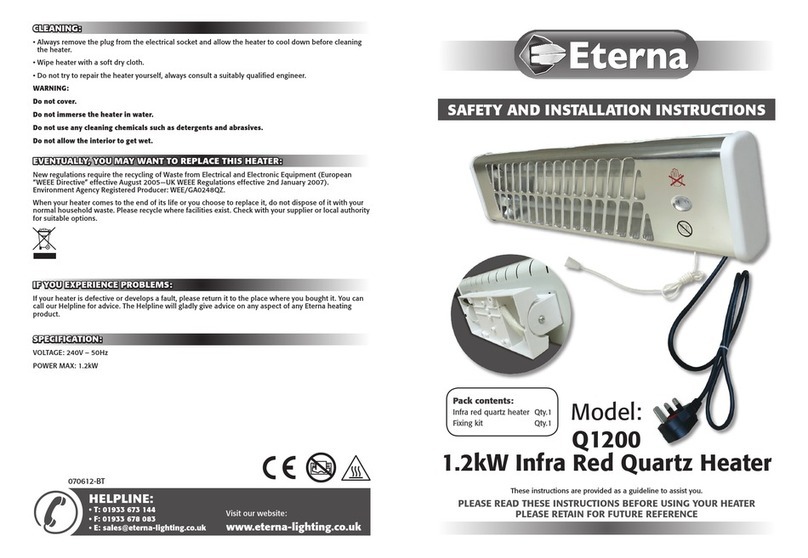
Eterna Q1200 Setup guide

Eterna

Eterna Q1200 Setup guide

Eterna CTIME User manual

Eterna

Eterna CTIME User manual

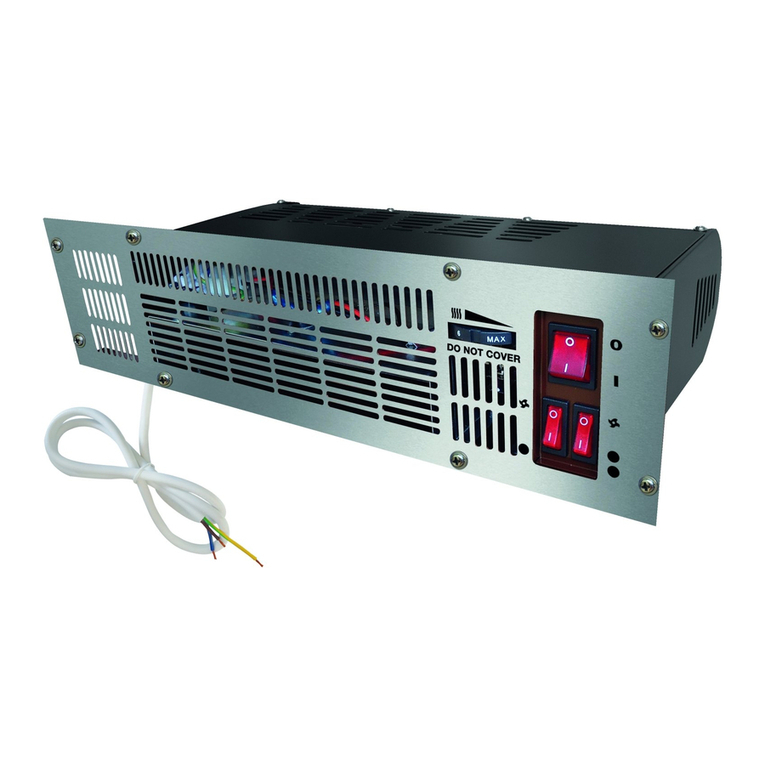
Eterna PFH2400 User manual

Eterna

Eterna PFH2400 User manual

Eterna PAT2000W Setup guide

Eterna

Eterna PAT2000W Setup guide

Eterna FH2 Setup guide

Eterna

Eterna FH2 Setup guide

Eterna OH157 User manual

Eterna

Eterna OH157 User manual

Eterna Q1200 User manual

Eterna

Eterna Q1200 User manual

Eterna TR70W User manual

Eterna

Eterna TR70W User manual

Eterna DFHT2KW User manual

Eterna

Eterna DFHT2KW User manual

Eterna OH211T User manual

Eterna

Eterna OH211T User manual

Eterna SH3WH Setup guide

Eterna

Eterna SH3WH Setup guide

Eterna DFH2KW User manual

Eterna

Eterna DFH2KW User manual

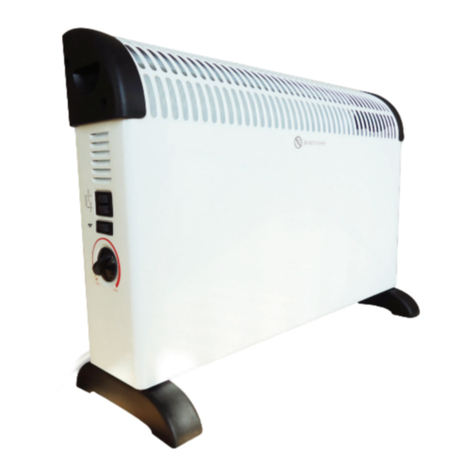
Eterna CONVHTSTD User manual

Eterna

Eterna CONVHTSTD User manual

Eterna PFH2400 User manual

Eterna

Eterna PFH2400 User manual

Eterna CFAN Setup guide

Eterna

Eterna CFAN Setup guide

Eterna FPH400 Setup guide

Eterna

Eterna FPH400 Setup guide

Eterna OILH211TIM User manual

Eterna

Eterna OILH211TIM User manual

Popular Heater manuals by other brands

Ransburg A11065-05 Service manual

Ransburg

Ransburg A11065-05 Service manual

Frico AGS5000 Original instructions

Frico

Frico AGS5000 Original instructions

Sonnenkonig MARS user manual

Sonnenkonig

Sonnenkonig MARS user manual

AENO GH1S quick start guide

AENO

AENO GH1S quick start guide

Black & Decker BXSH37005GB Original instructions

Black & Decker

Black & Decker BXSH37005GB Original instructions

Helo Laine D Series product manual

Helo

Helo Laine D Series product manual

Pentair MiniMax Plus, PowerMax MiniMax Service manual

Pentair

Pentair MiniMax Plus, PowerMax MiniMax Service manual

Valor 475ABN installation instructions

Valor

Valor 475ABN installation instructions

nedis HTBA20WT quick start guide

nedis

nedis HTBA20WT quick start guide

Becken BPTC2799 instruction manual

Becken

Becken BPTC2799 instruction manual

BN Thermic HB-1500 instructions

BN Thermic

BN Thermic HB-1500 instructions

NEEDO T750H user manual

NEEDO

NEEDO T750H user manual

Pro-Elec PELL0209 instructions

Pro-Elec

Pro-Elec PELL0209 instructions

Stelpro AALUX3 Series user guide

Stelpro

Stelpro AALUX3 Series user guide

Bionaire BH1520 Instruction leaflet

Bionaire

Bionaire BH1520 Instruction leaflet

Blaupunkt BP1001 user manual

Blaupunkt

Blaupunkt BP1001 user manual

Rinnai RHFE-309FT Operation and installation manual

Rinnai

Rinnai RHFE-309FT Operation and installation manual

usha CH 3408 instruction manual

usha

usha CH 3408 instruction manual

manuals.online logo
manuals.online logoBrands
  • About & Mission
  • Contact us
  • Privacy Policy
  • Terms and Conditions

Copyright 2025 Manuals.Online. All Rights Reserved.