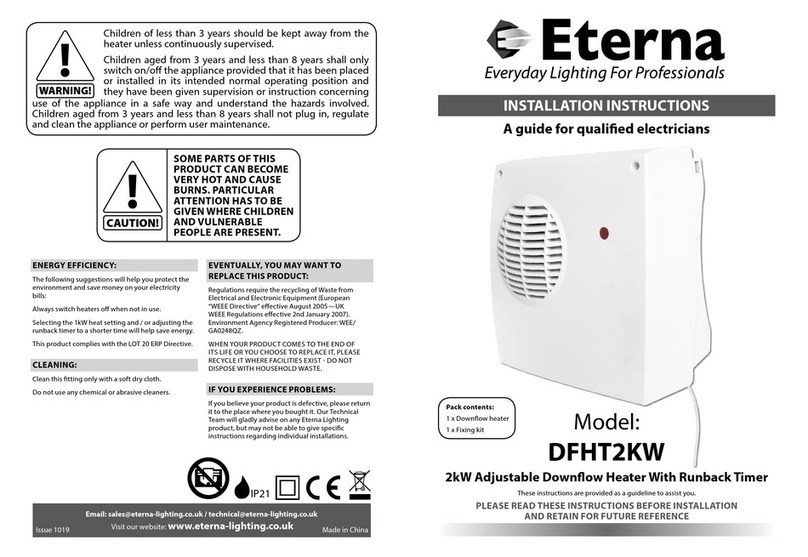
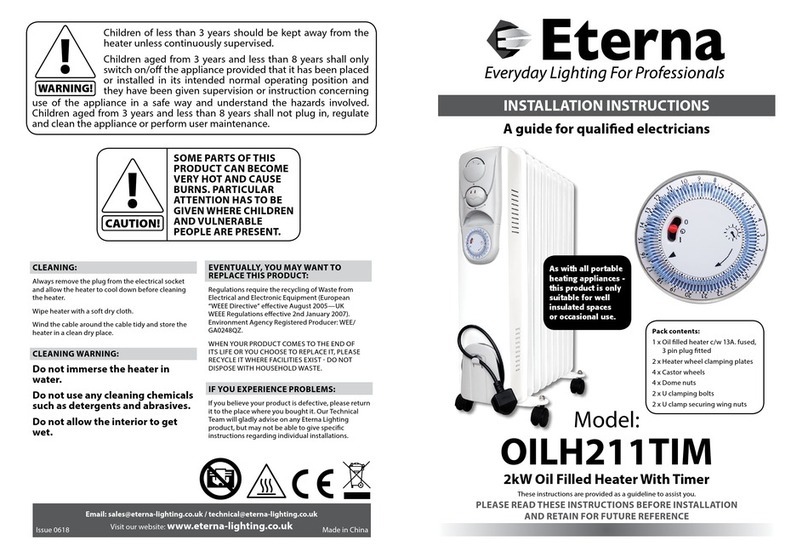
READ THIS FIRST:
Check the pack and make sure you have all of the
parts listed on the front of this booklet. If not,
contact the supplier where you bought this product
IMPORTANT SAFEGUARDS:
This heater must be installed by a competent person
in accordance with the Building Regulations making
reference to the current edition of the IEE Wiring
Regulations (BS7671).
As the buyer, installer and/or user of this heater it is
your own responsibility to ensure that this heater
is t for the purpose for which you have intended
it. Eterna Lighting cannot accept any liability for
loss, damage or premature failure resulting from
inappropriate use.
This product is designed and constructed according
to the principles of the appropriate British Standard
and is intended for normal domestic service.
Switch o the mains before commencing installation
and remove the appropriate circuit fuse.
When working at heights, please use a suitable
platform.
Suitable for indoor use only.
This product is suitable for use in living areas, and
bathroom dry (outside) zones only (see diagram
below and current IEE Wiring Regulations for details).
It is not suitable for bathroom zones 0, 1, 2, or other
areas where contact with moisture is likely.
If installed within a bathroom, the heater must be
wired directly to a mains supply via a switched fused
spur protected by a 30mA RCD.
This heater is suitable for installation on surfaces
with normal ammability e.g. wood, plasterboard,
and masonry. It is not suitable for use on highly
ammable surfaces (e.g. polystyrene, textiles).
Before making xing hole(s), check that there are no
obstructions hidden beneath the mounting surface
such as pipes or cables.
Make sure that the xings are strong enough to
support the considerable weight of the heater and
holds it rigidly.
When choosing the location for your new heater,
ensure that the xings will be anchored in a solid
surface e.g. concrete, brick or a joist - do not x
directly onto panelling, cladding, plasterboard etc.
If the location of your new heater requires the
provision of a new electrical supply, the supply
must conform with the requirements of the Building
Regulations making reference to the current edition
of the IEE Wiring Regulations (BS7671).
The heater is tted with a 3 pin plug, but can also
be installed using a permanent connection to
xed wiring: this should be either a suitable circuit
(protected with a 6 Amp MCB or fuse) or a fused spur
(with a 13 Amp fuse).
Make connections to the electrical supply in
accordance with the following code:
Live: Brown or Red
Neutral: Blue or Black
Earth: Green and Yellow
When making connections, ensure that the terminals
are tightened securely and that no strands of wire
protrude. Check that the terminals are tightened
onto the bared conductors and not onto any
insulation.
This heater must be connected to Earth.
This appliance is not intended for use by persons
(including children) with reduced physical, sensory
or mental capabilities, or lack of experience and
knowledge, unless they have been given supervision
or instruction concerning use of the appliance by a
person responsible for their safety.
IMPORTANT: Always switch o at the mains and
isolate circuit before any maintenance is carried out,
any repairs undertaken must be by suitable qualied
electrical engineer.
You are advised at every stage of your installation to
double-check any electrical connections you have
made. After you have completed your installation
there are electrical tests that should be carried out:
these tests are specied in the Wiring Regulations
(BS7671) referred to in the Building Regulations.
WARNING - To avoid overheating,
do not cover the heater.
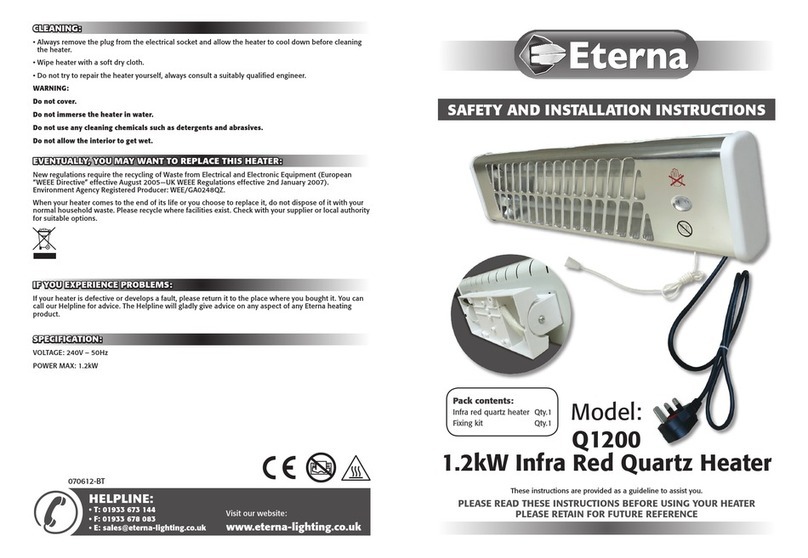
SPECIFICATIONS:
VOLTAGE: 240V ~ 50Hz
POWER MAX: 1.2kW
WARNING:
This product becomes hot!
This heater is to be used only for the purpose intended
by the manufacturer which is for area heating only.
Do not put a cover over the appliance as this would
cause a re hazard during use.
Install the appliance only in a horizontal position.
Do not install the appliance under a light or xed source
of electrical supply.
Avoid installation behind a door.
Do not try to repair the heater yourself, always consult a
suitably qualied engineer.
INSTALLATION:
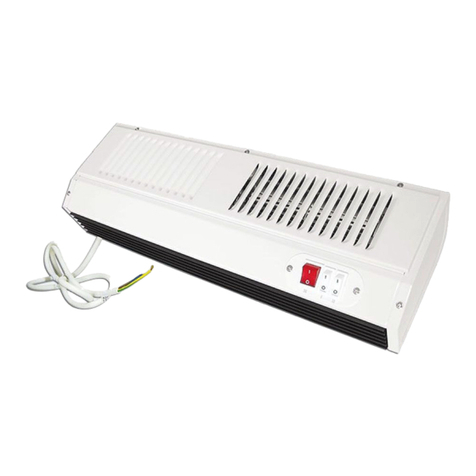
Turn o mains supply before commencing with
installation.
Do not install the heater so that the heat rays
are directed on to walls or adjacent objects.
Maintain a sucient distance between the heater
and walls/objects, see diagram opposite.
Heaters must be installed at least 1.8m above the
oor level and 50cm from any given surfaces as
shown opposite:
01) Remove cover plate and position the heater
on the wall and mark xing holes.
02) Drill 4 suitable holes and insert the wall plugs
provided.
03) Fix the heater in place using suitable screws.
04) Re-t the cover plate.
05) Adjust the heater direction to the desired position
via the ratchet mechanism and tighten the screws.
06) Restore power.
FOR FIXED WIRING:
The plug needs to be removed and the wiring
connected to a suitable fused spur. The supply circuit
should be protected with a 6 Amp MCB or fuse.
Make connections to the electrical supply in
accordance with the following code:
Live: Brown or Red
Neutral: Blue or Black
Earth: Green and Yellow

